Undercoating the Tally Ho Rolls Royce Armoured Car

This model was the first one I bought for Tally Ho! It has been stuck in a box for about twenty years. It was originally designed and manufactured by the Honourable Lead Boiler Suit Company (HLBSCo) they were small and relatively new.

The Rolls-Royce armoured car was a British armoured car developed in 1914 and used in World War I and in the early part of World War II.

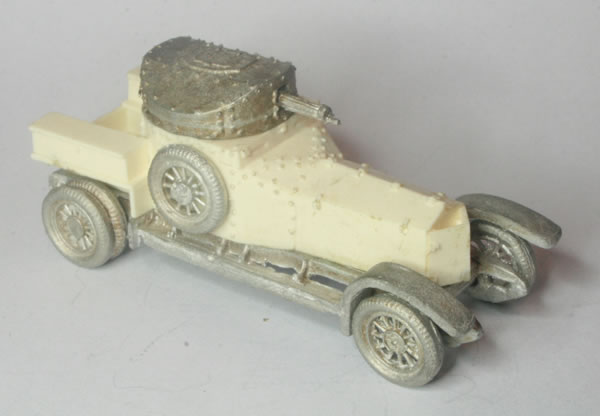
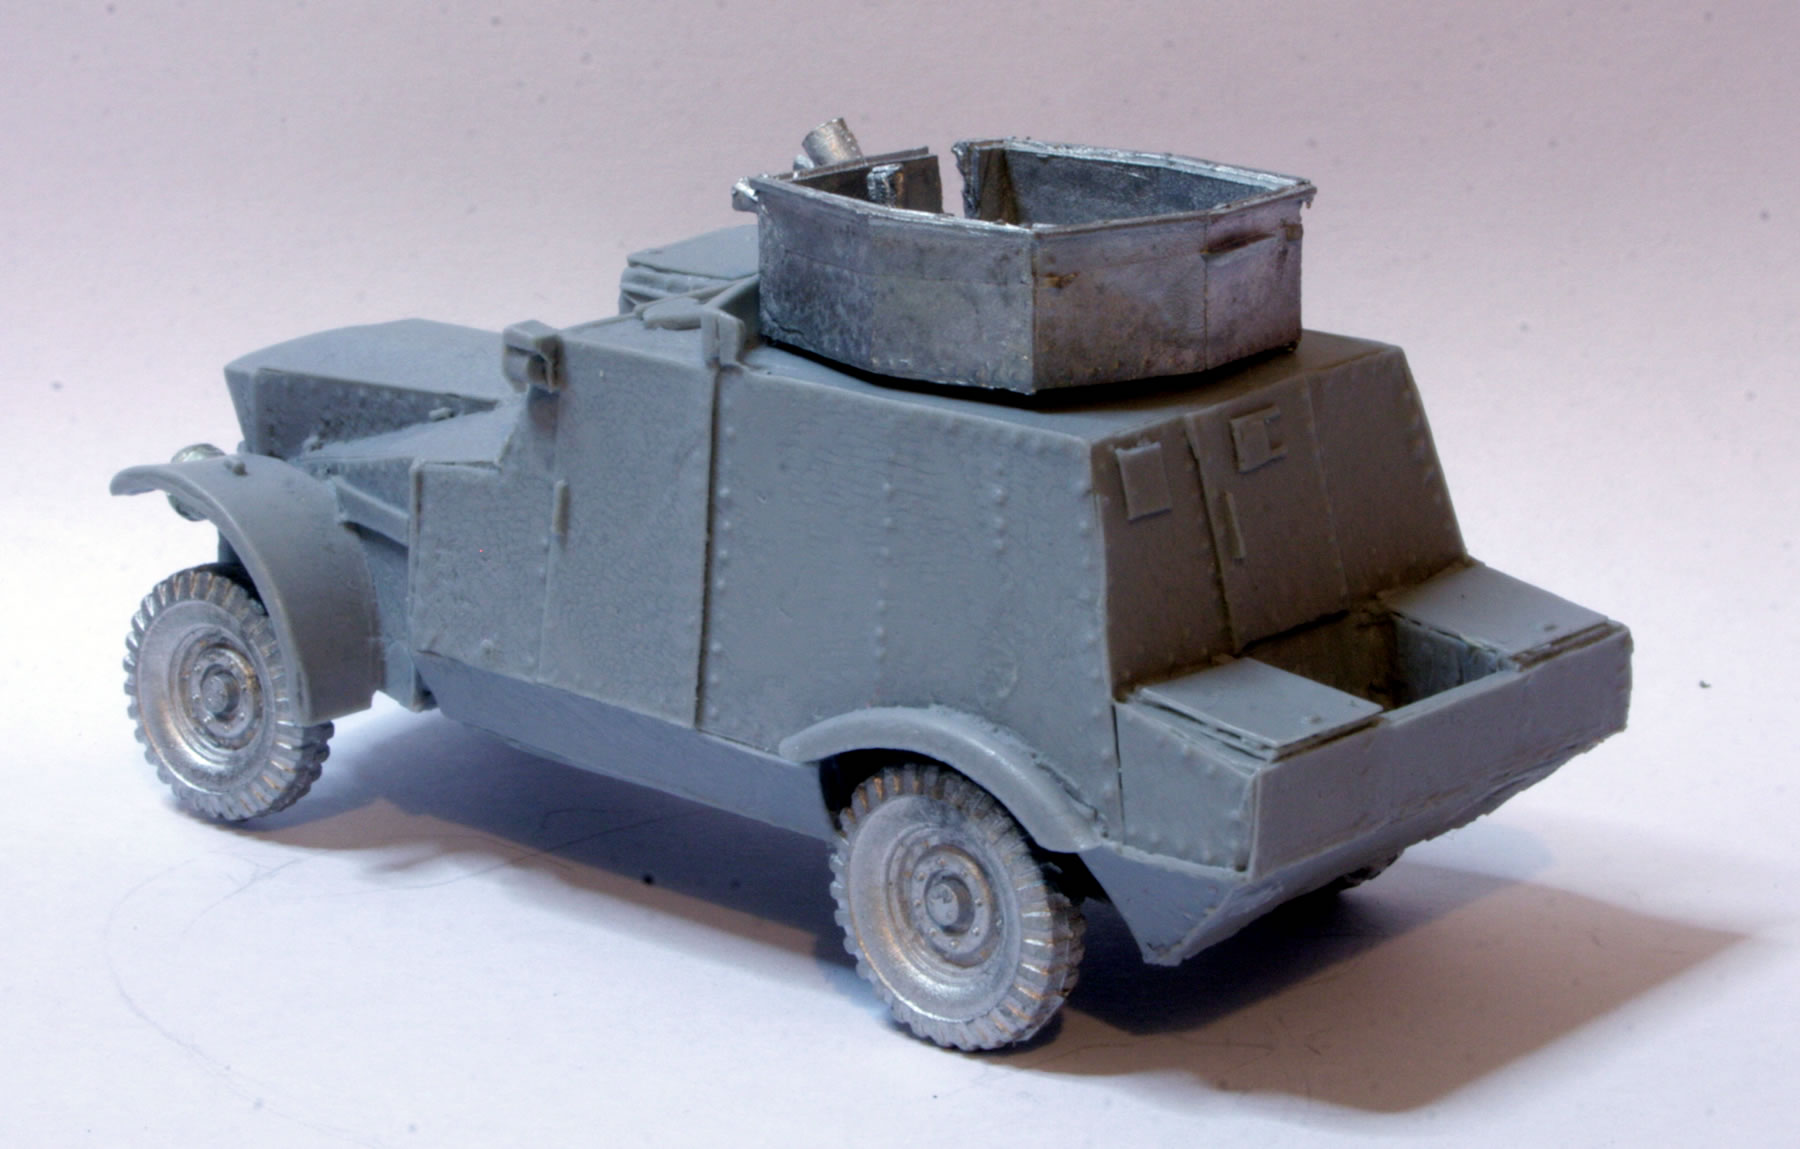
This is a 1920s version of the Armoured Car. The model consists of a resin armoured hull, metal chassis, wheels, turrets and fiddly headlights. The model went together very easily, the parts were a good fit. I glued the armoured car hull to the chassis. The wheels and axels fitted very nicely into the respective holes. I did check a few reference pictures to confirm that I had aligned the hull right and the spare wheels in the right place.

Rolls Royce Armoured Car

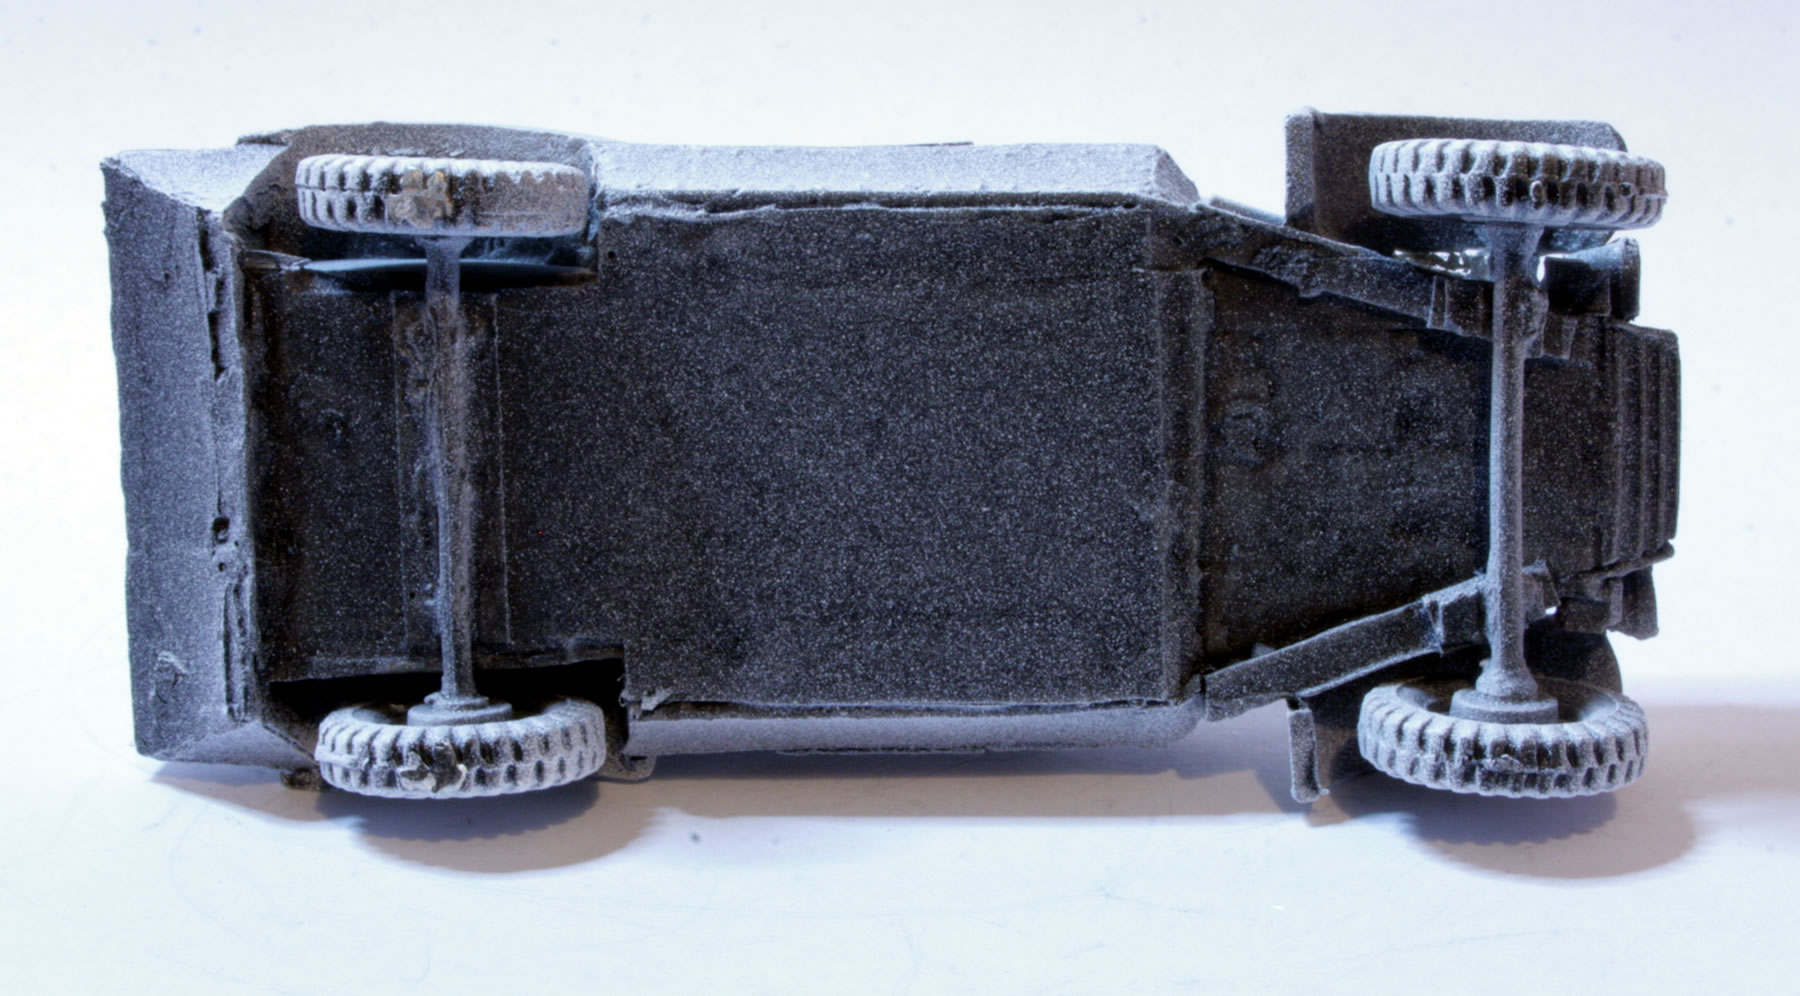
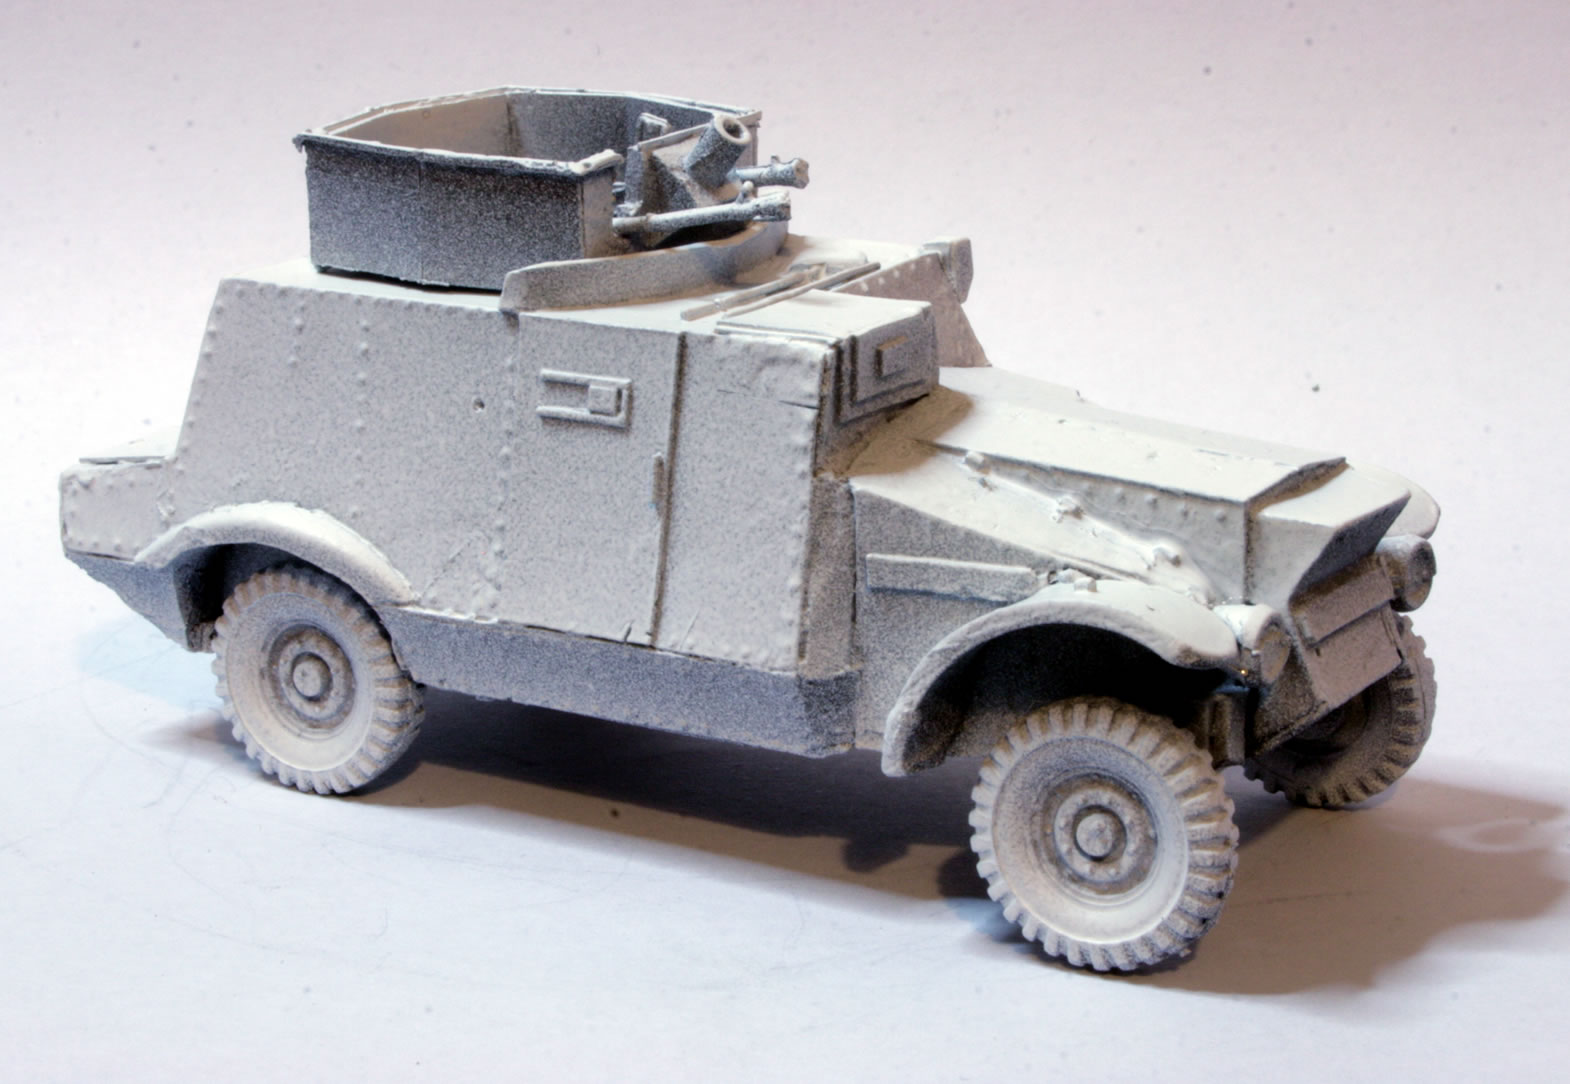
I gave the underside a black undercoat and then undercoated the rest of the model with a white spray.

The model looks rather good, even in just the white undercoat.

See the workbench feature on the Tally Ho Rolls Royce Armoured Car.

See the workbench feature on my 15mm Flames of War Rolls Royce Armoured Car.

Undercoating the Civilian 1000Kg Dropside Truck

For Bolt Action I am in the process of painting some partisans to fight Simon’s Italians. I have been looking for some vehicles and  Warlord Games actually make a fair few civilian models for Bolt Action.

Looking through the Bolt Action website I quite liked the look of the Civilian 1000Kg Dropside Truck. The other civilian vehicles in the French range also look quite useful. In the main I will use them as scenery or as objectives. In the end I got the Warlord Games Bolt Action Citroen Civilian 1000kg Dropside Truck.

Citroen Civilian 1000kg Dropside Truck

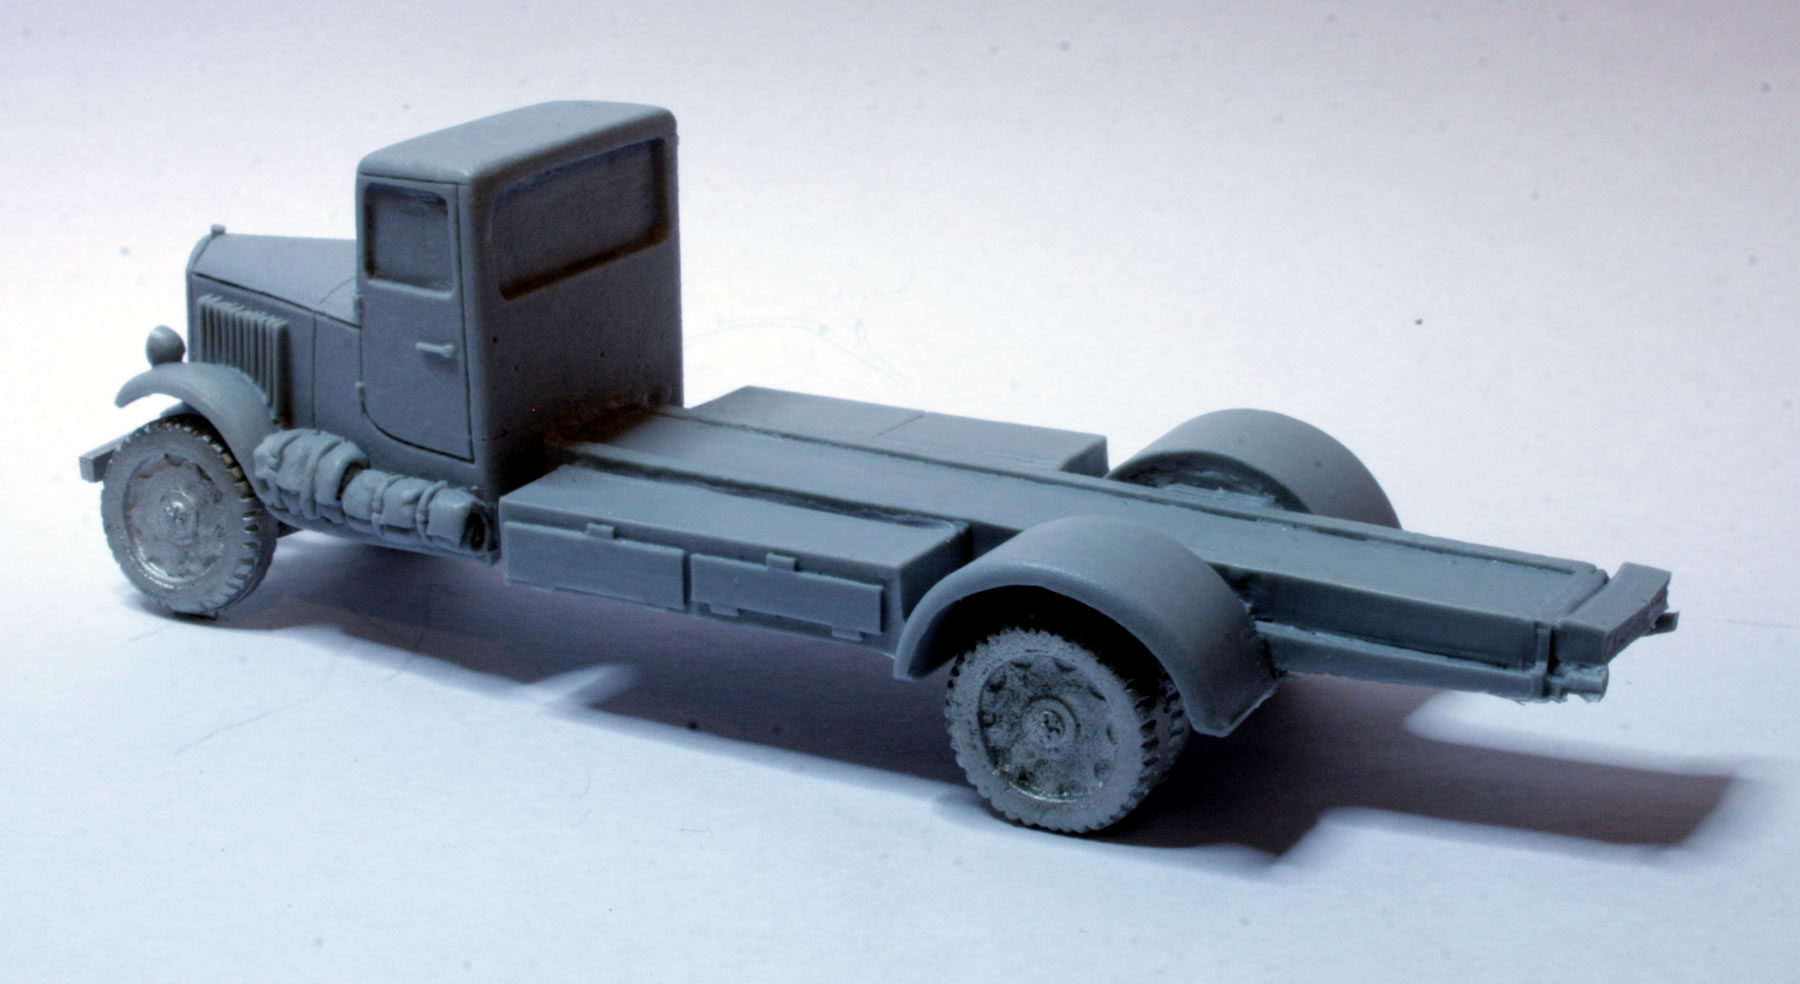
Having constructed the model I gave the underside a black undercoat and then undercoated the rest of the model with a white spray.

I had undercoated the rear part of the truck separately.

I like how the white undercoat brings out the detail in the model

The next stage will be a base coat.

See the workbench feature on the Citroen Civilian 1000Kg Dropside Truck.

Constructing the Civilian 1000Kg Dropside Truck

For Bolt Action I am in the process of painting some partisans to fight Simon’s Italians. I have been looking for some vehicles and  Warlord Games actually make a fair few civilian models for Bolt Action.

Looking through the Bolt Action website I quite liked the look of the Civilian 1000Kg Dropside Truck. The other civilian vehicles in the French range also look quite useful. In the main I will use them as scenery or as objectives. In the end I got the Warlord Games Bolt Action Citroen Civilian 1000kg Dropside Truck.

Citroen Civilian 1000kg Dropside Truck

In a previous blog post I looked at some photographs of the actual vehicle.

Citroen B15

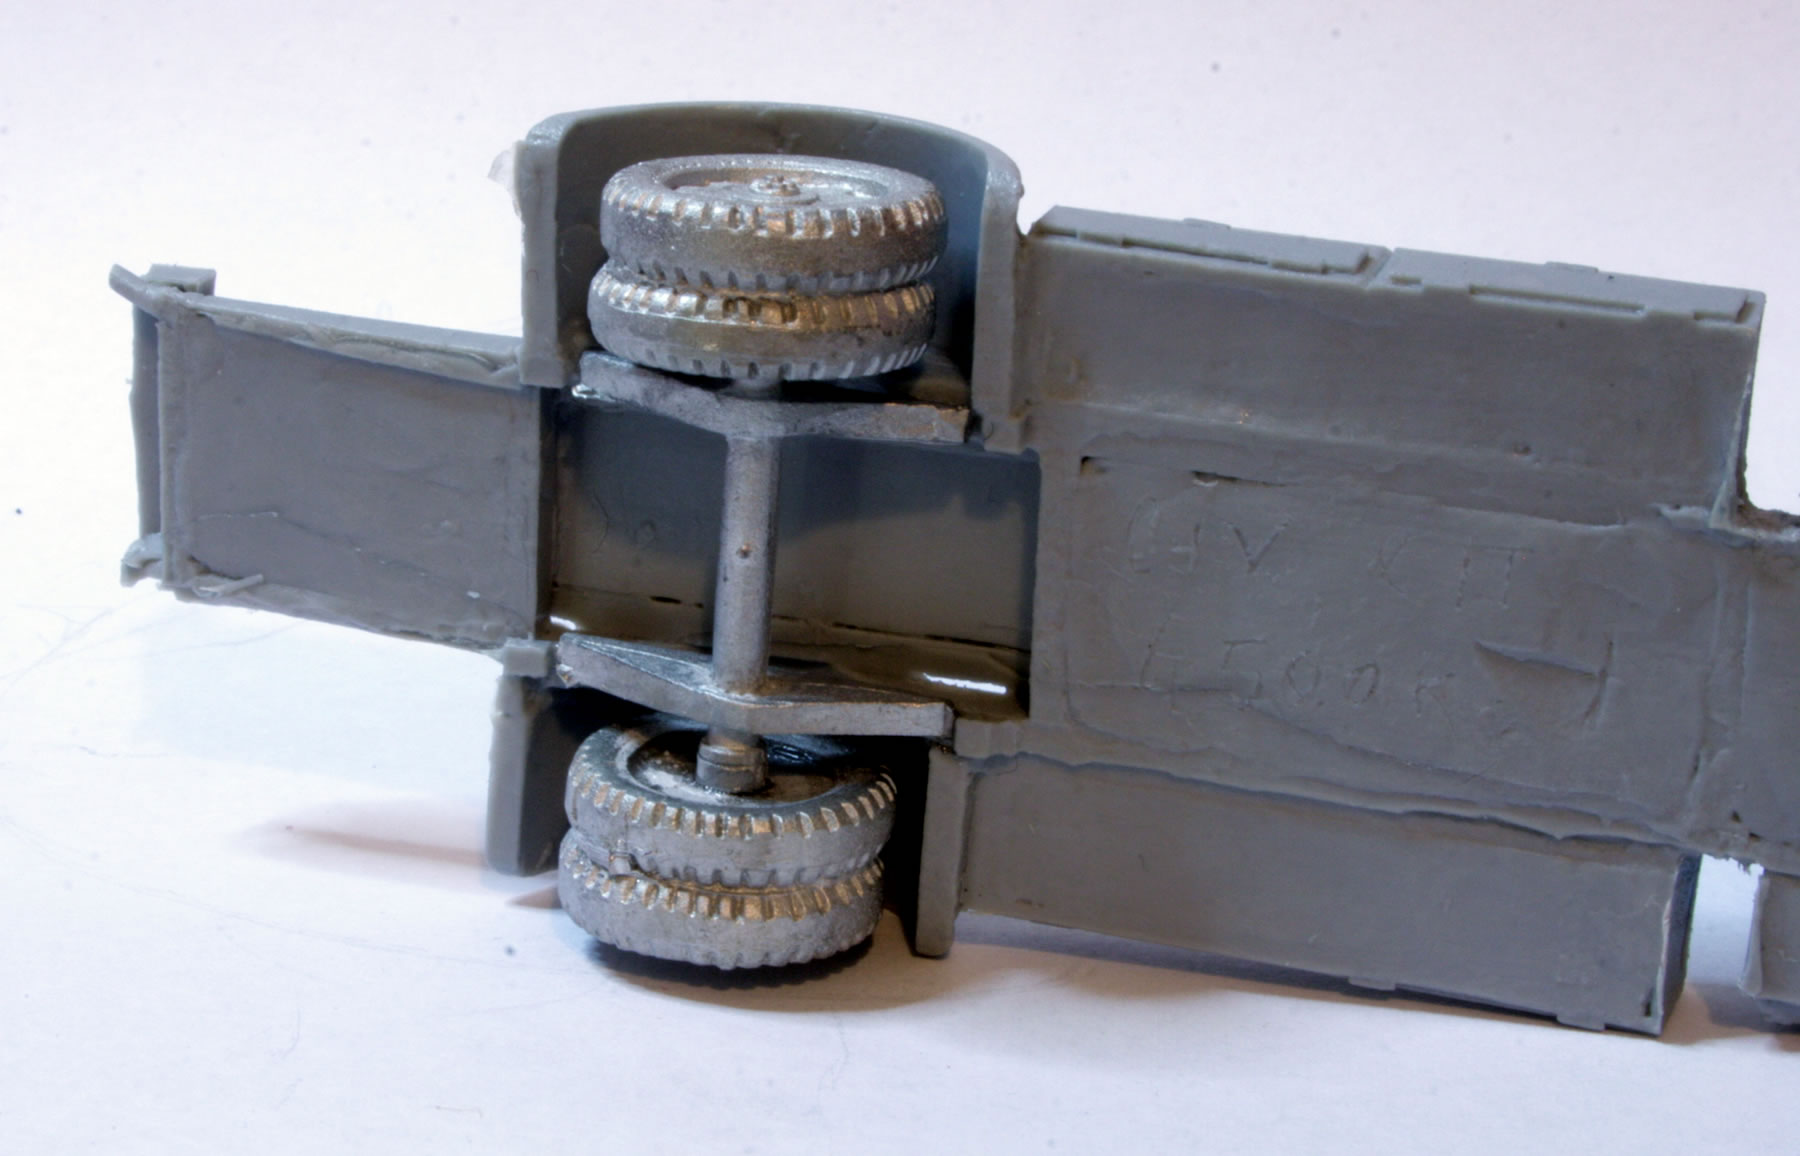
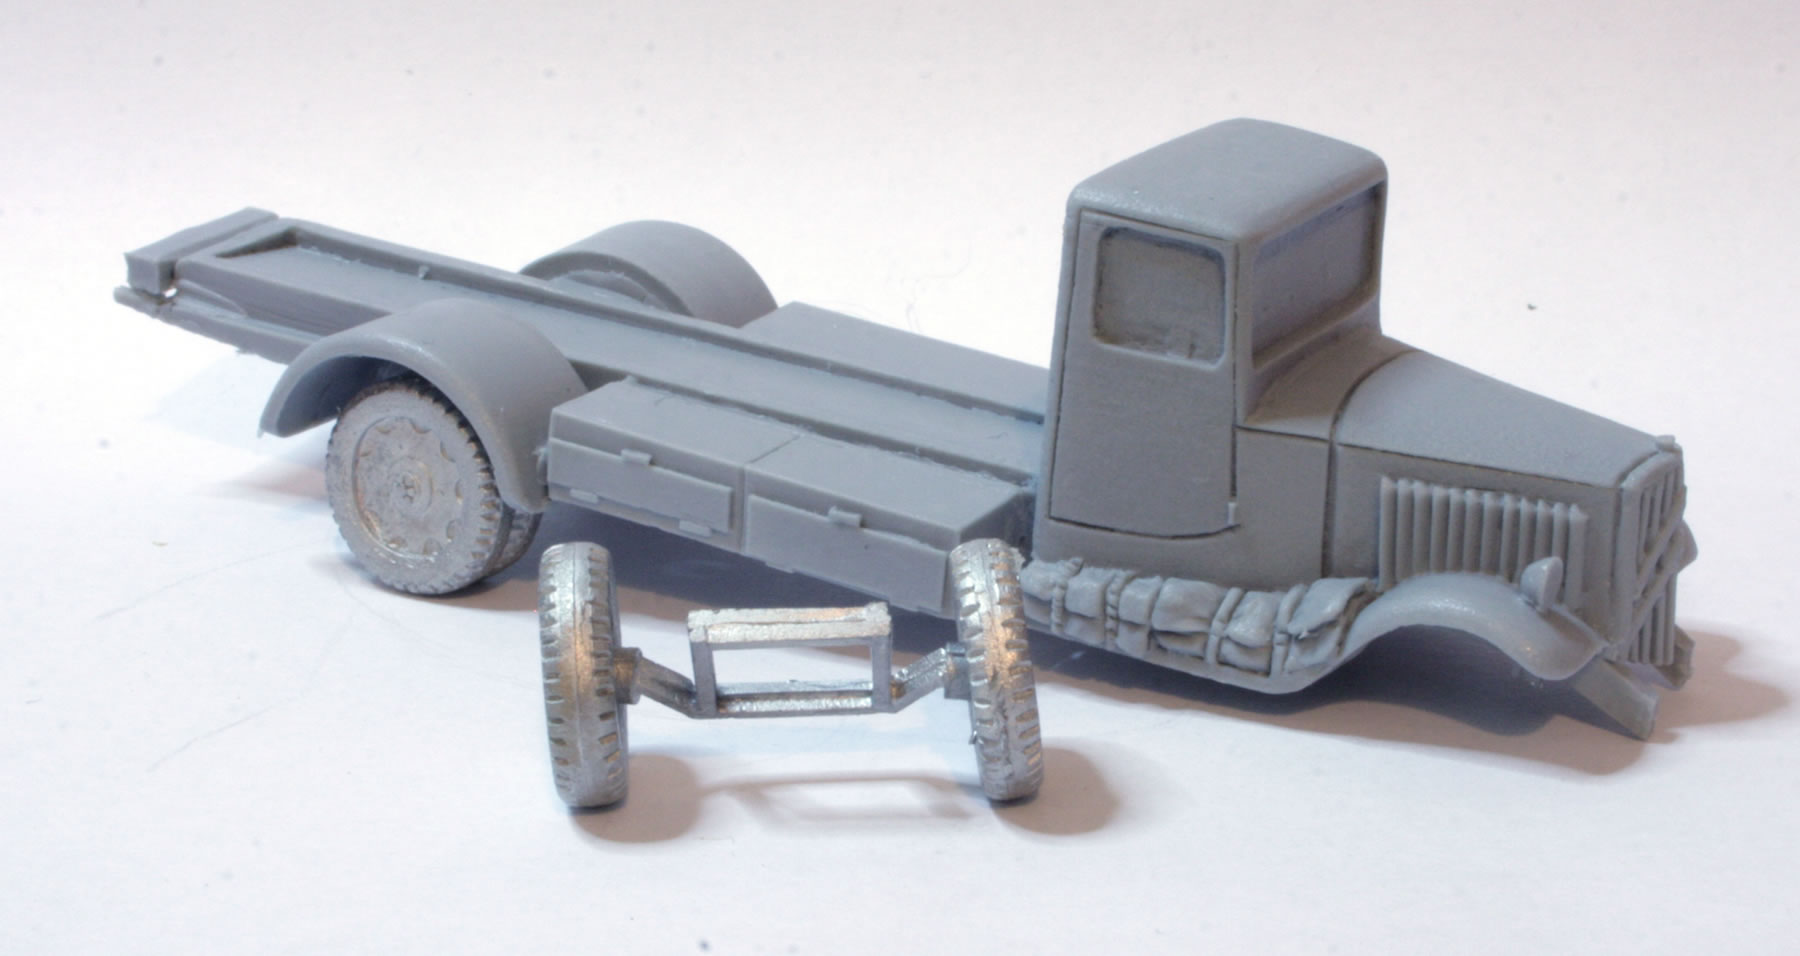
The model comes in a blister pack and comprises a clean resin casting and some metal components. I glued the axels to the underneath of the model.

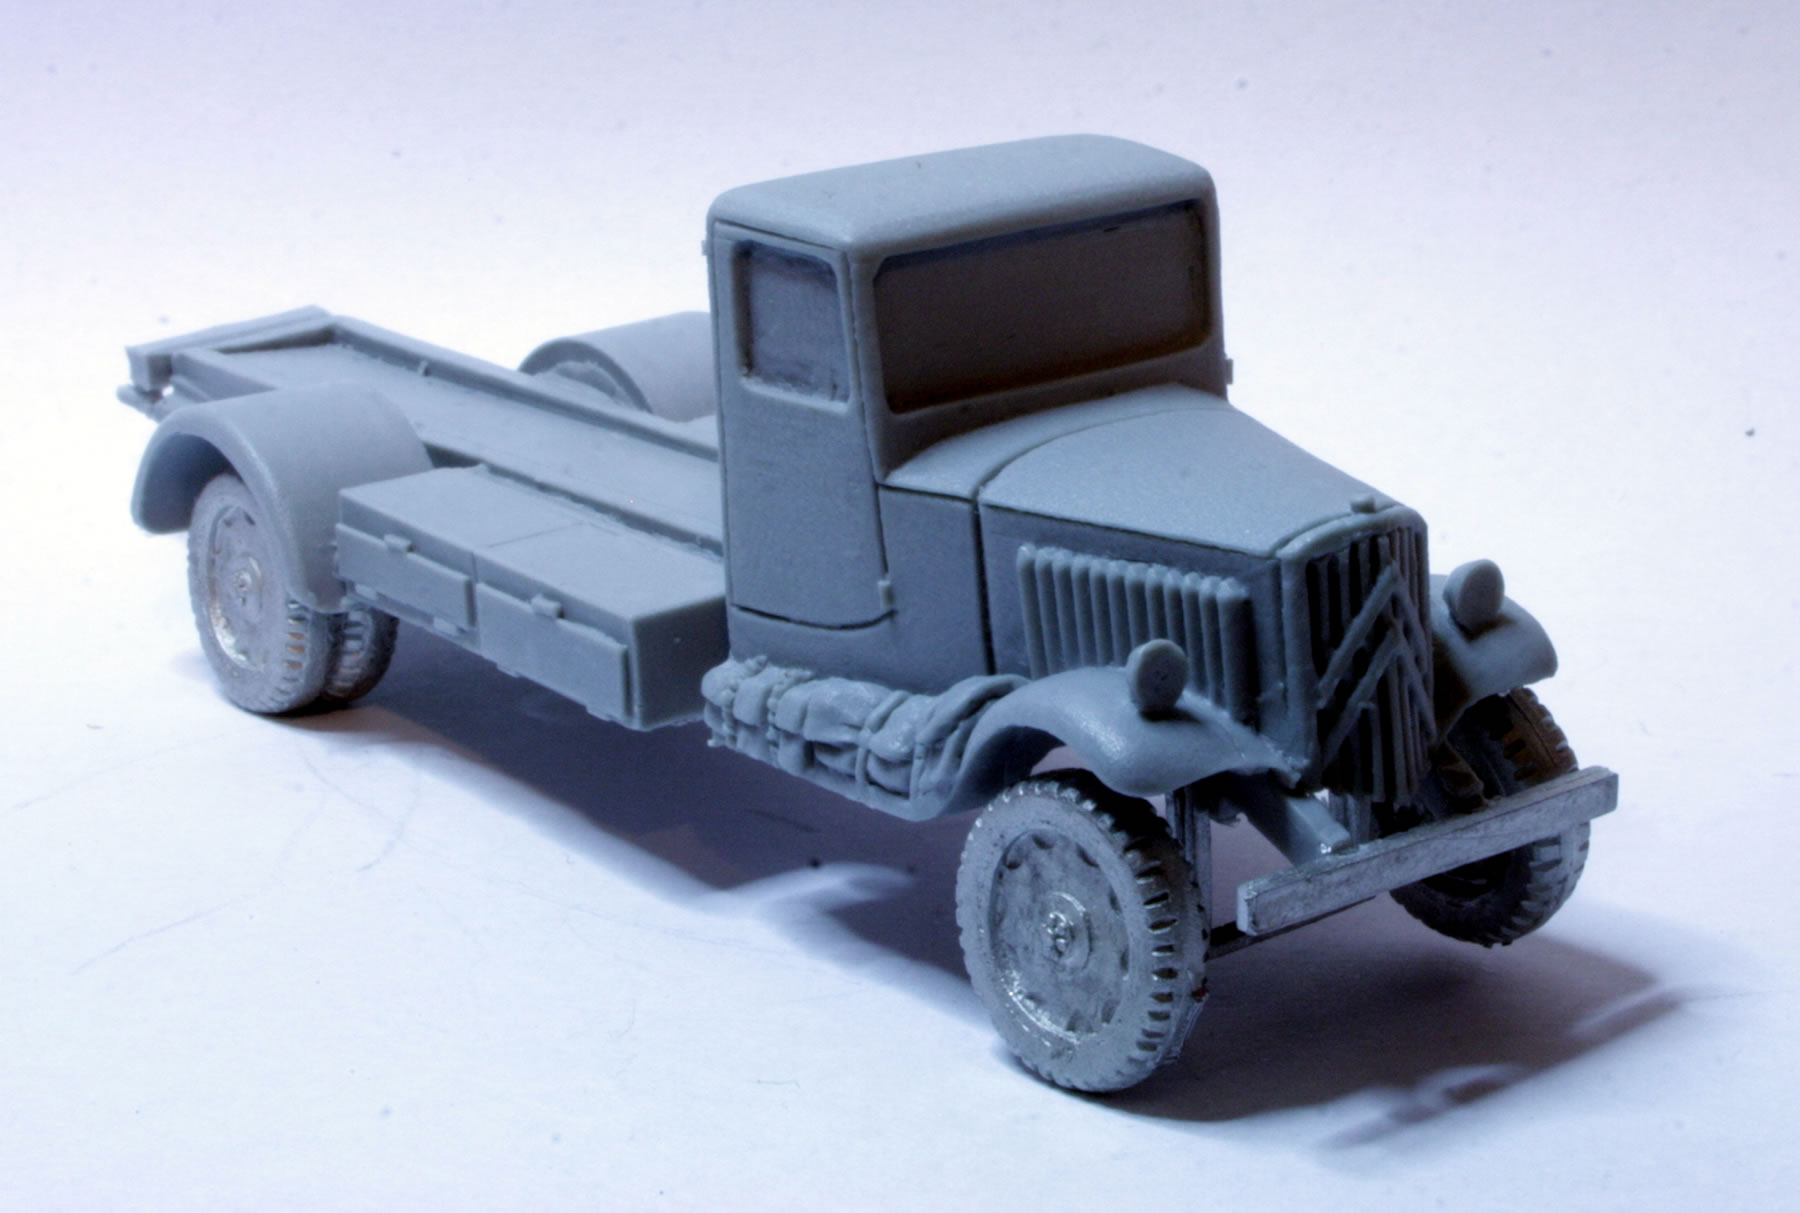
I then glued the wheels to the axels, it was challenging to get them to be even.

I then stuck the headlamps and front bumper.

The next stage will be an undercoat.

See the workbench feature on the Citroen Civilian 1000Kg Dropside Truck.

Forge World Ork Weapons

I have been digging through my workbench models and realised I had a fair few Forge World Ork Weapons.

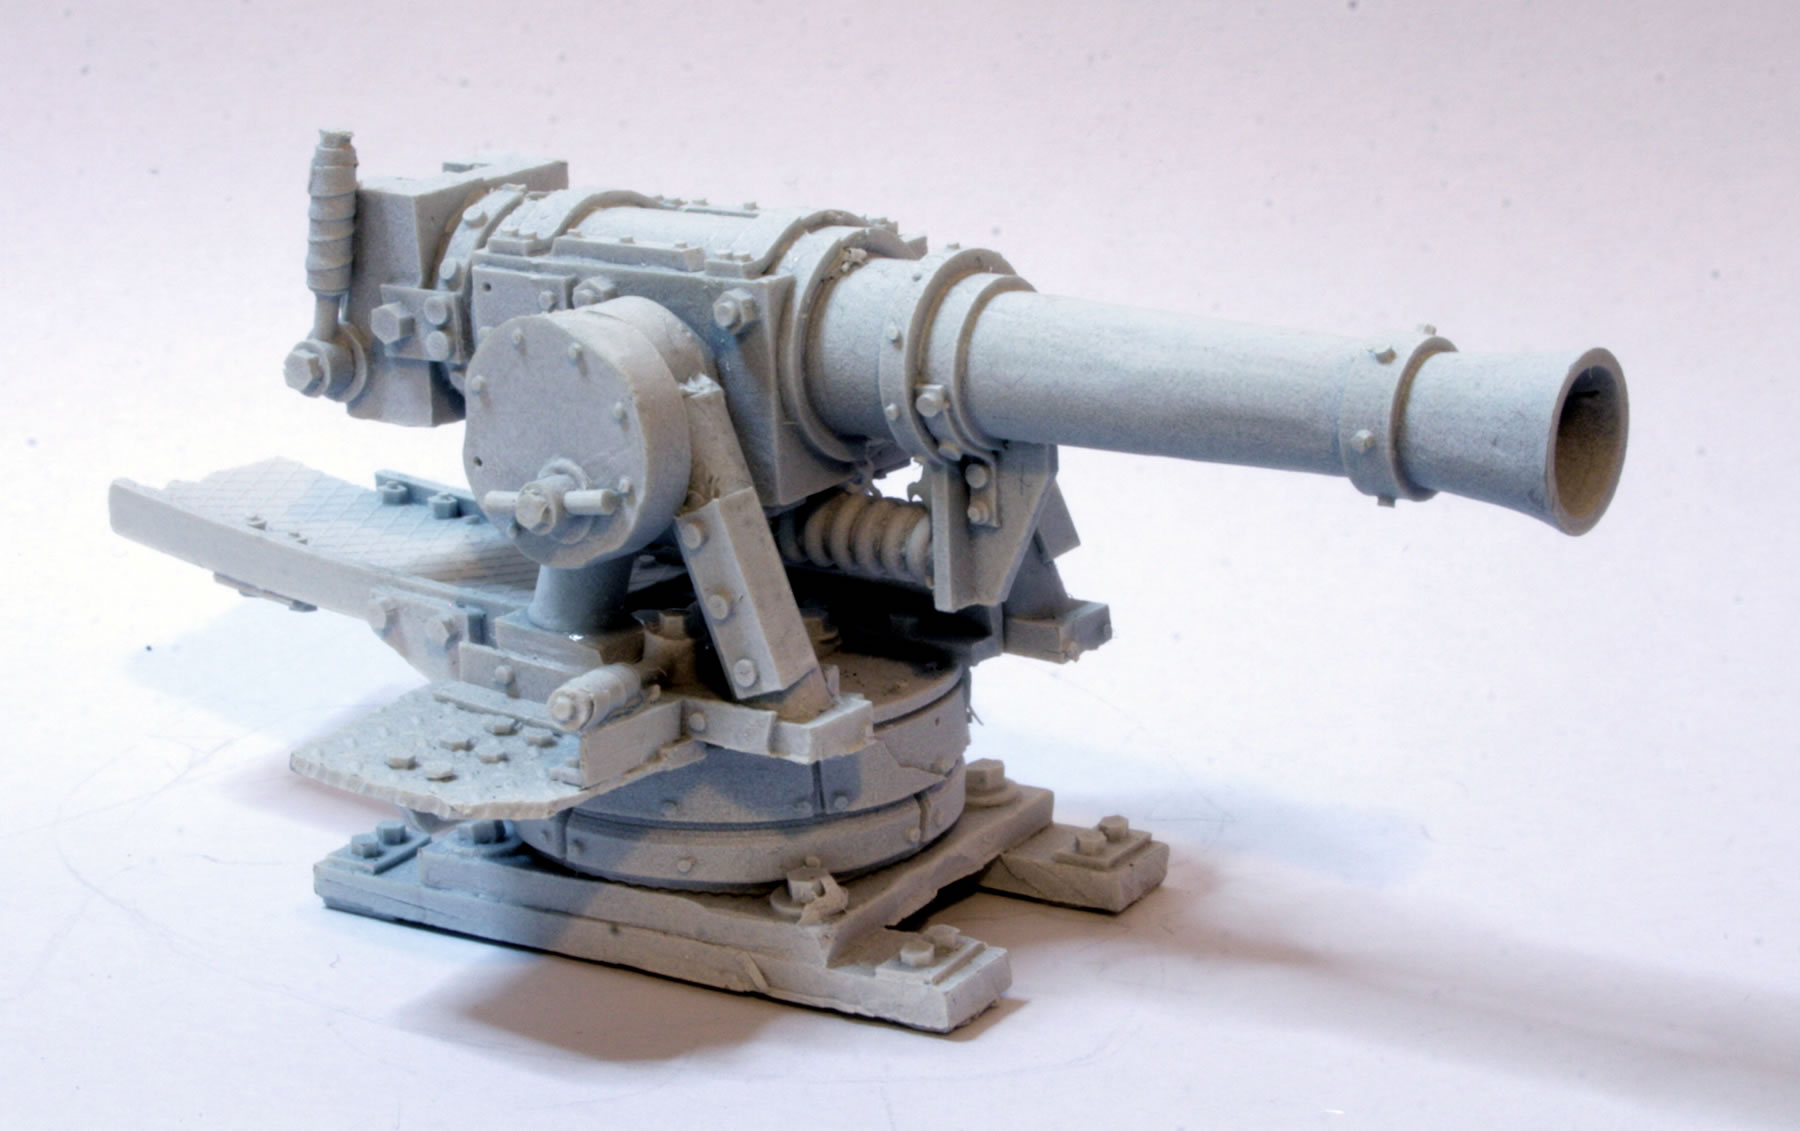
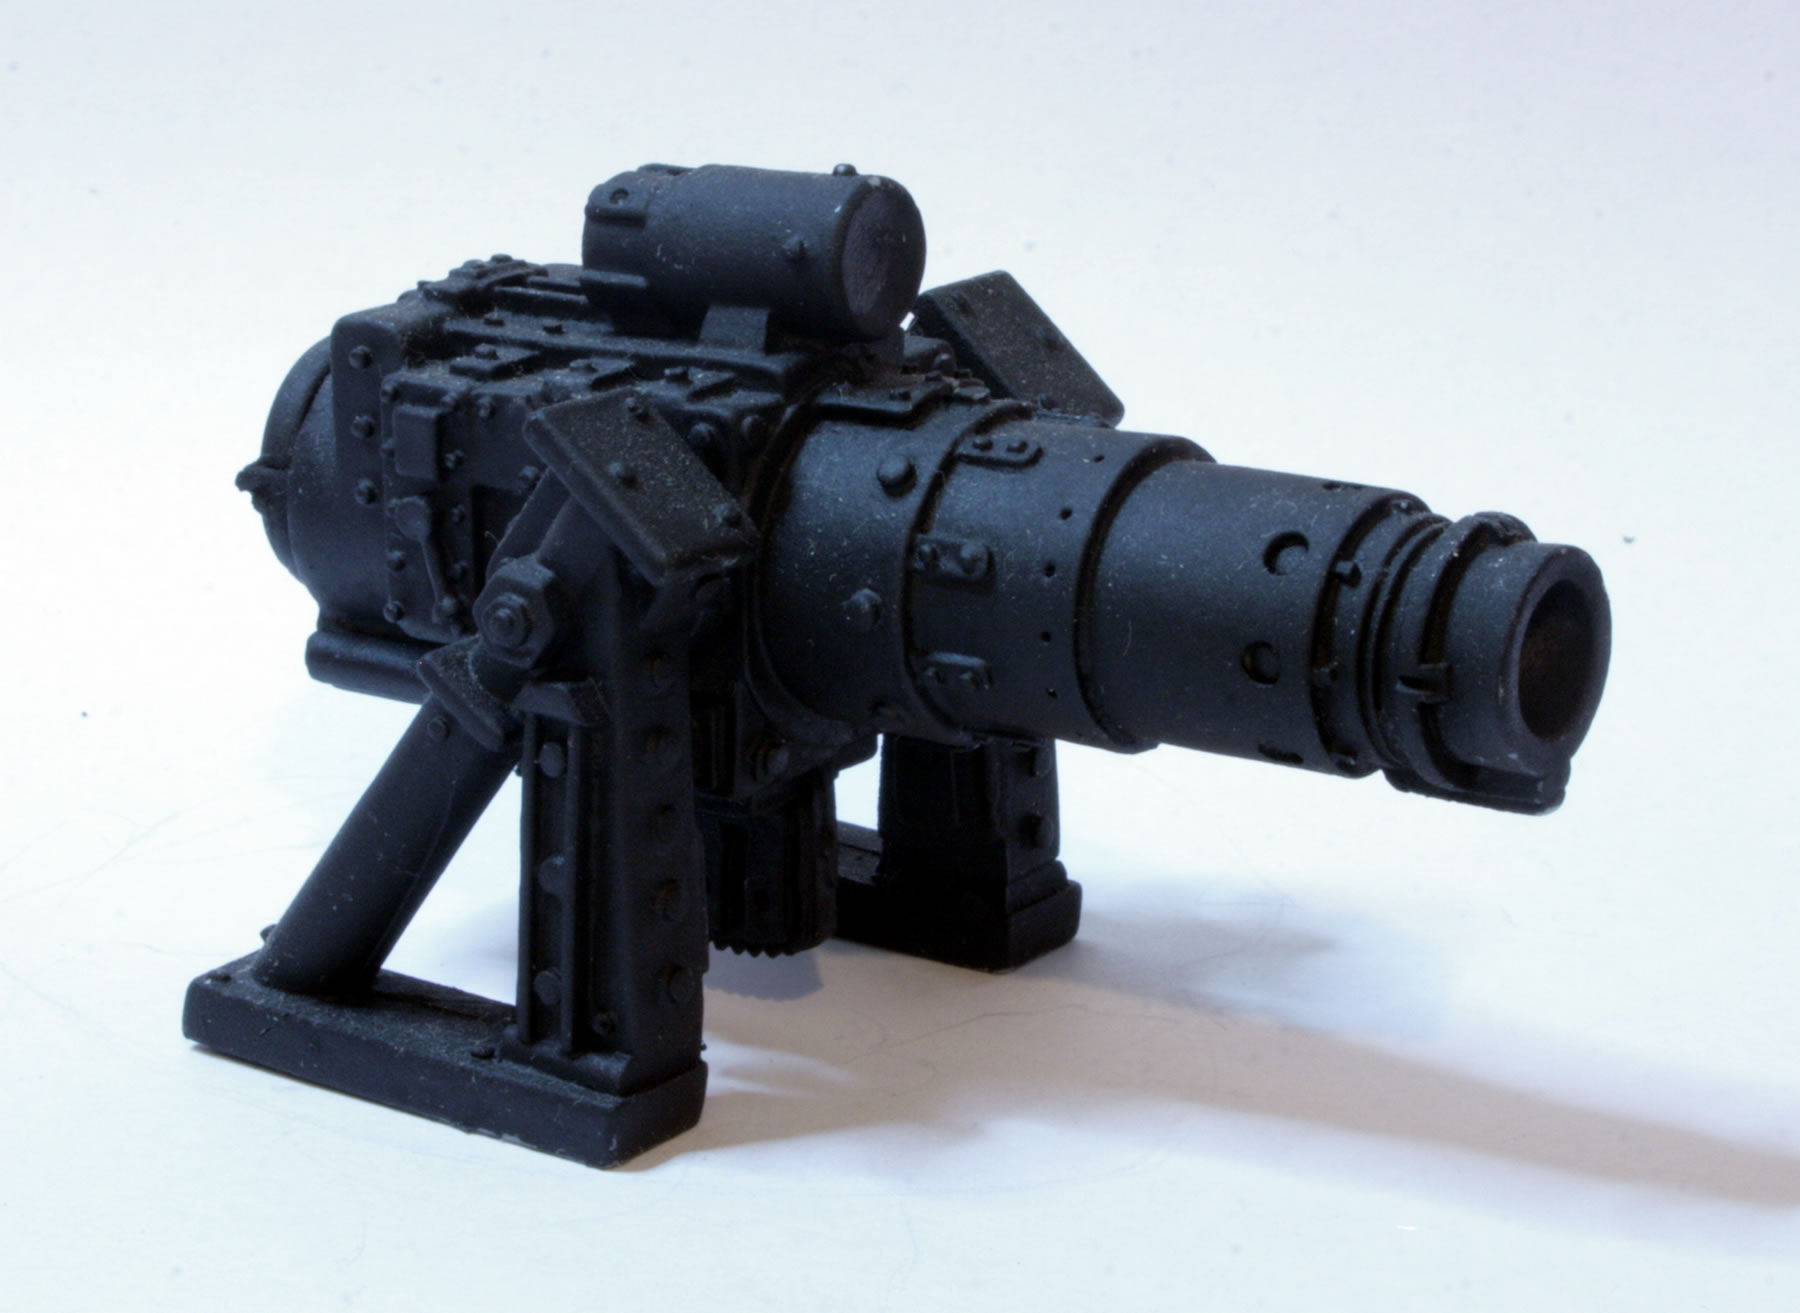
This is the KillKannon, it fires either large bore frag rounds to use against enemy infantry, or a solid shell for destroying tanks.

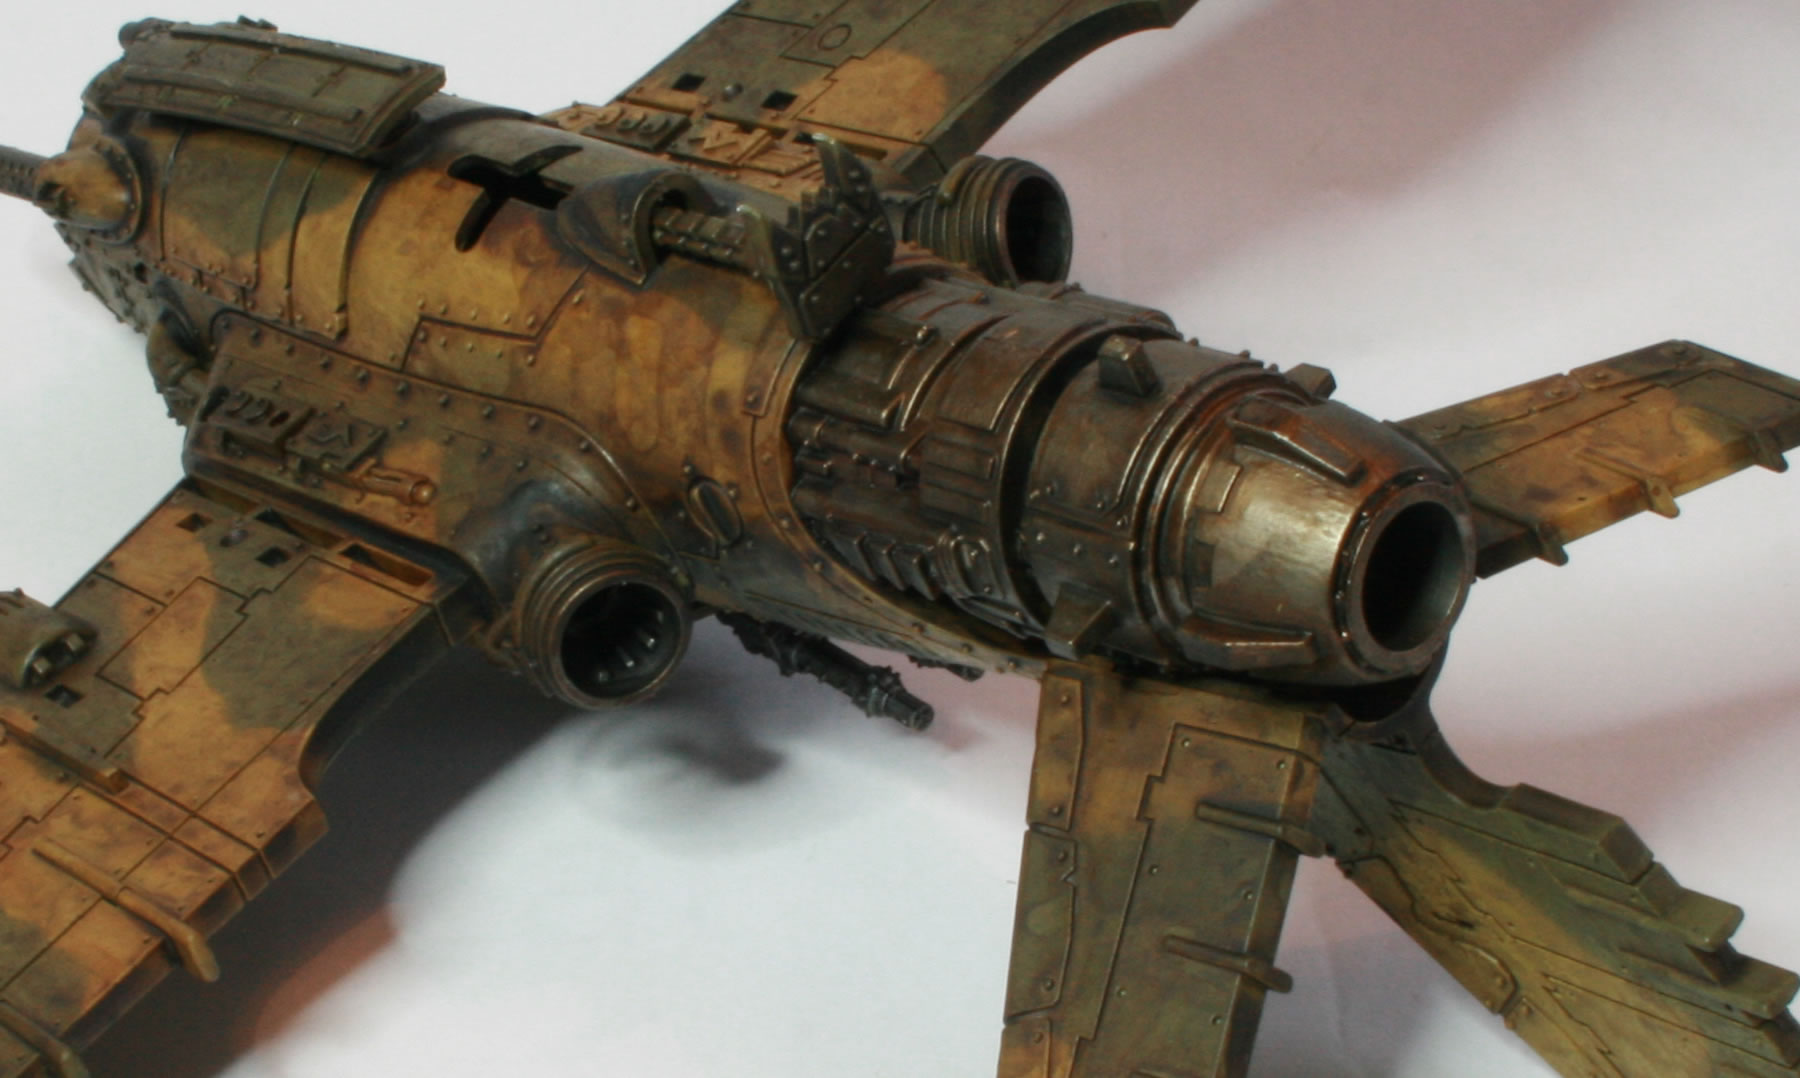
I would usually paint this black and then drybrush, but I am now thinking I might more go along the same technique I used on my Ork Fight Bommer jet engine.

I have both volumes of the Forge World Masterclass books and they are a real inspiration and full of ideas and techniques for painting and weathering models. I wanted to try and emulate some of those techniques on the engine of the Ork Bommer.

I have been using a combination of inks and shades on a base coat of Bolt Gun Metal.

See the workbench feature on the Forgeworld Ork KilKannon.

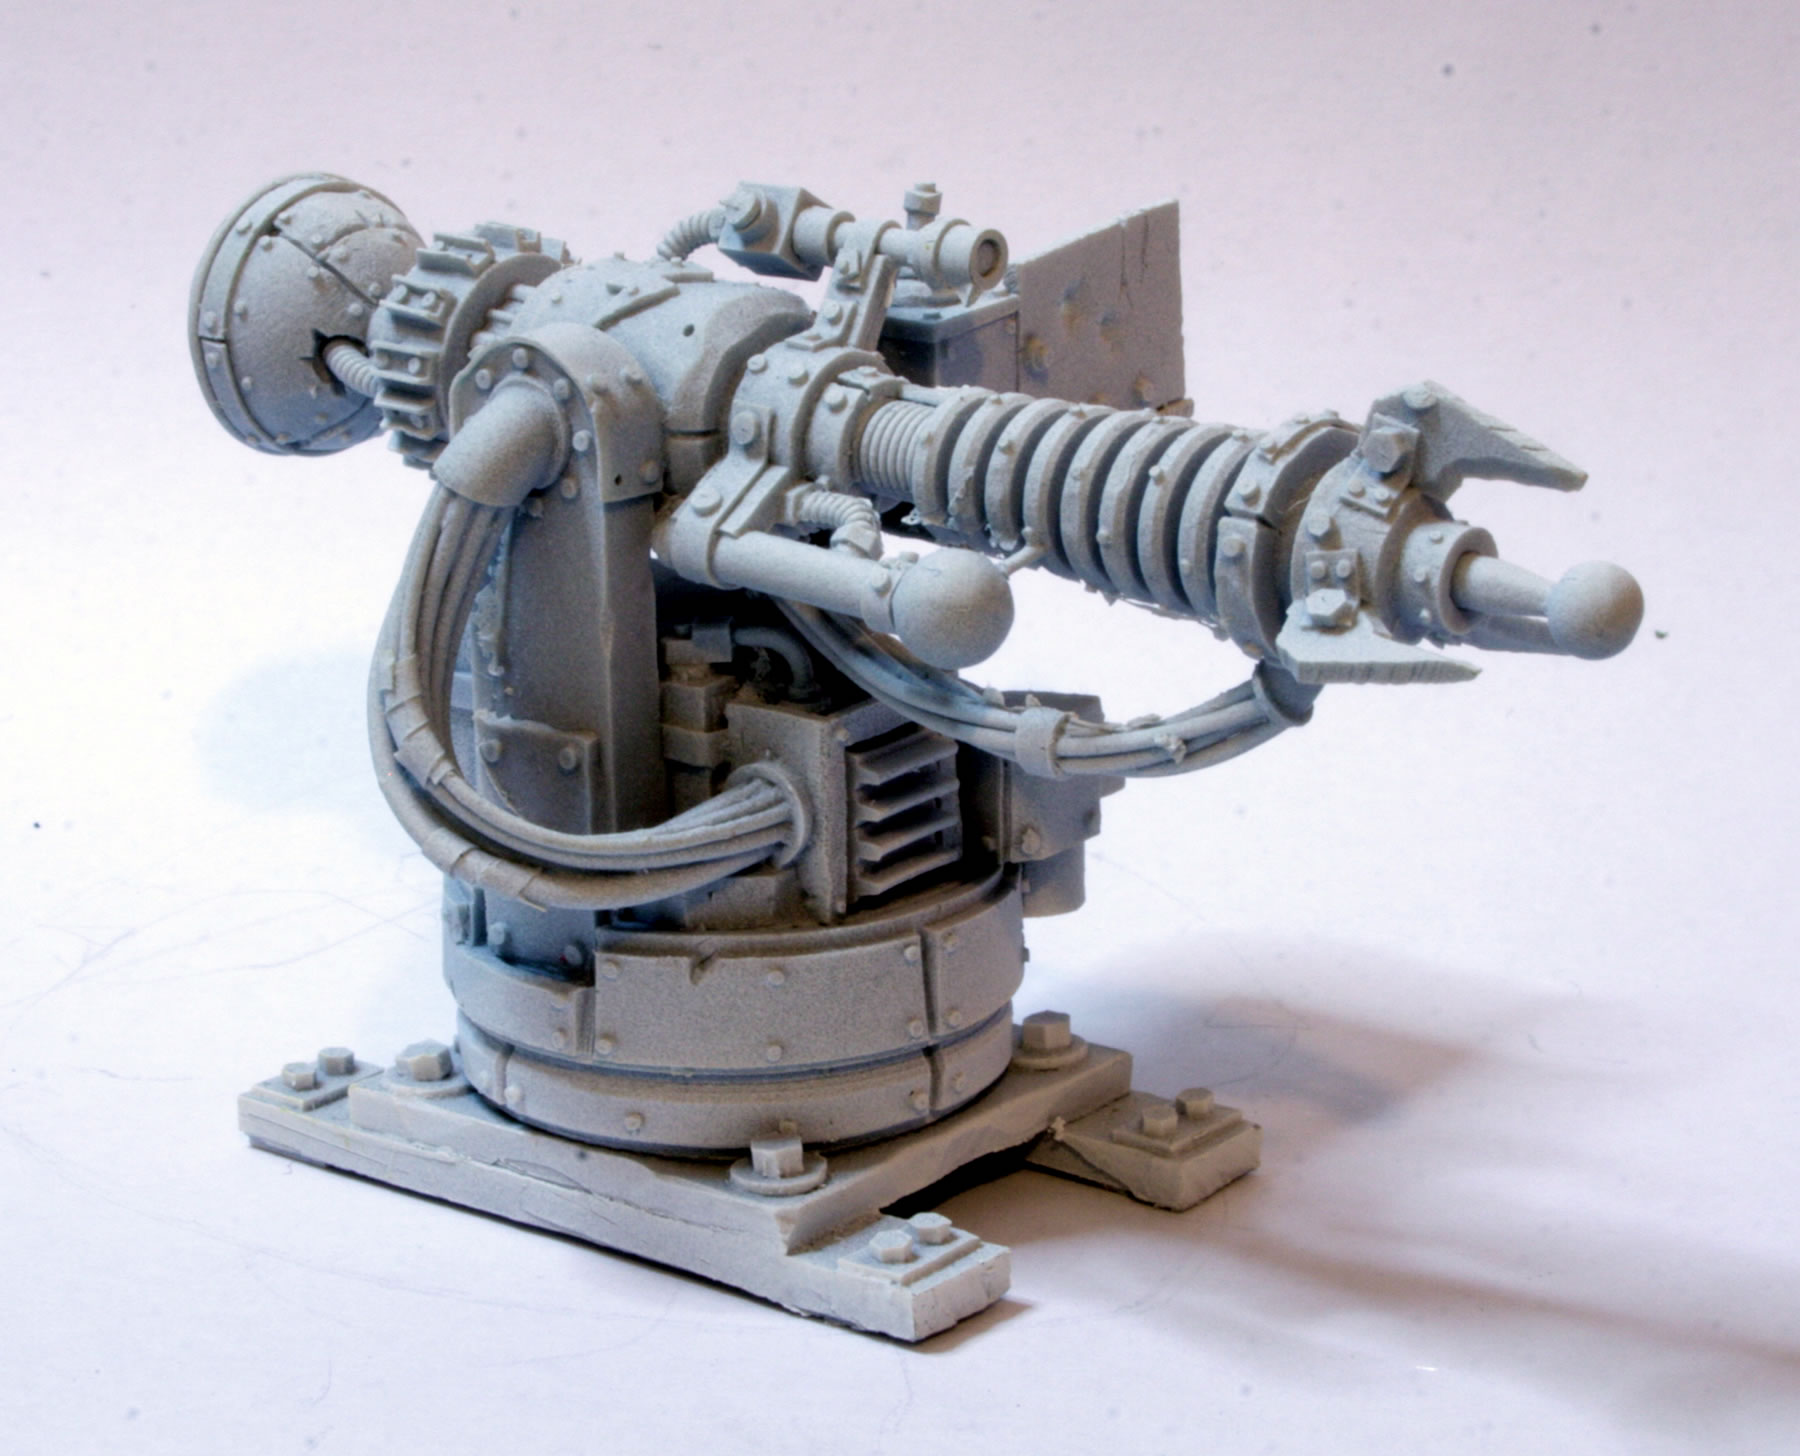
I also have the Big Zzappa.

See the workbench feature on the Forgeworld Ork Big Zzappa.

I thought I had painted the Kannon, but then realised I had two, one which came with my Gunwagon.

See the workbench feature on the Forgeworld Ork Kannon.

I also found the Supa Kannon and the Flakk Gun  as well, but they are still in their plastic bags waiting to be constructed.

Mark IX Beast, or that tank from Indiana Jones!

Tank from Indiana Jones and the Last Crusade

Probably my favourite Indiana Jones film is Indiana Jones and the Last Crusade. The combination of archaeology, mythology, nazi soldiers and lots of wonderful pulp action. Watching it recently I was reminded of that tank!

Though we know it wasn’t real, and though we know that there was no actual historical version of it; I am sure most of us who have thought about recreating the Indiana Jones films on the table have wanted to use that tank.

Yes the tank from Indiana Jones and the Last Crusade.

It appears at first glance to be a Mark VIII with a turret, the reality was that it was built specially for the film and was built up from an excavator.

Mechanical effects supervisor George Gibbs said this movie was the most difficult one of his career. He visited a museum to negotiate renting a small French World War I tank, but decided he wanted to make one. The tank was based on the tank Mark VIII, which was thirty-six feet (eleven meters) long, and weighed twenty-five tons. Gibbs built the tank over the framework of a twenty-five ton excavator, and added 6.4 ton tracks, that were driven by two automatic hydraulic pumps, each connected to a Range Rover V8 engine. Gibbs built the tank from steel, rather than aluminum or fiberglass, because it would allow the realistically suspensionless vehicle to endure the rocky surfaces. Unlike its historical counterpart, which had only the two side guns, the tank had a turret gun added as well. It took four months to build, and was transported to Almería on a Short Belfast plane, and then a low loader truck.

Tank from Indiana Jones and the Last Crusade

I wrote back in 2012 about finding a 28mm model of the tank. I did think about buying it back then, but put off my purchase. I thought back then it was a Copplestone Castings model, the reality was that it wasn’t from Copplestone Castings.

So it appeared that it wasn’t even a Copplestones Castings, but was by the Honourable Lead Boiler Suit Company (HLBSCo), alas that company no longer is around.

Sometimes you should buy things when you see them and not wait…

So it was originally designed and manufactured by the Honourable Lead Boiler Suit Company (HLBSCo) they were small and relatively new. I even remember discussing licensing the models for a commercial version of Tally Ho!

So I did some searching on the Google and found that the tank is available today with the other HLBSCo models from Empress Miniatures.

Well I made the leap and have ordered the tank from Empress Miniatures. This is the photograph of the model on their website.

Mark IX Beast

Now just waiting for it to arrive.

Undercoating the Citroen Civilian 4,500kg Truck with Canopy

I have been reflecting and looking at some of the models on my workbench and making progress on them.

I have the Bolt Action Citroen Civilian 4,500kg Truck with Canopy. Citroen made many of these trucks in the 1930s and 1940s.

Citroen Civilian 4,500kg Truck with Canopy

The pack contains a resin and metal kit, this is a nice clean casting.

Having constructed the model kit, I then gave the model an undercoat. I undercoated the underside with black paint and then gave the model an overall white undercoat.

I like how the white undercoat brings out the detail in the model. I also gave the canopy a white undercoat.

I then noticed something…

There was a huge piece of resin sticking out the side, where the mould was filled with resin. I will need to clean that off before I start painting.

The next stage is to start painting the model.

See the workbench feature on the Citroen Civilian 4,500kg Truck with Canopy.

Constructing the Citroen Civilian 4,500kg Truck with Canopy

I have been reflecting and looking at some of the models on my workbench and making progress on them.

In addition to the Bolt Action Citroen Civilian 1000kg Dropside Truck I also bought a slightly bigger truck, the Citroen Civilian 4,500kg Truck with Canopy.

Citroen made many of these trucks in the 1930s and 1940s.

Citroen Civilian 4,500kg Truck with Canopy

The pack contains a resin and metal kit, this is a nice clean casting.

Citroen Civilian 4,500kg Truck with Canopy

The rear wheels were quite easy to secure to the rear of the truck. There is an axel and two sets of wheels.

The front axel, I really had no idea how this was secured and the photographs on the Warlord Games site didn’t help that much. So I first stuck the front wheels to the front axel and then checked how the wheels would fit on the underside.

I was then able to secure the front axel to the underside of the truck, getting it to sit flat was challenging. I also stuck the front bumper on as well.

The next stage is to give the model an undercoat.

See the workbench feature on the Citroen Civilian 4,500kg Truck with Canopy.

More work on the Rukkatrukk Squigbuggy

The Rukkatrukk Squigbuggy is a type of Ork attack vehicle. The first Rukkatrukk Squigbuggies were invented by enterprising Snakebites in order to feed Speed Freeks on the move. Mobile pens full of edible squigs, the vehicles kept pace with the warband’s Warbikers, buggies and Trukks while their grinning crews hawked their wares at the tops of their lungs.
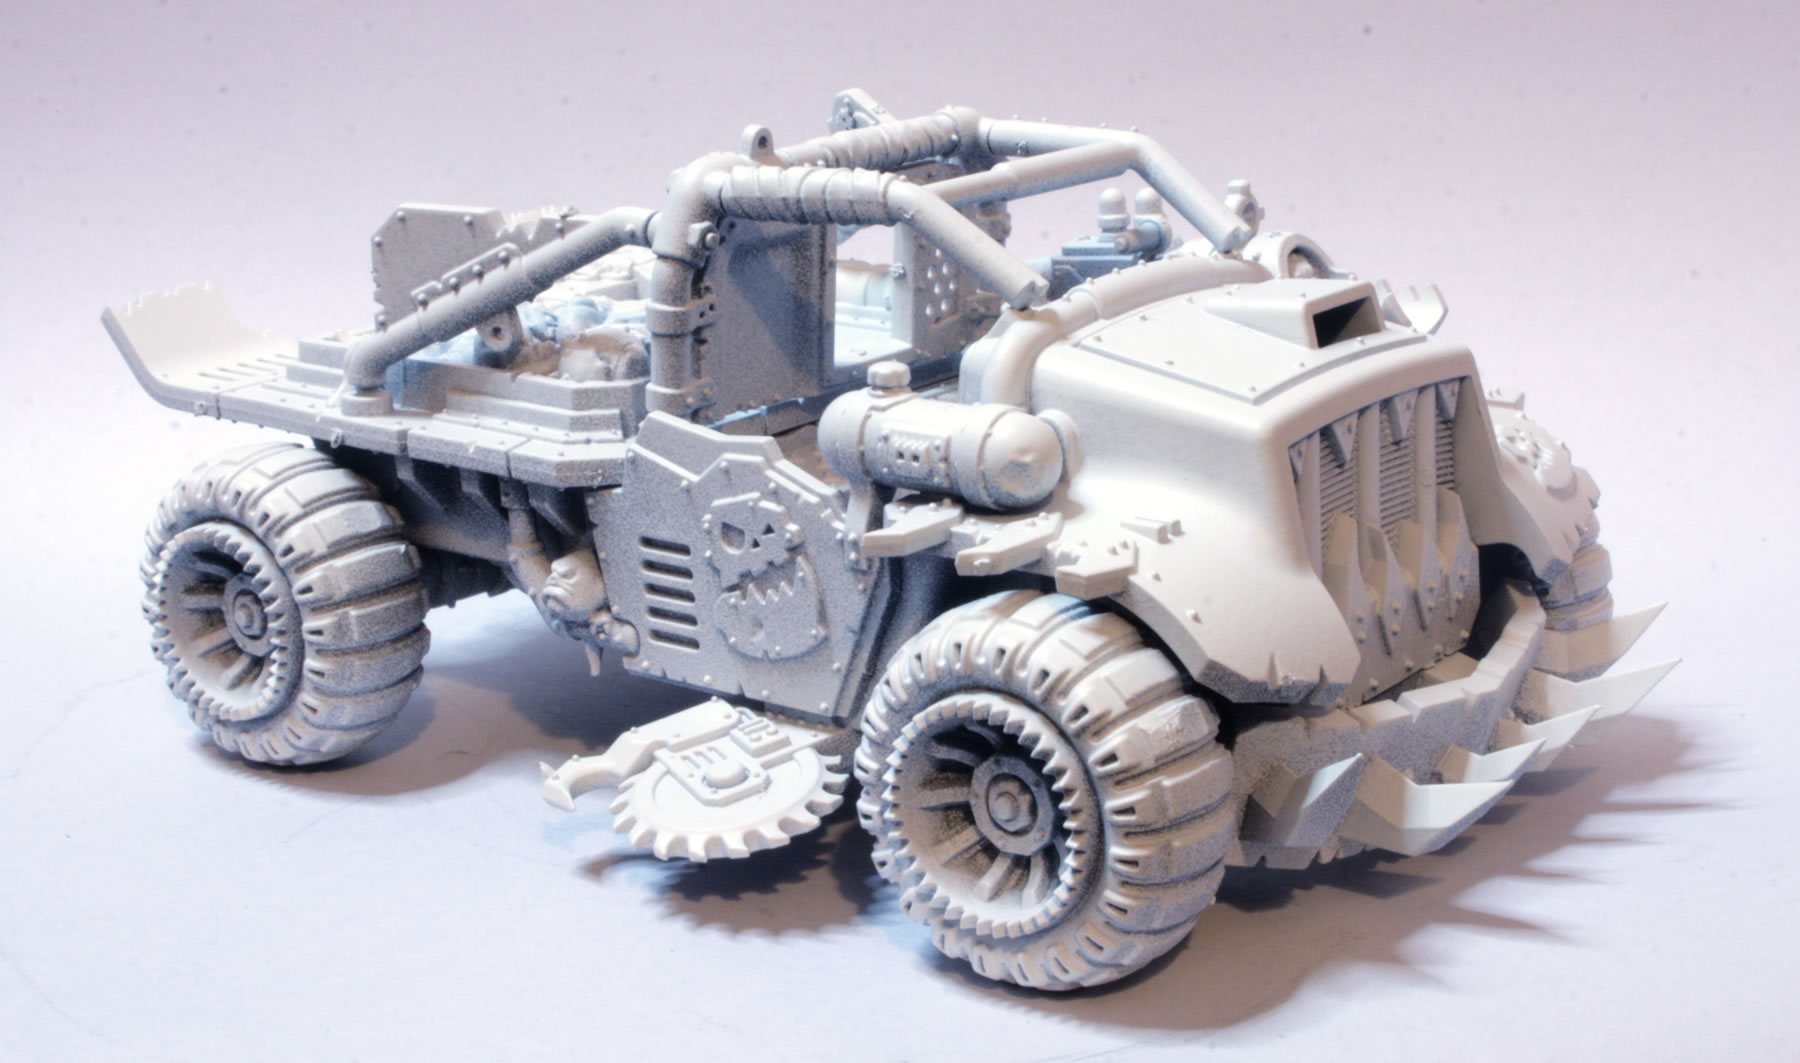
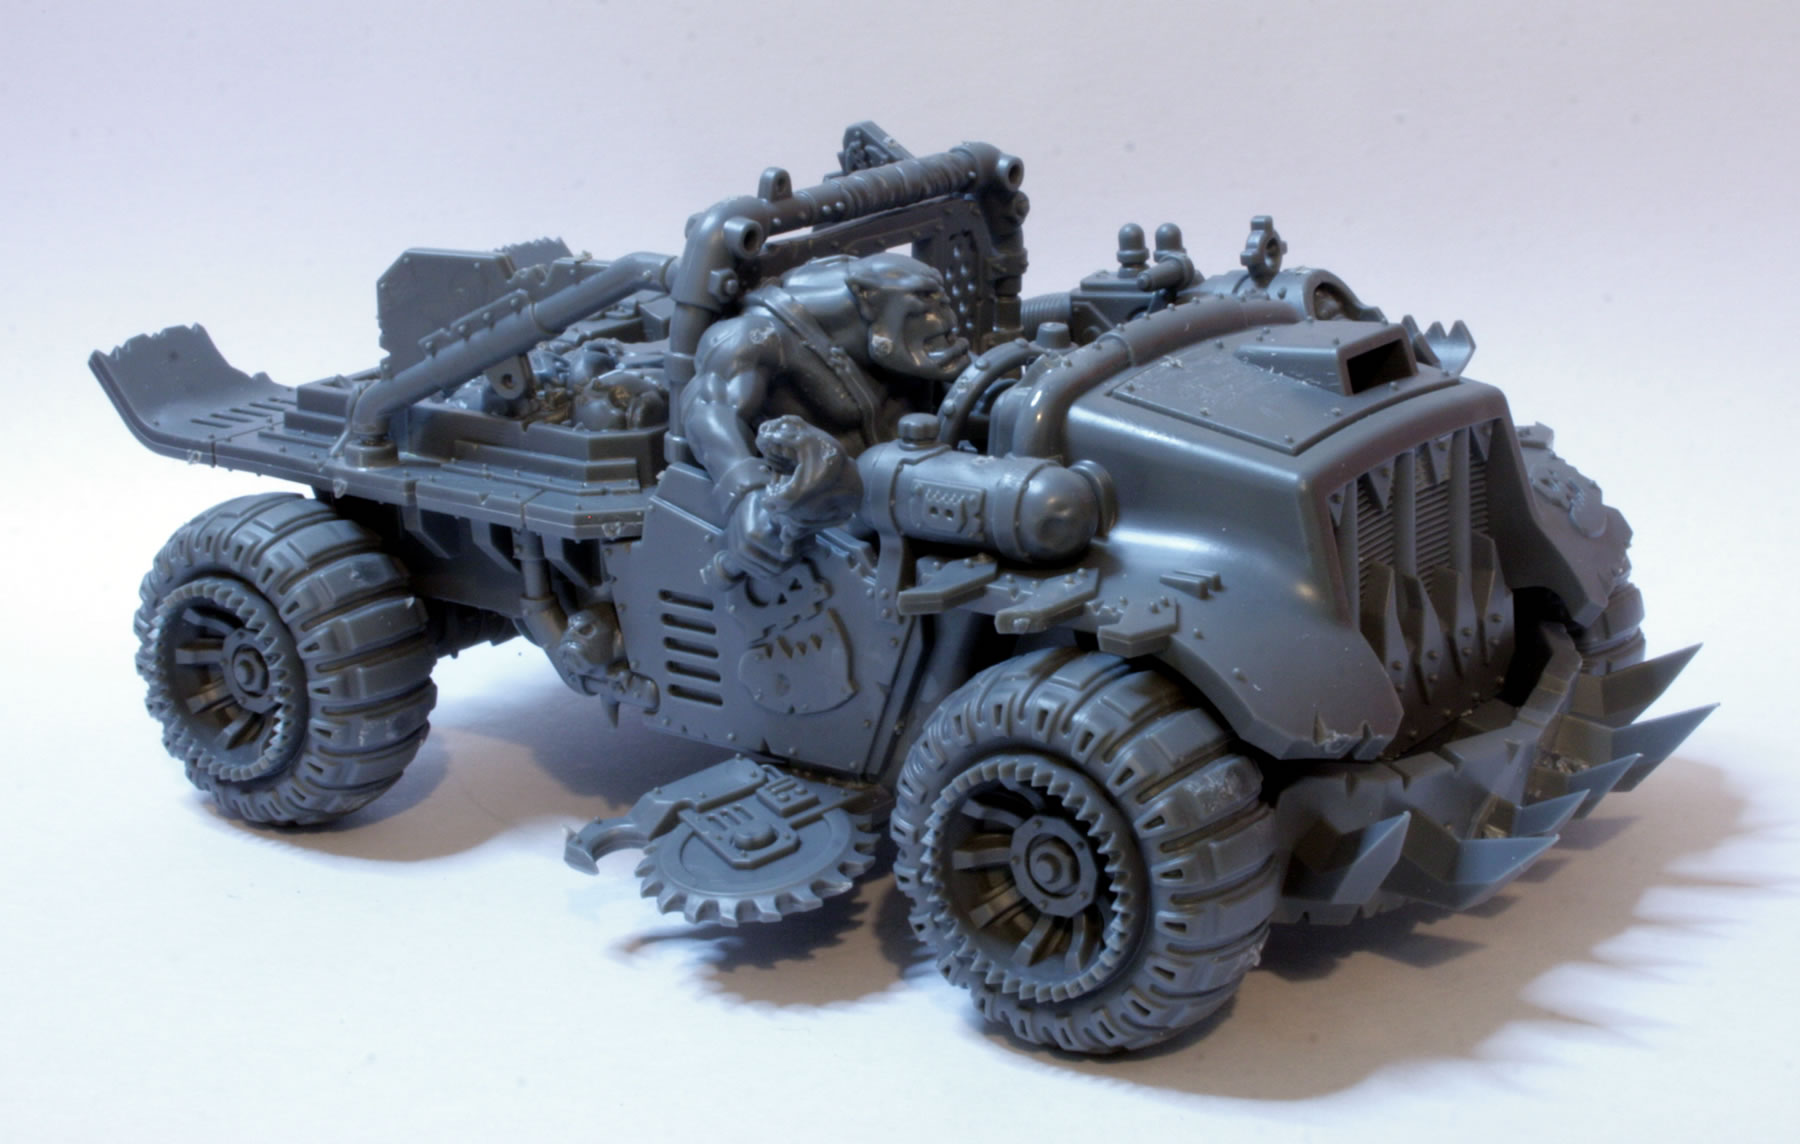
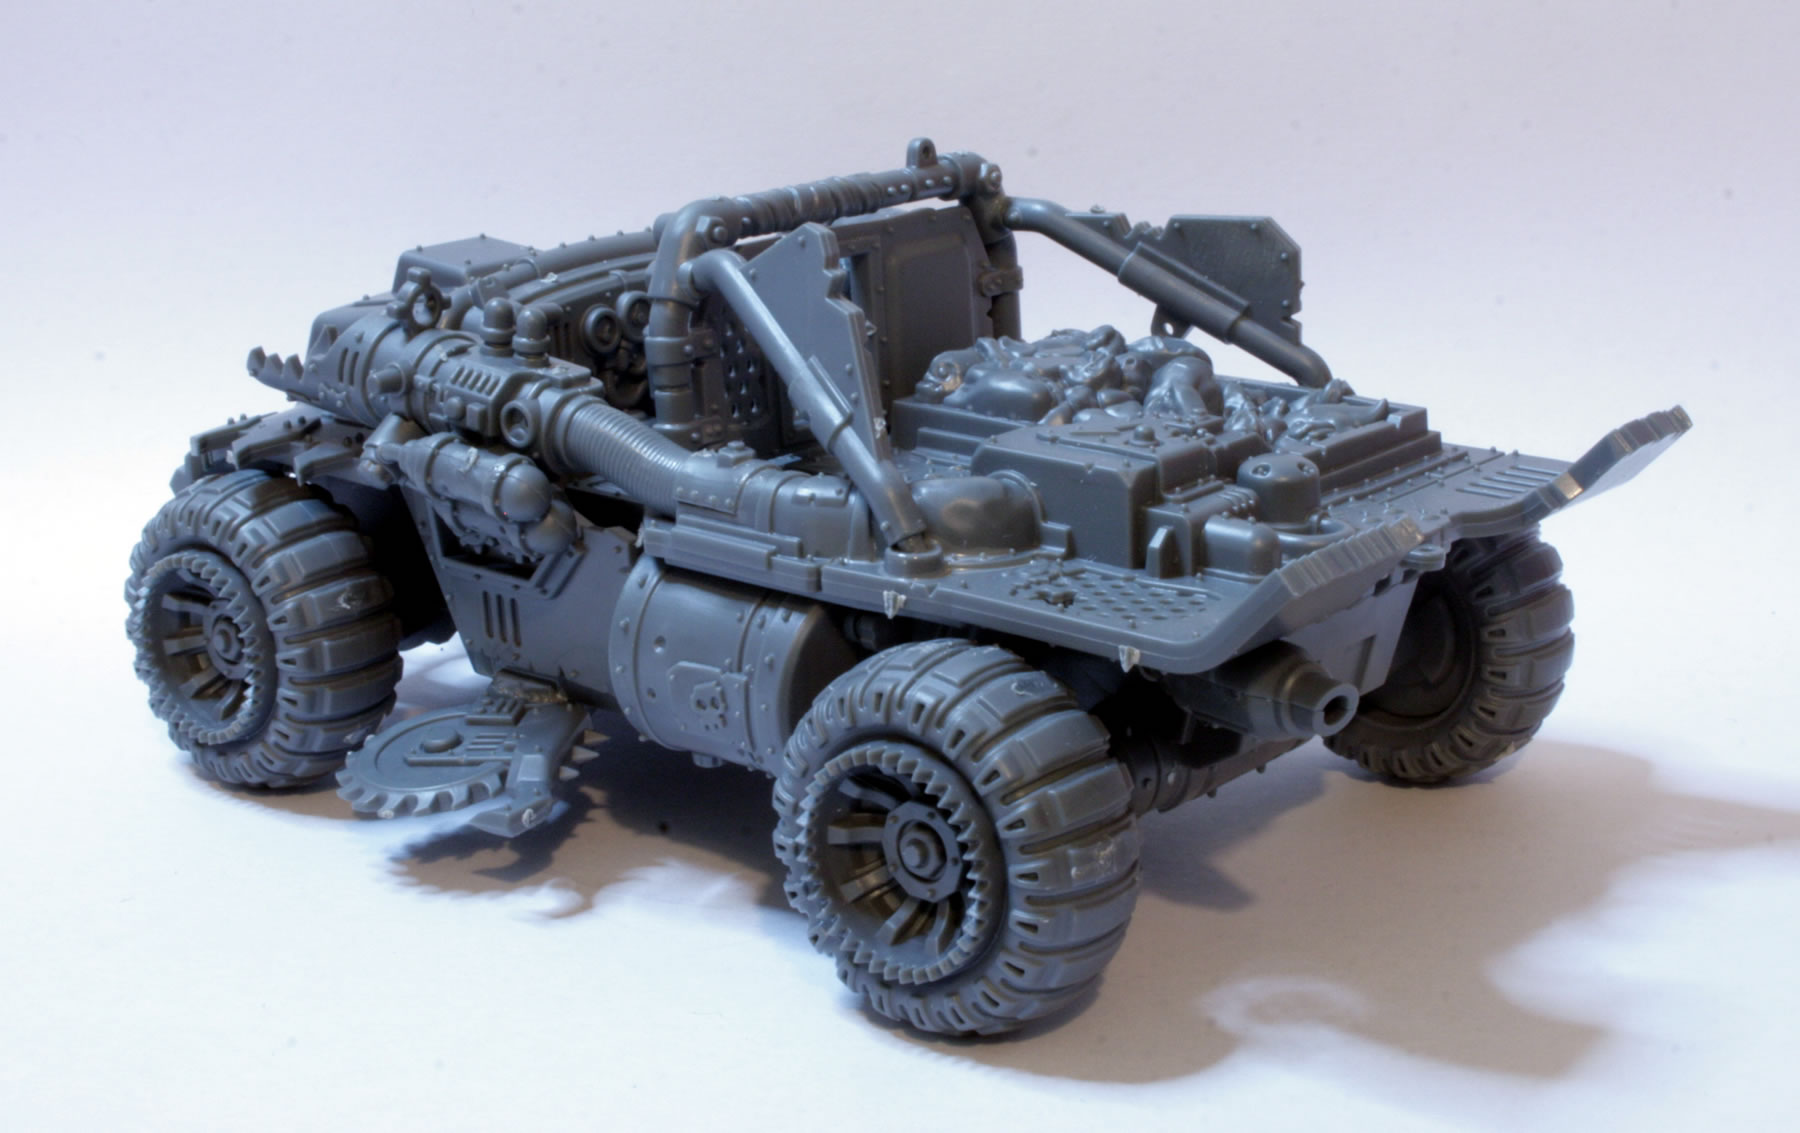
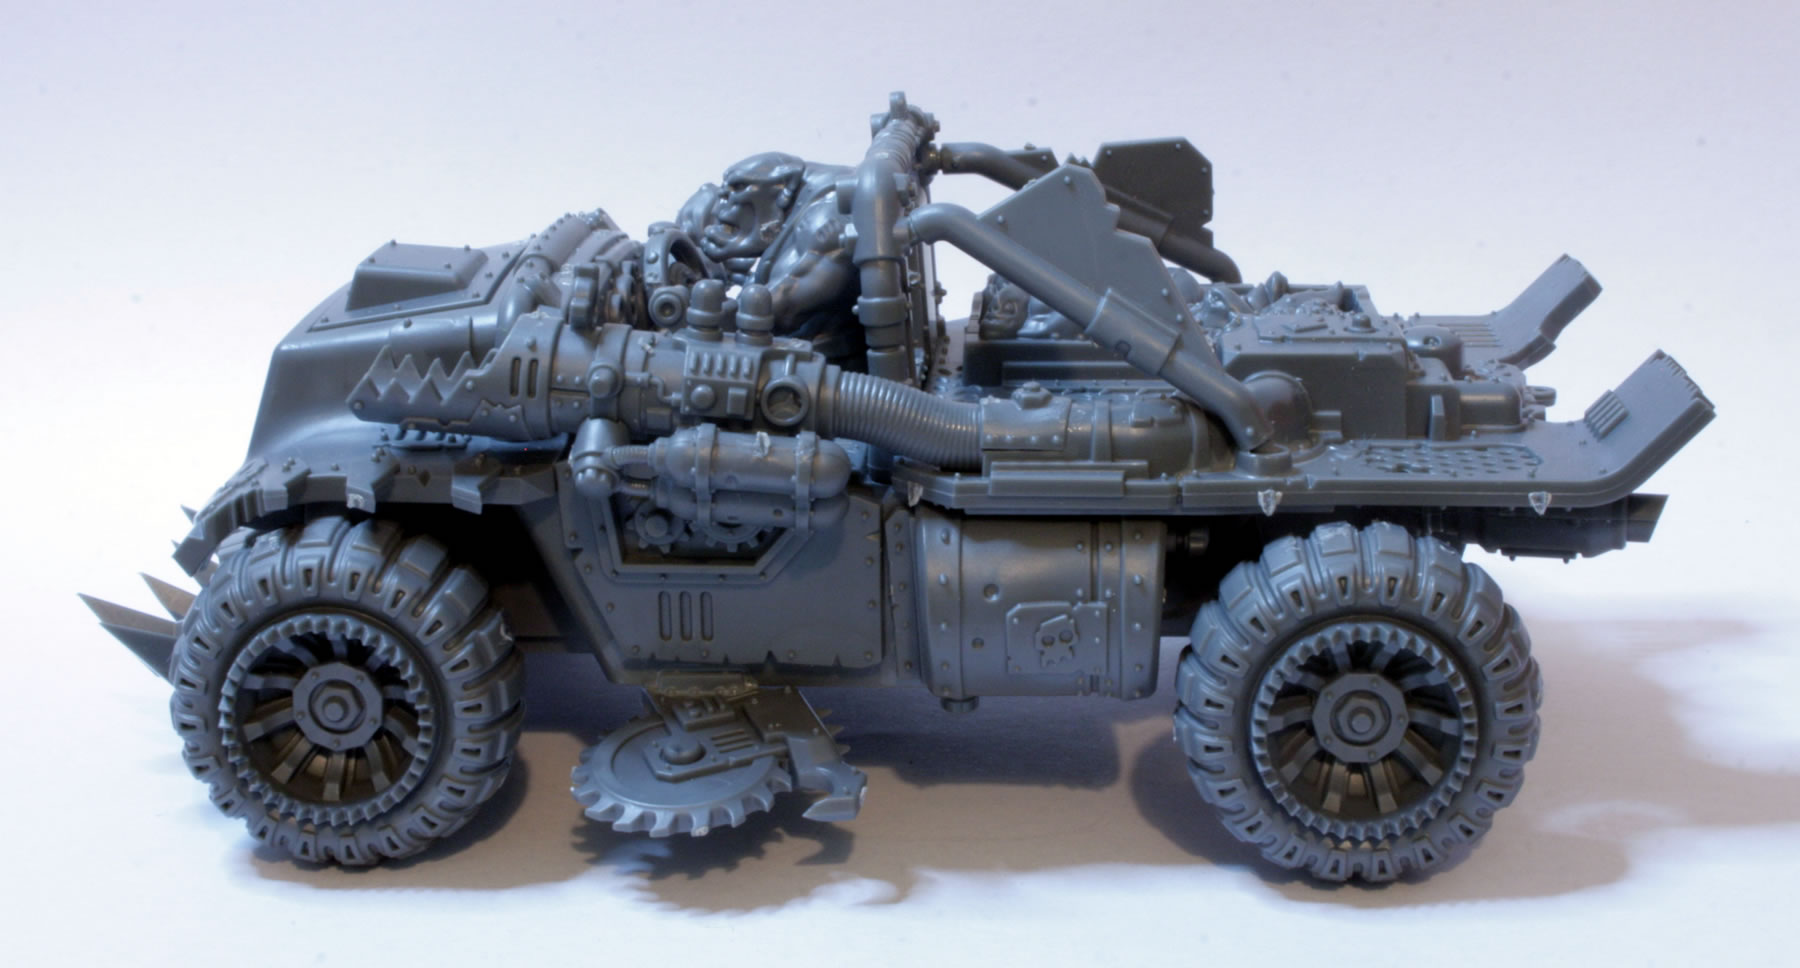
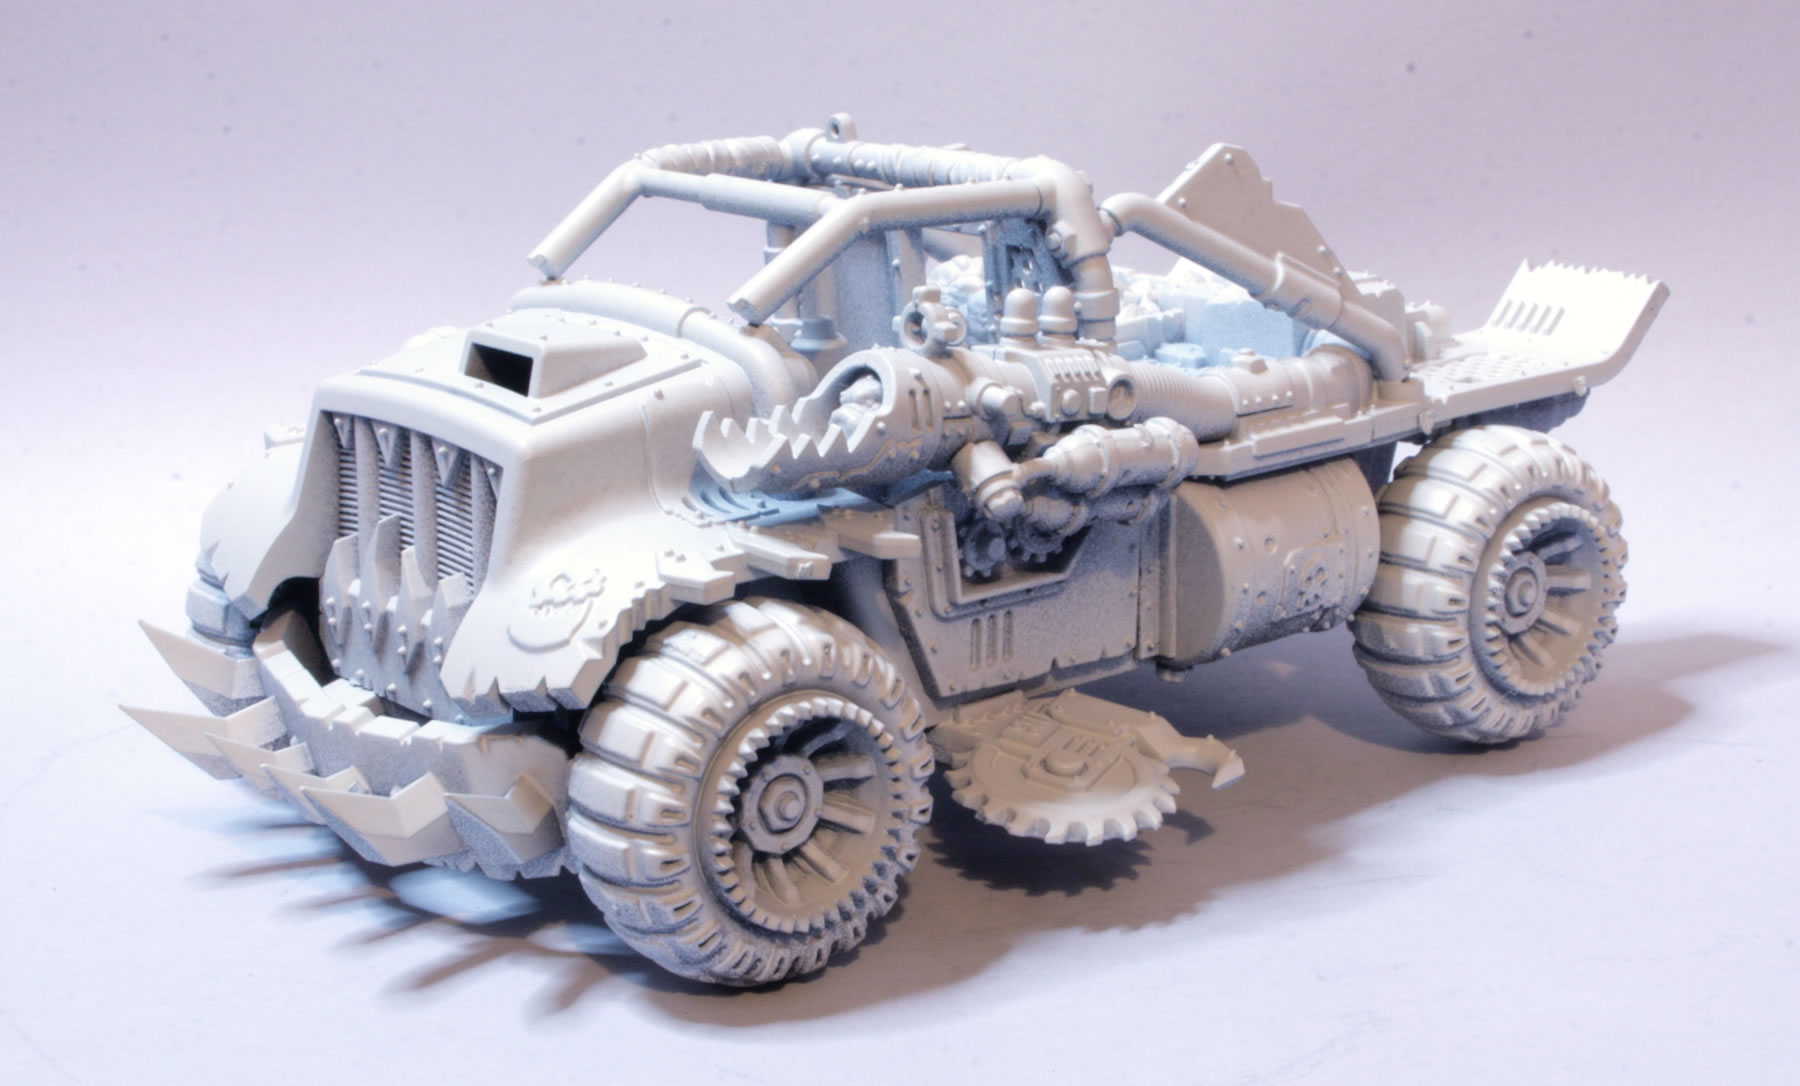
Having started building the model, I finished putting it together. Unlike earlier GW models there is less room for variations on the model, so you are quite constrained on how the model is put together.

Ork Rukkatrukk Squigbuggy

The model though does go together quite easily, but there are a fair number of parts.

Ork Rukkatrukk Squigbuggy

The instructions are very clear and easy to follow.

Ork Rukkatrukk Squigbuggy

I didn’t glue in the driver, as I will paint him separately, as I will also do with the grots and other Ork crew.

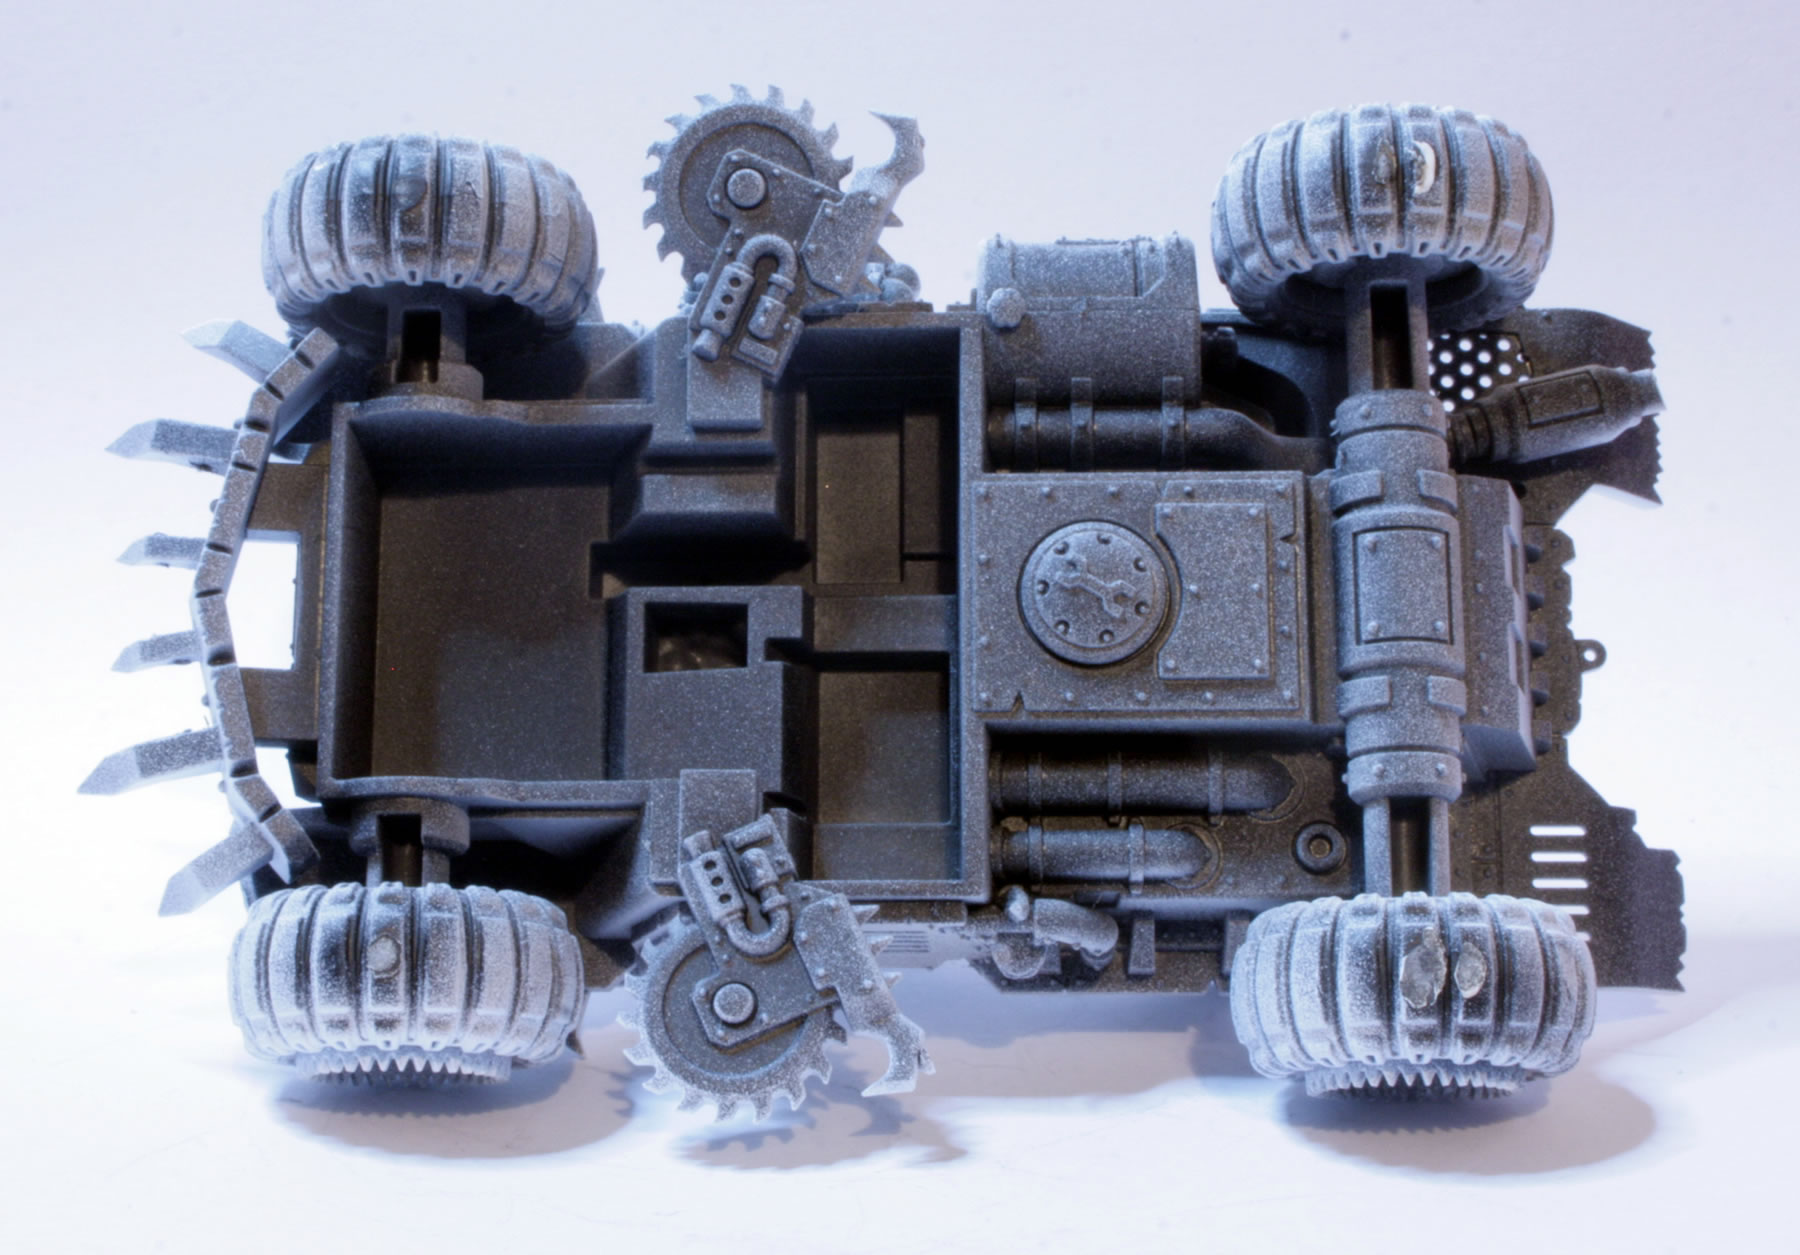
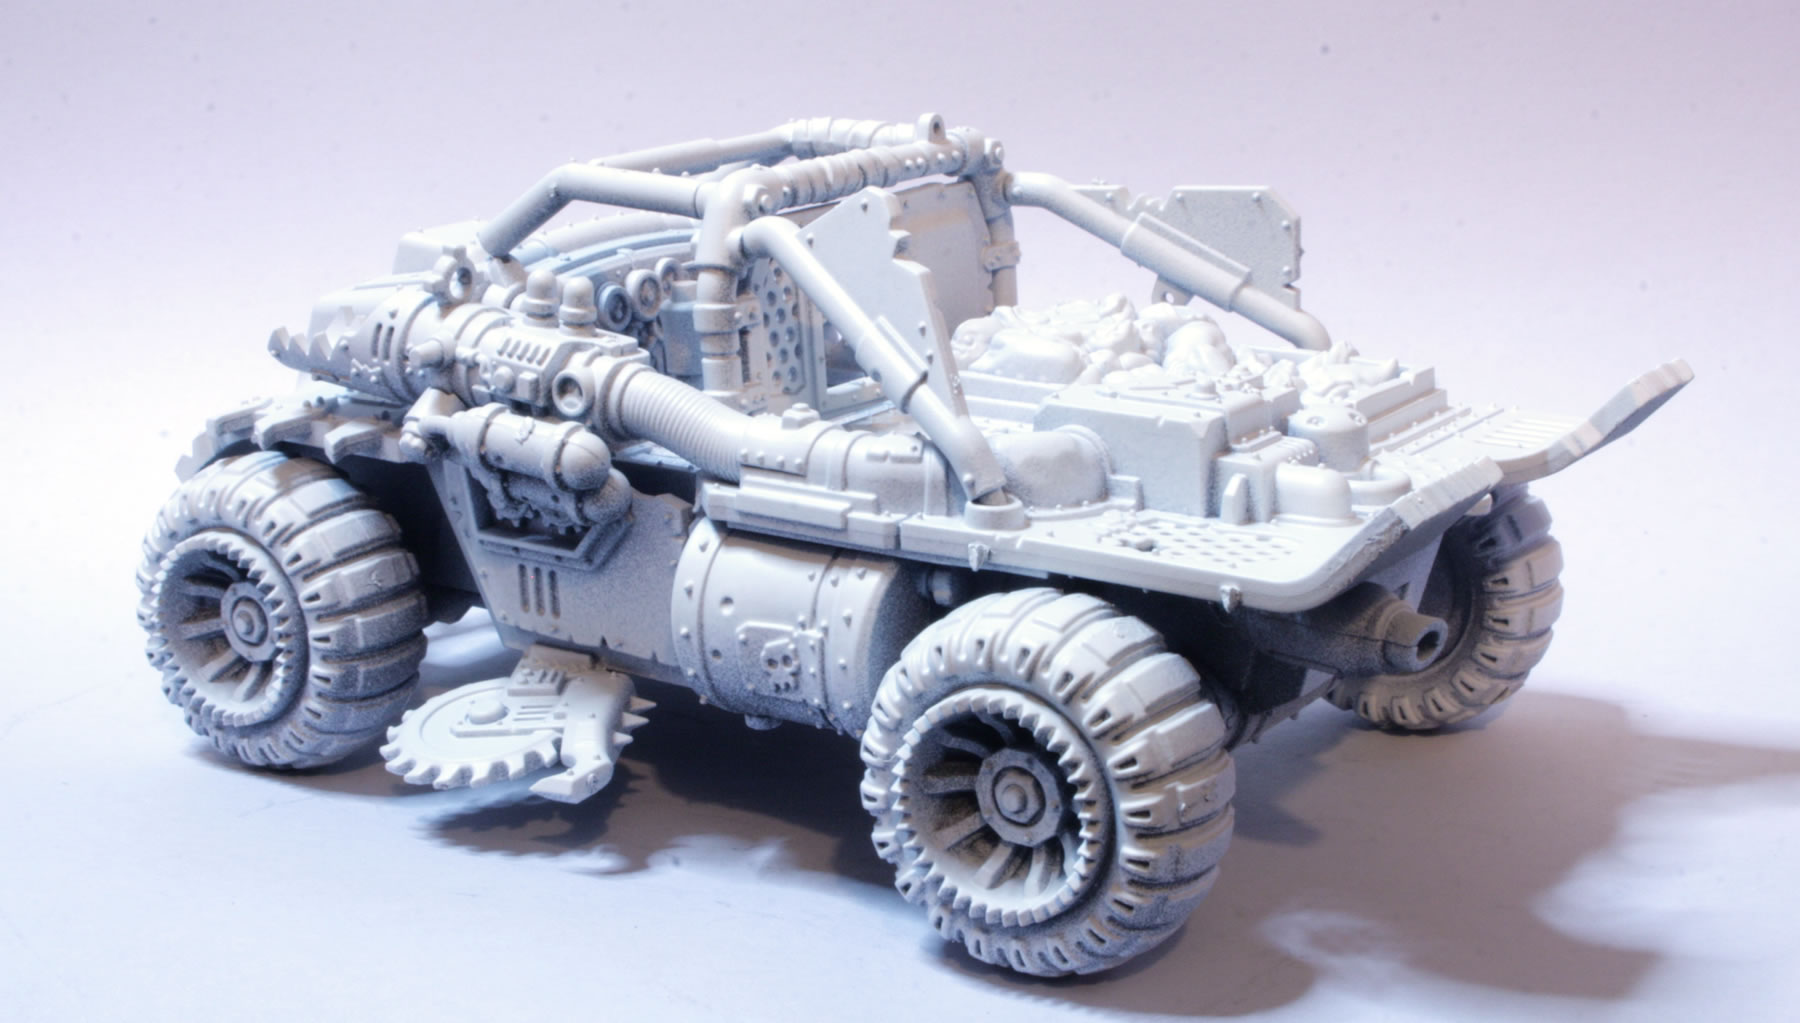
I gave the underneath of the model a black undercoat followed by a white undercoat. However the white had made the underneath somewhat dusty…

I gave the underneath of the model a black undercoat followed by a white undercoat.

The white undercoat brings out a lot of the detail on the model.

You can see I added the cab rollbar for undercoating, but I didn’t glue it into position.

See the full workbench feature on the Ork Rukkatrukk Squigbuggy.

Undercoating the Morris CS9 Armoured Car

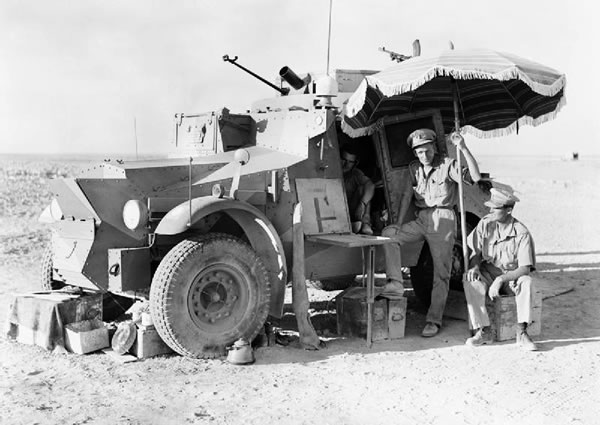
The Morris CS9/Light Armoured Car was a British armoured car used by the British Army in the World War II. The vehicle was based on a Morris Commercial C9 4×2 15-cwt truck chassis. On this chassis a rivetted hull was mounted with an open-topped two-man turret. The armament consisted of either Boys anti-tank rifle and Bren light machine gun or Vickers machine gun. The vehicle carried a No. 19 radio set.

The prototype was tested in 1936. A further 99 cars were ordered and were delivered in 1938. Thirty-eight of these cars were used by the 12th Royal Lancers in the Battle of France, where all of them were destroyed or abandoned. Another 30 served with the 11th Hussars in the North African Campaign. It was found that when fitted with desert tyres the vehicle had good performance on soft sand. However, its armour and armament were insufficient. The vehicle was retired halfway through the North African Campaign.

Morris CS9/Light Armoured Car

This is the finished version of the Bolt Action model, as seen on the Warlord Games website.
The pack contains a resin and metal kit. The hull and turret are resin, the wheels, guns and axels are whitemetal.
Having glued the axels and wheels to the main hull, I glued the weapons to the turret. I also managed to stick the headlamps into place, this was much harder than it looks and it took a couple of attempts.

Morris CS9 Armoured Car

Morris CS9 Armoured Car

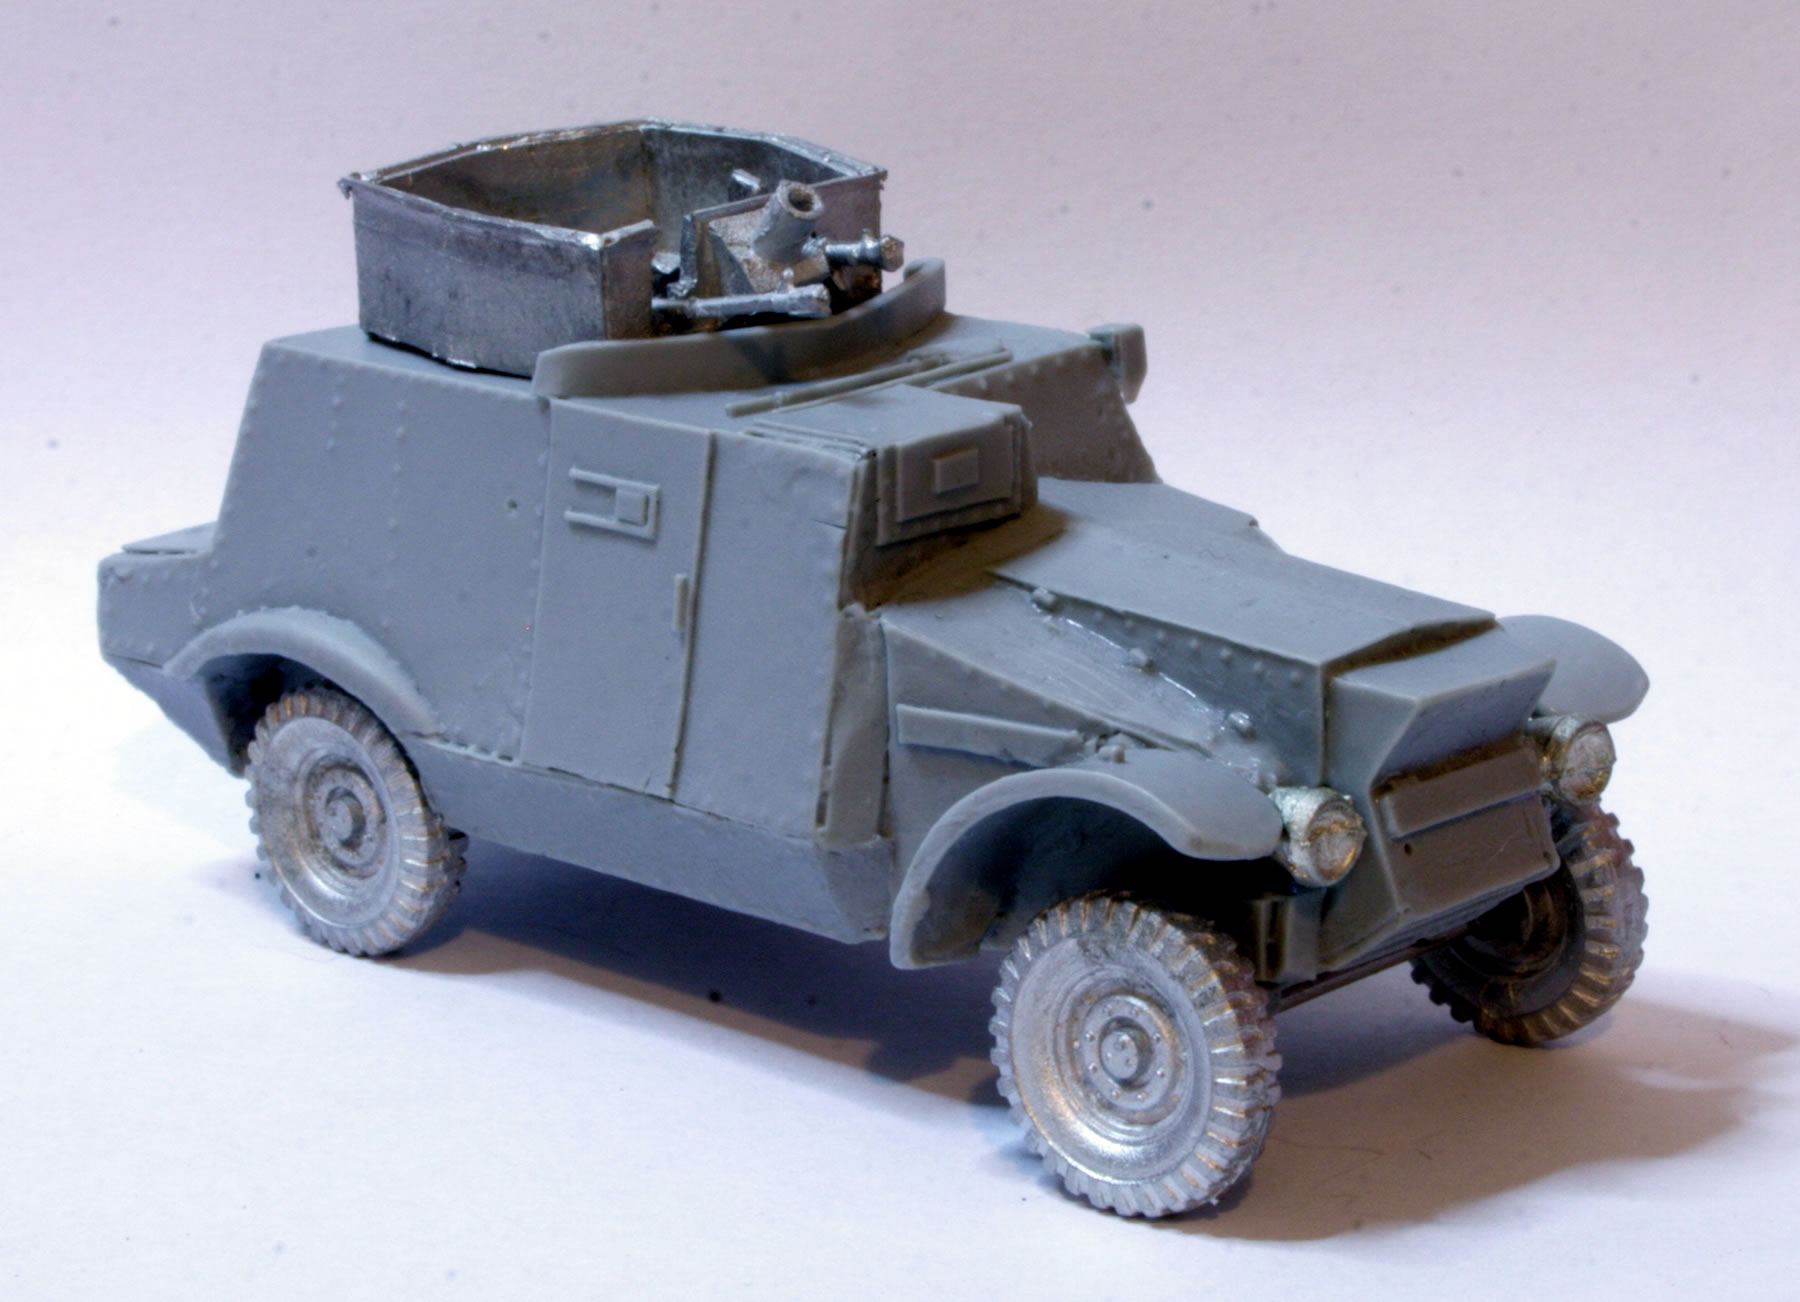
I gave the underneath of the model a black undercoat followed by a white undercoat.

Morris CS9 Armoured Car

Morris CS9 Armoured Car

Morris CS9 Armoured Car

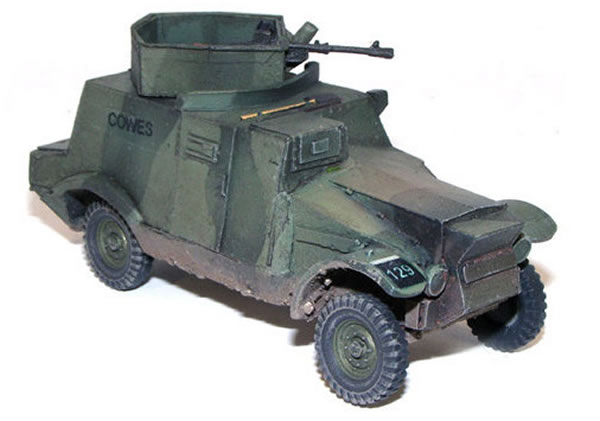
The next stage will be the base coat. I will be trying to replicate this paint scheme which shows a camouflage disruptive pattern.

Morris CS9/Light Armoured Car

See the full workbench feature on the Bolt Action Morris CS9 Armoured Car.

I also have a Flames of War blister of a 15mm Morris CS9 as well.

Inquisitorial Reinforcements

A few days ago I mentioned I had the (relatively) new Achilles Ridgerunner as a vehicular reinforcement for my Daemonhunters forces.

As well as my other Daemonhunters Inquisitorial Stormtroopers which are based on the Cadian Kasrkin I have also decided to add a unit based on the Tallarn or I may just use them as inducted Imperial Guard.

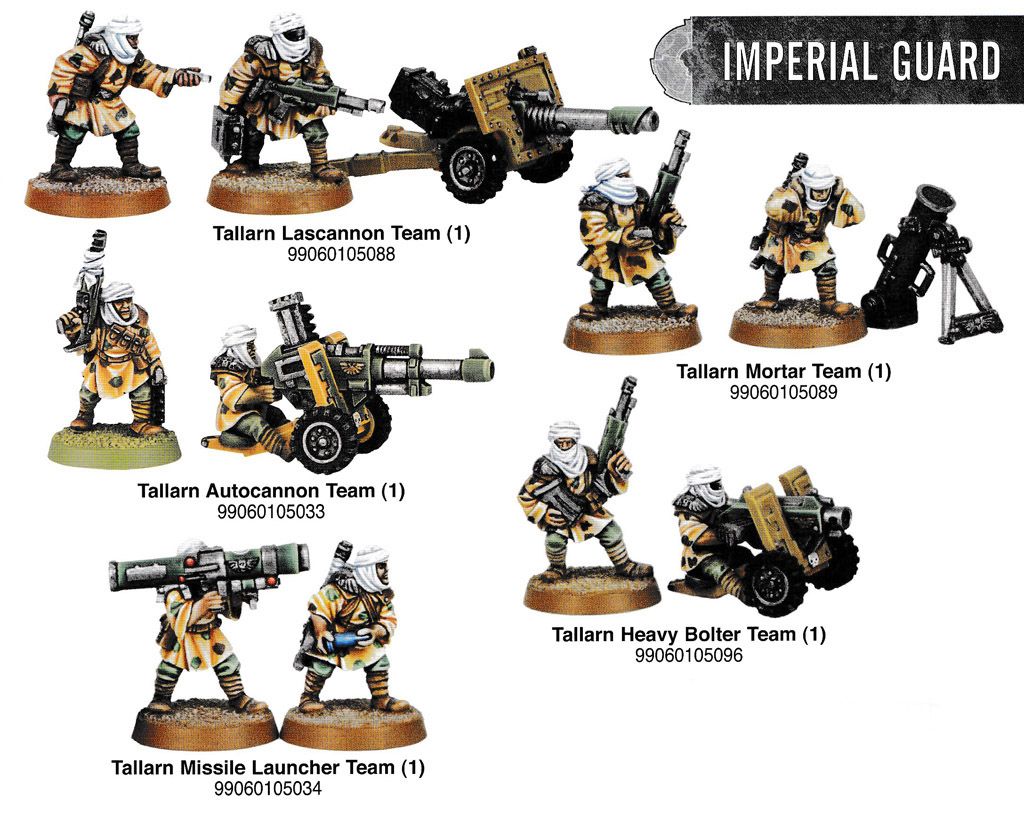
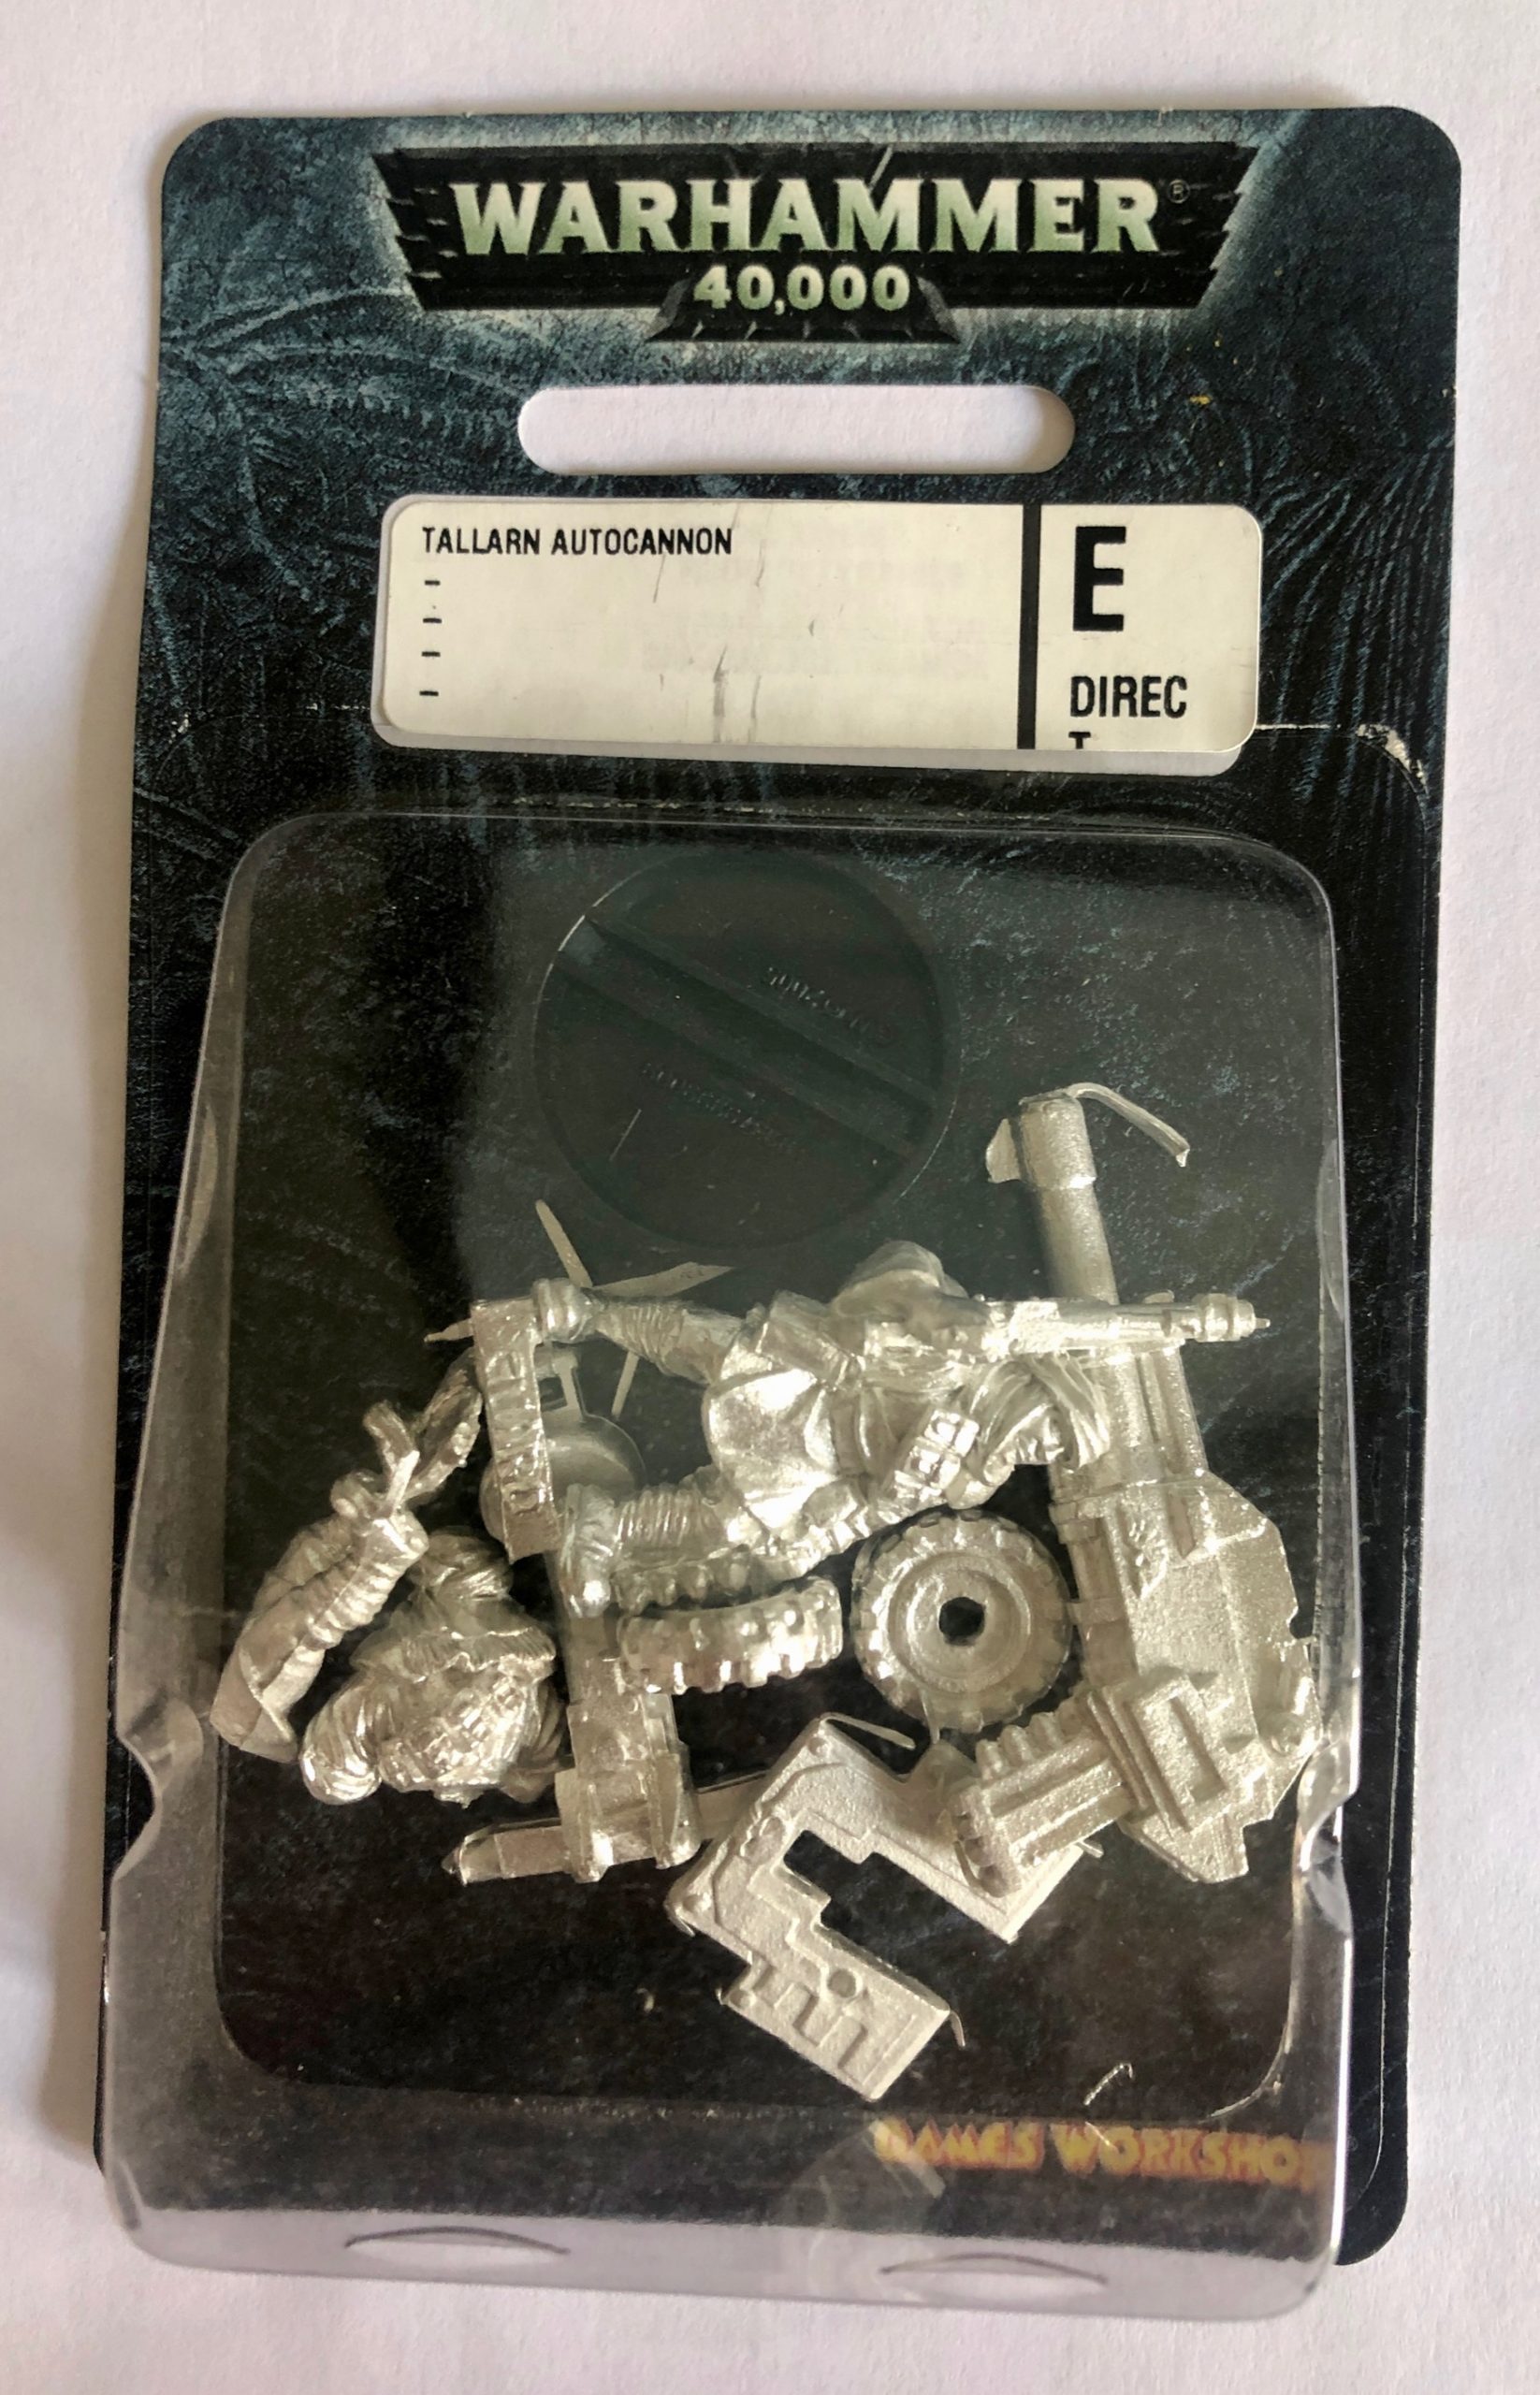
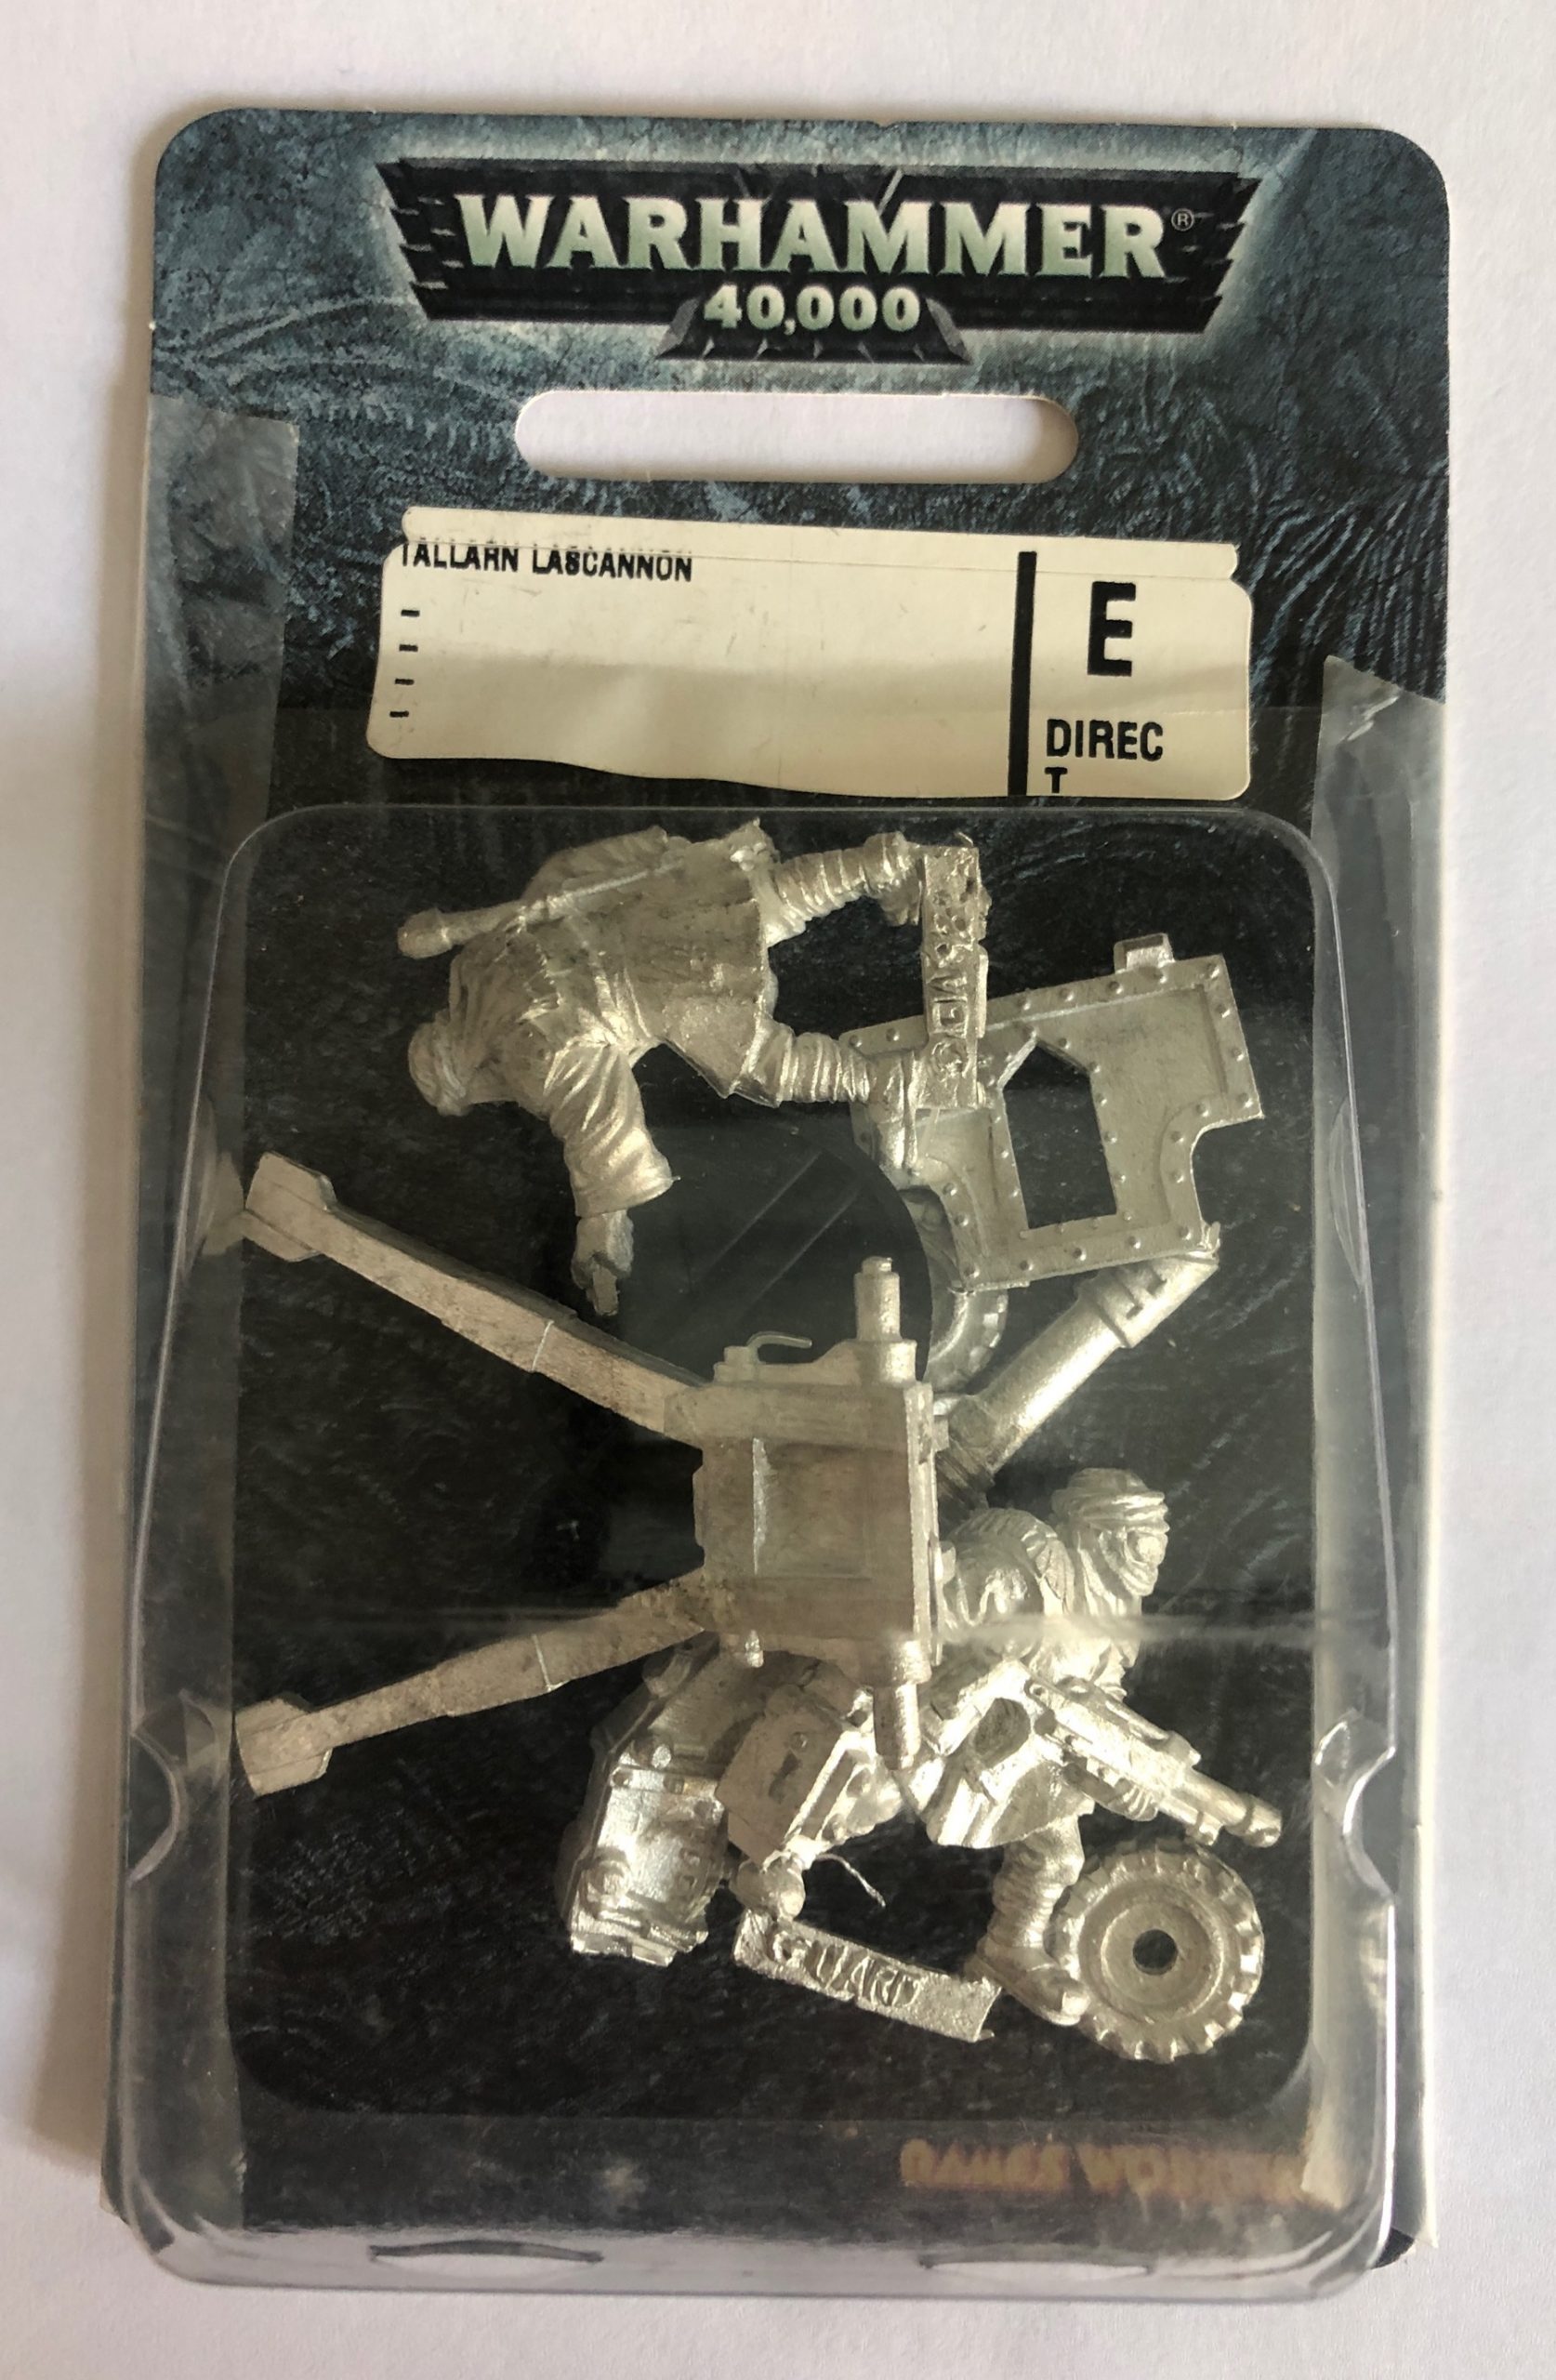
I have a blister and boxed set of Tallarn Imperial Guard troopers. I checked an old box of miniatures I had and realised I also had unopened blisters of the Tallarn Lascannon and Tallarn Autocannon.

This is how they looked from the (original) marketing material with the other heavy weapons in the range.

Tallarn Heavy Weapons

You can tell from the blisters how old they are as they have the letter E on them to reflect the prices of that time.

My favourite of the two models is the lascannon.

It reminds me of the British world war two six pounder.

I am thinking do I start painting these, or do I try and finish the other Tallarn models I have on the workbench.