Painting for the Cruel Seas

When I first saw mention of Warlord Games new game, Cruel Seas, I was both intrigued and a little tempted.

So far I have put together the models I got free with Wargames Illustrated and have now given them a white undercoat and a basecoat of Humbrol Grey. That didn’t cover too well.

Royal Navy Vosper MTB

The Vosper 73 foot motor torpedo boat was a mid-twentieth century British motor torpedo boat designed by Vospers that served in the Royal Navy during the Second World War

The plastic sprue that came with Wargames Illustrated has two Vosper MTBs, one type I and one type II.

Continue reading “Painting for the Cruel Seas”

Constructing the Aeronautica Imperialis Marauder Bombers

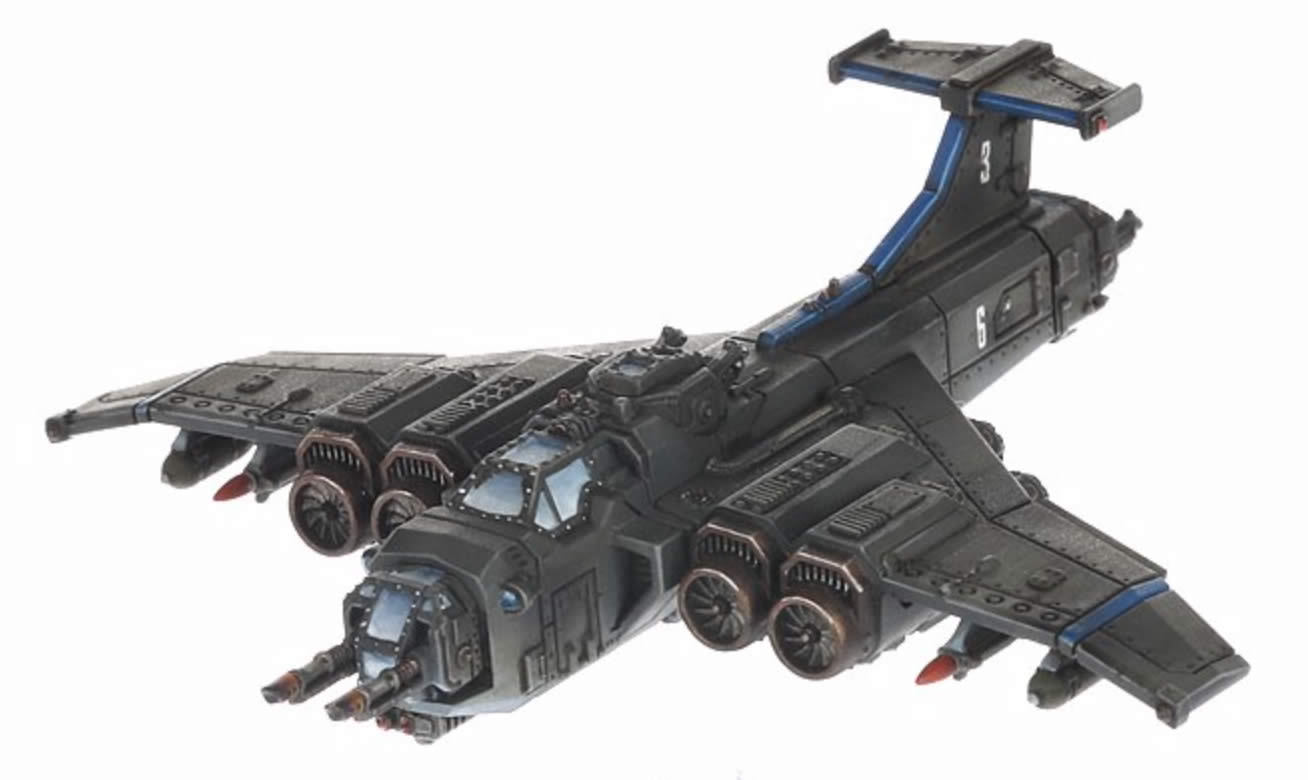
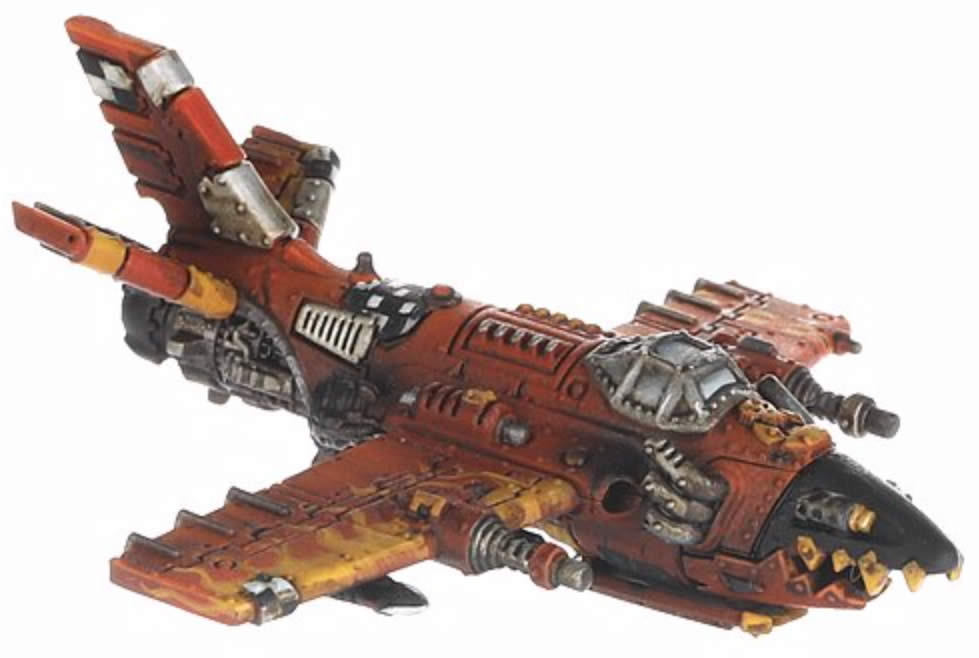
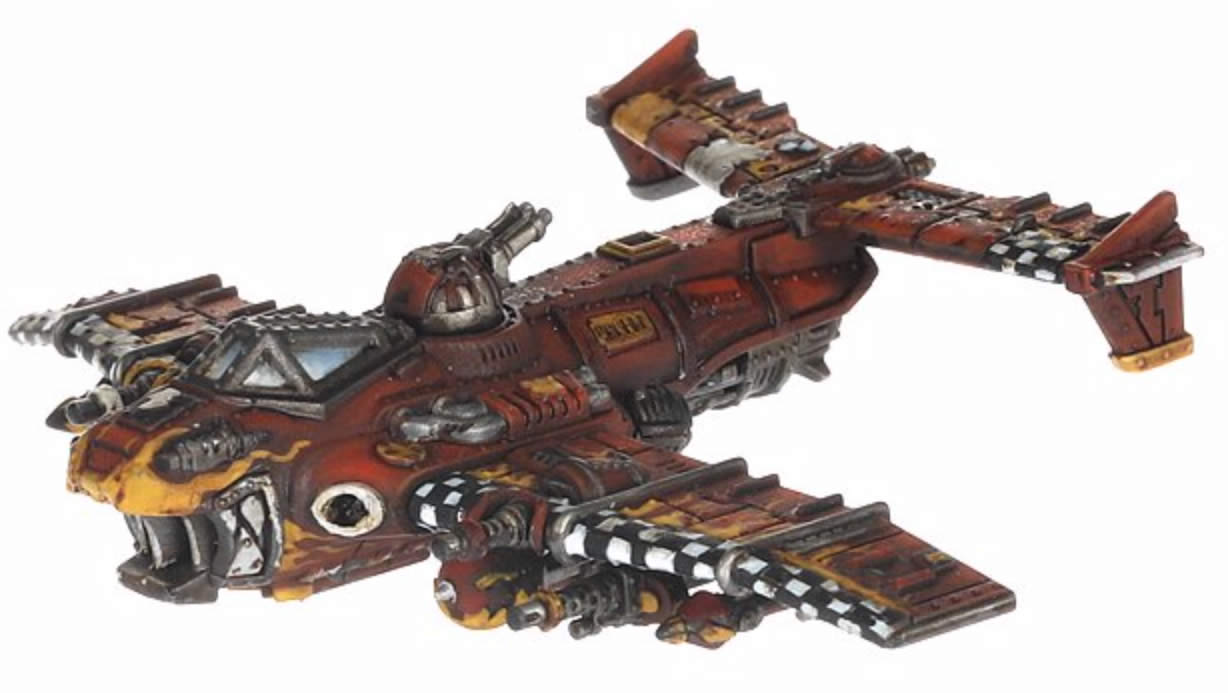
The Marauder Bomber is the workhorse of the Imperial Navy. Capable of both atmospheric and void operations, it is used as an attack craft in fleet actions as well as fulfilling a tactical role, supporting ground offensives by bombing enemy troop concentrations and support positions. Such tactical bombing missions are often launched prior to, and in support of, Imperial Guard offensives.

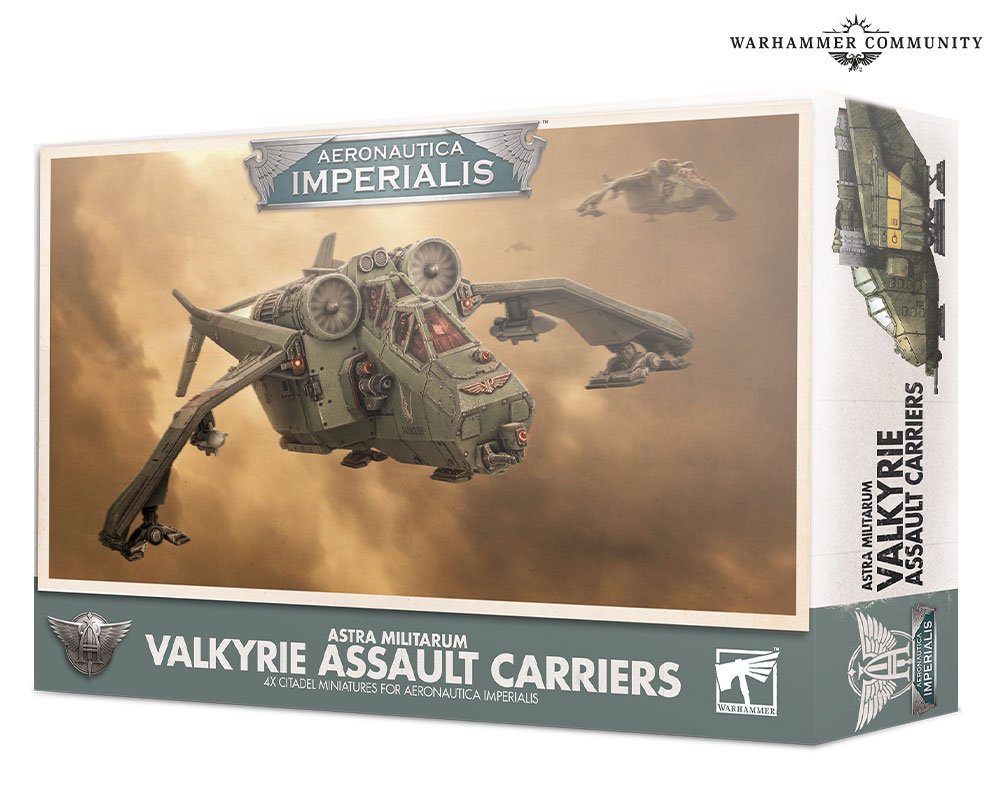
There are two of these in the Wings of Vengeance boxed set. This is the painted version on the GW website.

Aeronautica Imperialis Marauder Bomber

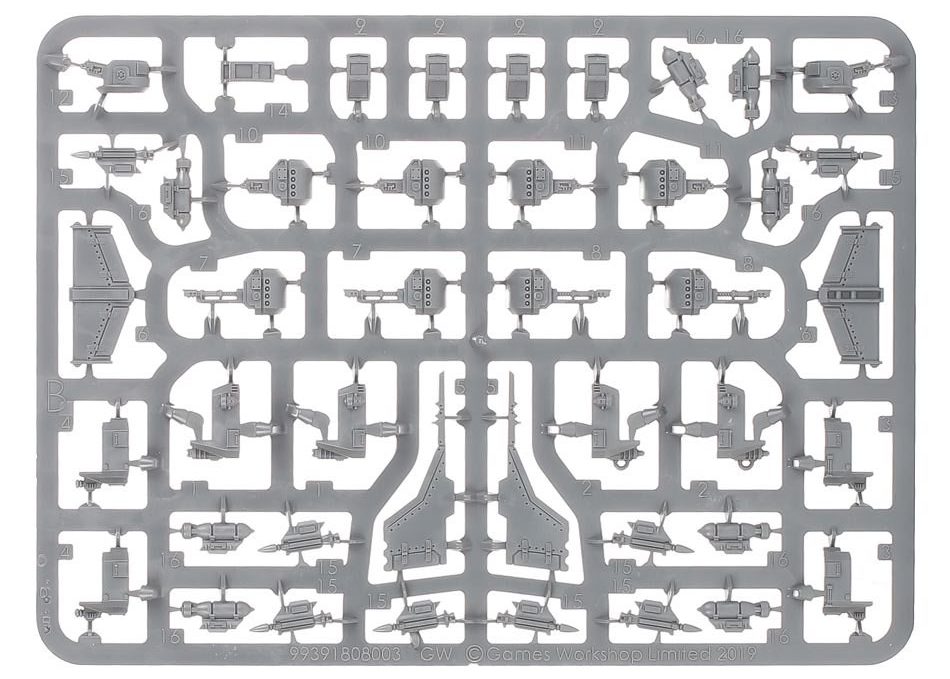
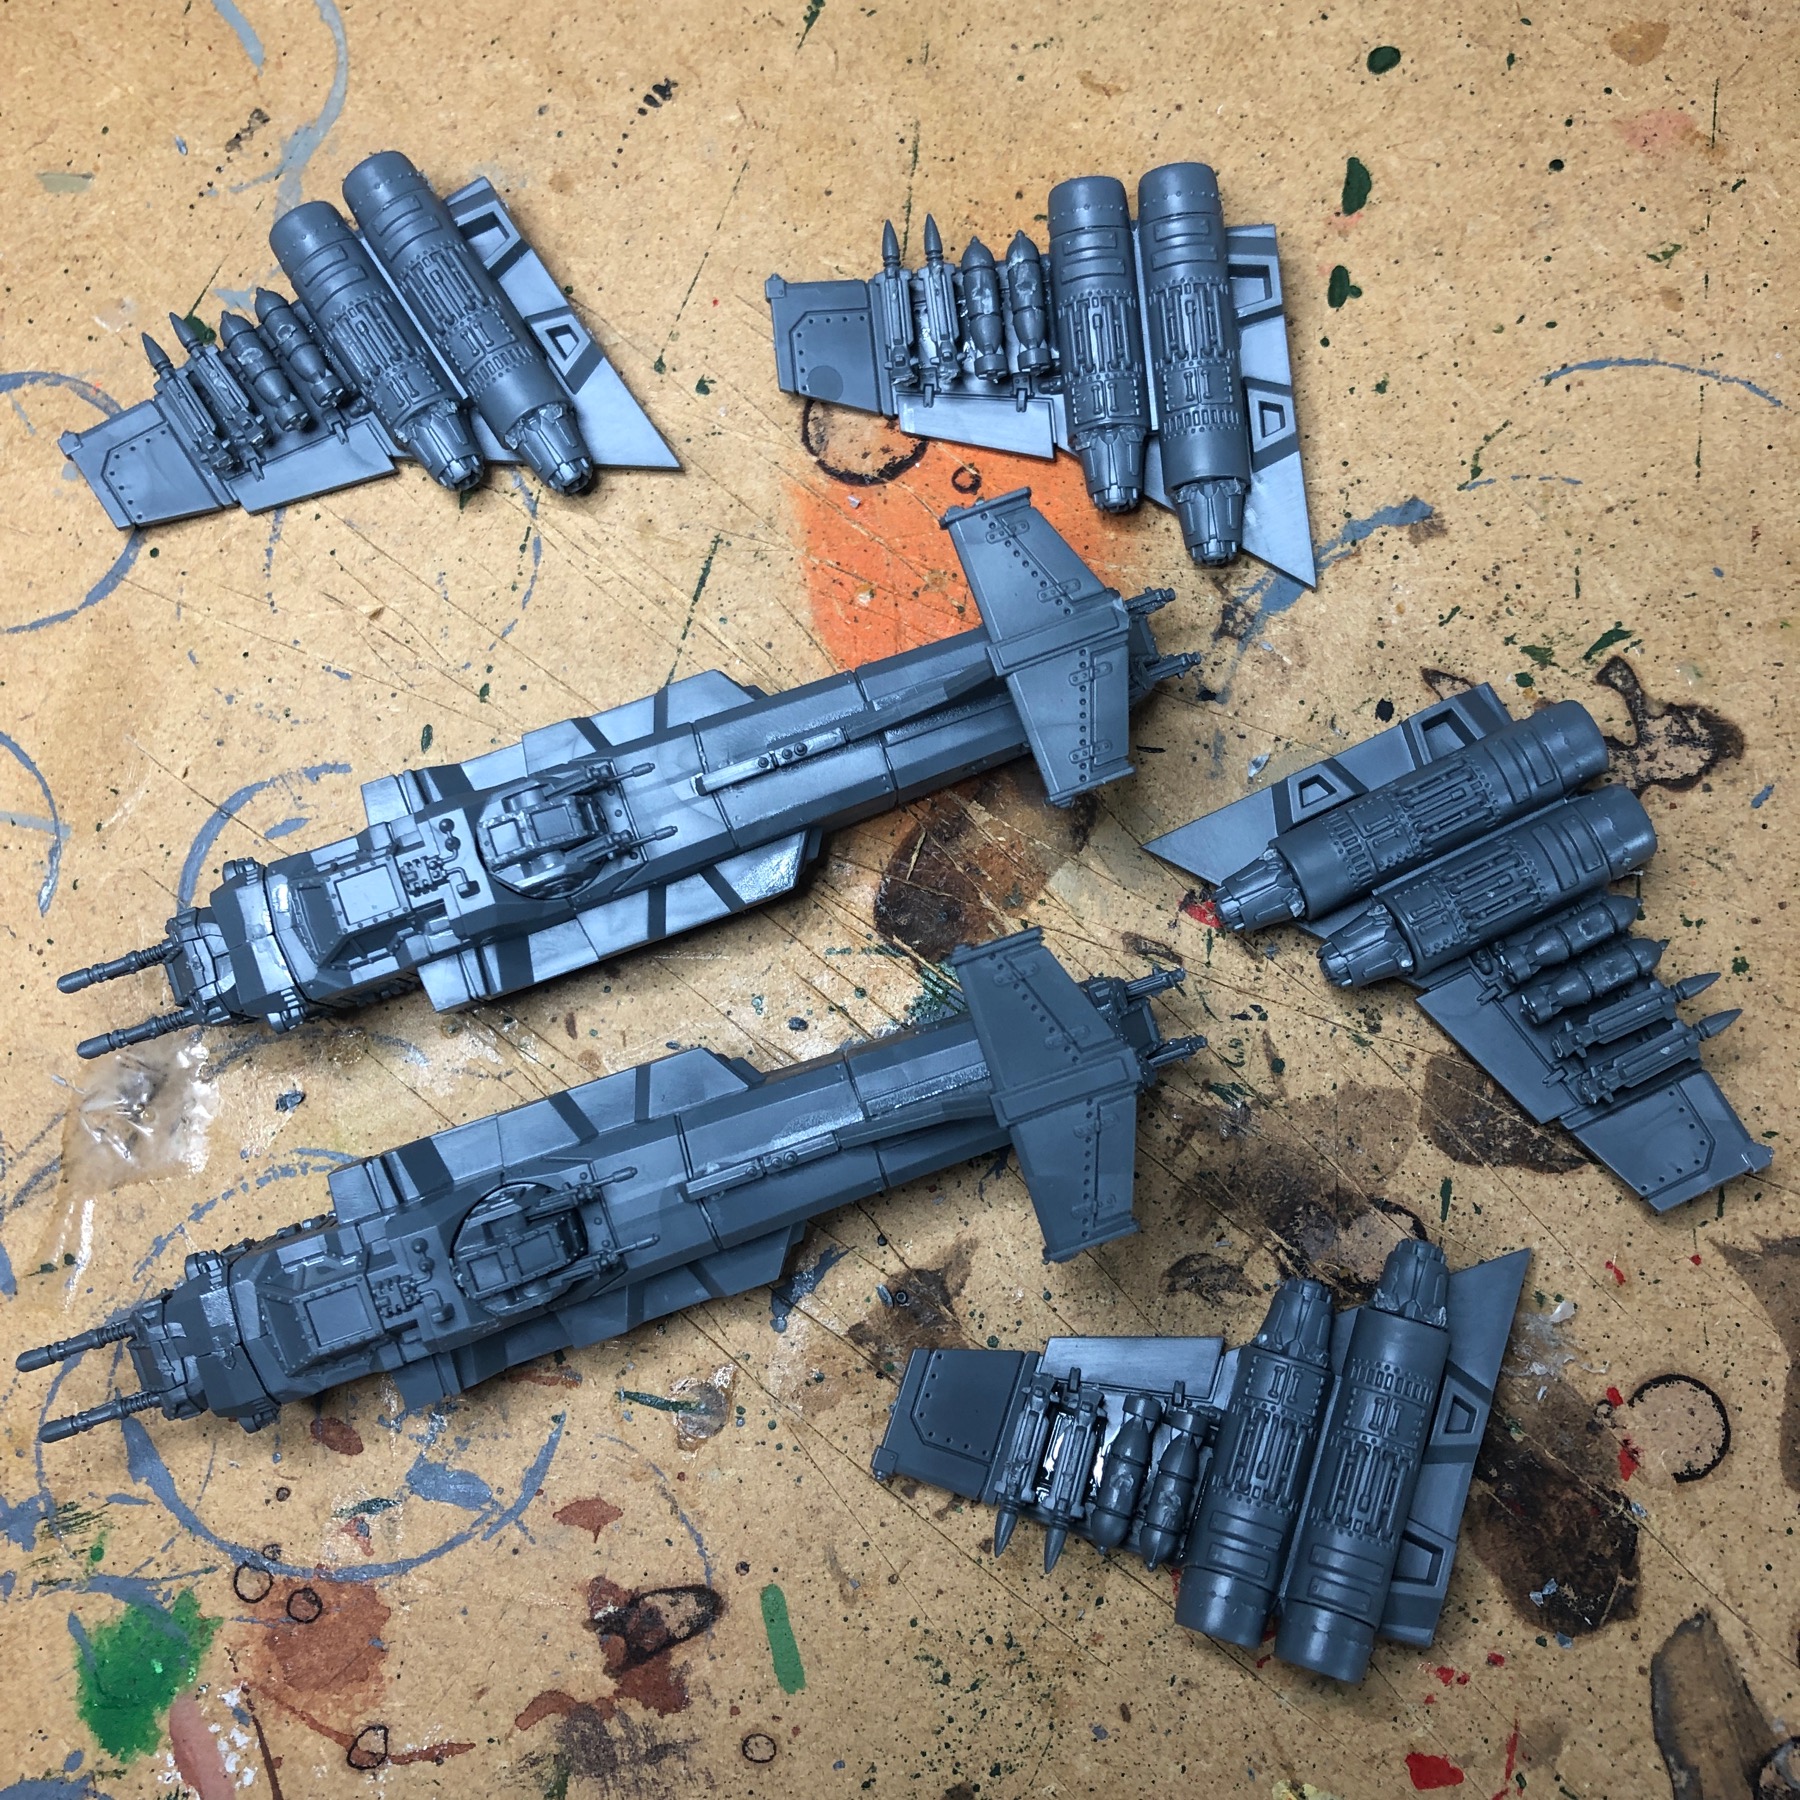
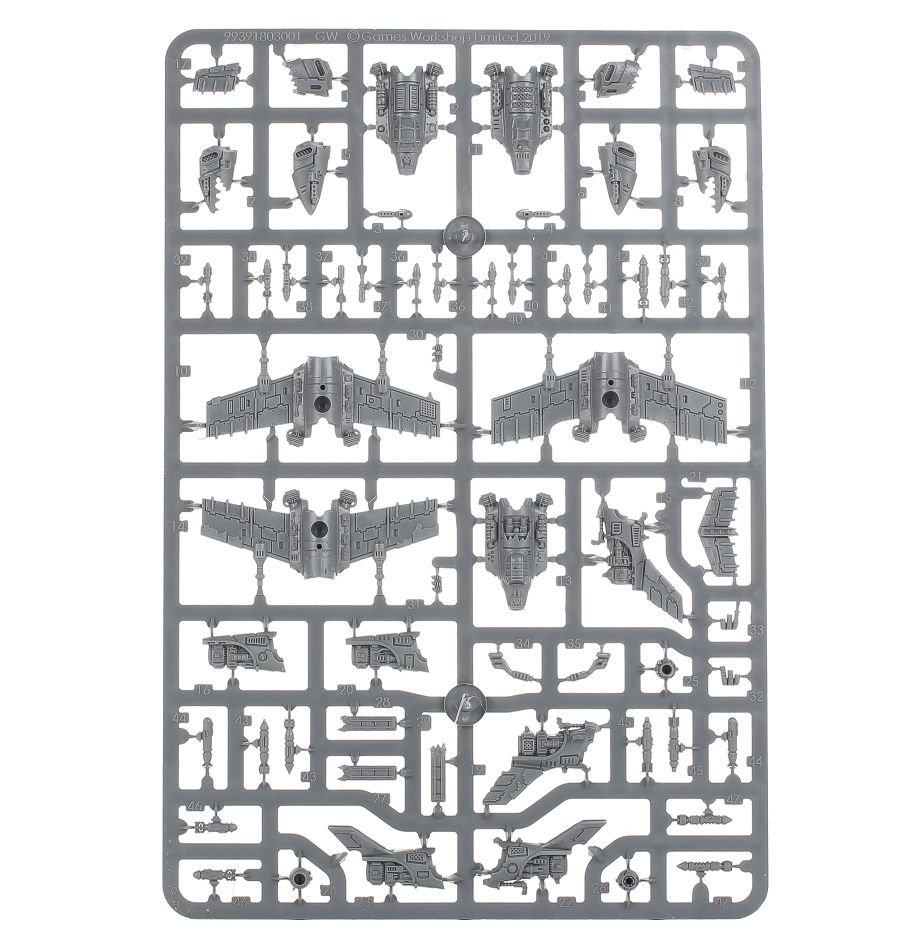
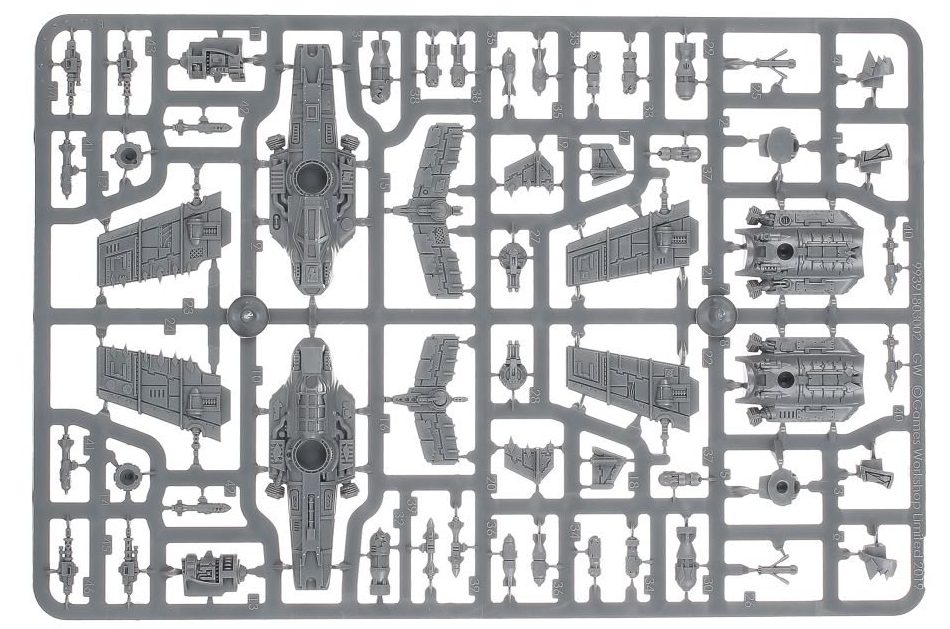
The models are made from two sprues, making two bombers in all.

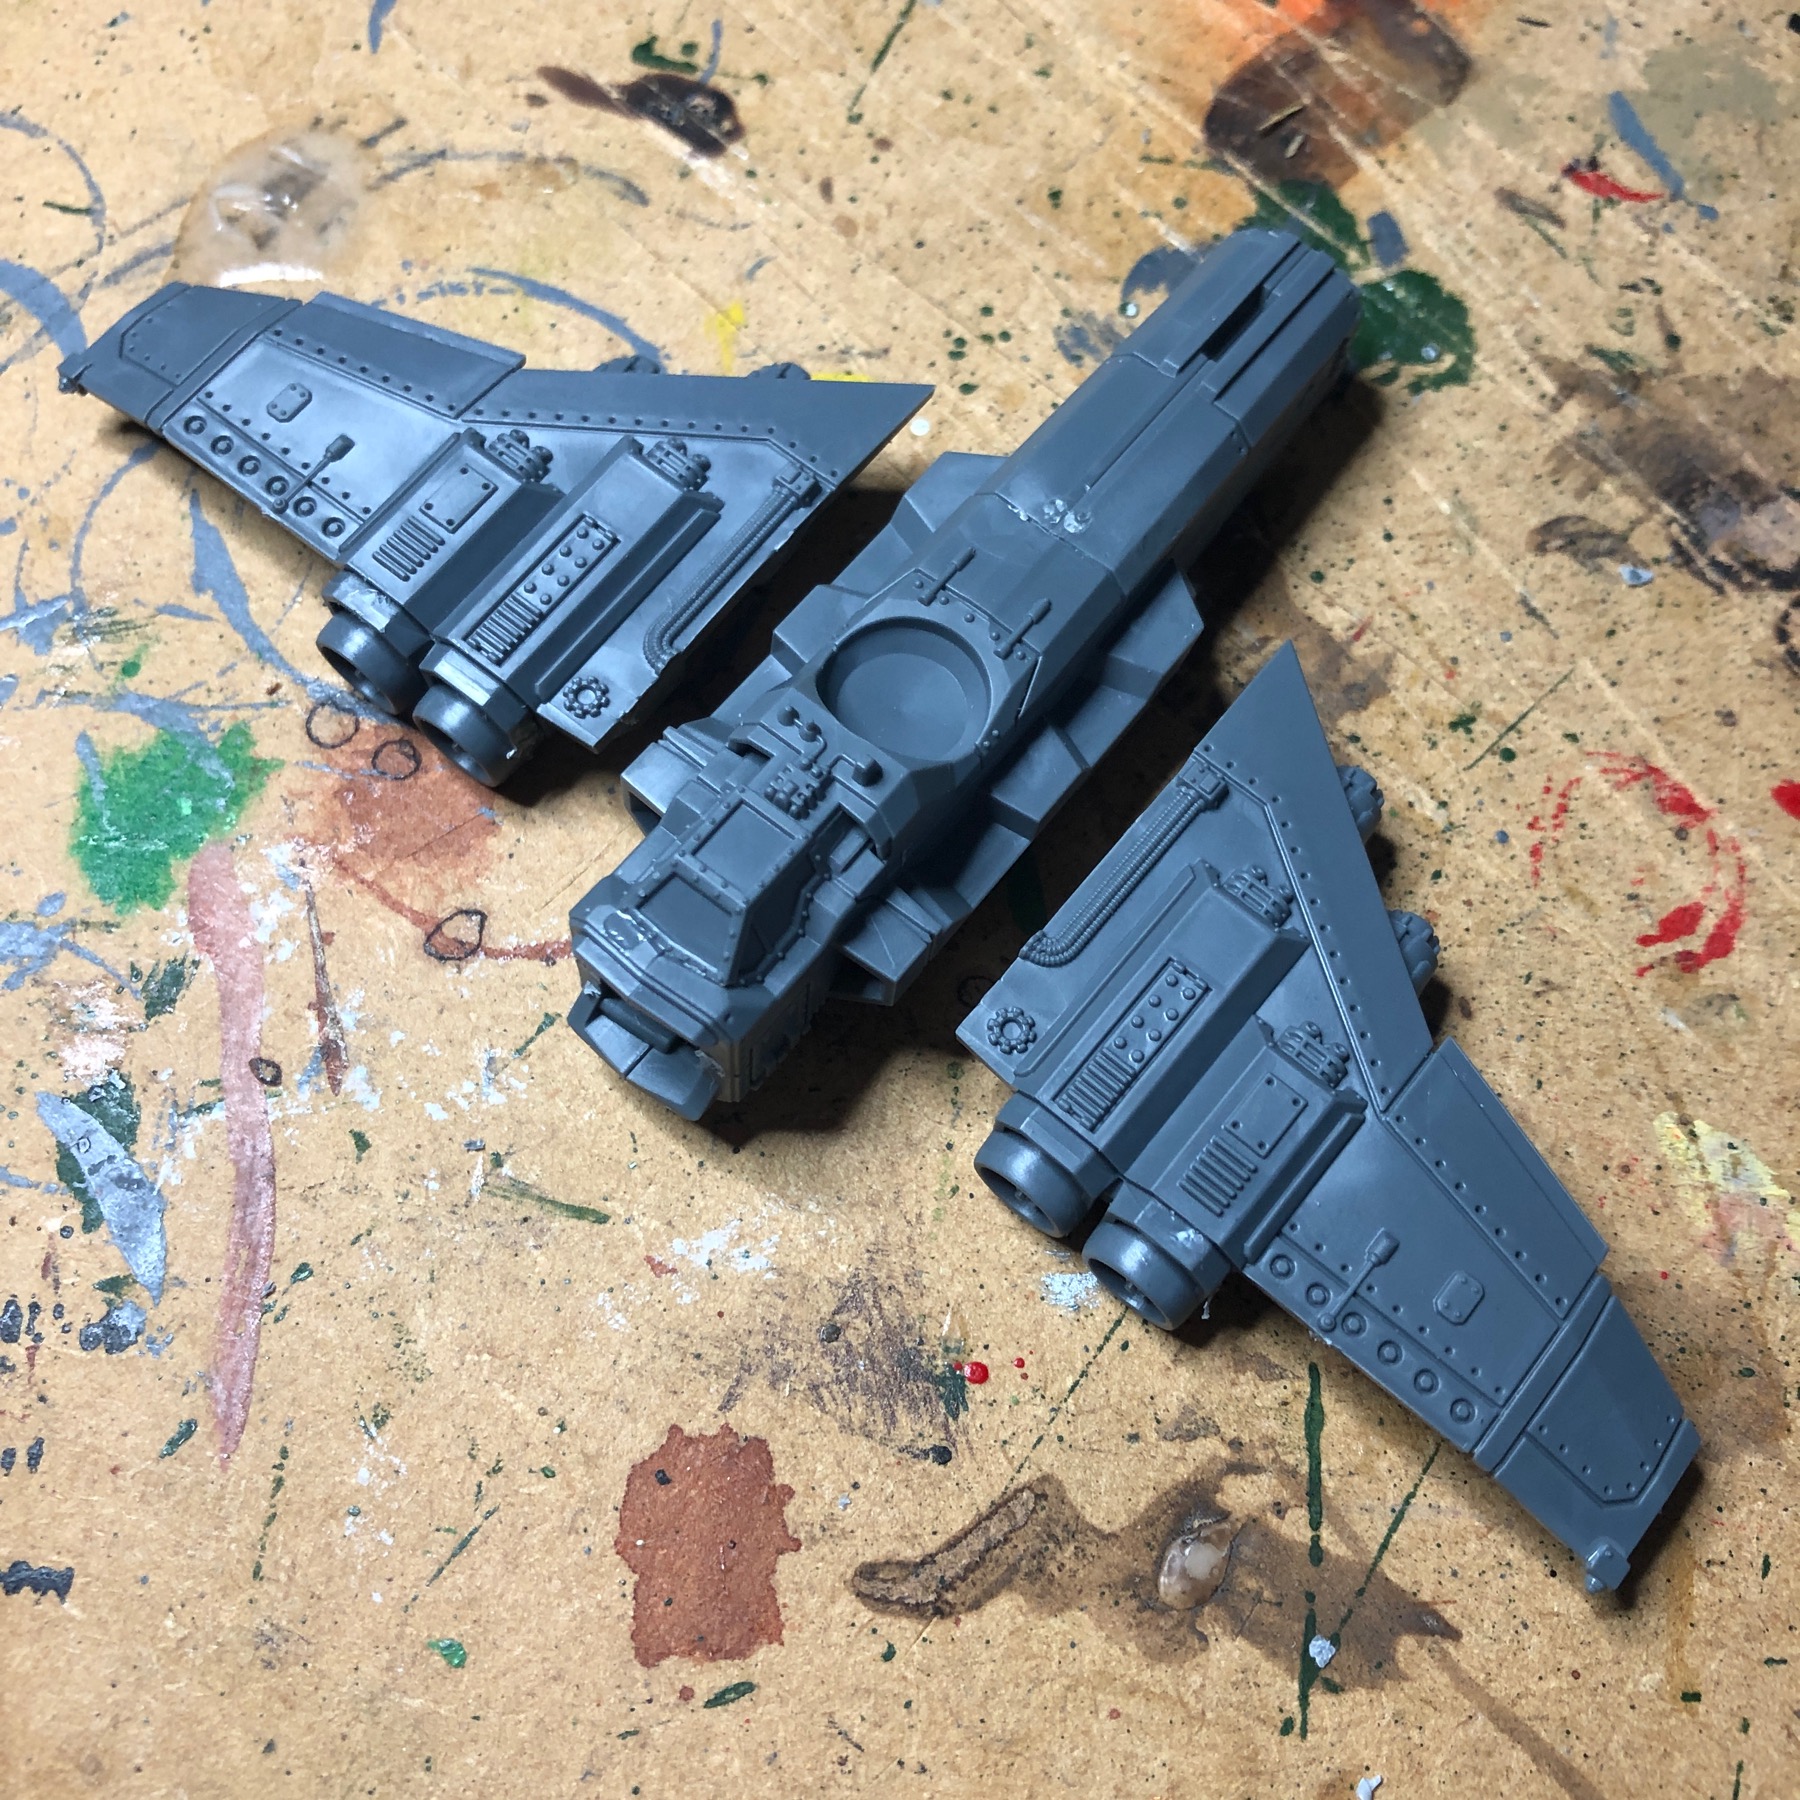
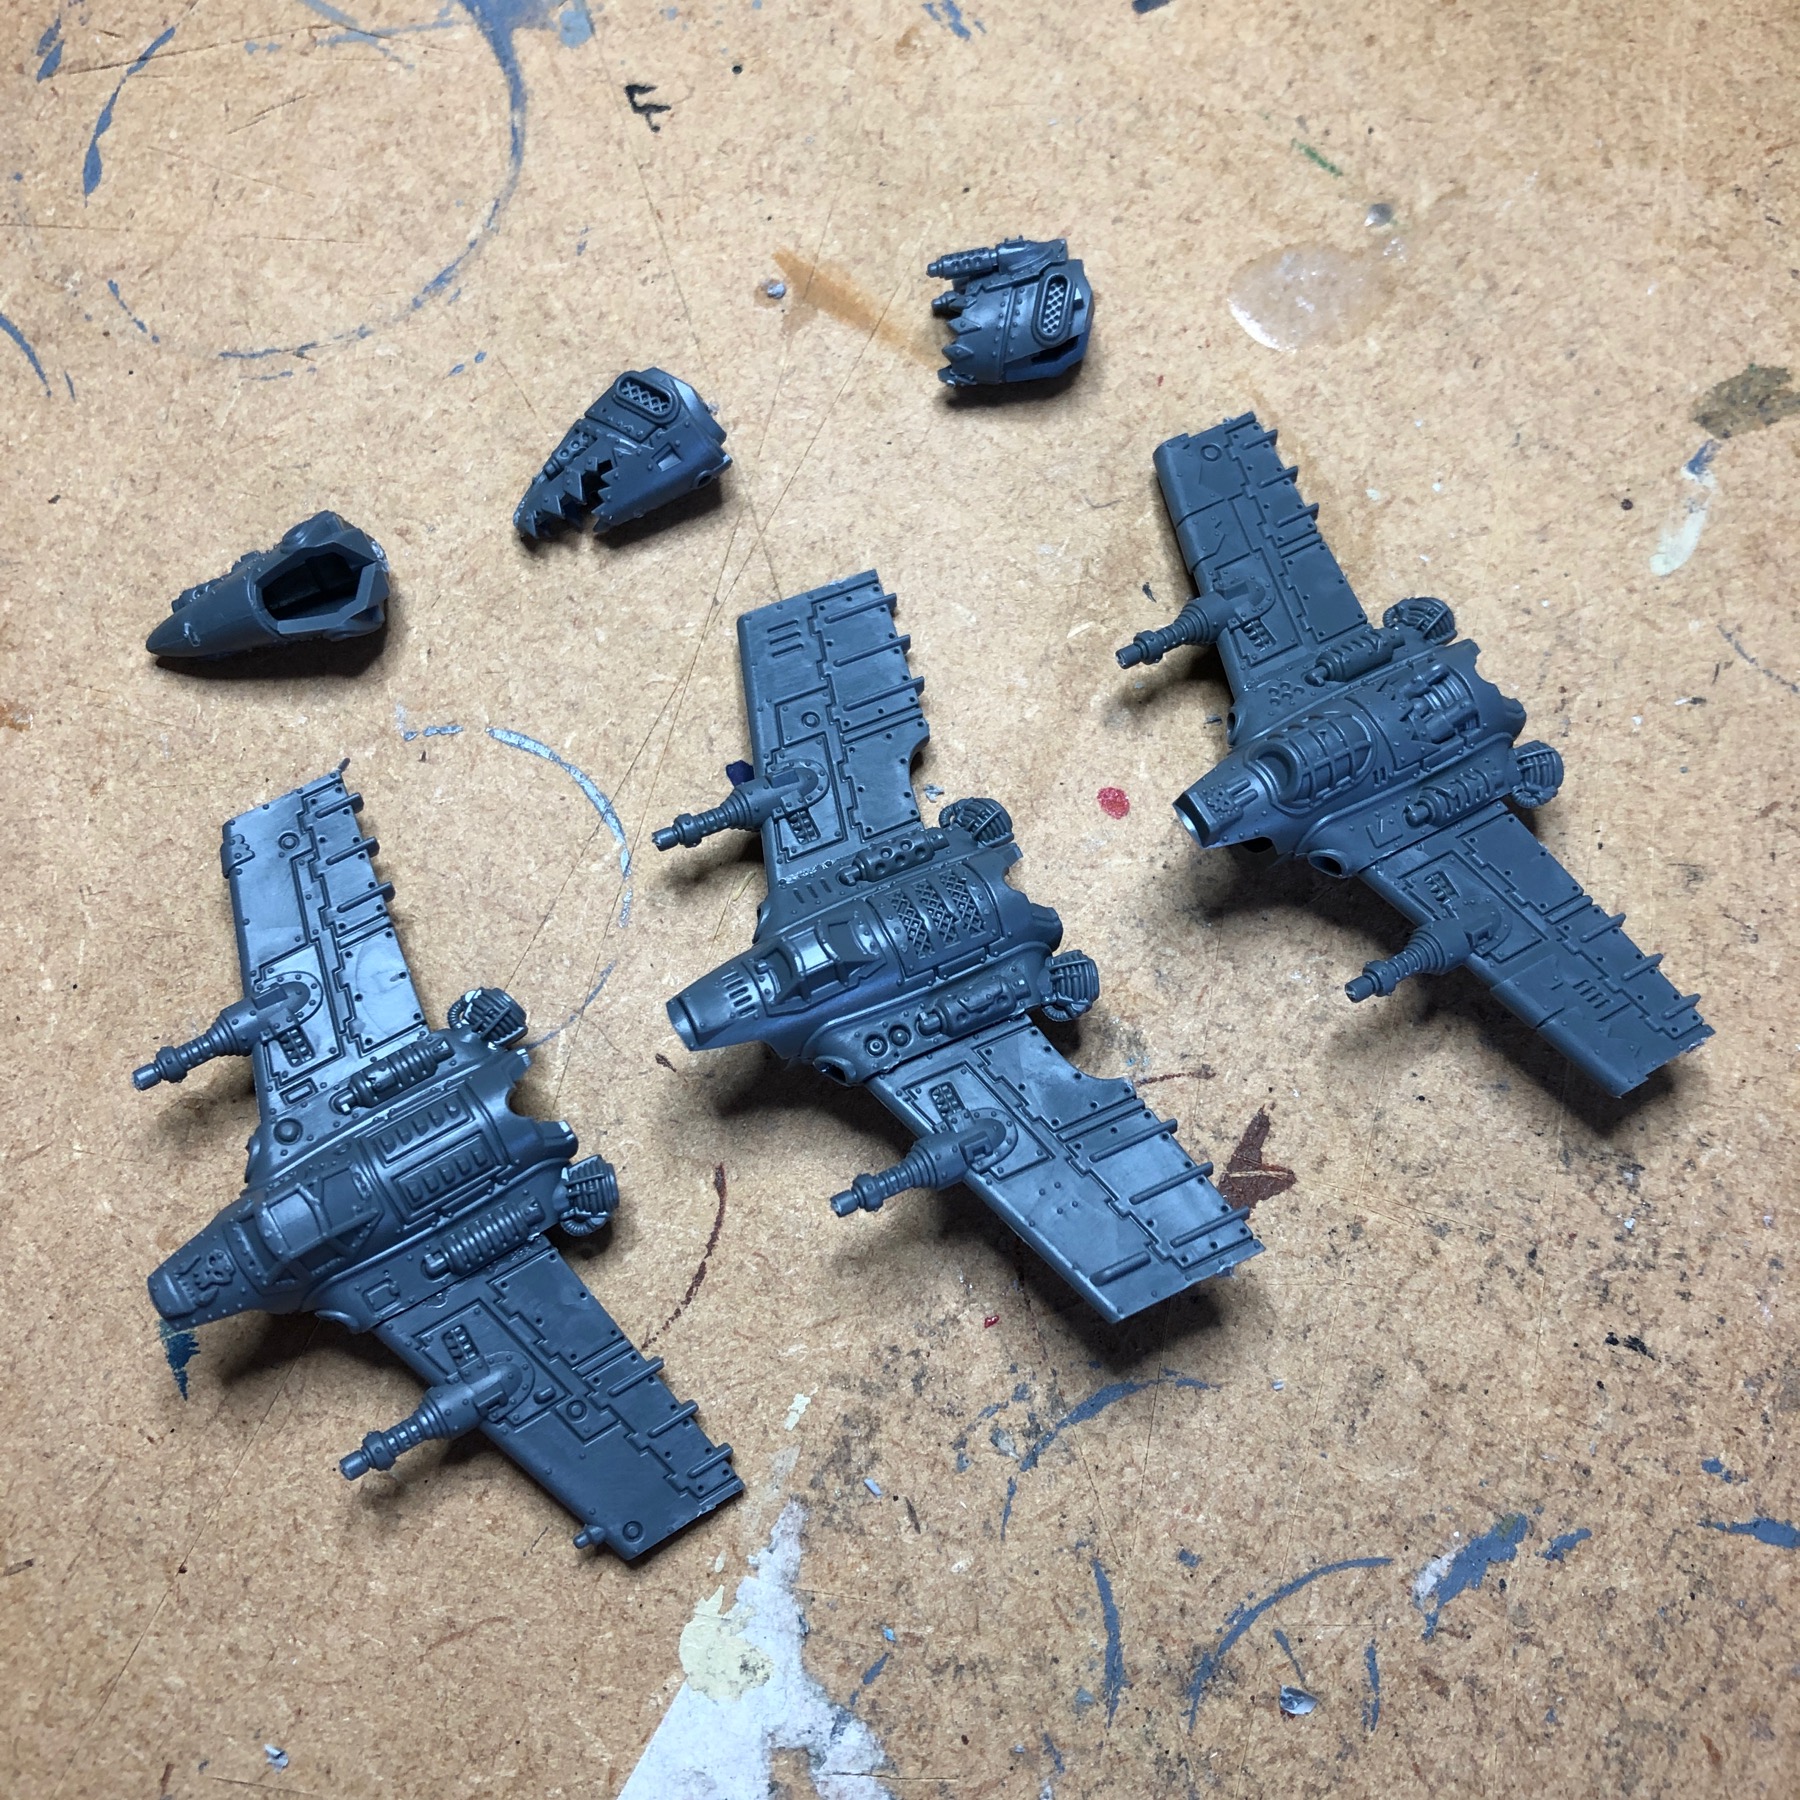
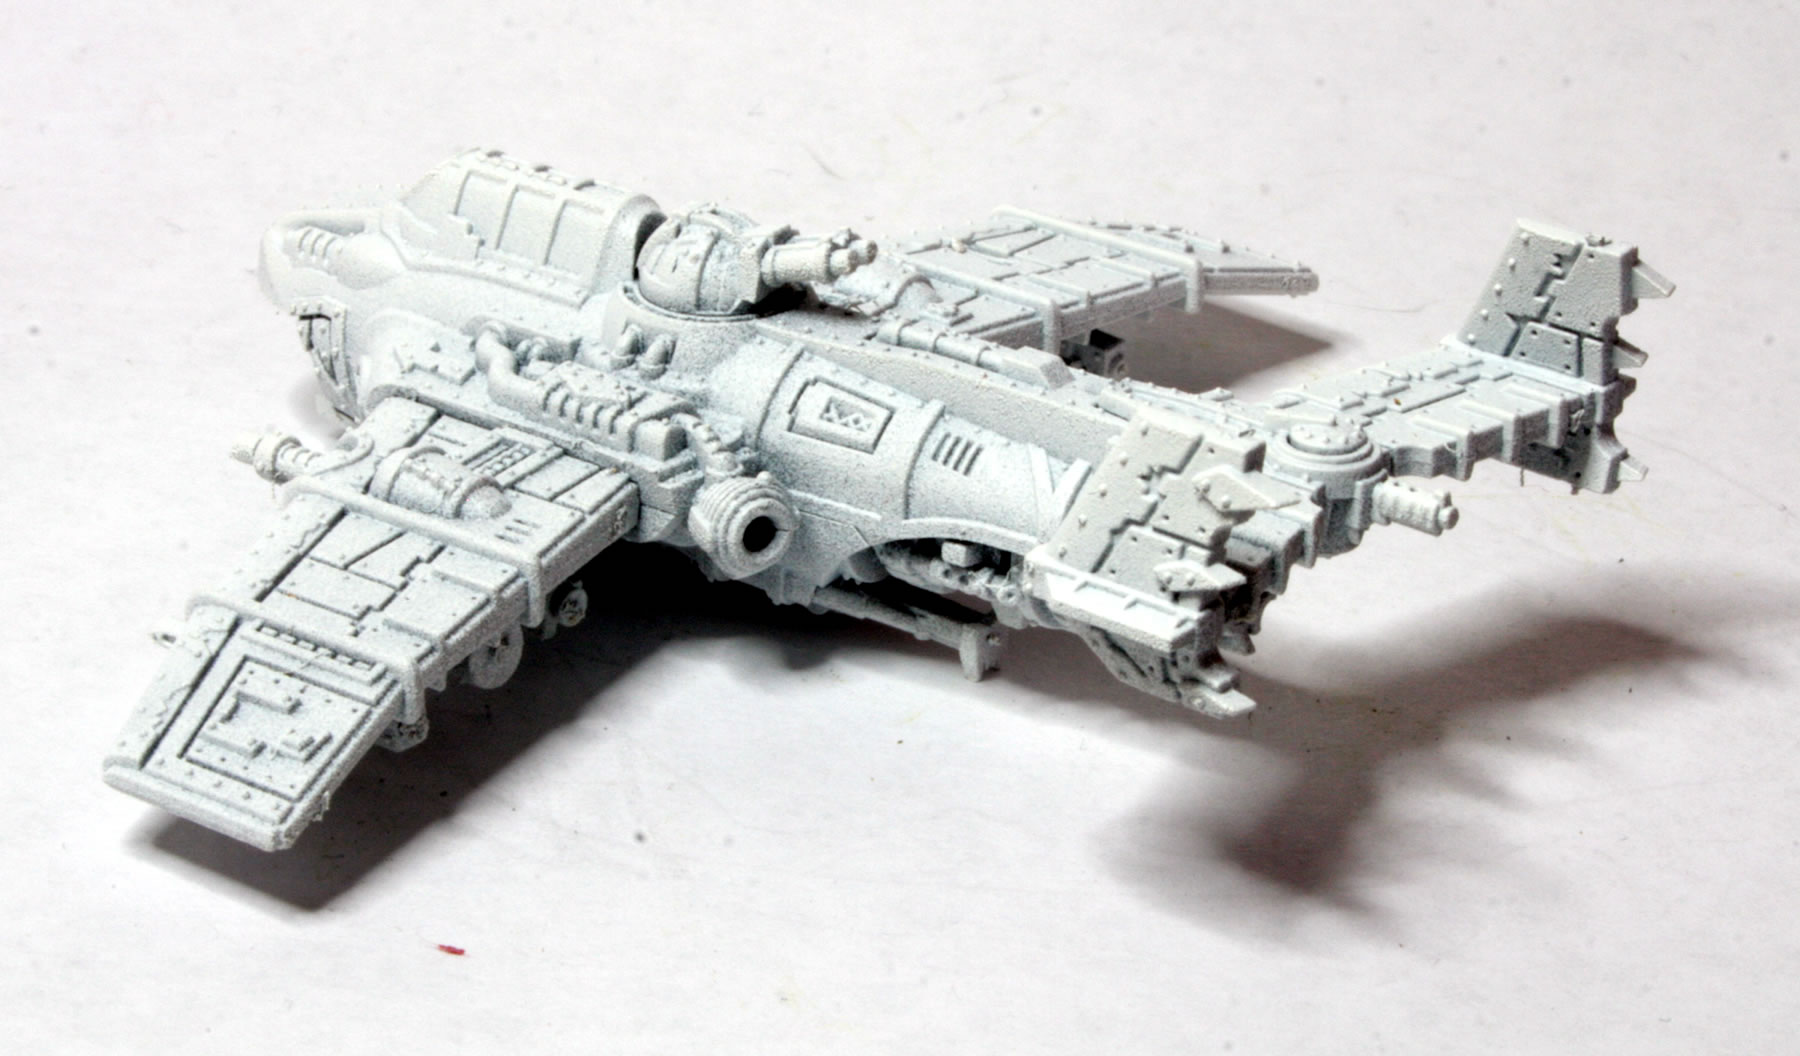
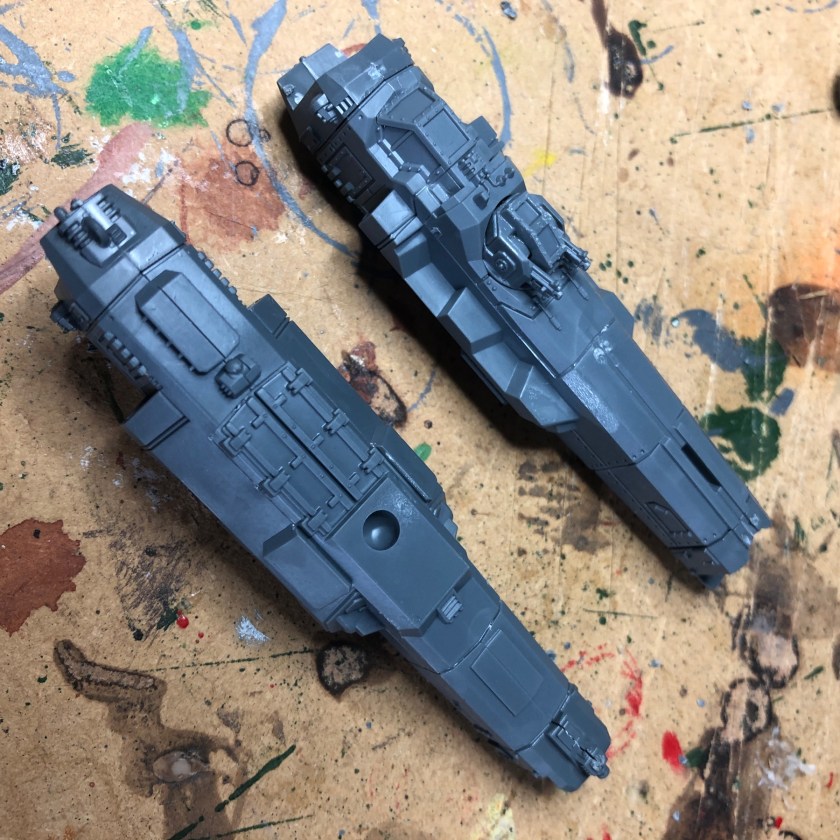
There appeared to be a large number of parts for this large aircraft. This initially put me off slightly, so one of the reasons I didn’t make it first. However decided I better crack on and got going. The first stage is getting the main fuselage and cockpit together. These models are well designed and went together very easily.

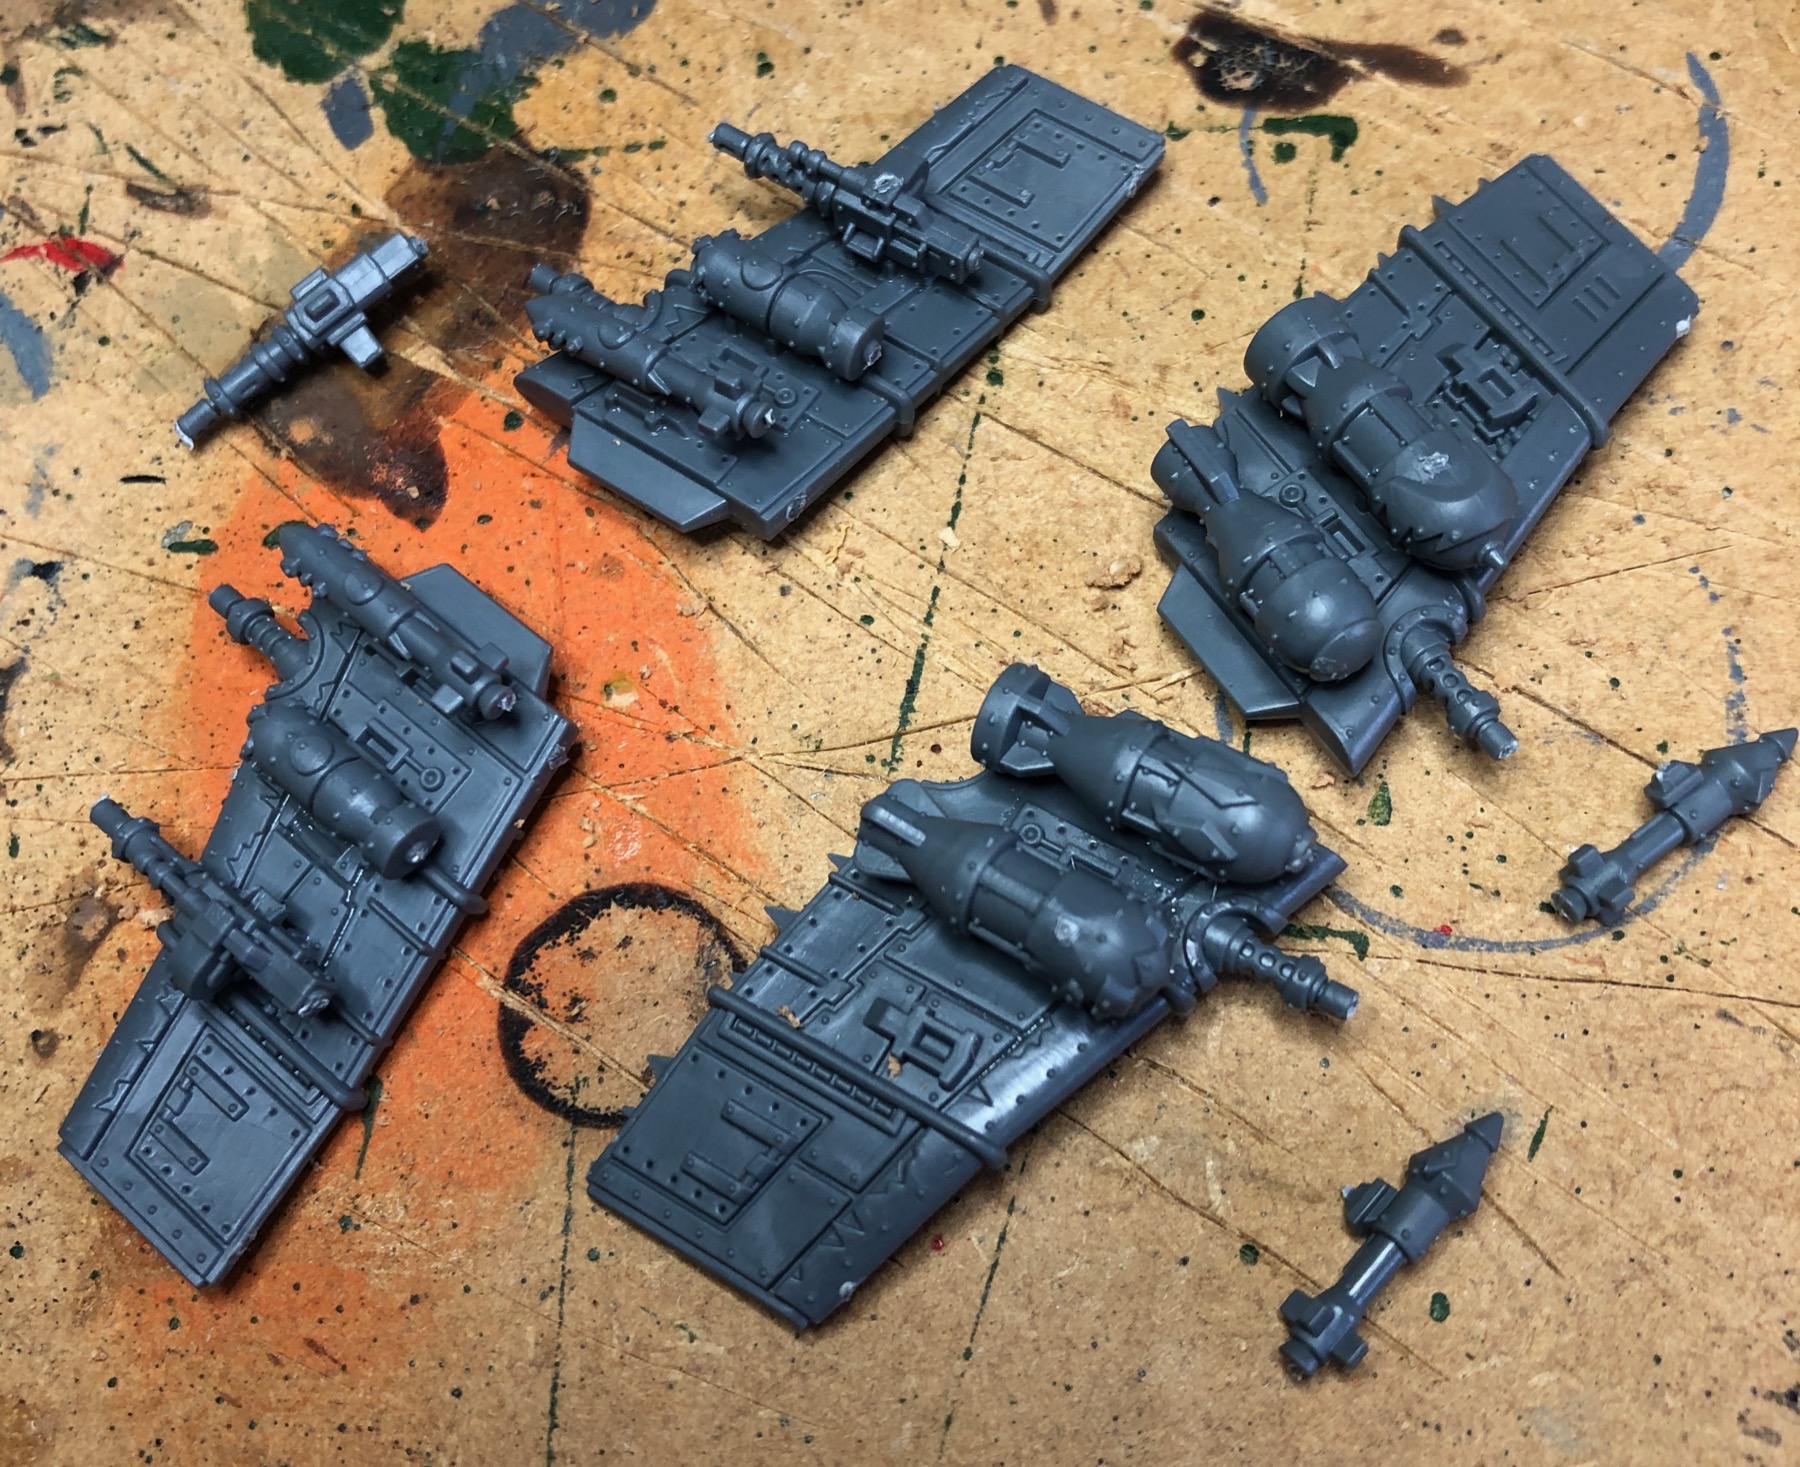
The wings and embedded engines contain quite a few parts, though the main wing is a single part.

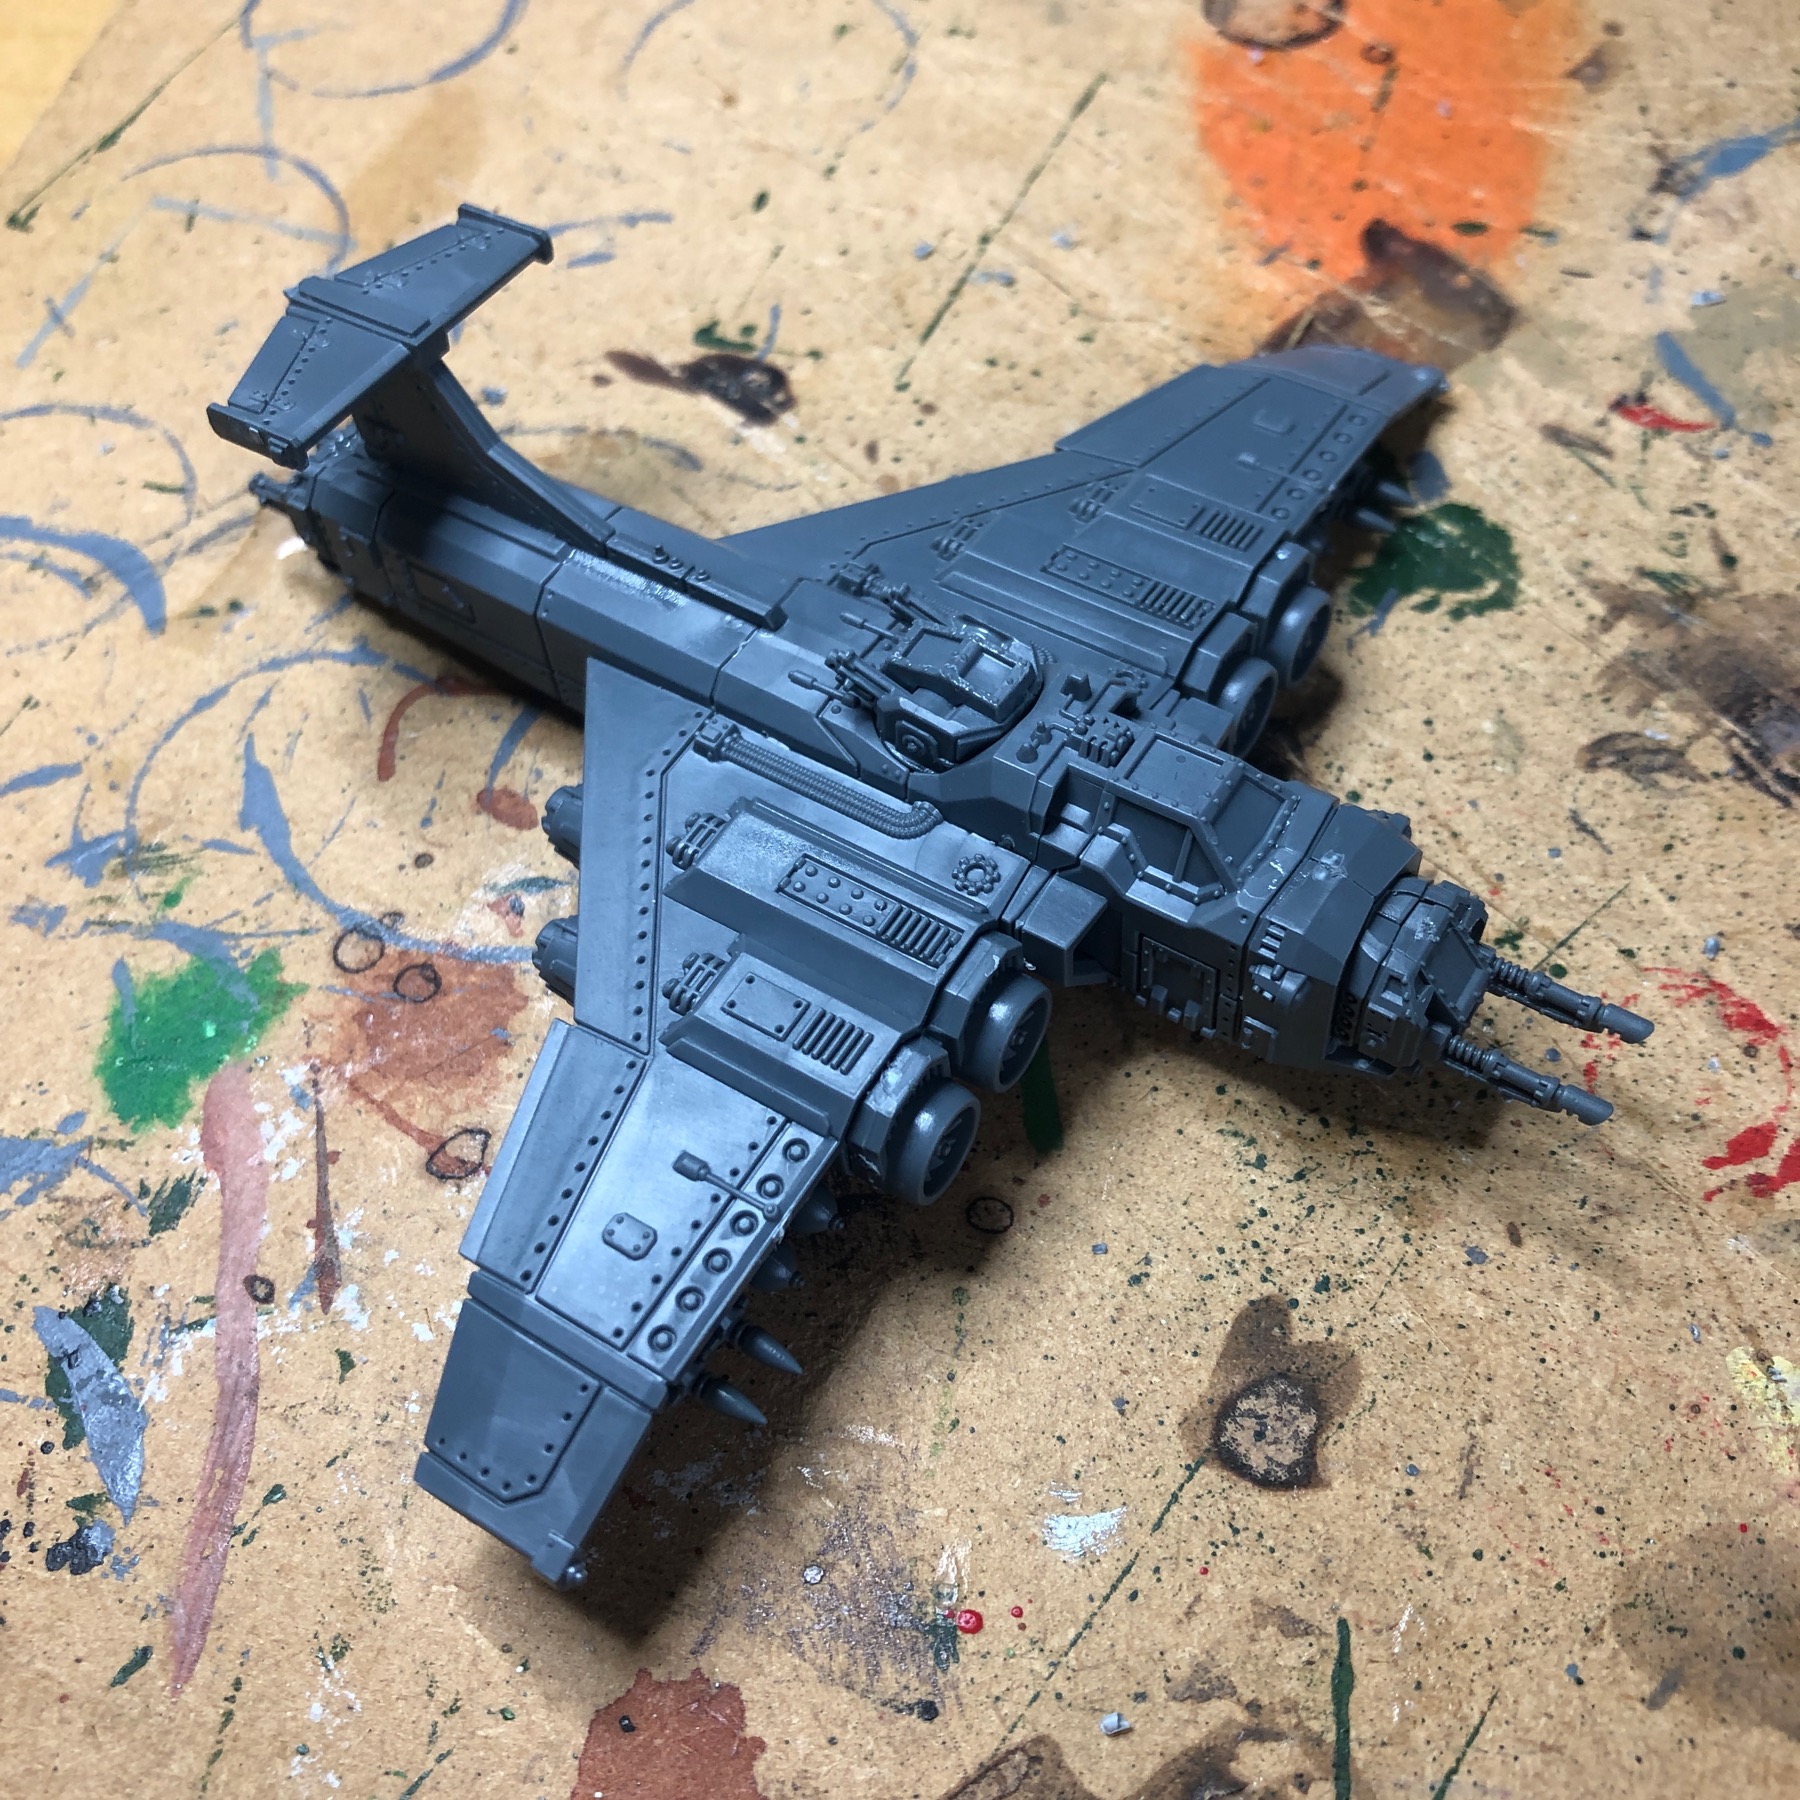
I added the fore and rear parts to the fuselage. I added the dorsal turret, which looks like it could quite easily shoot the plane’s tail off!

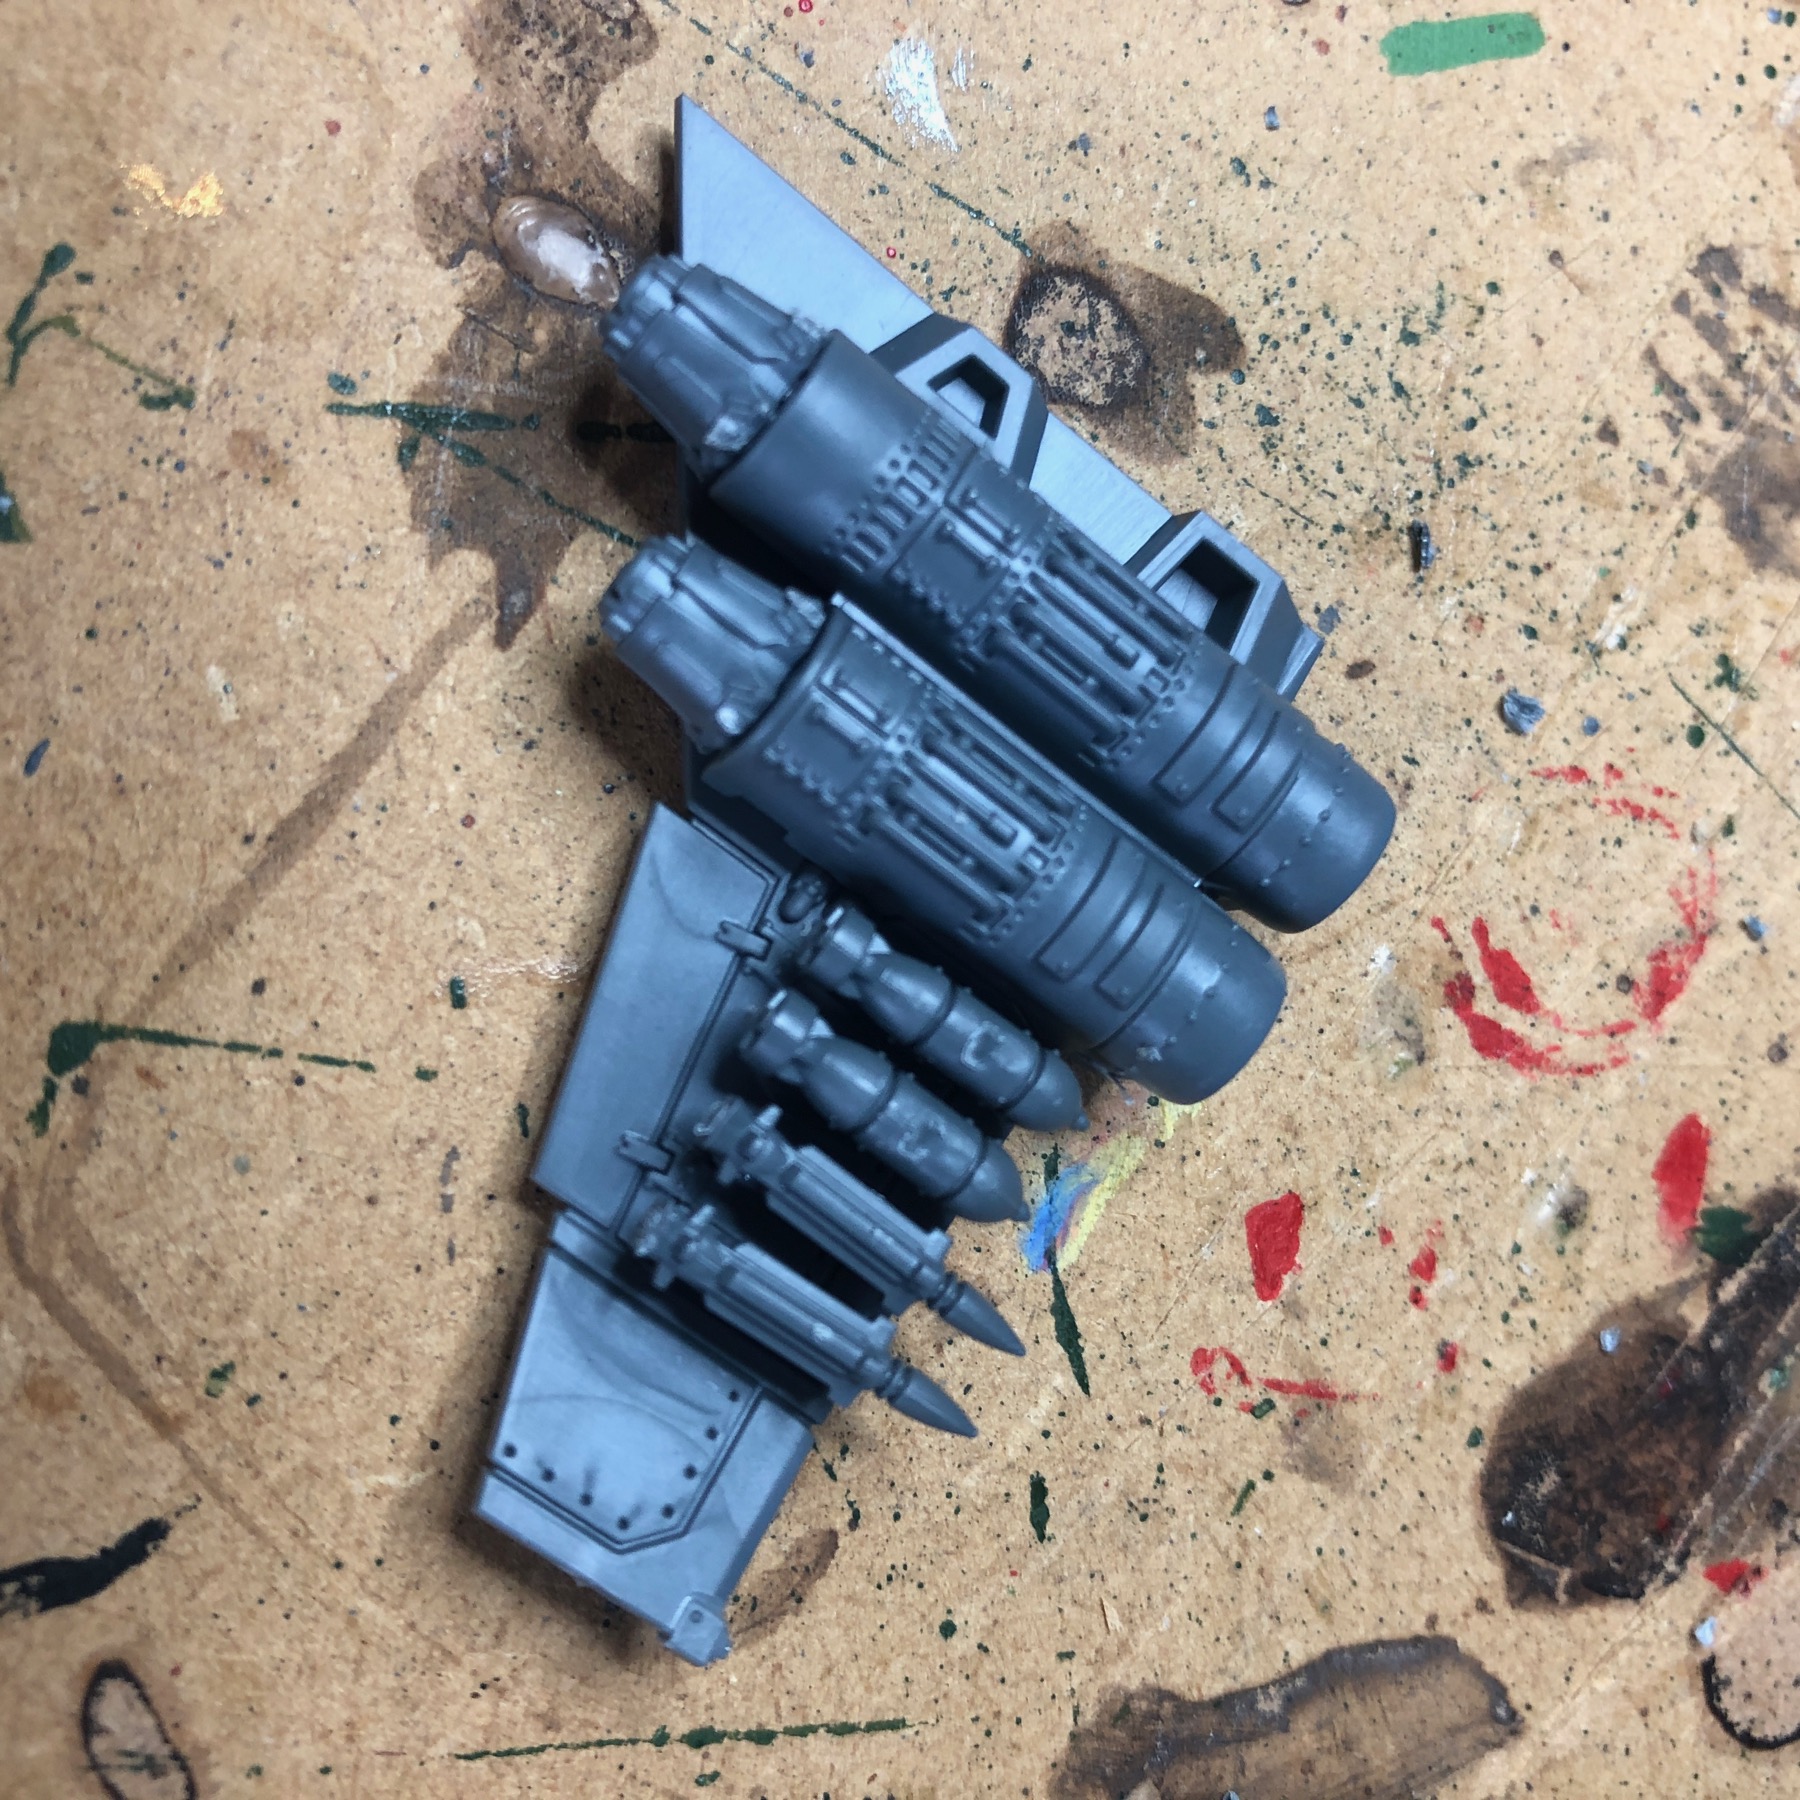
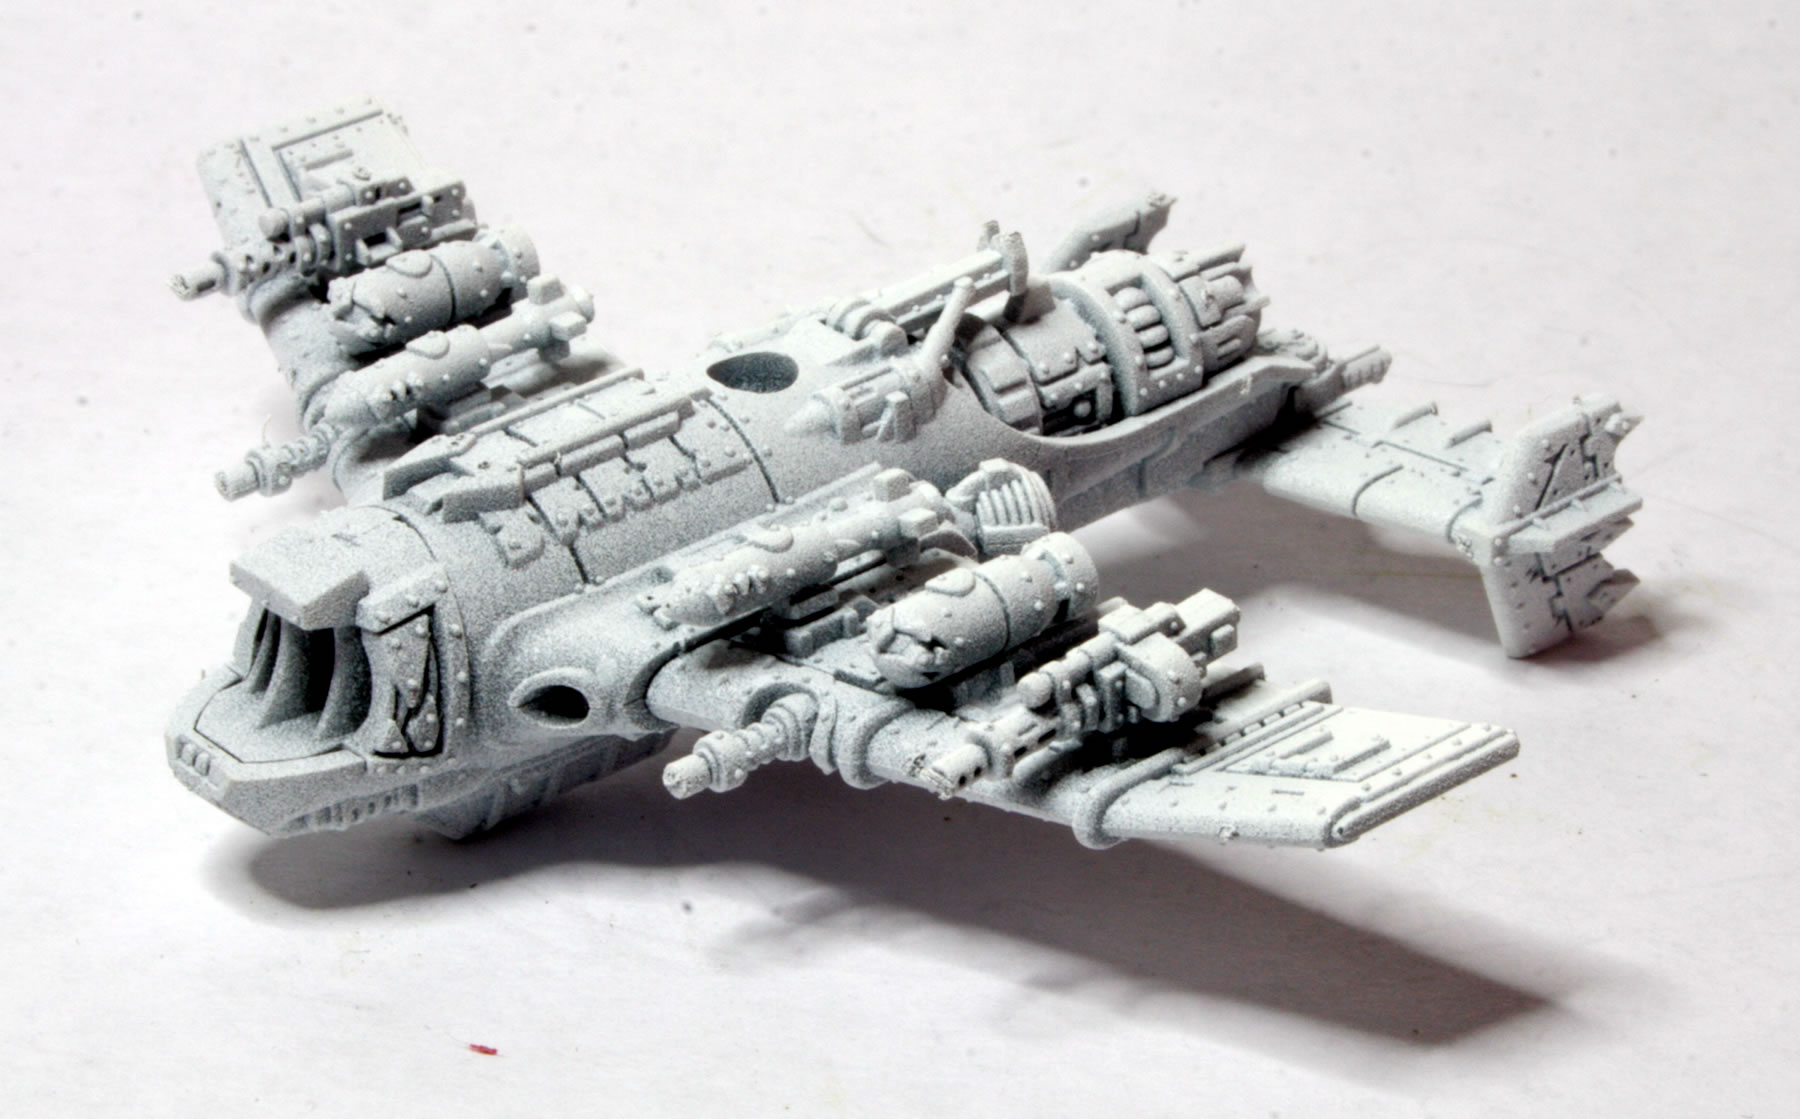
I diverged from the instructions and added the weapon loads whilst the wings were separate. I went for a full weapon load. What I was concerned about was the stuck weapons falling off or being knocked as I added further weapon loads. In the end sticking them down went very smoothly.

I am not thinking about WYSWIG with these models, as they restricts how you can use them in games, and I am not going to go out and buy lots of models to represent different variants.

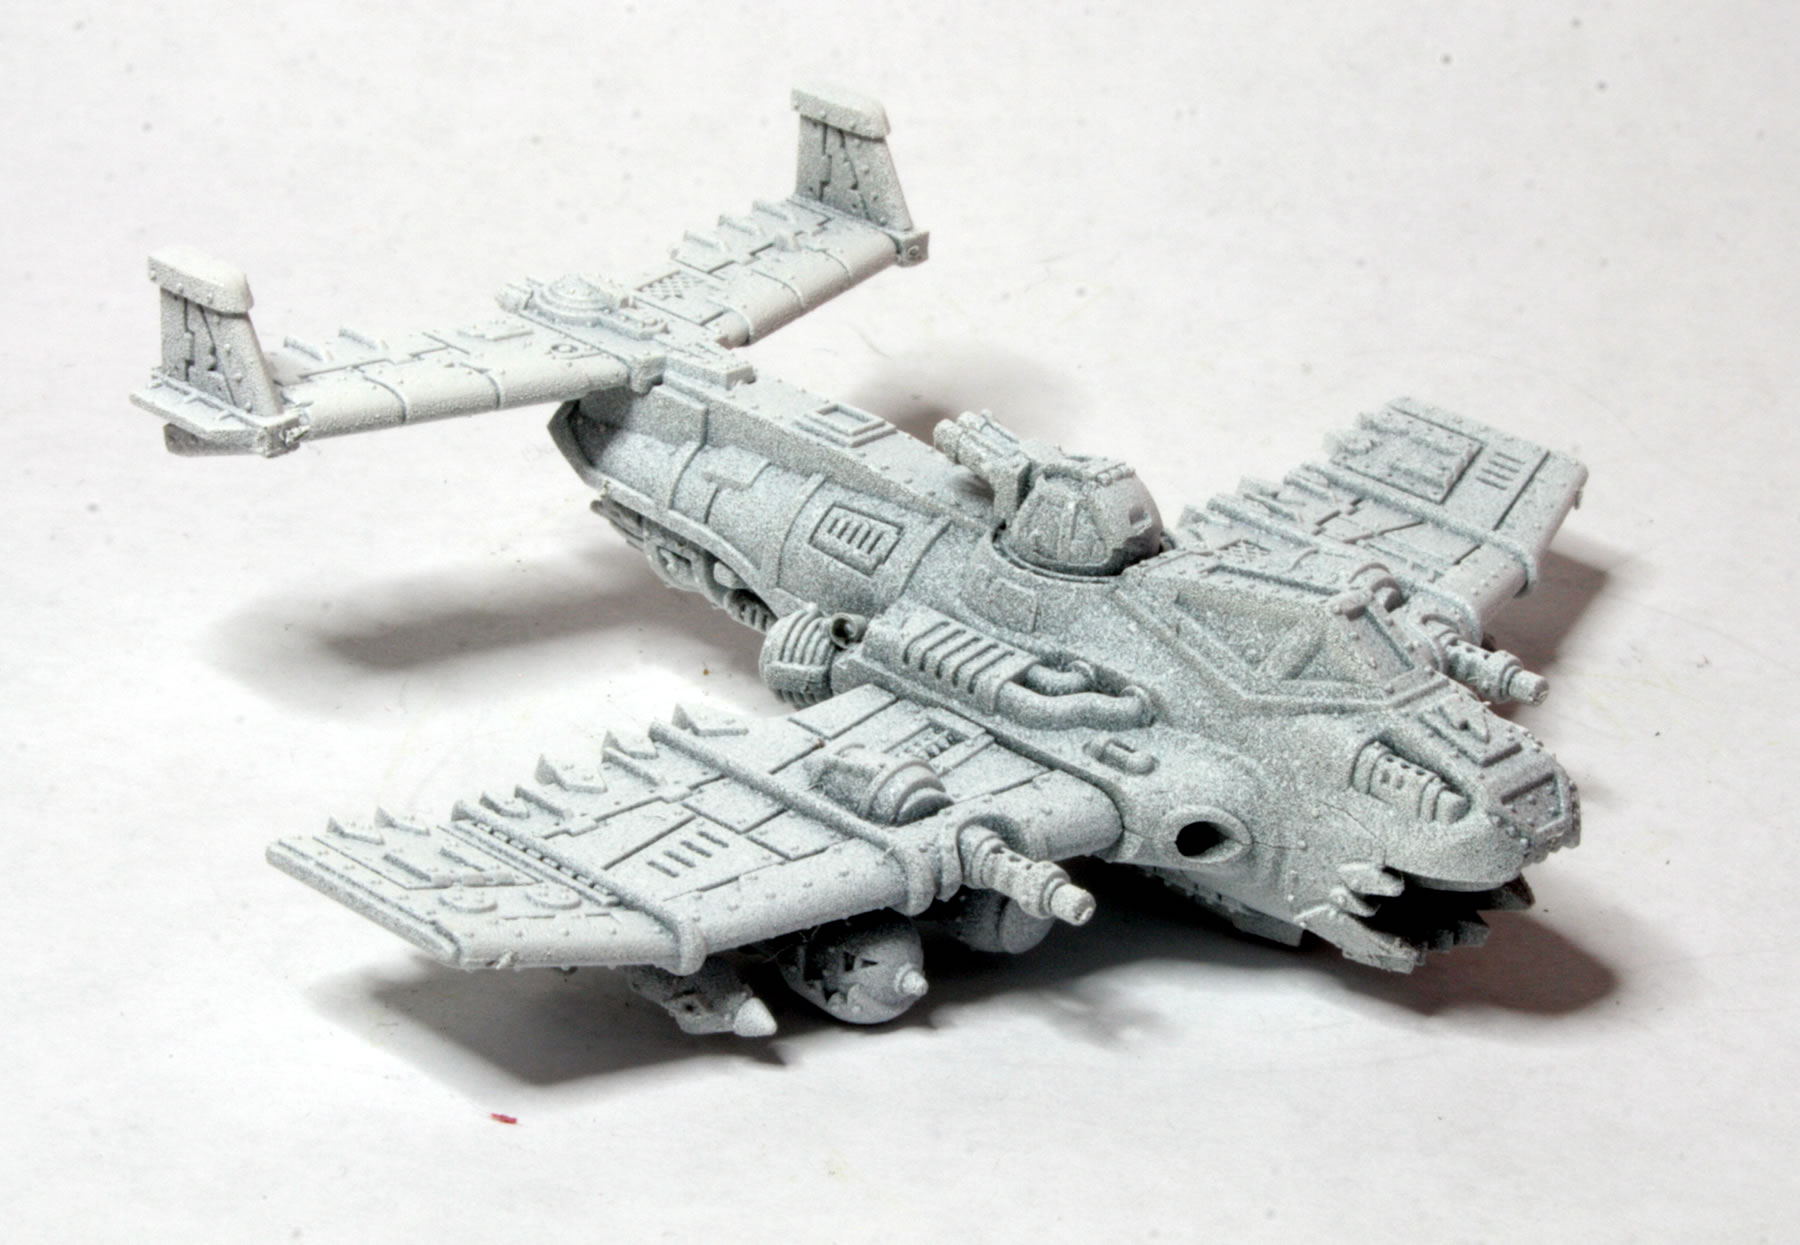
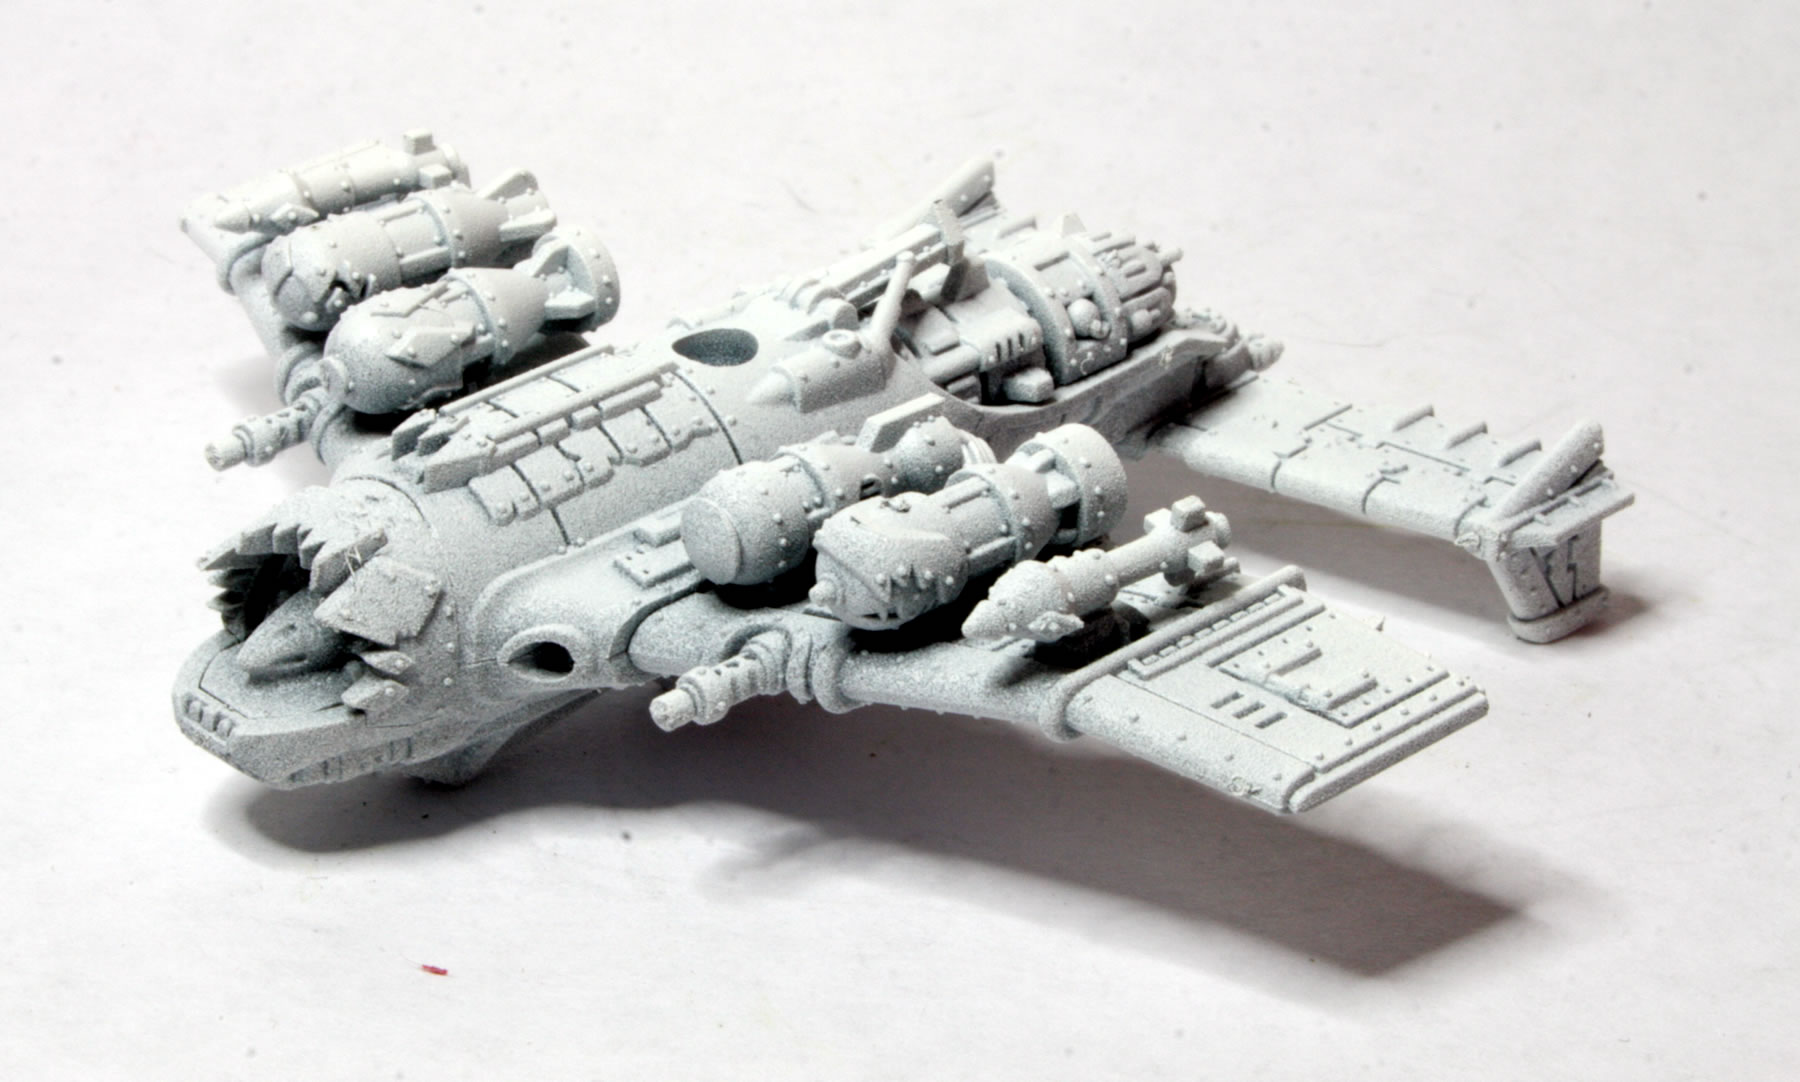
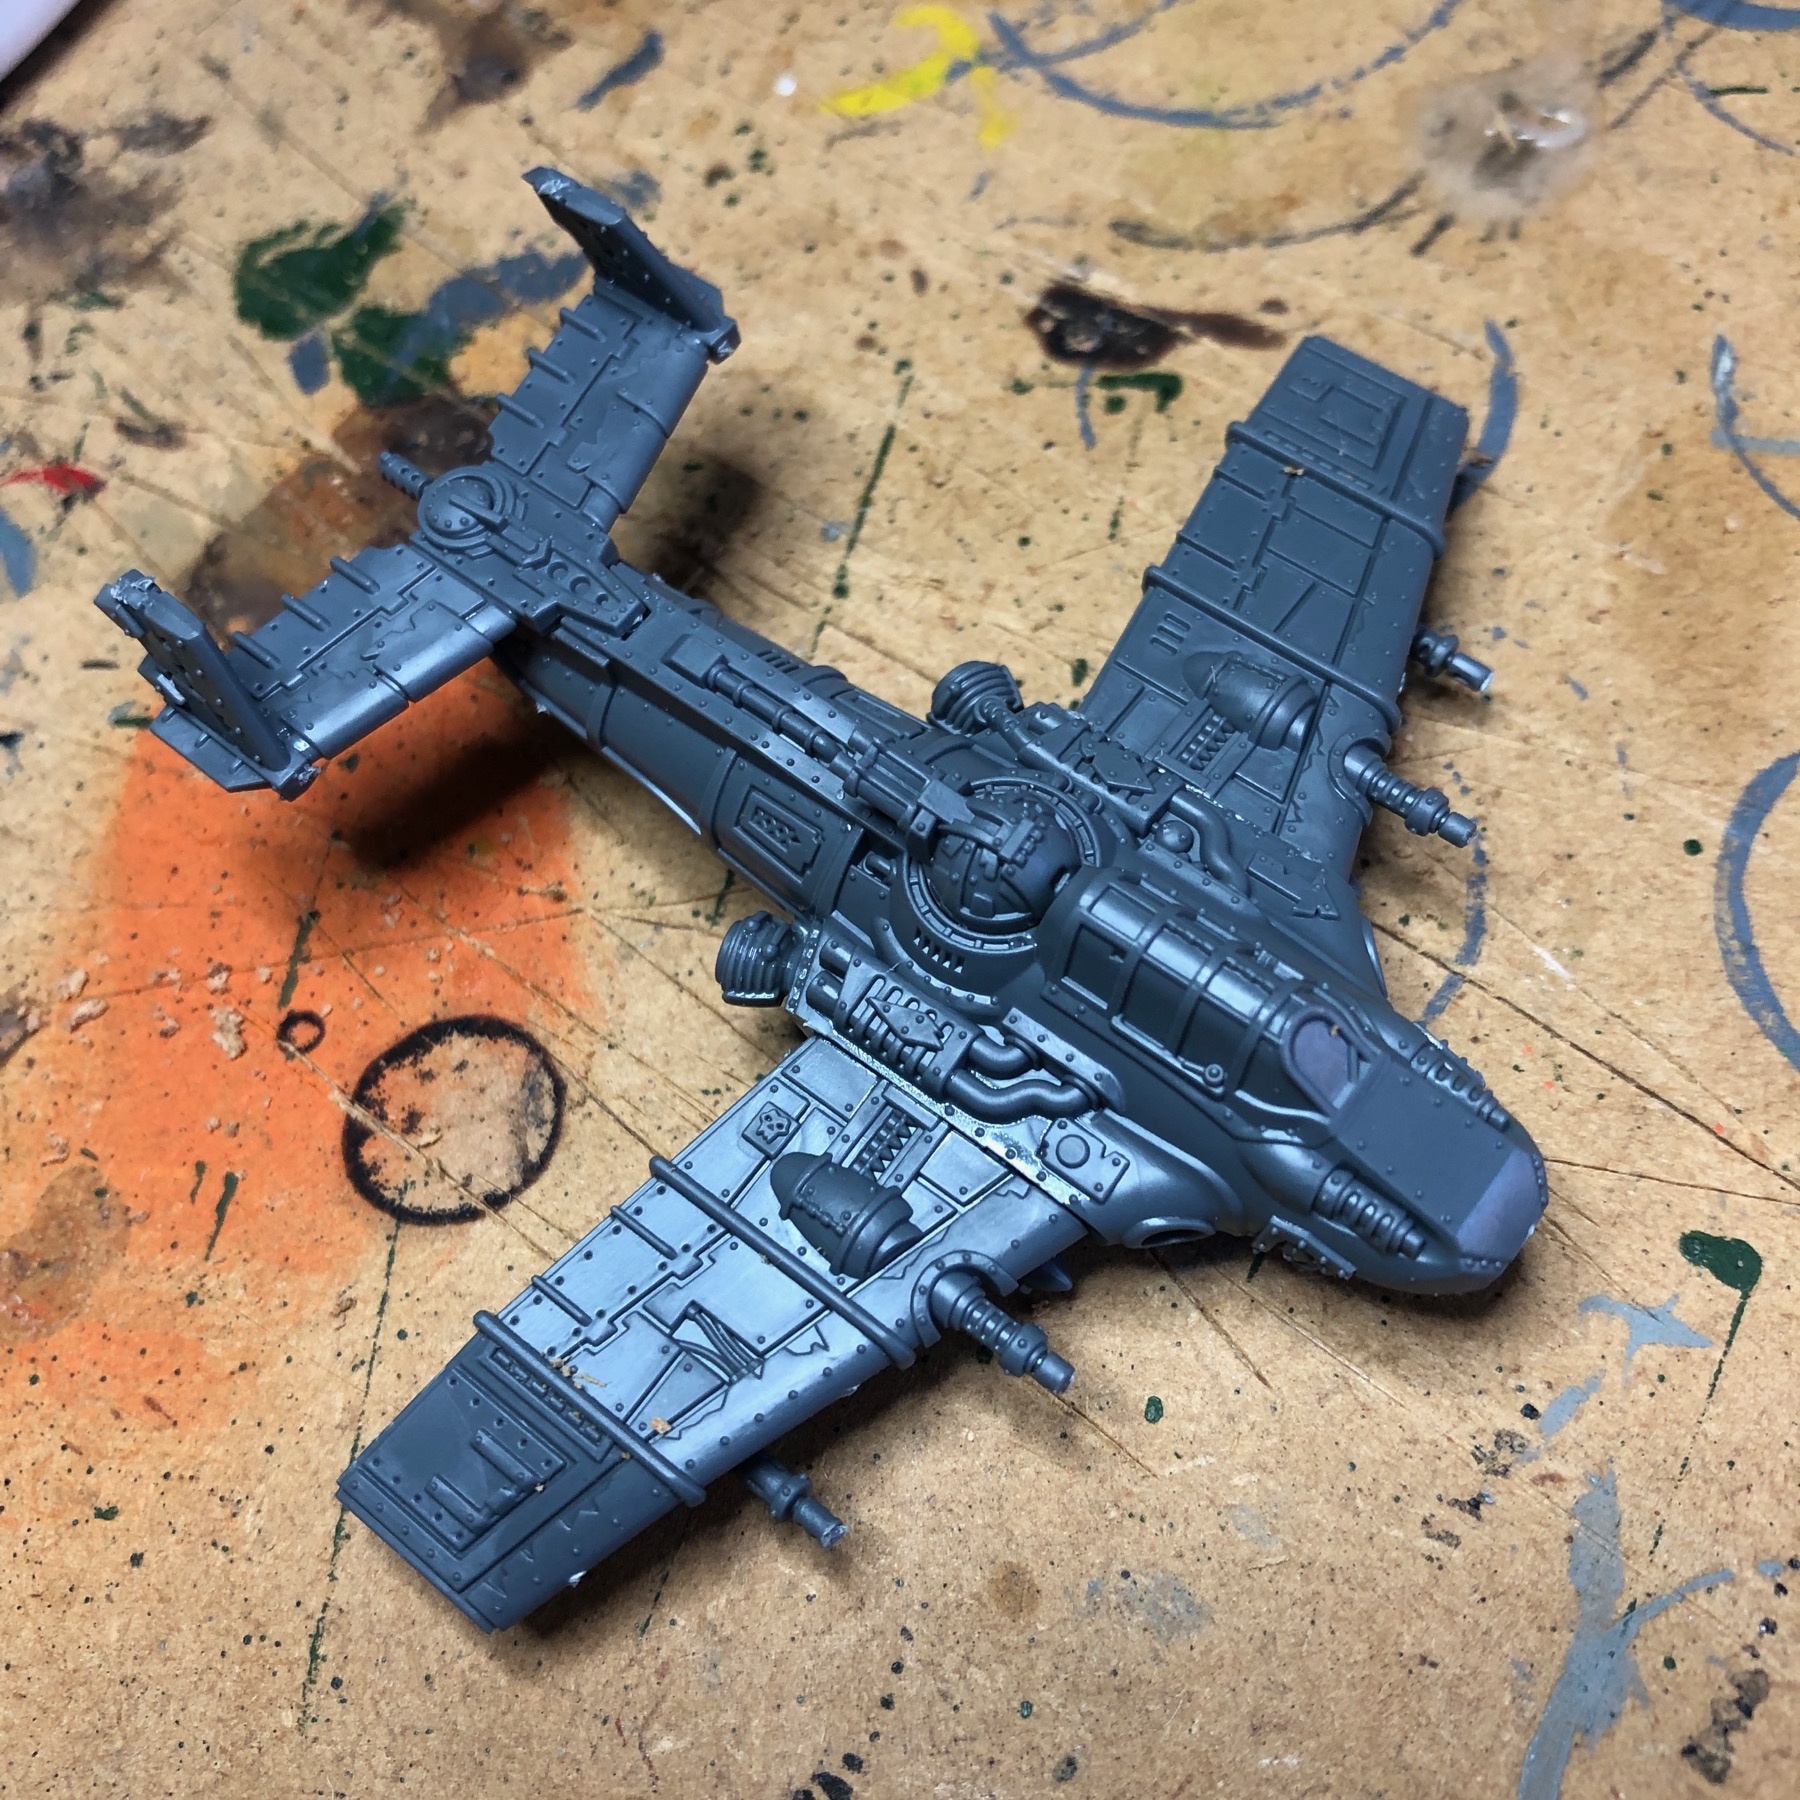
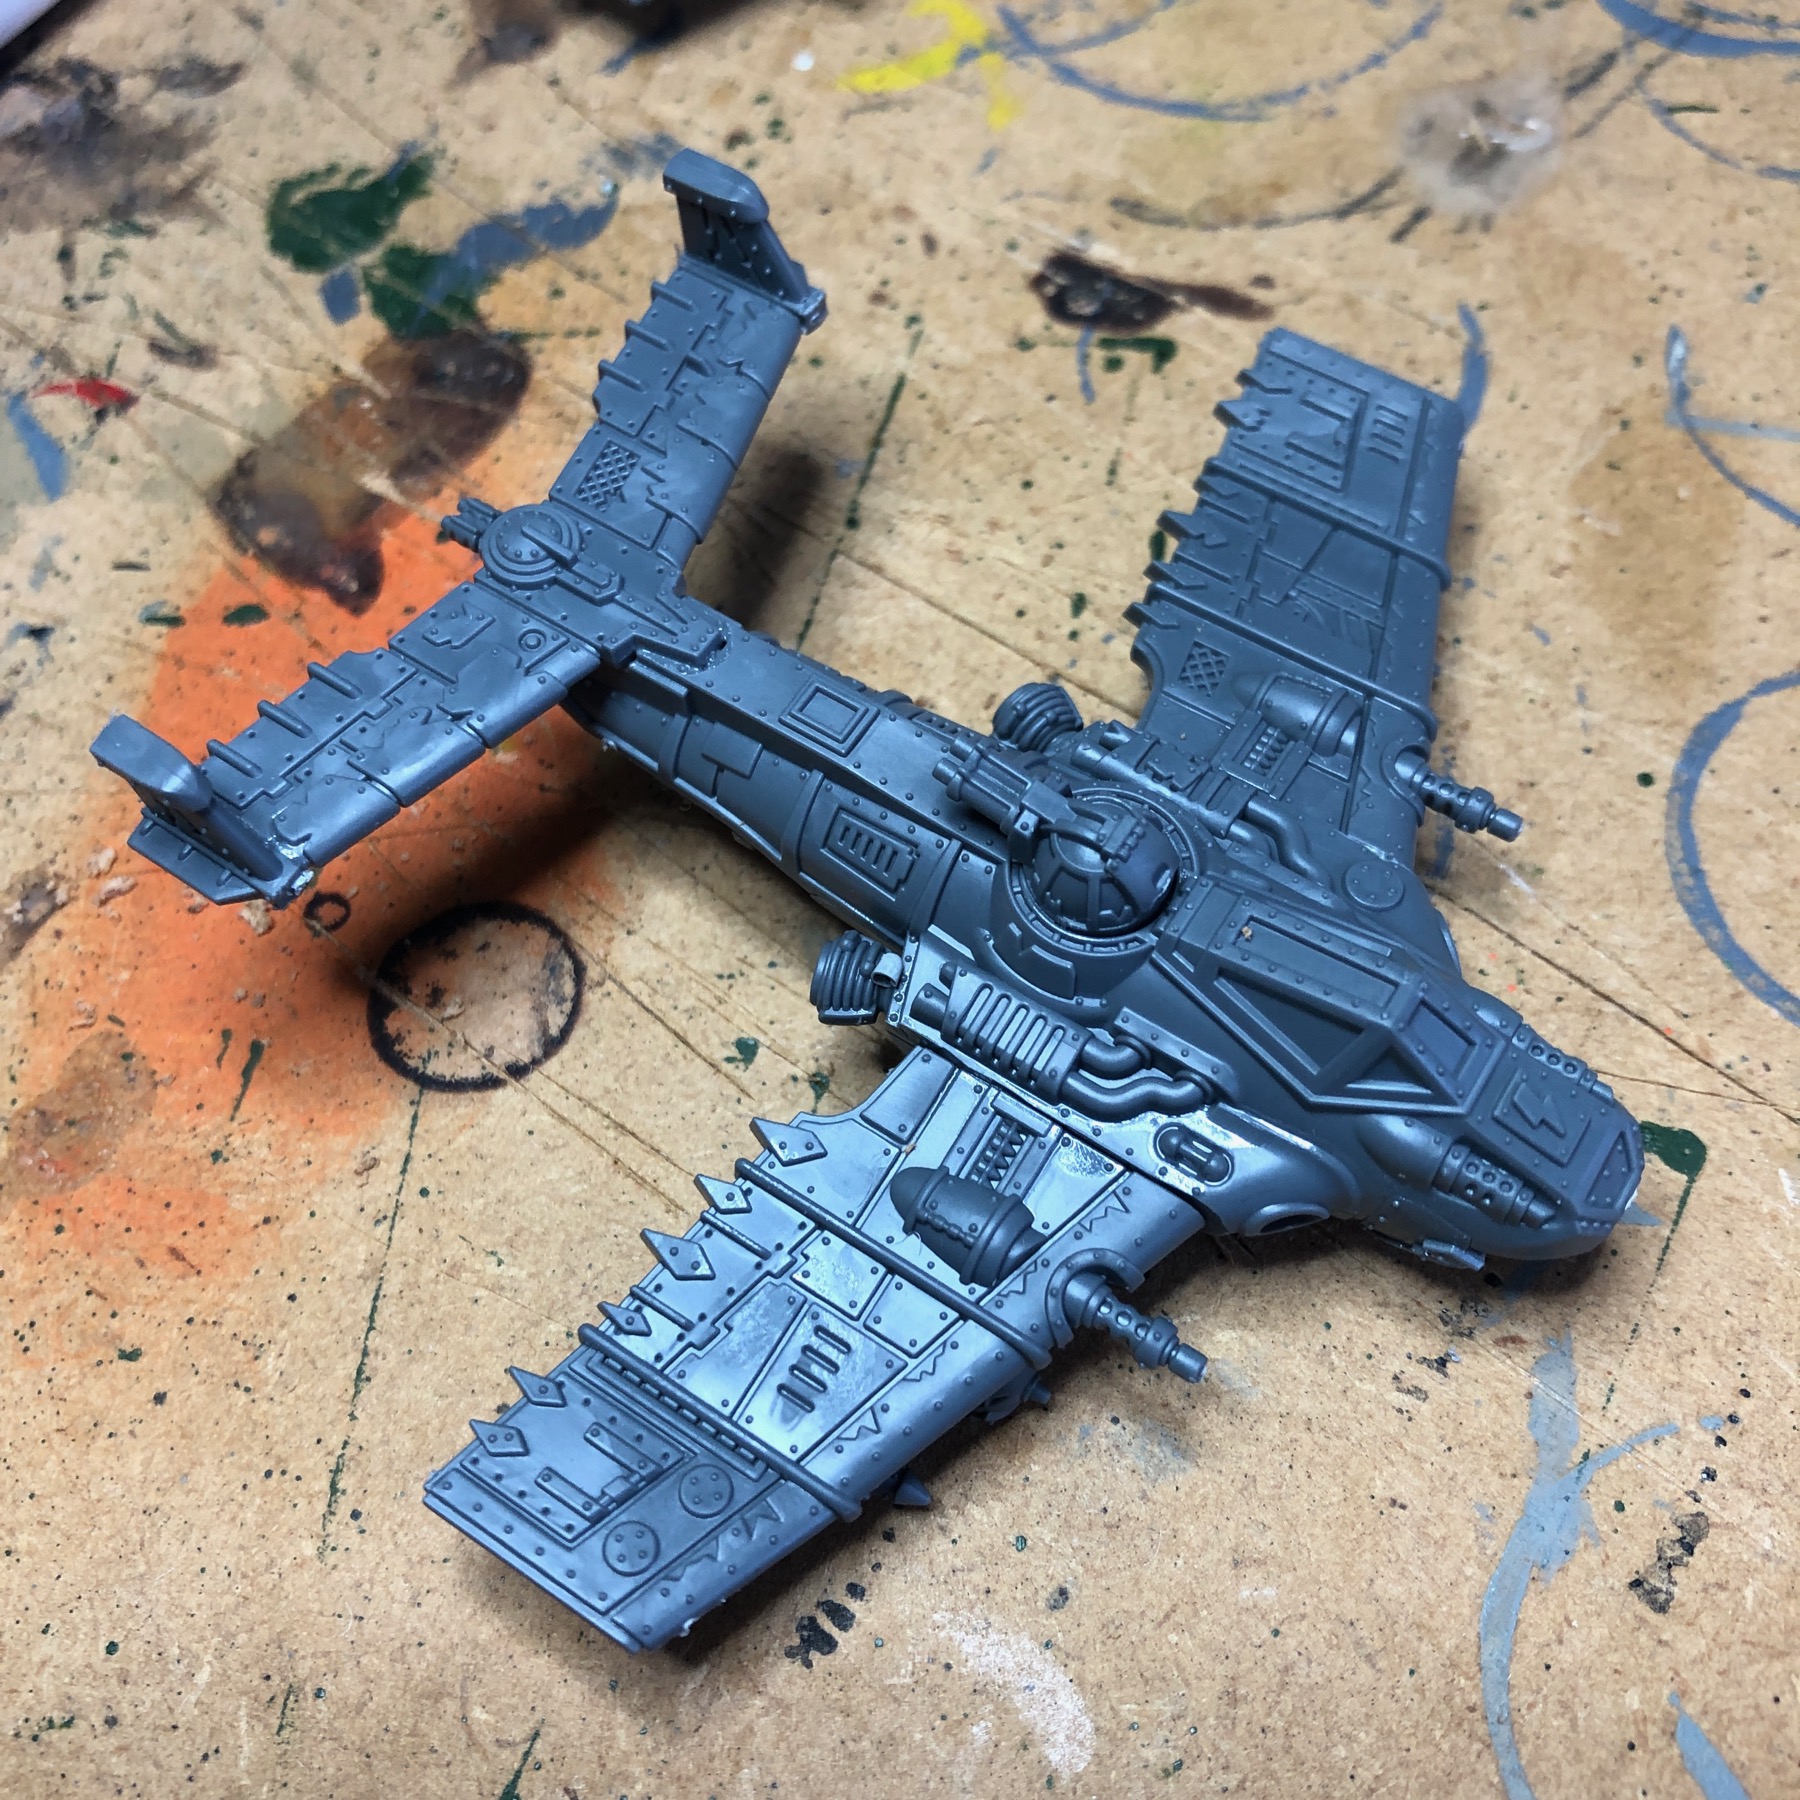
Here is the almost completed model, the tail  has been added, as has the front and real turrets.

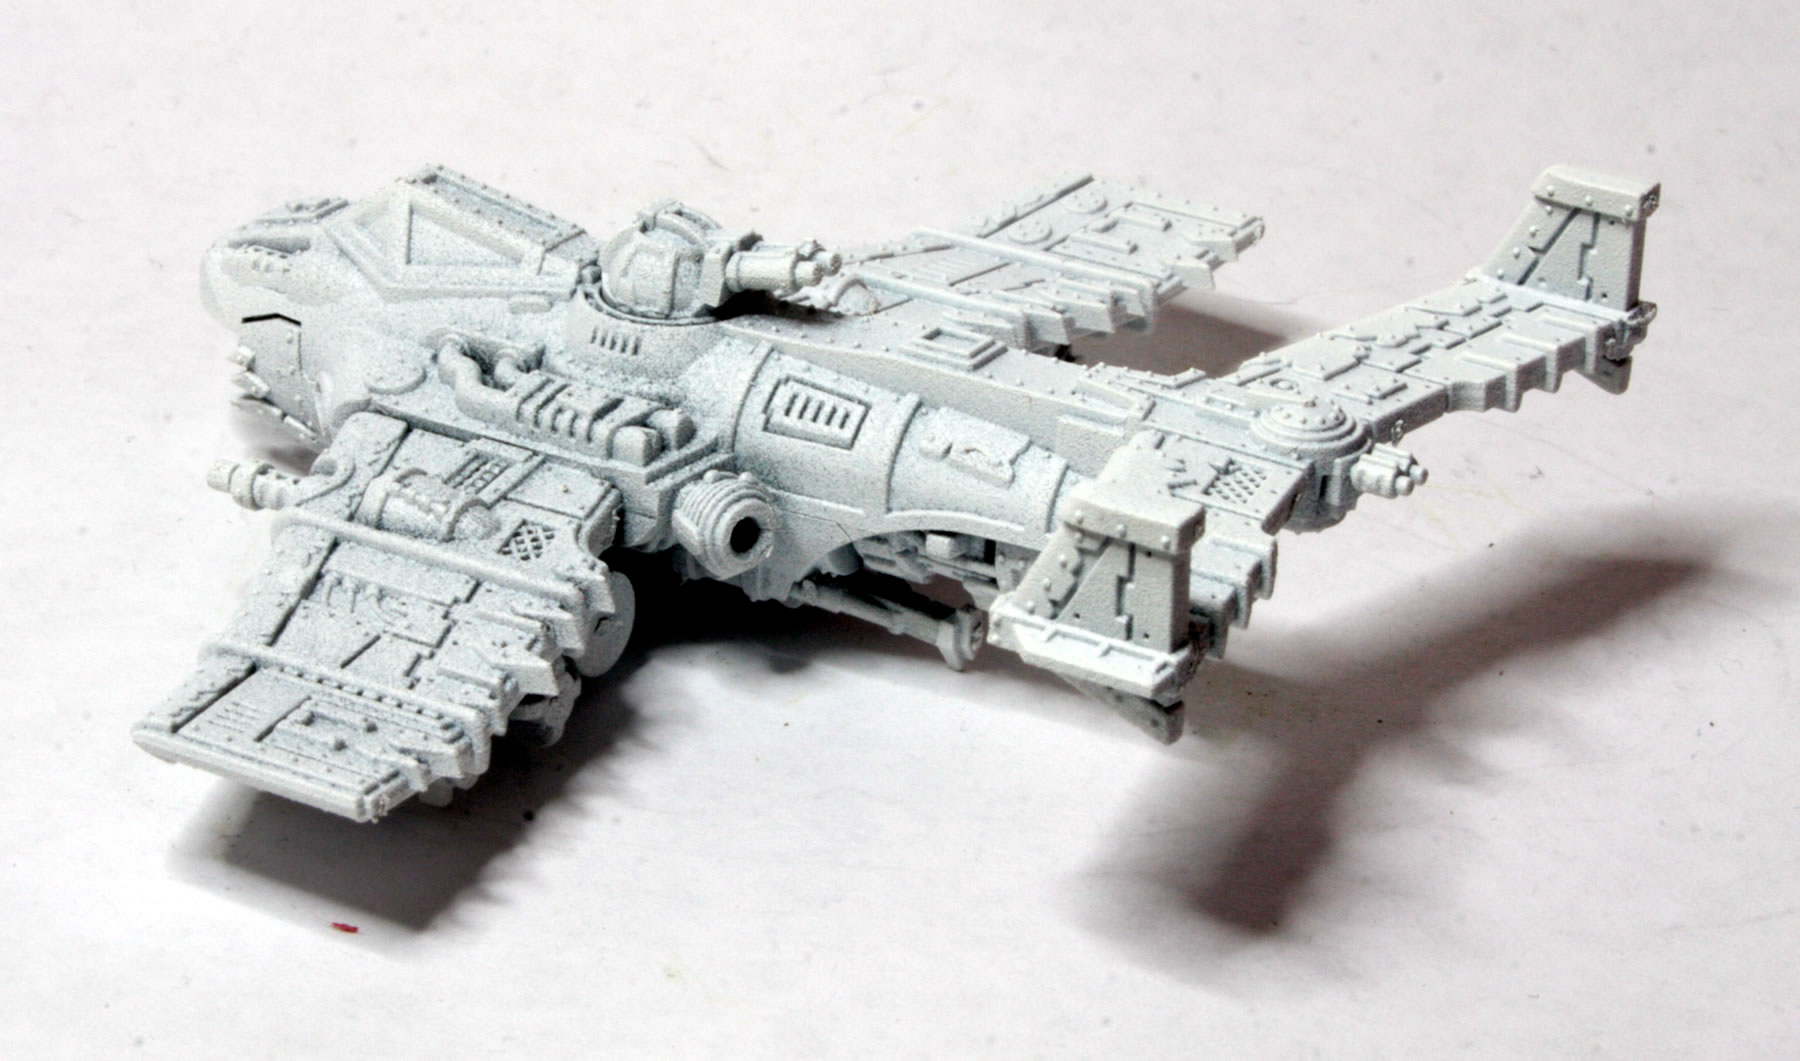
The next stage was to glue the wings to the main fuselage, so here is the completed aircraft.

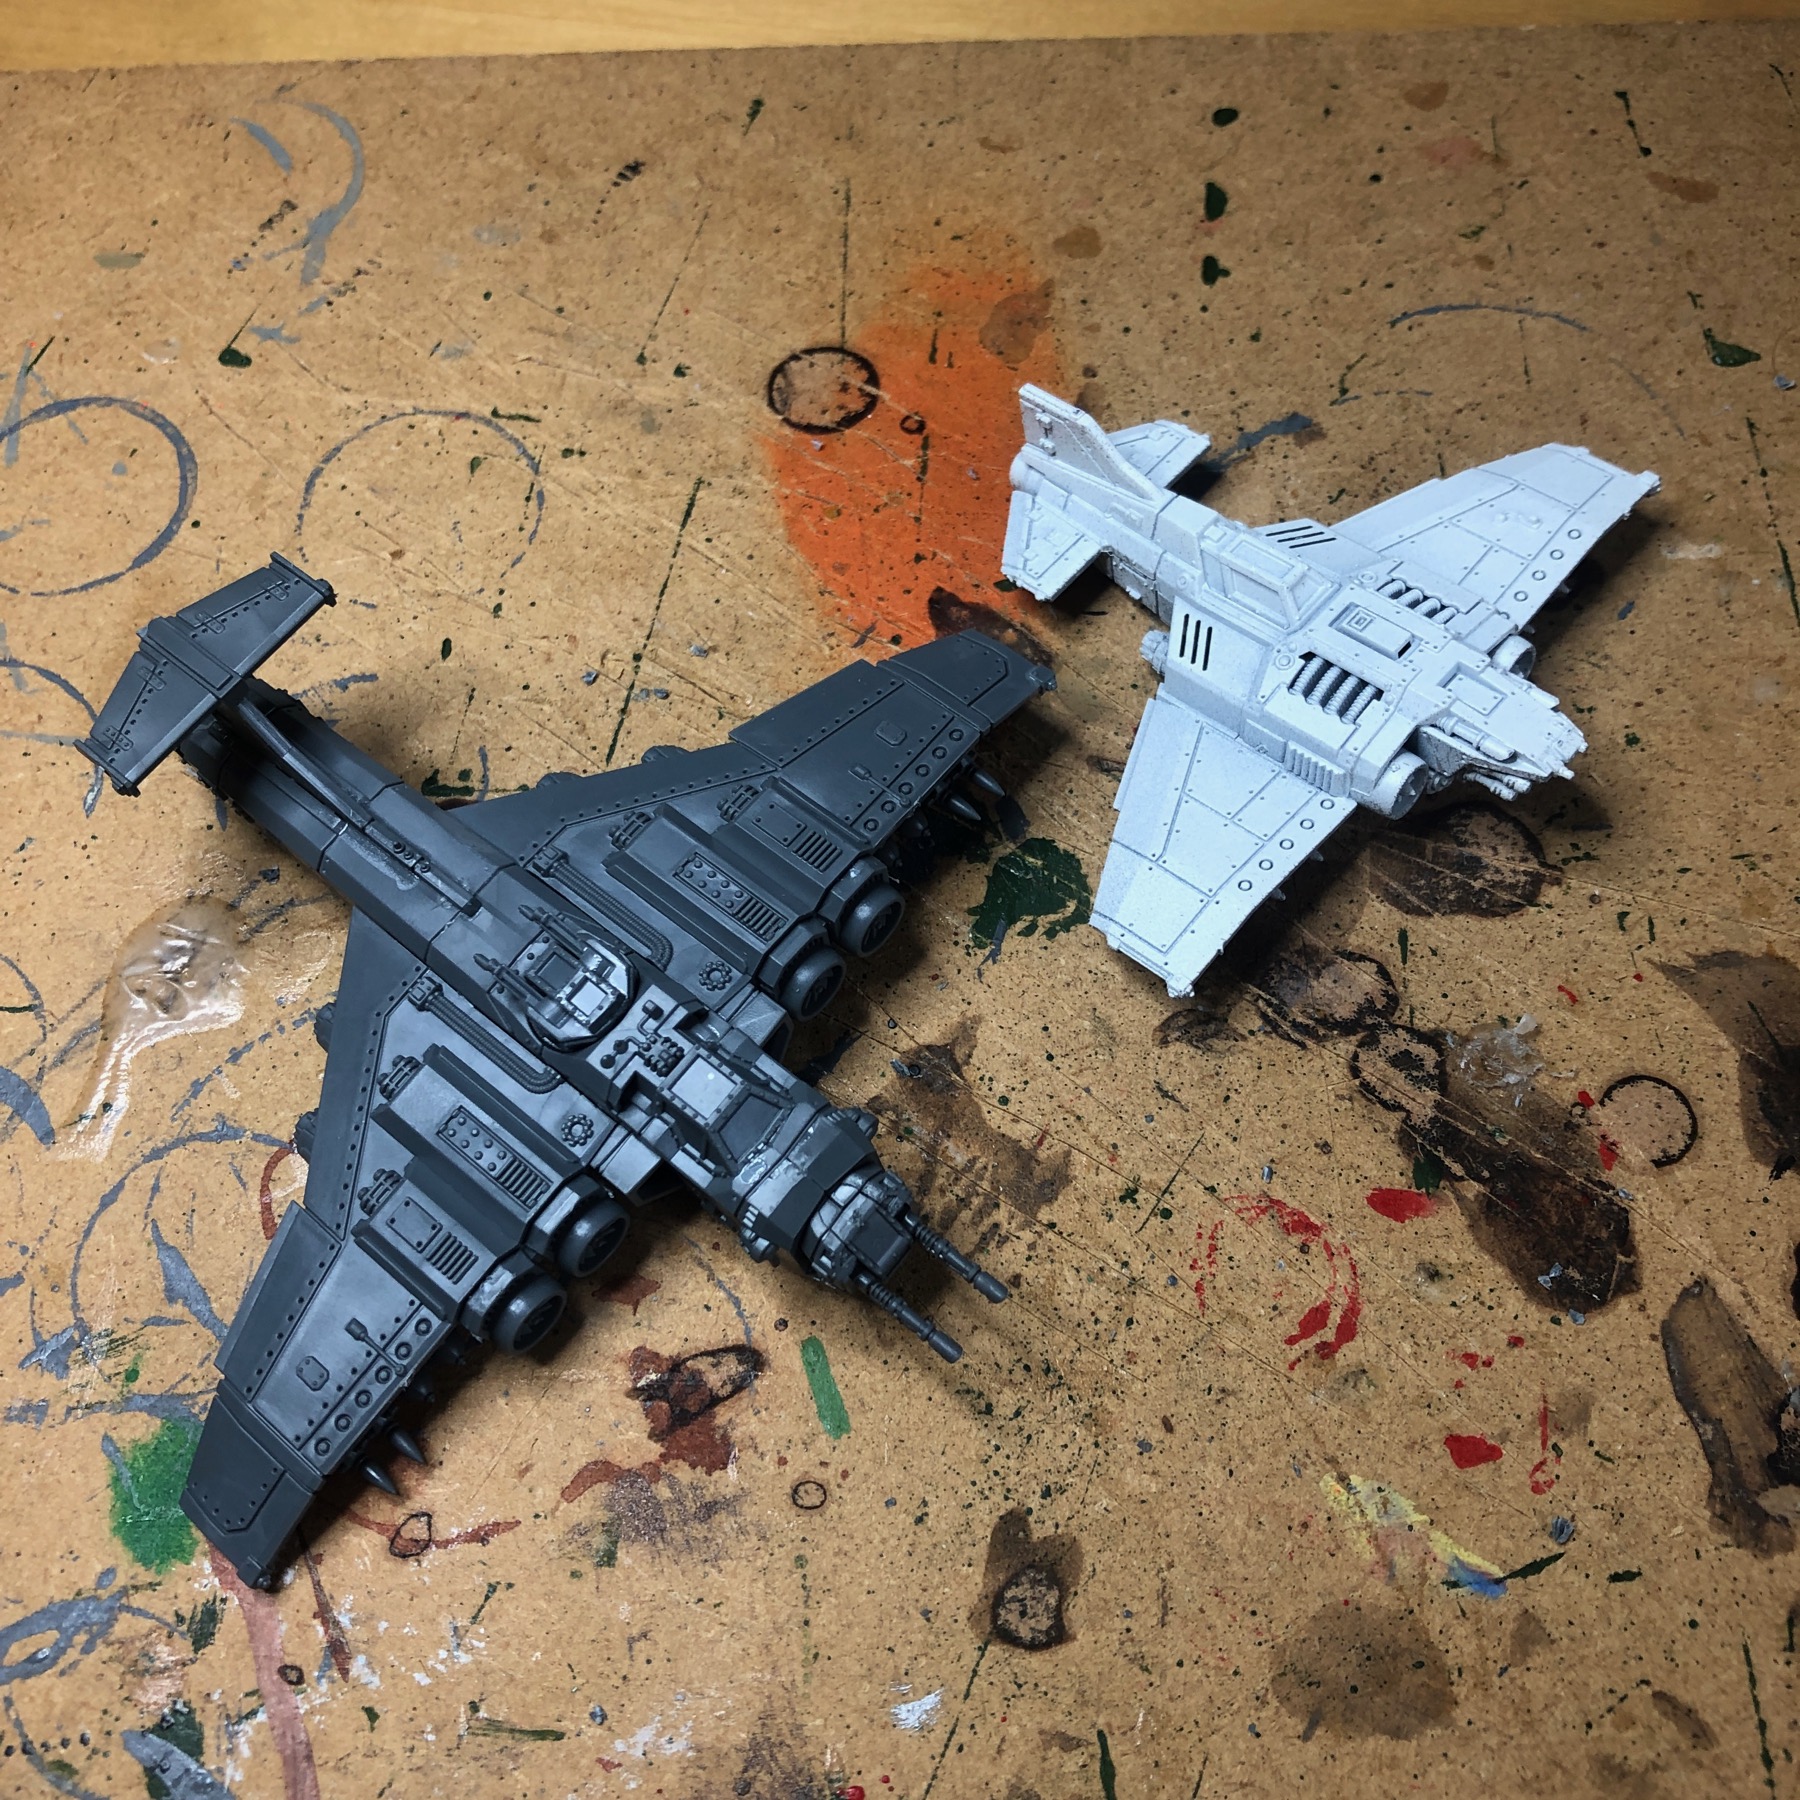
I do think these planes should be larger, here is one next to a Thunderbolt Fighter. The size was of course a consequence of it being originally a Forge World resin kit of Warhammer 40K. I think there are opportunities here to release a bigger bomber and other aircraft. These could come from the Warhammer studio, but why not from Forge World?

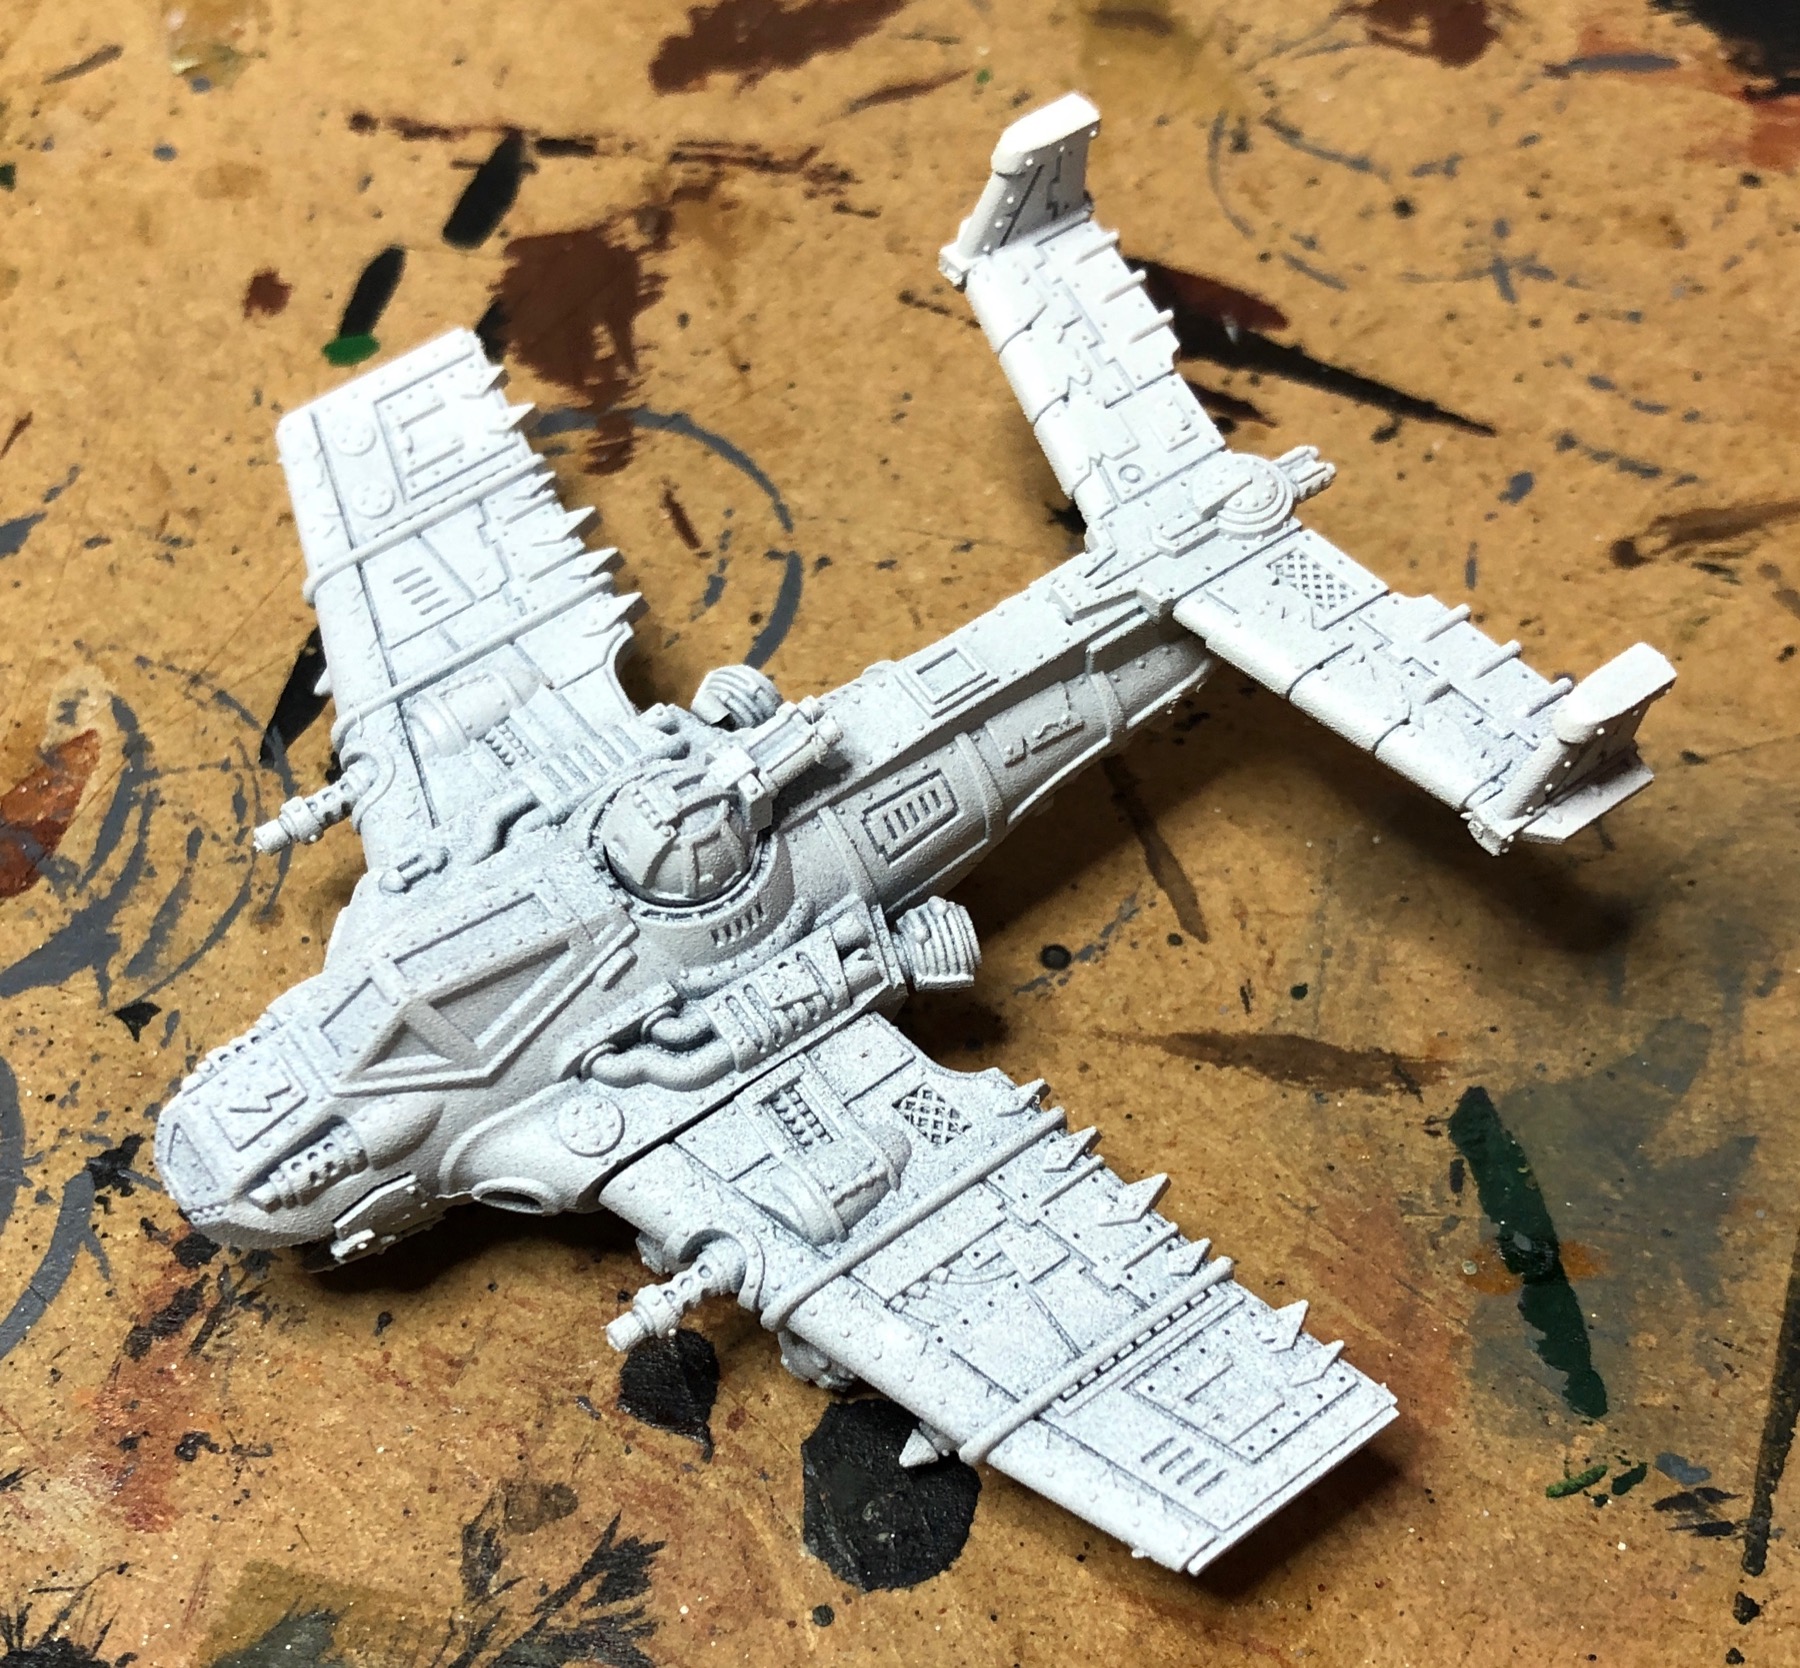
The next stage will be a white undercoat.

See the workbench feature on the Aeronautica Imperialis Marauder Bombers.

Building the Aeronautica Imperialis Air Waaagh! Dakkajets

Having recently purchased the Wings of Vengeance boxed set I was expecting that it might take a little time for the models to be built and painted. I am a bit slow when it comes to modelling, mainly in finding the time. So finding some room and time I decided to build the Ork Fighta Bommerz from the Aeronautica Imperialis boxed set. Having made good progress with those I started on the Dakkajets.

Among the smallest and most numerous of Ork aircraft, the Dakkajet is built for speed and firepower, capable of unleashing devastating hails of buffets from its arsenal of quad big shootas.

There are three of these in the Wings of Vengeance boxed set. This is the painted version on the GW website.

In the retail box you get six of the little planes.

Here is the sprue for the models. As you can see all three are on the one sprue.

I started to put all three of them together.

Undercoating the the Aeronautica Imperialis Air Waaagh! Fighta Bommerz

Having recently purchased the Wings of Vengeance boxed set I was expecting that it might take a little time for the models to be built and painted. I am a bit slow when it comes to modelling, mainly in finding the time. So finding some room and time I decided to build the Ork Fighta Bommerz from the Aeronautica Imperialis boxed set.

There are two different versions on the single sprue and though there looks like lots of parts, they are quite simple to put together. The number of parts is about the number of weapon choices you can have. There are two versions of noses, fuselage, wings and tails,  included in the model. So in theory you can mix and match if you get more kits later.

I gave the models a white undercoat, using a spray on both sides. These are really nice models, lots of detail.

I armed this one with big bombs and some rokkits.

The other Fighta Bommer.

This one is armed with rokkits and big shootaz, as well as a couple of bombs.

Though I supposed I should have armed the planes according to a stats card, I decided early on that I wouldn’t use WYSIWYG on these models, so that you can use them as whichever Fighta Bommer variant you want to play with.

The next stage will  be the base coat.

See the workbench feature on the Aeronautica Imperialis Air Waaagh! Fighta Bommerz.

Pre-ordered the Aeronautica Imperialis Valkyrie Assault Carriers

Typically seconded to the Astra Militarum, Valkyrie Assault Carriers deliver troops directly to the front, hovering in place to provide fire support, before blasting off to take on enemy aircraft. Versatile weapon hard points allow them to be kitted out to take on a wide range of ground targets and aircraft.

Out of all the new imminent releases for the next phase of Aeronautica Imperialis releases for Skies of Fire the one that I liked the most was the Valkyrie. So much so that I did something I rarely do, and pre-ordered the boxed set of the Aeronautica Imperialis Valkyrie Assault Carriers.

The set includes:

      • 4 plastic Astra Militarum Valkyrie Assault Carrier miniatures (can also be built as Vendetta Assault Carriers)
      • 4 Aeronautica Imperialis bases (each base designates the model’s front, rear and side arcs, has speed and altitude dials as well as a clear stand to connect the aircraft to the base)
      • 1 Valkyrie Squadron transfer sheet

Aeronautica Imperialis: Valkyrie Assault Carriers

The box comes with two sprue and there are two Aeronautica Imperialis Valkyrie Assault Carriers on each sprue.

Looking forward to building these.

As I said on Twitter I do wonder if we will ever see tanks and infantry in this scale for Adeptus Titanicus? Well this Valkyrie does show what is possible.


Painting the Citroen Civilian 1000kg Dropside Truck

For Bolt Action I am in the process of painting some partisans to fight Simon’s Italians. I have been looking for some vehicles and  Warlord Games actually make a fair few civilian models for Bolt Action. Looking through the Bolt Action website I quite liked the look of the Civilian 1000Kg Dropside Truck so I got one.

Having given the model a white undercoat, I then gave the rear of the truck (which was separate) a basecoat of Vallejo 70912 Tan Yellow. I then gave that a wash of Seraphim Sepia Shade which was a little too light, so I then gave a wash of Agrax Earthshade.

I also gave the chassis, the tyres and wheels a base coat of Vallejo 70.862 Black Grey.

I am still thinking about the colour of bodywork.

See the workbench feature on the Citroen Civilian 1000Kg Dropside Truck.

Armadillo Improvised Armoured Vehicle

The Armadillo was an armoured fighting vehicle produced in Britain during the invasion crisis of 1940-1941. Based on a number of standard lorry chassis, it comprised a wooden fighting compartment protected by a layer of gravel filling the walls of the ‘fort’ and a driver’s cab protected by mild steel plates.

Armadillo mark I with RAF crew

I had already constructed the model and given it a base coat of British Armour Green.

The wheels were painted with Vallejo 70.862 Black Grey.

I am still thinking I might need to add a disruptive pattern to the model.

See the workbench feature on the Armadillo Improvised Armoured Vehicle.

Building the Aeronautica Imperialis Air Waaagh! Fighta Bommerz

Having recently purchased the Wings of Vengeance boxed set I was expecting that it might take a little time for the models to be built and painted. I am a bit slow when it comes to modelling, mainly in finding the time. So finding some room and time I decided to build a couple of the models from the Aeronautica Imperialis boxed set. I had a choice of four different aircraft, and it was quite difficult to choose which to do, initially torn between the Fighta Bommer and the Thunderbolts, I decided, let’s for the Orks first.

There are two of these Fighta Bommers in the Wings of Vengeance boxed set. This is the painted version on the GW website.

Laden with heavy armour and an even heavier payload of guns, rokkits and bombs, the Fighta Bommer is built with a single principle in mind – might makes right! This flexible aircraft does exactly what its name implies, serving as both an attack fighter and a bomber. It is equipped with quad big shootas, turret big shootas, and an ever-handy tail gun with which to defend itself against enemy fighters.

Here is the sprue for the two models.

There are two different versions on the single sprue. The boxed set has instructions for all four aircraft (as might be expected) and though there looks like lots of parts, they are quite simple to put together. The number of parts is about the number of weapon choices you can have.

The initial stage is the nose and forward weapons. There are two versions included in the model. So in theory you can mix and match if you get more kits later. The nose is then added to the fuselage and the main engine added to the rear.

There are also two tail variants, adding the number of options you can have to create different versions of the same jet (very Orky). In theory I should have added the wings to the model before adding the armament, but in the end I decided to add the bombs, rockets and big shootaz to the wings before sticking them to the fuselage.

Here are the completed models prior to undercoating.

Considering their size, these are really detailed models and are reminiscent of their larger Forge World 40K cousins.

I gave the models a white undercoat, using a spray on both sides.

The next stage will  be the base coat.

I am still decided which colour they should be, thinking orange!

Painting the windows of the Civilian 4,500kg Truck

I  bought the Citroen Civilian 4,500kg Truck with Canopy from Warlord Games to go with my French Partisan Band. Either to use as a transport or as scenery. Citroen made many of these trucks in the 1930s and 1940s.

Having constructed the model and given it a white undercoat, I then gave the rear canopy a basecoat. The next stage was to give the bodywork a basecoat.

I painted the windows using Vallejo 70.862 Black Grey.

I am not sure if I will keep them black, and I have been looking through various Bolt Action publications and magazines to see how others have painted windows of vehicles.

See the full workbench feature on the Bolt Action Citroen Civilian 4,500kg Truck with Canopy.

Painting the Citroen Civilian 4,500kg Truck with Canopy

I  bought the Citroen Civilian 4,500kg Truck with Canopy from Warlord Games to go with my French Partisan Band. Either to use as a transport or as scenery. Citroen made many of these trucks in the 1930s and 1940s.

Having constructed the model and given it a white undercoat, I then gave the rear canopy a basecoat. The next stage was to give the bodywork a basecoat. For this I used a blue paint I had in my collection, Vallejo 70.899 Dark Prussian Blue.

The name should have made me realise, but I think the blue is too dark, well I don’t have too many blues in my paint collection that I can use (quite a few have dried up) and it’s not simple to buy a single pot of paint these days.

I think I might try and add a second lighter coat, partly to highlight, but also to ensure that when I give the model a wash that it isn’t too dark.

I had kept the back part of the truck separate, so I could easily paint the underbody.

I should add, one of the rear wheels fell off whilst I was holding the model to paint it, so that had to be re-glued back on.

See the full workbench feature on the Bolt Action Citroen Civilian 4,500kg Truck with Canopy.