Grey Knights Razorback

One other model I got for Christmas was a Forgeworld Razorback the one with the much bigger turret, which I much prefer over the plastic kit version that you get in the shops. As it is only £2 more now, I think the Forgeworld version is much better value for money.

Though you would get some spare weapon parts with the plastic version…

These are the extra resin pieces you get with the basic plastic Rhino kit.

This Razorback is going to be part of my Daemonhunters army.

However I hear you cry, that’s not in the Codex!

I am attempting to paint a Grey Knights force which goes beyond the listings in the DaemonHunters Codex. What I am trying to do is to create a Grey Knights force (using the Space Marine Codex) and then using a DaemonHunters force as allies.

Grey Knights MkIIb Land Raider

Grey Knights can use Land Raiders, when I first started putting this force together I knew that if I was going to get a Land Raider it would have to be the Forgeworld MkIIB Land Raider.

This is the Forgeworld display model.

I did get one in the end at GamesDay 2006.

As well as the plastic Land Raider parts you get the following resin pieces. These are the main sponsons and hull structures.

This is the rear plate and replacement exhausts.

These are the lascannon weapons.

Though you don’t get much in the way of instructions, but you do get doors.

Now I made a mistake, you get a set of doors and I (foolishly) asked them to replace the supplied eagle doors with Grey knight Land Raider doors. Now what I didn’t realise was that the side doors on the sponson are not the same size as the Land Raider doors, but are in fact the same size as Rhino side doors. So the Grey Knight doors are too big!

Sisters of Battle Repressor – Storm Troopers Transport

In a recent post I showed a picture of a Sisters of Battle Repressor from the Forgeworld Displays at GamesDay.

Sisters of Battle Repressor

I said “I do like this model and I am intending to get one to use with my Daemonhunters army as a transport for the Storm Troopers”.

Well Santa must have been listening as I got one for Christmas from my friend Simon (thanks mate).

I am well pleased.

It is a very nice model and you get the following bits of resin. A new hull top, a dozer blade and extra weapons.

The Forgeworld model above includes Sisters of Battle doors, but as I am going to make this a Inquisitorial Storm Trooper transport I may use some Inquisition doors or leave them as they are. I might leave them as they are, as I am thinking about adding some extra armour to the model, akin to the spaced armour, but made from mesh, a kind of anti-tank mesh that you see on armoured vehicles today or on German tanks during World War Two.

As well as the resin pieces you also get a complete Rhino kit (though the Repressor is also available as a conversion kit, though the conversion kits to me never seem such value for money).

The standard Rhino kit includes three sprues.

The second sprue.

The Imperial extras sprue.

As a result I will have some spare parts which will be probably used by my Orky boyz on a few conversions.

Melting Scenery Tiles

When Citadel released their first incarnation of Roughcoat it was mentioned in the literature that it was water-based so wouldn’t melt expanded polystyrene.

That first incarnation sold well and I never managed to get a can, then I heard from one GW store that it had been withdrawn as the nozzle would clog after using it just once and they had had quite a few complaints.

When it was re-released I got a can, but just assumed it was still water-based…

It’s not!

After spraying my scenery tiles, I noticed the other day that they had melted…

Luckily it wasn’t too bad and might actually add to the effect I am trying with the scenery, I will take some photographs later.

Scenery Tiles Update

My scenery tiles which had been languishing in my garage since May 2005 have had quite a bit done to them over the last week or so.

Having stuck some small stones and cork onto the boards last May, I stuck down some ripped up textured wallpaper. I then used a polyfilla white glue (PVA) mix to seal down the edges.

After this was dry, I used a watered down PVA mix and liberally scattered GW sand (the one with the small stones in) over the surface. This was then left to dry.

I then decided to “enhance” the boards with a spray of GW Roughcoat, which to be honest was a bit of a disappointment. The texture is really too fine for desert scenery, but worse the spray can I had was a bit dodgy and sometimes wouldn’t spray or would spray back at me!

The next stage is to spray the boards with some different colours, brown and rusty red.

Weapons for the Grey Knights Dreadnought

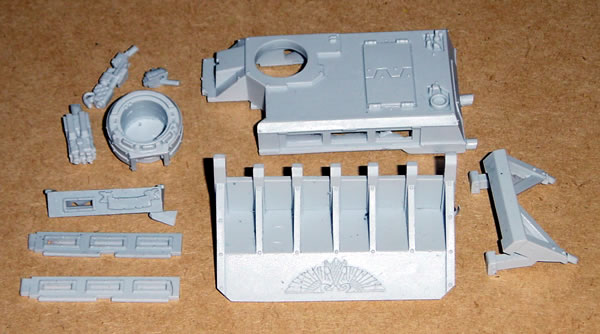
When I was at GamesDay 2006 I got a couple of weapons for my Grey Knights Dreadnought from the Forgeworld stand.
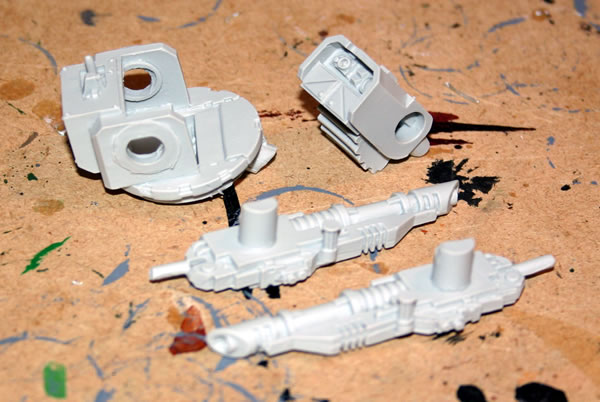
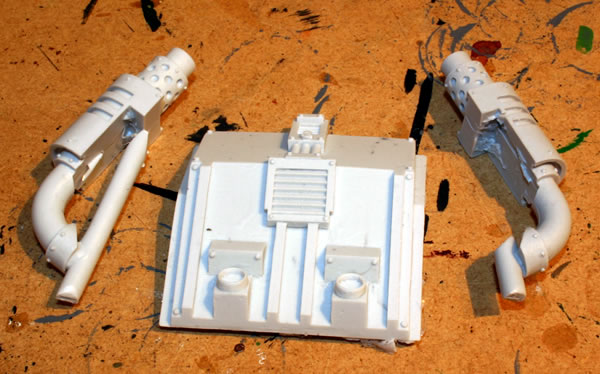
I got a Psycannon…

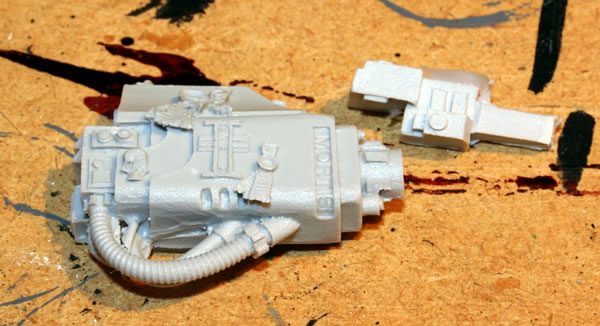
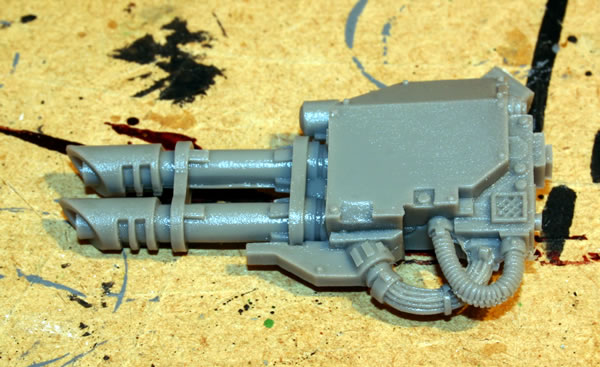
and a Mortis pattern twin-linked Lascannon weapon.

Yes I know according to the rules and fluff that this is not a “legal” combination, but when I have ever followed the fluff! It was a slightly beardy choice, as generally my opponent uses a lot of tanks, therefore a Dreadnought Tank Killer is a better choice than a close combat version and I don’t like the missile launcher weapon variant.

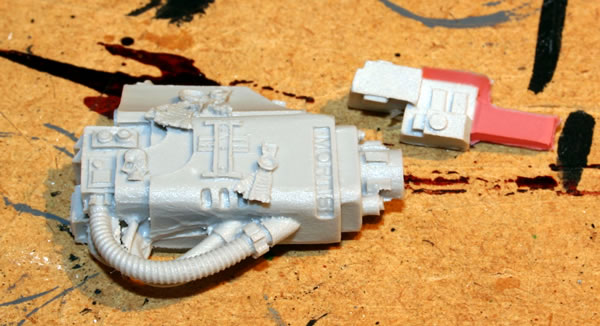
Both weapons came with small amounts of flash, the Psycannon targeter has a small amount of sprue to be removed, see the red shaded area.

The Lascannons had a much bigger piece of sprue see the red shaded area (which looks small in this photo) which took a bit of cleaning to get off.

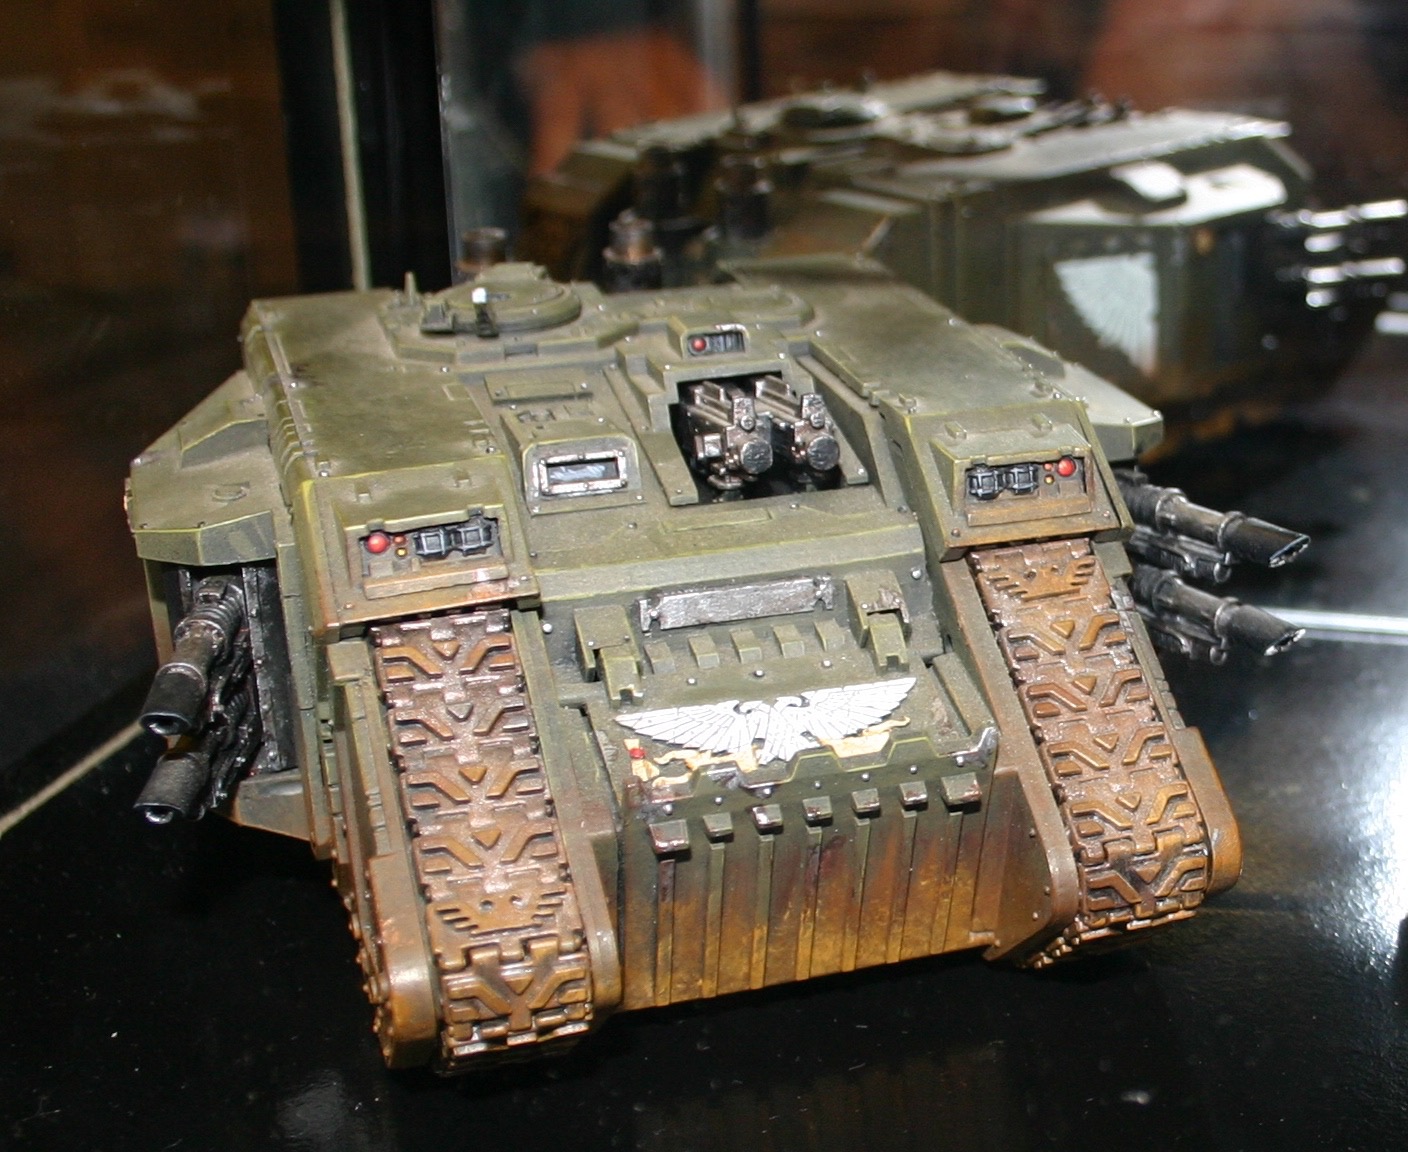
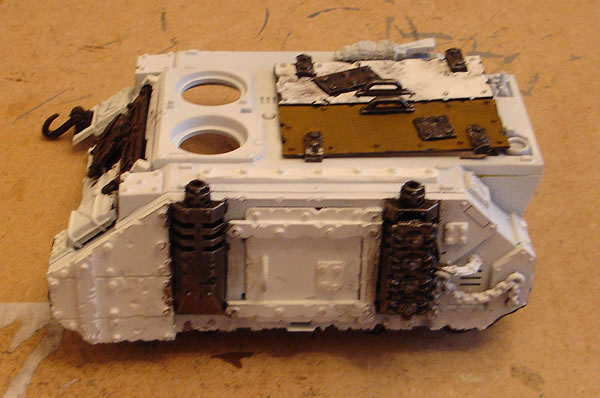
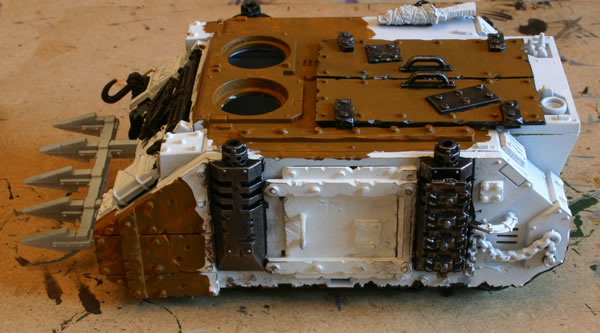
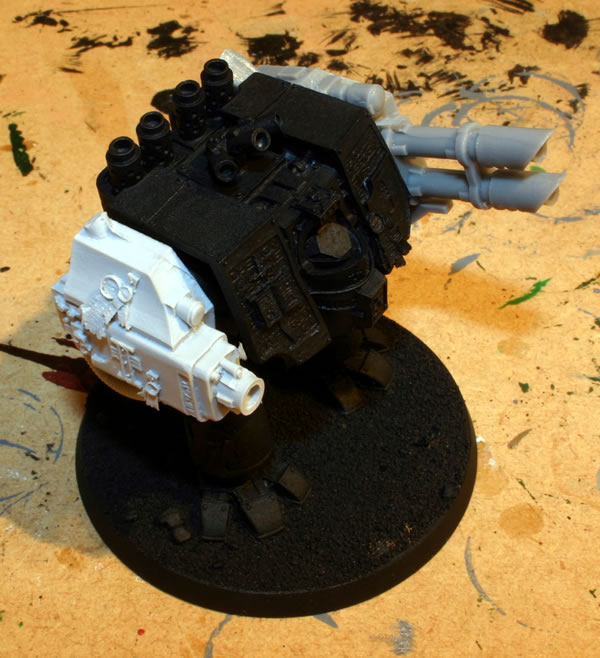
Here is a photograph of the Dreadnought with the arms temporarily attached.

One of the key things you need to do with virtually all Forgeworld models is to give them a good wash.

When the Forgeworld models are cast, the mould is given a spray (I guess) of some kind of lubricant to allow the cast model to be released from the mould easily.

However the lubricant also acts as a barrier to paint, so as happened with previous models I (and others) have painted is that the paint flecks off.

Washing the model in water with a drop of washing up liquid should remove the lubricant.

Avoid using hot water as this could warp the resin (a useful tip if you need to warped resin back to its original shape).

Once washed the model is then ready for painting.

Painting the Ork Looted Rhino

I have some photographs of the Ork looted Rhino which s receiving its base coat.

This is the left side. You can see I have also done some black on the front panel. I have started the brown with the hatch to see if it worked. I liked it so the whole vehicle was painted. Work in progress.

I used Snakebite Leather (it was this colour or I was thinking of using Vomit Brown I used on my Ork Fighter Bommer).

Another shot

More soon…

Ork Kommandos

I have put my Ork Kommandos on their bases.

I have decided to paint their backpacks separately, so will need to mount them somehow.

The boss (Nob) has a separate arm and head, so I stuck them on.

One of the nice touches (Jes Godwin told me this) is the bullet hole in his left boot just below his Slugga holster.

It’s as though one day, he was holstering his pistol and BANG!