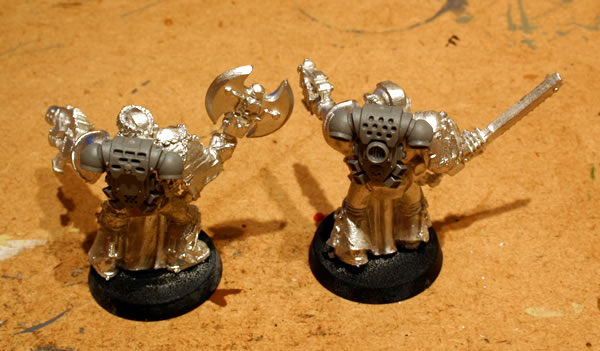
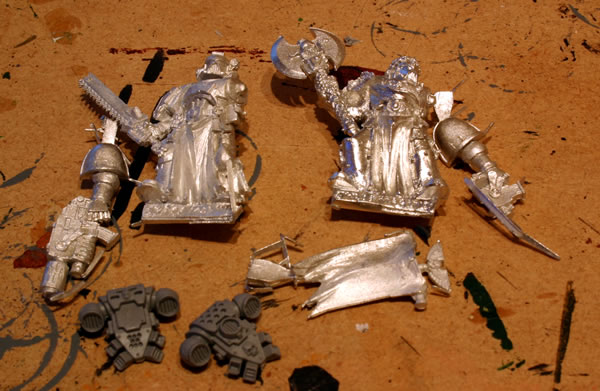
Finished Photographic Terrain Grass

I have added some more Woodland Scenics foilage to my grassy scenery board, it is now good to go…

Photographic Terrain Grass

As you can see from this crop it is now more verdant than before.

Photographic Terrain Grass

The Woodland Scenics used is very clumpy and quite difficult to work with and stick down so some is now loose.

And for those that like to see Epic pictures here is a Ork Junkatrukk.

Photographic Terrain Grass

Photographic Terrain Grass, more foliage added…

I have now added some more foliage using a rougher Woodland Scenics flock and some lichen as a base to give it some depth.

Photographic Terrain Grass

You can now see the look I was going through with this cropped image.

Photographic Terrain Grass

This is a picture of my Ork Skorcha in the morning sun.

Ork Skorcha

I have based the look on real places and this was based on Cheddar Gorge.

Photographic Terrain Grass

Since the last picture was taken I have drybrushed the rock face and the rocks with various shades of grey.

I then with a brush put some PVA (white glue) down before covering it with a Woodland Scenics grass flock.

Photographic Terrain Grass

This is a close-up of the Ork vehicle in the terrain.

Photographic Terrain Grass

Still needing to add some more foliage and some different flock to get a more natural feel.

Scenery Tiles

What really got me motivated to start these tiles was a new product from GW, RoughCoat, which can be used to add a roughened coating to expanded polystyrene, which should a) protect the tiles b) work well on the AT buildings I now have for the cityfight terrain.

Well getting hold of a can of RoughCoat is proving a bit of a nightmare, more popular than GW Marketing thought so virtually every GW store is out of stock.

Looked at the boards and added some more black duct tape as the thinner edges were lifting.

On the desert terrain I glued some cork and rocks down.

Photographic Terrain Desert

Having forgotten to take a picture of the intermediate stage from the last picture, I spray painted the scenery.

Starting off with a black spray for the rockface, this was followed by a rust red colour and finally a brown spray. The picture shows it just after I finished so the paint is still wet.

The next stage will be drybrushing.

In case you were wondering the board is 19″ across and 14″ deep.

Photographic Terrain Desert

I decided to add some extra hillocks using two small bits of polystyrene.

Having used a mixture of polyfilla (wall filler), white glue, brown paint, model railway ballast, model railway coal and some water I added the mixture to the board.

After this was left to dry the next stage was to add the sand.

I used Games Workshop sand, which is not too fine (unlike my son’s sandpit sand) and also has tiny stones as well.

I flowed some PVA (white) glue into the scenery and then using a wet brush watered down the glue. I then covered this with the sand and left it to dry.

Leave it to dry for at least an hour and preferably overnight.

Photographic Terrain Grass

Having used a mixture of polyfilla (wall filler), white glue, brown paint, model railway ballast, model railway coal and some water I added the mixture to the board.

Once this was dry, I spray painted the board.

I first used black spray, then a dark earth and finally a grey spray.

I now have to dry brush the terrain.

Due to a few gaps in the terrain I will be making this a green landscape with lots of foilage.