Drybrushing

After giving the Inquisitorial Stormtroopers a wash consisting of Chestnut Ink, Scorched Brown paint (which helps remove the gloss of the ink) and some water to thin the wash down. I then drybrushed the uniforms with Desert Yellow.

The sergeant and the heavy weapons.

Next stage will be the details.

See the full workbench feature on my website.

Constructing an Ork Fort

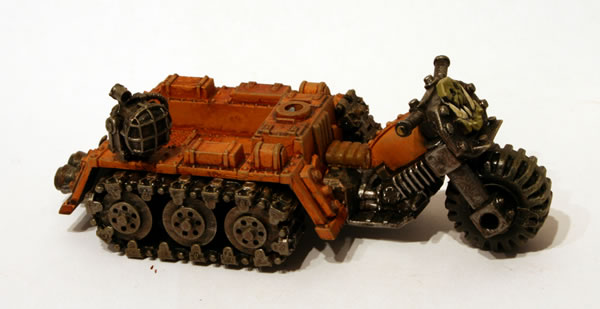
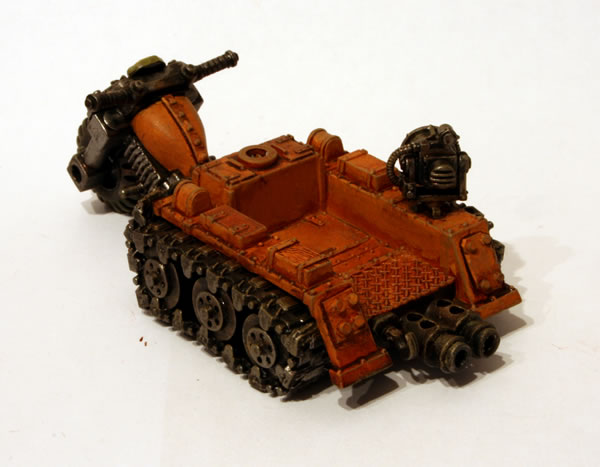
One of the things I liked about Cities of Death was the large Ork “town” which was there alongside the ruined Imperial Cities. I know I will never have the time, space or resources to make something similar, but I did like the concept and thought it would be nice to have some buildings for my Ork Airfield, well at least something that could be used alongside my Ork Bommer.

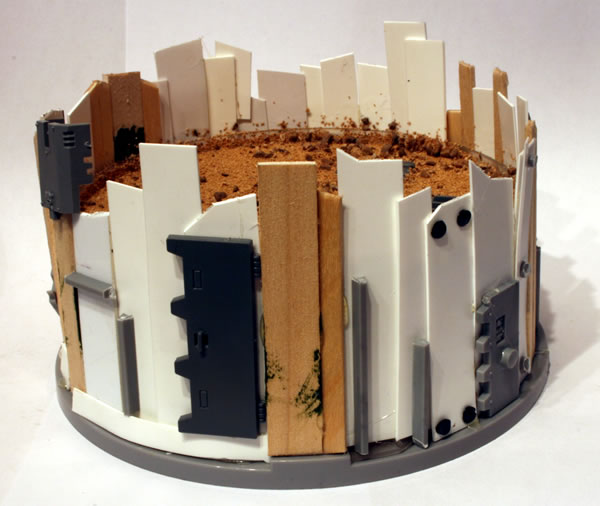
So I took an old DVD-R spindle tub I had, these are available in various sizes depending on how many disks there are, I used a 25 disk tub.

Once you have finished with the disks, you do have the basis for a good building. They come in various sizes as well, 25, 50, 100, therefore you can have different heights as well.

The first thing I did was cut up some plasticard, wooden sticks and Starbucks™ wooden stirrers into similar lengths. I also delved into my bitz box to get some parts, in the main from Imperial vehicles, ie Rhino and Land Raider doors.

Using strips of wood, Starbucks™ stirrers, plasticard, bitz from Imperial vehicles, I stuck them to the side.

Then using a hot glue gun I stuck these to the side of the DVD tub. A hot glue gun is perfect for this kind of thing, as both plastic and super glues are unsuitable for this kind of model.

When I thought about the floor of the fort, I did initially think about adding a series of wooden planks or metal sheets, however in the end I went with using modelling sand, which I think will look quite effective when painted and somewhat Orky.

The next stage will be to add rivets using cut plastic rod and plastic sprue.

See the full workbench pages for the fort.

Washing their uniforms

After giving the Inquisitorial Stormtroopers a base coat of Desert Yellow the next stage is a wash. I gave the Stormtroopers a wash consisting of Chestnut Ink, Scorched Brown paint (which helps remove the gloss of the ink) and some water to thin the wash down.

These are the core troopers.

These are the Heavy Weapons troopers and the Sergeant.

Next stage will be a drybrush.

See the full workbench feature on my website.

Washing and detailing

Having washed my other Wartrakk, I did the same for another Wartrakk I am painting.

Having finished the base coat of Vomit Brown, I gave the Wartrakk a wash consisting of Chestnut Ink, Scorched Brown paint (which helps remove the gloss of the ink) and some water to thin the wash down. I also painted the Ork glyph on the front, which is from the Orc Warriors shield sprues.

This Wartrakk has been converted with new tracks as well as some other added features.

Washing my Wartrakk

Having washed my Looted Rhino I am using the same process on my Ork Wartrakk.

Having finished the base coat of Desert Yellow, I gave the Wartrakk a wash consisting of Chestnut Ink, Scorched Brown paint (which helps remove the gloss of the ink) and some water to thin the wash down.

This is a quick and simple way of accentuating the detail and adding shadows.

Black Templar Cenobyte with Relic

I have always liked this model, but wasn’t sure a) where it came from, b) what it was called, so I could never find it in the stores or on the online store.

It was only recently when reading through an old White Dwarf that I saw it was part of the Black Templars Chaplain Grimaldus and Retinue Boxed Set.

So now I knew which boxed set it came from, I could work out what it was called and find it in the online store. It is available either as part of a boxed set or individually. As I wasn’t too bothered about the other miniatures in the boxed set I purchased it individually through Mail Order.

I will be using it as part of my Inquisitorial retinue.

Washing a Looted Ork Rhino

I have spent a lot of time and effort working on my Ork Looted Rhino.

Having finished the base coat I gave the Looted Rhino a wash consisting of Chestnut Ink, Scorched Brown paint (which helps remove the gloss of the ink) and some water to thin the wash down.

It seems to have worked quite well.

Next stage will be a drybrush. See the full workbench feature on the Looted Rhino.

See our gallery of Looted Rhinos.