When I reflected on possible forces for Operation Sea Lion games I was looking around to see what is available. One unit which caught my attention was the Warlord Games Bolt Action Royal Navy section. So I bought a box.
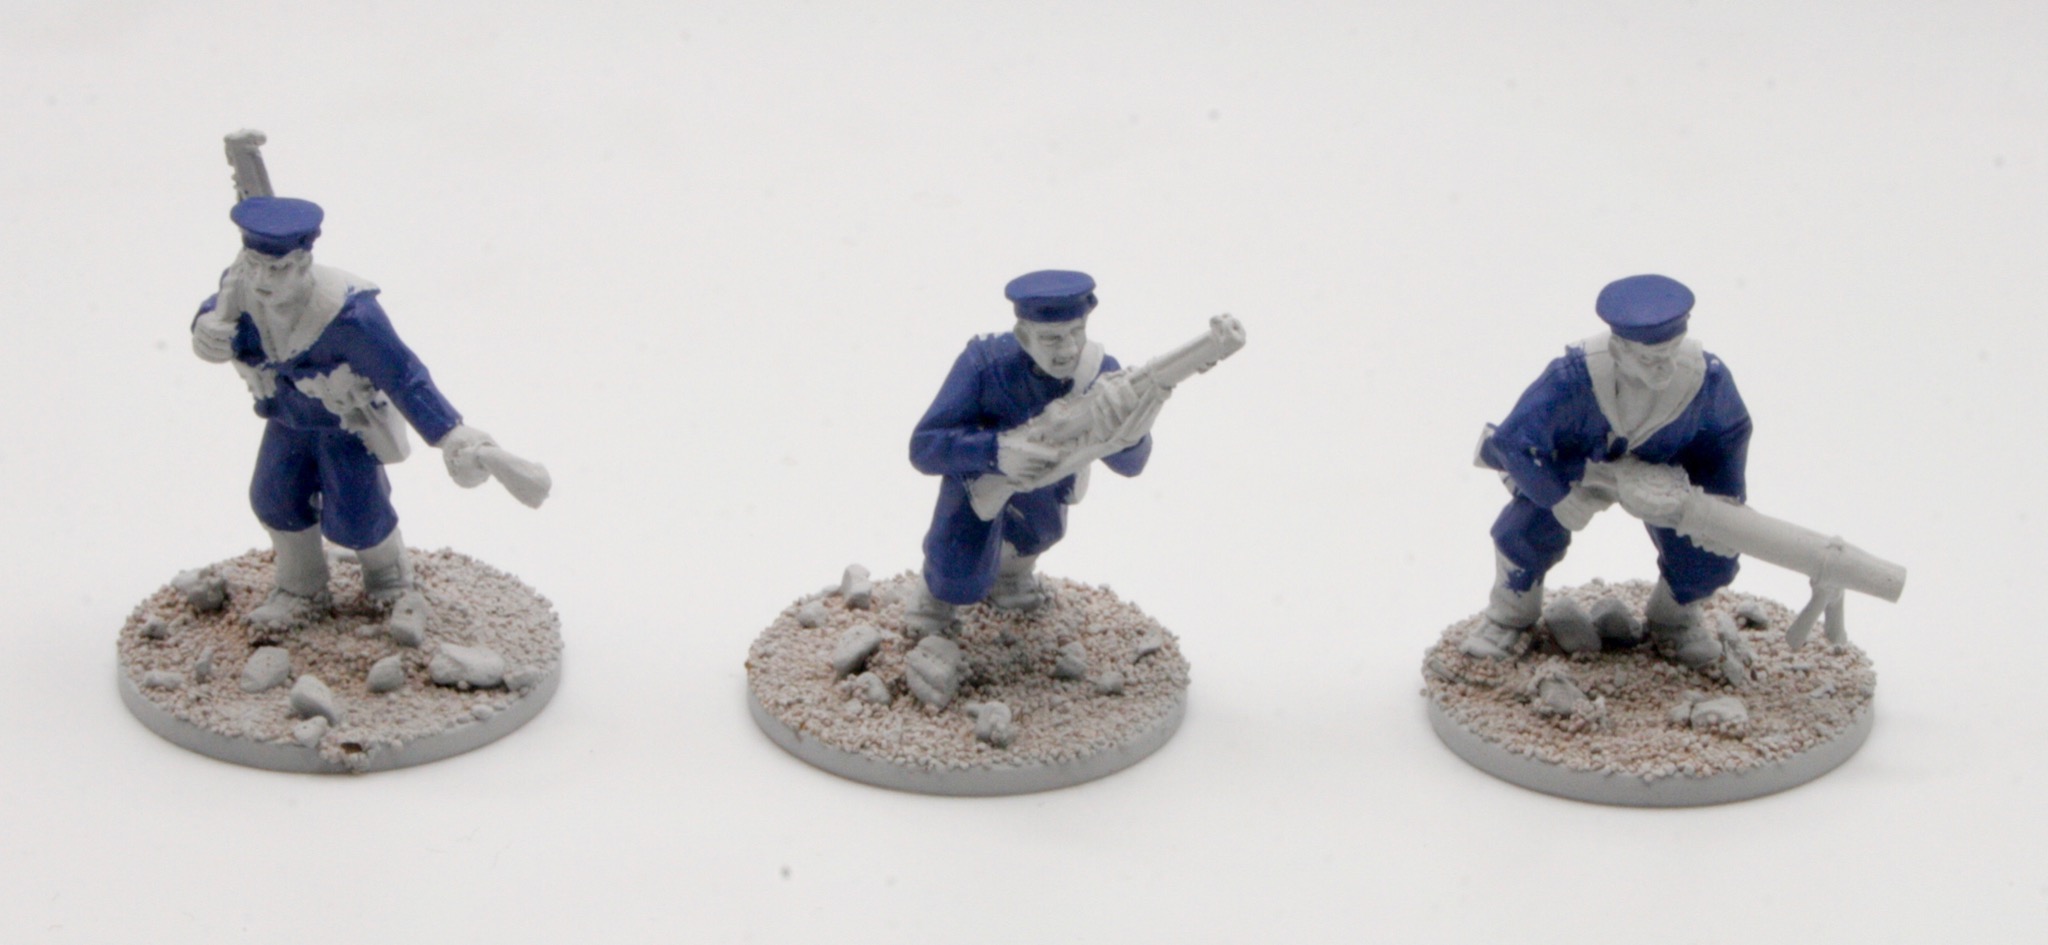
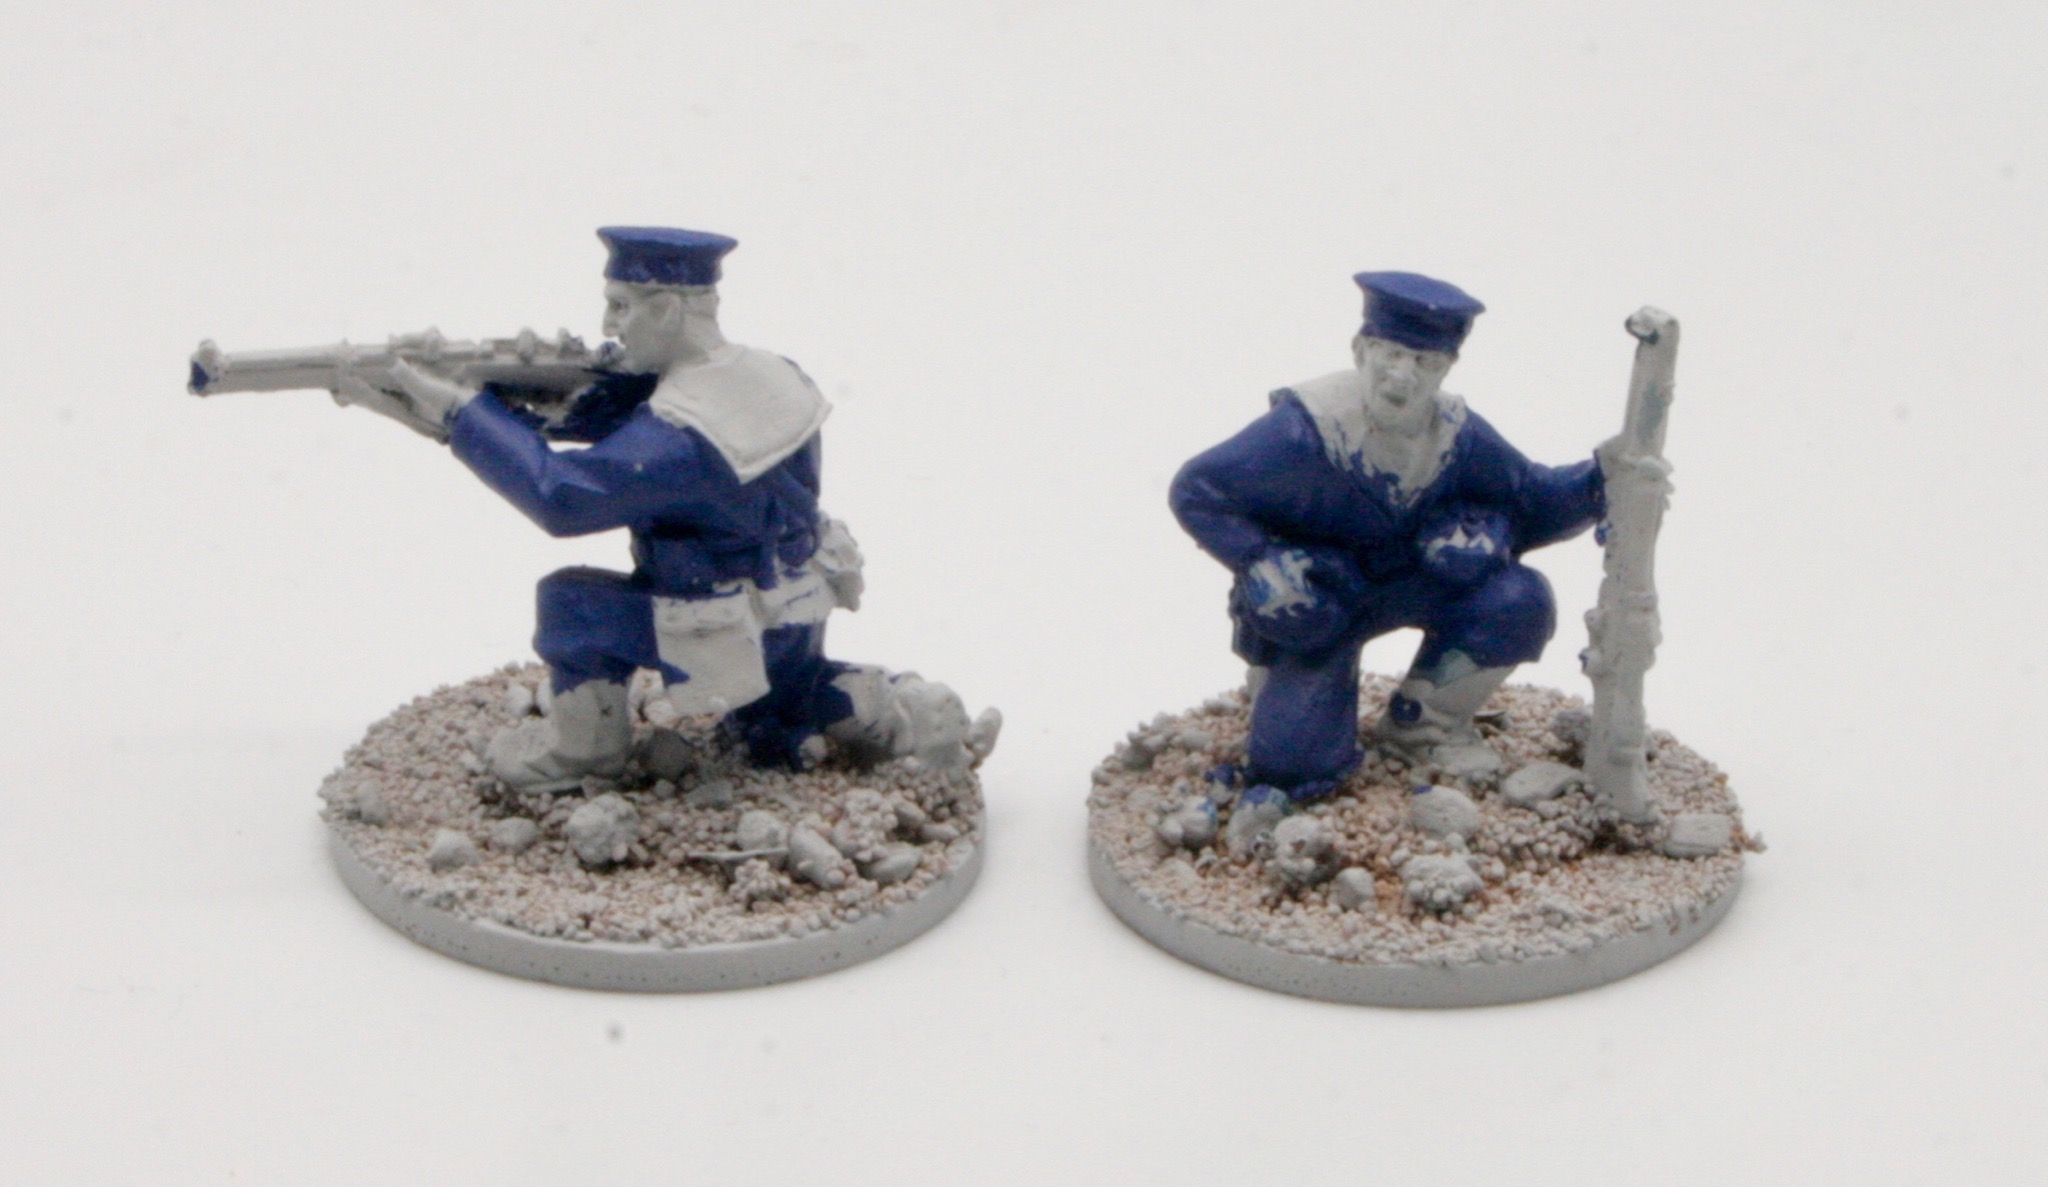
Having based and undercoated the Bolt Action Royal Navy Section I started painting their uniforms using Citadel Macragge Blue base paint.
I will then add highlights and potentially a wash.
When I reflected on possible forces for Operation Sea Lion games I was looking around to see what is available. One unit that has been released which caught my attention was the Warlord Games Bolt Action Royal Navy section. So I bought a box.
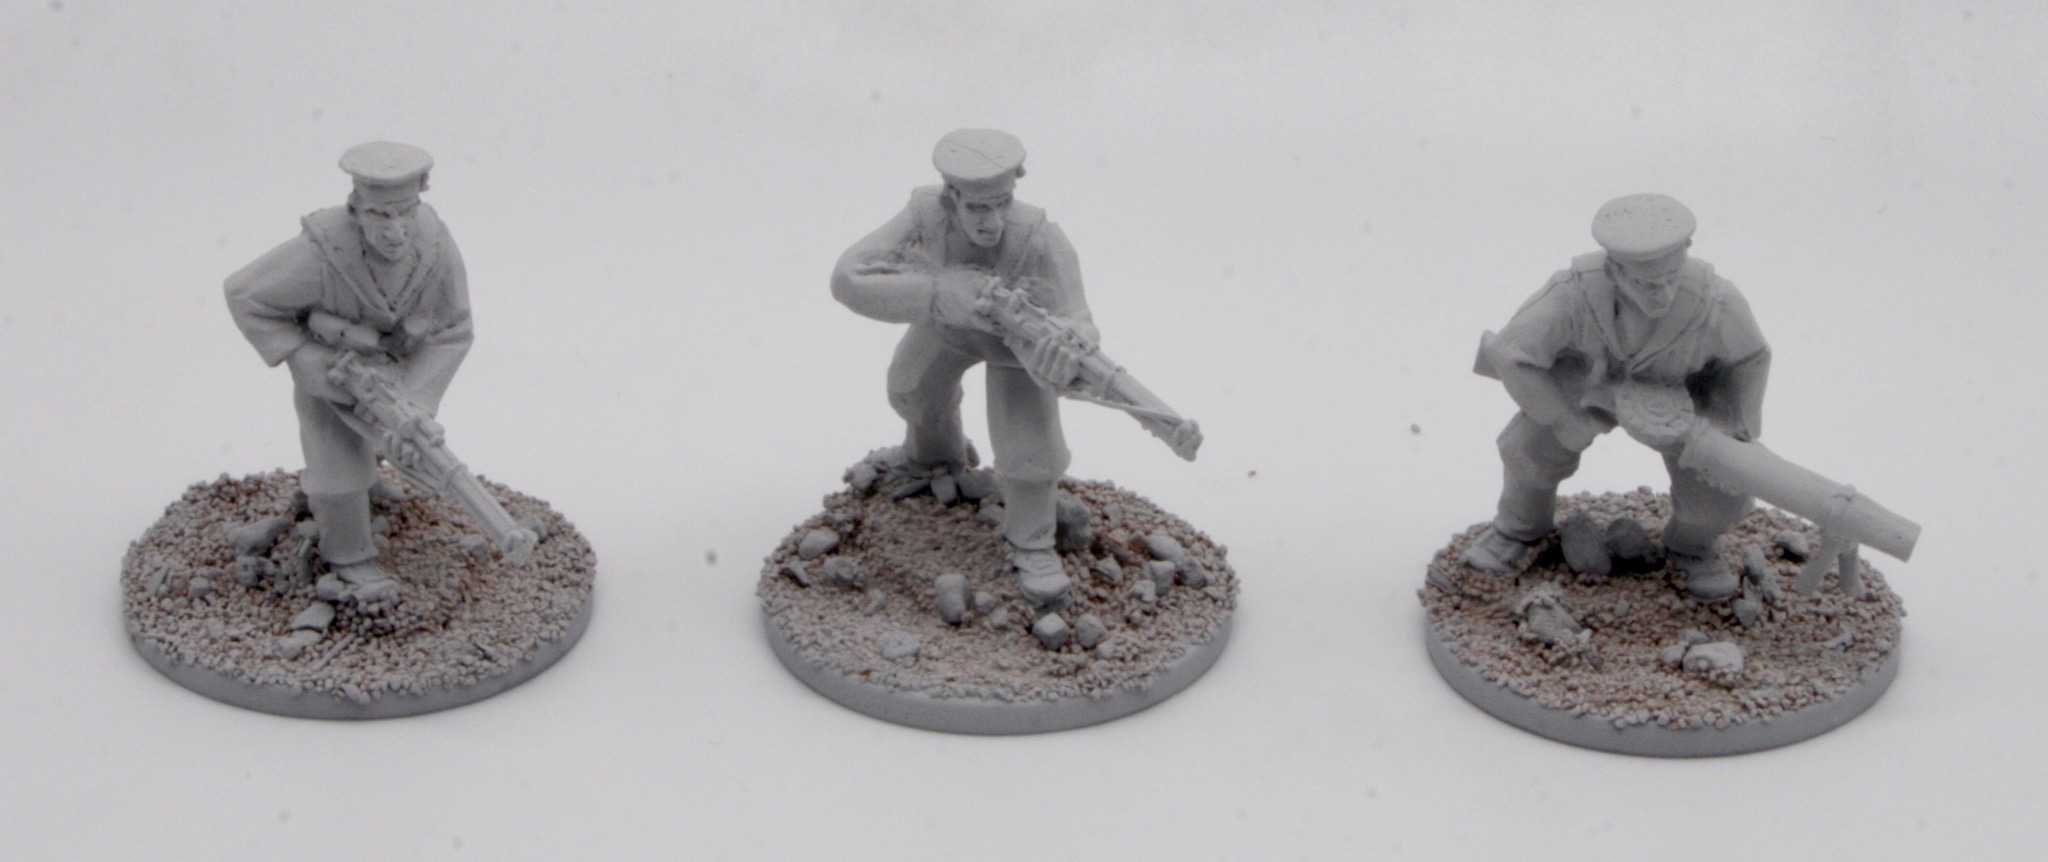
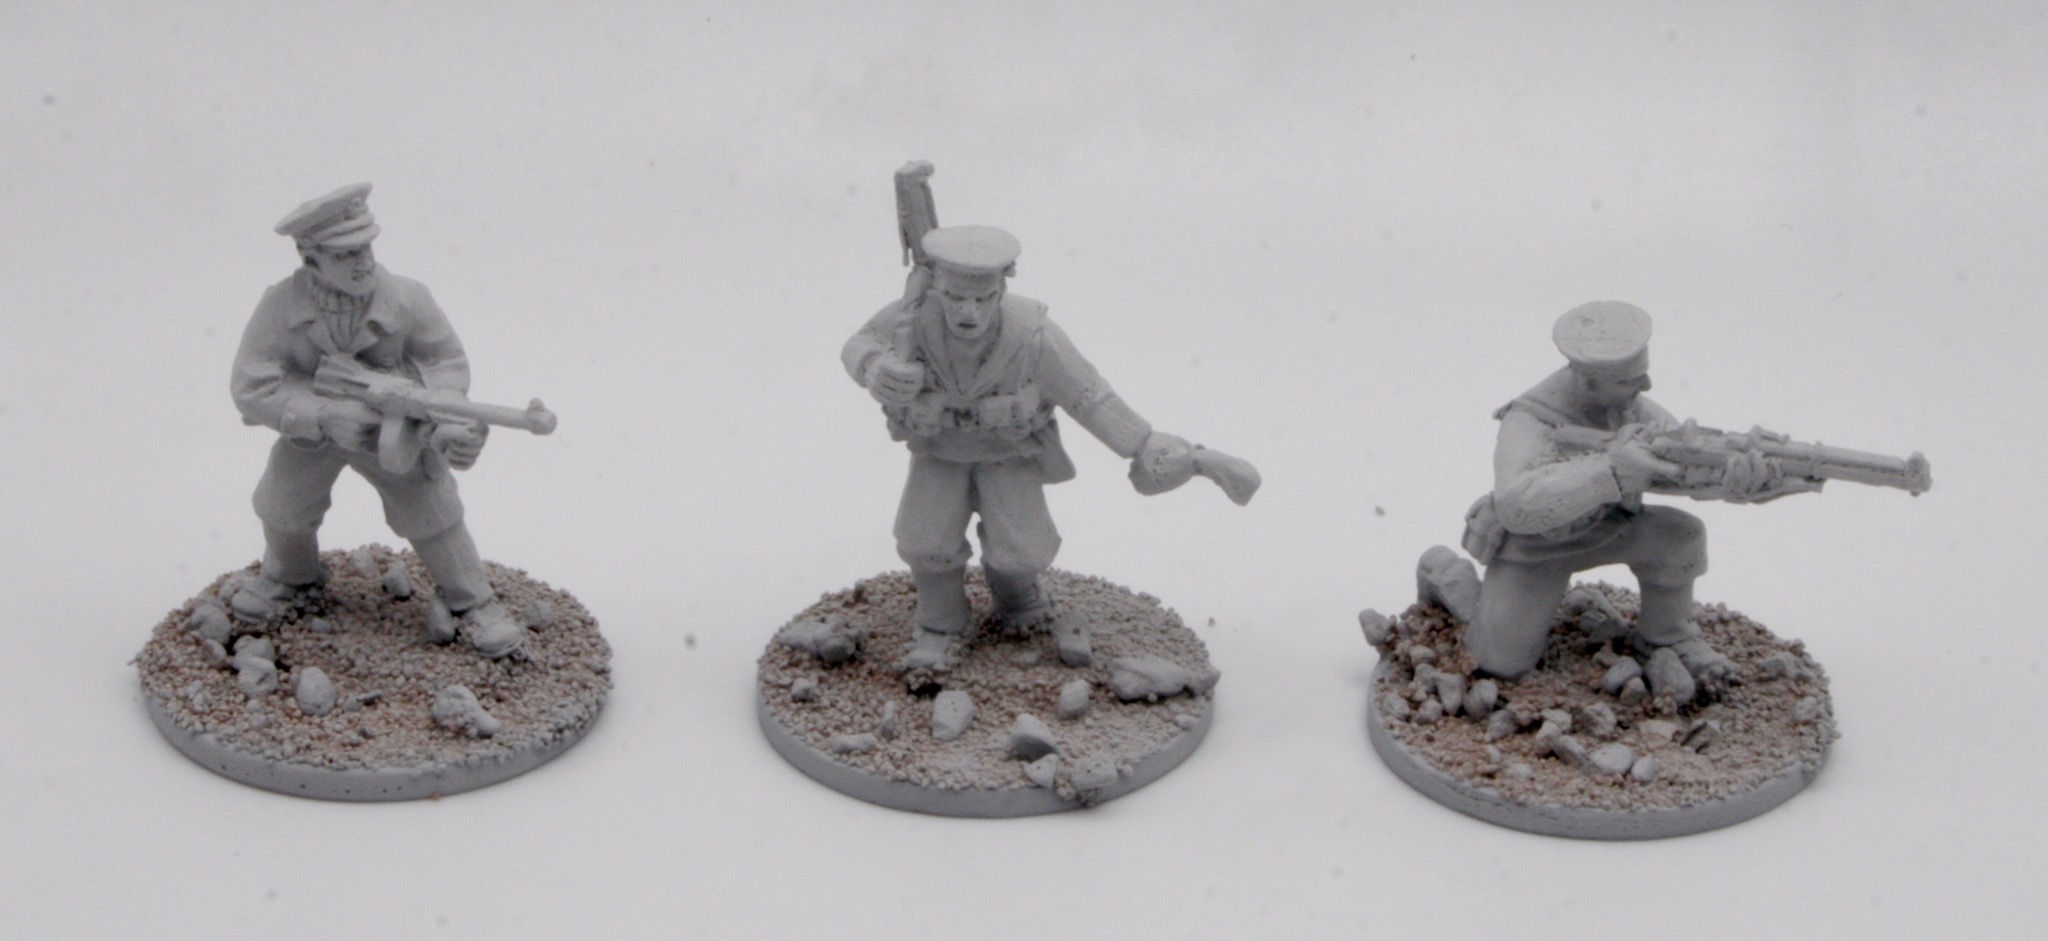
Having based the models the next step was a white undercoat. I used a GW White Corax spray can.
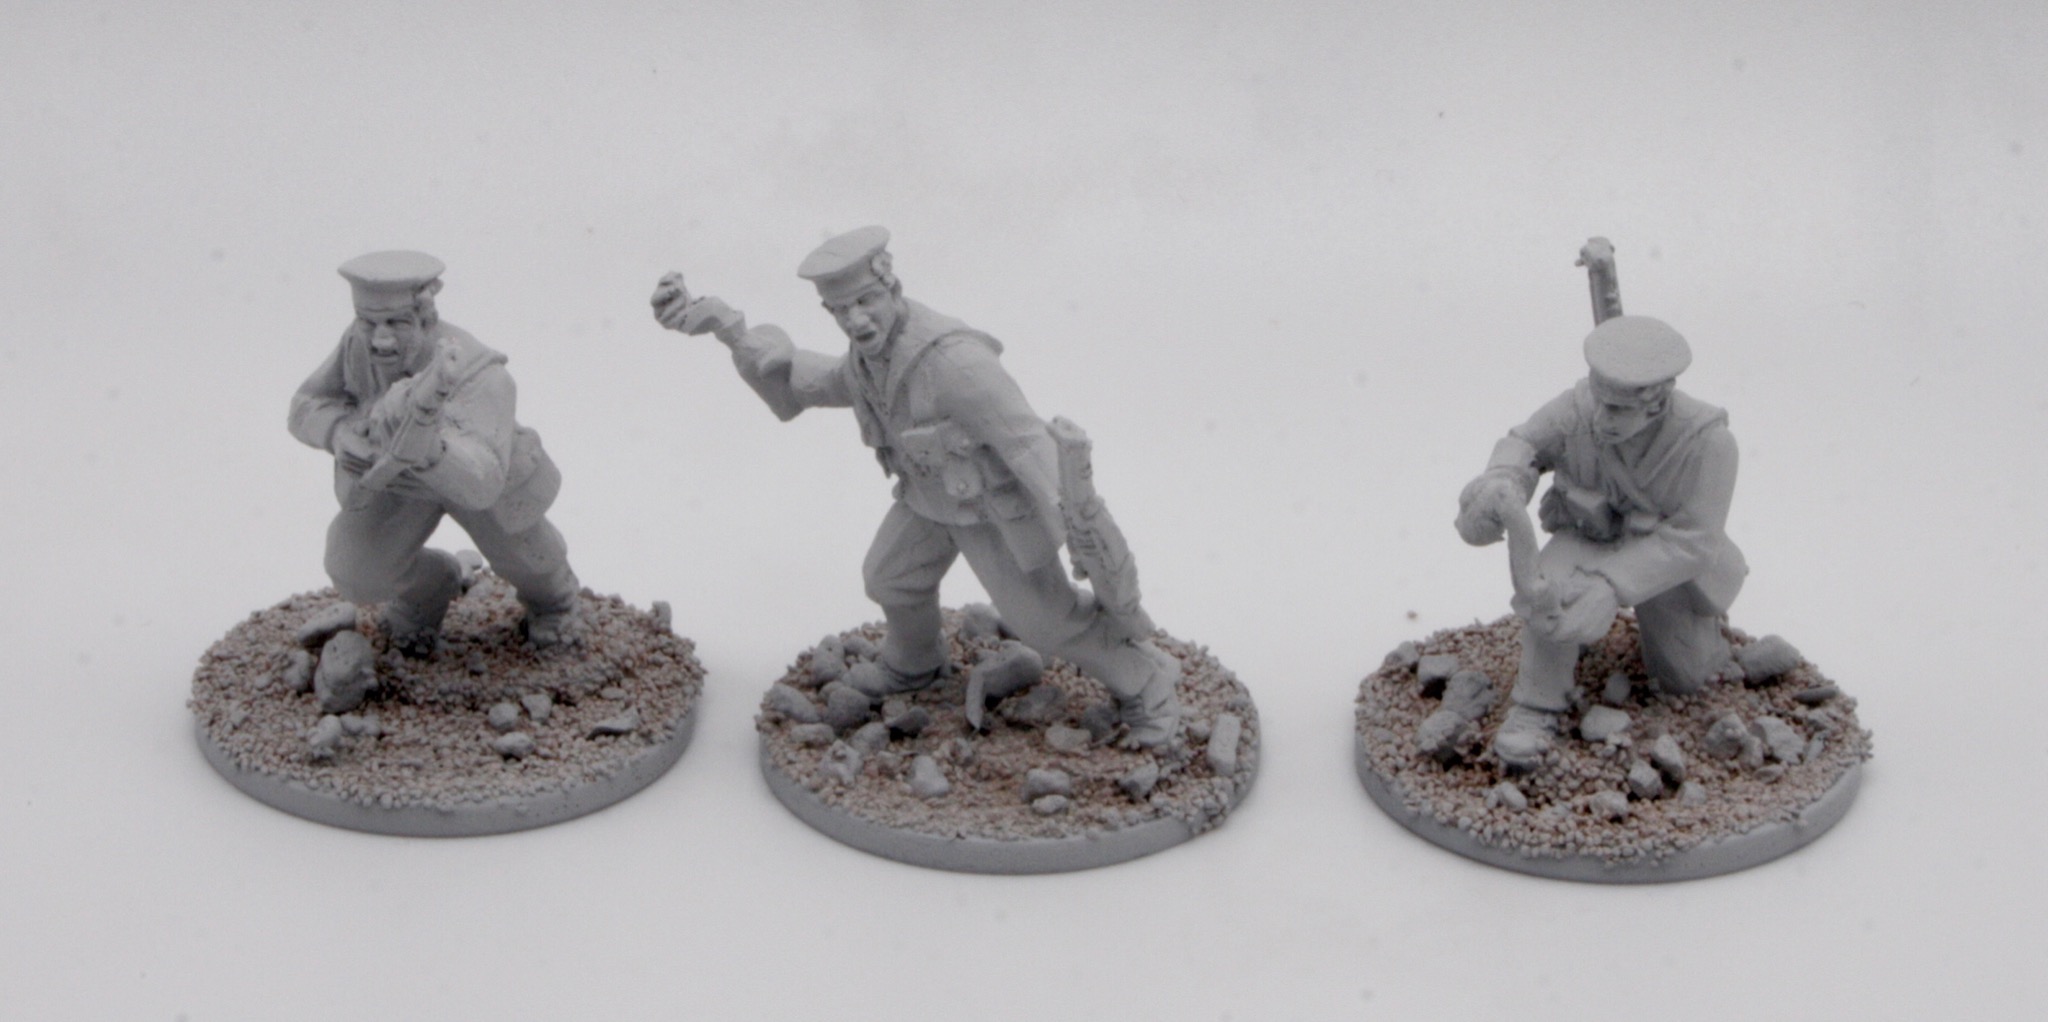
These are really nice models, like the fact they are metal castings as well. I am old school in that way I guess.
When I reflected on possible forces for Operation Sea Lion games I was looking around to see what is available. One unit that has been released which caught my attention was the Warlord Games Bolt Action Royal Navy section. So I bought a box.
Armed primarily with the reliable Lee Enfield rifle and often supported by a Lewis machine gun, sections of highly disciplined and well-equipped naval ratings with considerable experience of close combat fighting are a fearsome opponent.
Clad in their dark blue uniforms and 1908 pattern webbing these Jack Tars will provide a dash of colour to an otherwise khaki British force.
As the war progressed, it was Royal Navy Commandos or Royal Marines who would lead shore parties rather than Navy sailors. However in the realms of Operation Sea Lion you can easily imagine German Fallschirmjäger attacking a British Navy base to secure it to defuse any opposition. The only thing they weren’t expecting was some sailors to fight back.
Another idea would be, following a German invasion and the establishment of a successful beachhead with troops moving inland, the British command send in a Royal Navy shore party secretly to rescue a key scientist who has been left behind the lines in a seaside resort. The shore party need to find the scientist, whilst avoiding Wehrmacht patrols. They may have the support of local defence volunteers, potentially even members of an Auxiliary Unit.
Of course these Naval forces will also be suitable (as will my other Sea Lion British forces) for games set in the realm of A Very British Civil War.
You can see how in the turmoil of a British internal conflict, local militia attempting to secure weapons from a naval base, find that it wasn’t going to be as easy as they thought. They did bring a hastily improvised armoured civilian truck, however then the Molotov cocktails started to rain down on them.
The rules for the Royal Navy section can be found in the Bolt Action Campaign Sea Lion expansion. When I first read this campaign book, I didn’t expect that Warlord Games would release “obscure” units such as this for the game, however I have been pleasantly surprised by the variety and number of releases for the expansion. I am probably thinking in the past of rule publications that “talk the talk” but due to a range of issues didn’t “walk the walk”. Part of this was probably down to the fact that there were companies who made miniatures and then there were companies who published rules. There were a few who did both, but not many. Warlord Games are one of those companies who do both, and do both well; you can tell their Games Workshop heritage in their business practices.
The boxed set contains ten models. A petty officer leading the squad armed with SMG. There is a two man Lewis Gun LMG team, which will provide much needed fire support against an Fallschirmjäger attack.
There are seven unique sailors all with rifles and three have Molotov cocktails. Well that Lee Enfield isn’t going to be much use against those Jerry Panzers!
Though I have been working on a Great War Mark IV Tank to provide them with some armour.
The first stage was to clean the miniatures, and base them.
Rather than use the included plastic bases, I used some two pence pieces, which add more weight to the model and also lower their centre of gravity making them less likely to fall over during a game.
I used Citadel Sand for the bases, to give texture.
The next step will be giving them a white undercoat.
I am in the process of building a Bolt Action 28mm Home Guard force, I did want to add some armour to them with a Mark IV Male World War One tank put into service, even if it was merely as a mobile pillbox.
The Bovington Tank Museum has on display a Mark IV Male tank that was used just in this way. It was used in World War One and then presented to the Navy. When war broke out in September 1939, the Tank Mark IV (Male) number 2324 was refurbished for Home Guard duties.
However going to the cupboard I saw that it had leaked some yellow sticky stuff, which I am thinking might be the propellant. However despite that I decided I would paint the tank with the spray. However after going for it, I realised that I wasn’t going to be able to finish the tank, as the propellant ran out.
Hmmm.
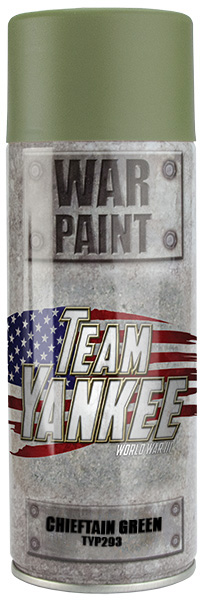
I did look at possible alternatives, attempting to find a new paint which matched the colour of Team Yankee Chieftain Green.
There are various conversion charts available online and it was clear from a couple that Vallejo Model Color 894 Russian Uniform was a match.
My local FLGS however doesn’t sell Vallejo paints, it stocks Citadel and The Army Painter range. Finding a match with those was more challenging.
In the end I decided I really didn’t need to worry. The Home Guard Mark IV (male) World War One Tank could probably be any shade of (army) green.
So I bought a can of Army Green Spray from the Army Painter range.
Back home I gave the Mark IV a base coat and I am quite pleased with the final shade.
I have a 15mm Home Guard Mark IV Male, but as I am in the process of building a Bolt Action 28mm Home Guard force, I did want to add some armour to them with a Mark IV Male World War One tank put into service, even if it was merely as a mobile pillbox.
I mentioned this idea in an article I wrote on a French themed Operation Sealion, Otaire de Vigneur.
To add a bit of diversity to my games, I also have one of Minifigs’ World War One British tanks, for use by a Home Guard unit (stolen from a local museum no doubt).
Now when I wrote that article and bought the miniature it was only an assumption and what I thought would be a nice idea, and probably had no basis in truth….
Well just shows a little historical research never hurt anyone, as the Bovington Tank Museum has on display a Mark IV Male tank that was used just in this way. It was used in World War One and then presented to the Navy. When war broke out in September 1939, the Tank Mark IV (Male) number 2324 was refurbished for Home Guard duties; according to the Bovington Tank Museum website.
Our exhibit, a male tank, was presented to the Royal Navy’s Gunnery School, HMS Excellent after the war to commemorate their help training Tank Corps gunners and it was temporarily refurbished for Home Guard duties in 1940. (Believed to have been achieved by removed parts from another tank possibly on Southsea Common.)
This photograph is from HMS Excellent in 1940.
Mark IV at HMS Excellent
One thing clear from this photograph is the disruptive camouflage they have used on the tank.
So though I thought my idea was probably if Operation Sealion had happened, I didn’t think and didn’t realise that it had in fact happened despite the fact that the Germans hadn’t invaded.
So as I also have the Royal Navy Section this gives me an excuse to use this model.
The tracks fitted really easily to the hull of the tank.
The sponson were simple to fit with the metal castings of the main weapons.
I added the exhaust, but decided against adding the “unditching beam” rails that are included with the kit.
Mark IVs were also the first tanks fitted with “unditching beams” by field workshops. A large wooden beam, reinforced with sheet metal, was stored across the top of the tank on a set of parallel rails. If the tank became stuck, the beam was attached to the tracks (often under fire) and then the tracks would drag it beneath the vehicle, providing grip.
The period photographs of the Home Guard Mark IV show the tank without these rails.
The next stage was to give the model a white undercoat.
Then it is on to the basecoat, where I did have some problems…
However going to the cupboard I saw that it had leaked some yellow sticky stuff, which I am thinking might be the propellant. However despite that I decided I would paint the tank with the spray.
However after going for it, I realised that I wasn’t going to be able to finish the tank, as the propellant ran out.
The problem I have now is finding a replacement, as the Team Yankee Chieftain Green paint is no longer available. So I am on the lookout for an alternative as a replacement.
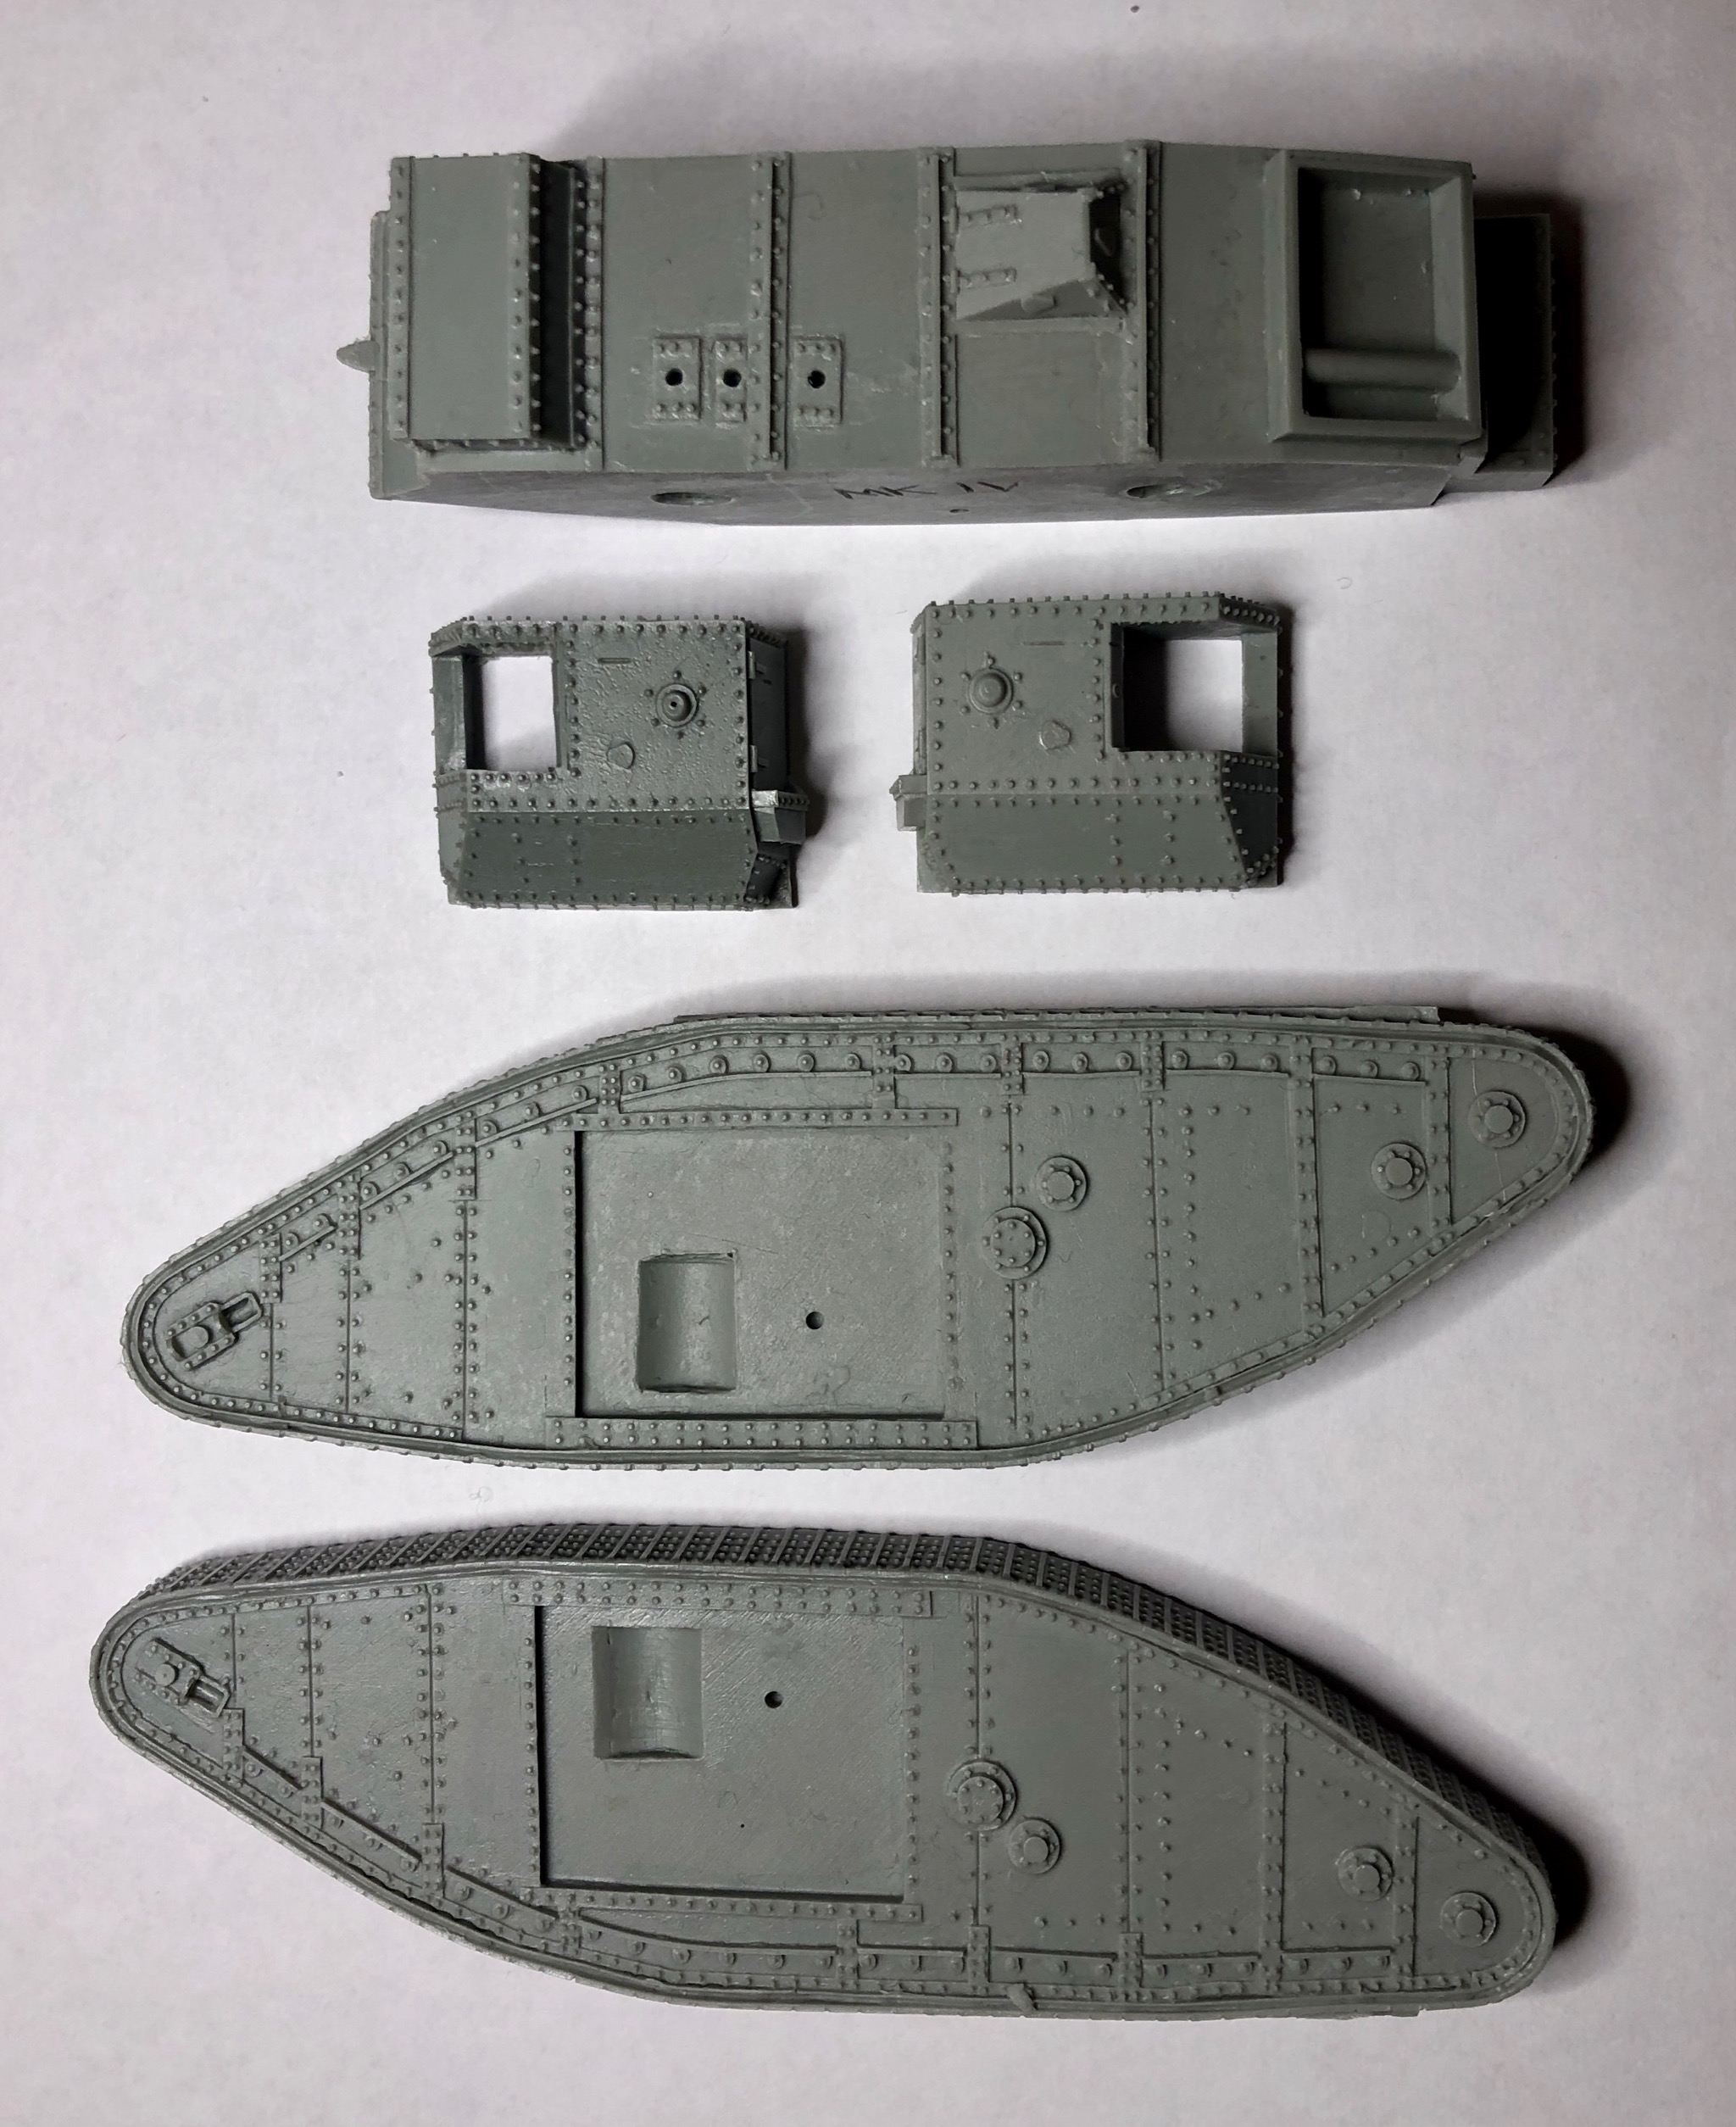
Having started on the Bolt Action Home Guard Mark IV (male) World War One Tank. The first stage was to clean the resin and metal pieces and then wash the resin pieces in warm soapy water to remove any residue from the casting process.
The parts were quite easy to clean and they fit together quite nicely and easily. Here are the resin pieces.
They comprise the hull, the two track units and two sponsons.
Here are the metal castings.
As well as the fascine rails, you also have metal main weapons and secondary weapons, exhausts and other hull fittings.
Having started on the Bolt Action Home Guard Mark IV (male) World War One Tank. The first stage was to clean the resin and metal pieces and then wash the resin pieces in warm soapy water to remove any residue from the casting process.
The parts were quite easy to clean and they fit together quite nicely and easily. Looking at the pictures of HMS Excellent in 1940 I will be leaving some parts off, notably the top fascine rails.
I got this Warlord Games Bolt Action Mark IV (male) British WWI tank model for Christmas.
It consists of mainly resin parts with some metal components.
I have a 15mm Home Guard Mark IV Male, but as I am in the process of building a Bolt Action 28mm Home Guard force, I did want to add some armour to them with a Mark IV Male World War One tank put into service, even if it was merely as a mobile pillbox.
I mentioned this idea in an article I wrote on a French themed Operation Sealion, Otaire de Vigneur.
To add a bit of diversity to my games, I also have one of Minifigs’ World War One British tanks, for use by a Home Guard unit (stolen from a local museum no doubt).
Now when I wrote that article and bought the miniature it was only an assumption and what I thought would be a nice idea, and probably had no basis in truth….
Well just shows a little historical research never hurt anyone, as the Bovington Tank Museum has on display a Mark IV Male tank that was used just in this way. It was used in World War One and then presented to the Navy. When war broke out in September 1939, the Tank Mark IV (Male) number 2324 was refurbished for Home Guard duties; according to the Bovington Tank Museum website.
Our exhibit, a male tank, was presented to the Royal Navy’s Gunnery School, HMS Excellent after the war to commemorate their help training Tank Corps gunners and it was temporarily refurbished for Home Guard duties in 1940. (Believed to have been achieved by removed parts from another tank possibly on Southsea Common.)
This photograph is from HMS Excellent in 1940.
Mark IV at HMS Excellent
One thing clear from this photograph is the disruptive camouflage they have used on the tank.
Another view of the Mark IV at speed.
So though I thought my idea was probably if Operation Sealion had happened, I didn’t think and didn’t realise that it had in fact happened despite the fact that the Germans hadn’t invaded.
So as I also have the Royal Navy Section this gives me an excuse to use this model.
So onto building the model.
The first step will be to give the resin parts a wash in soapy water and clean up the metal components.