Inquisitorial Stormtrooper Repressor

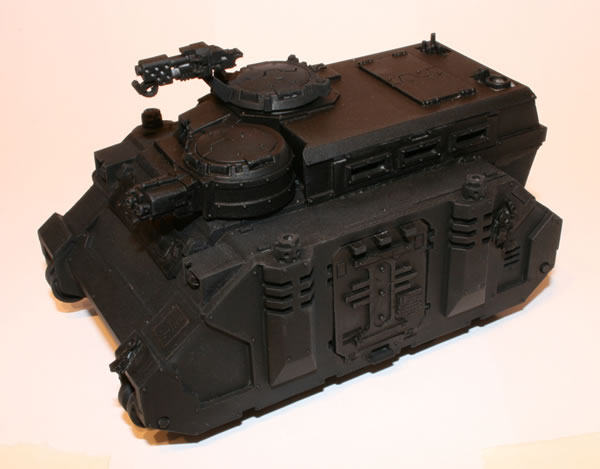
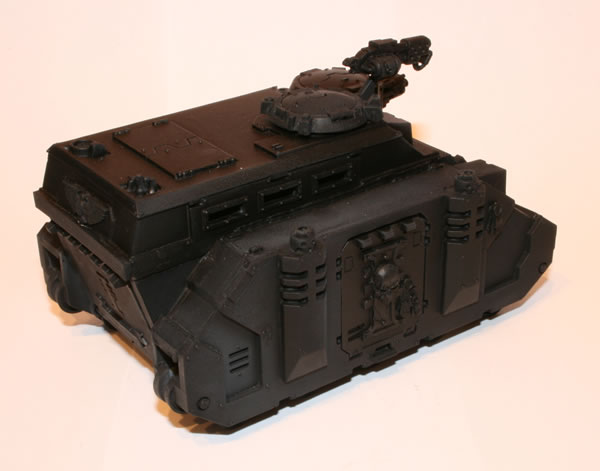
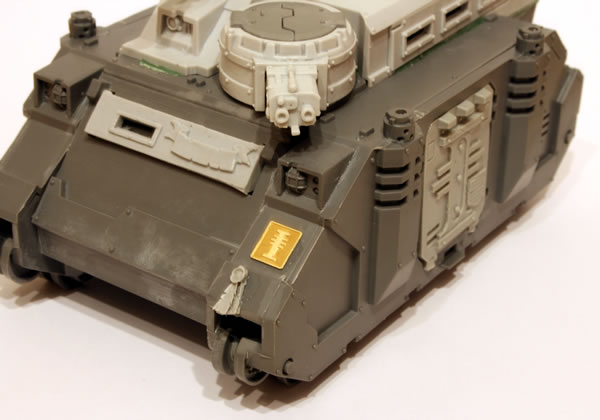
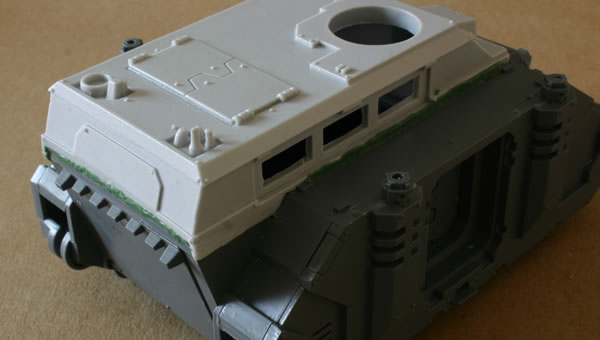
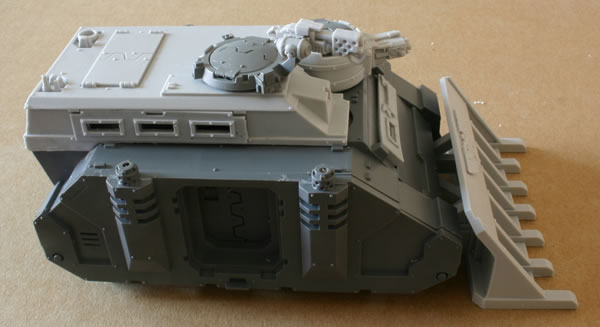
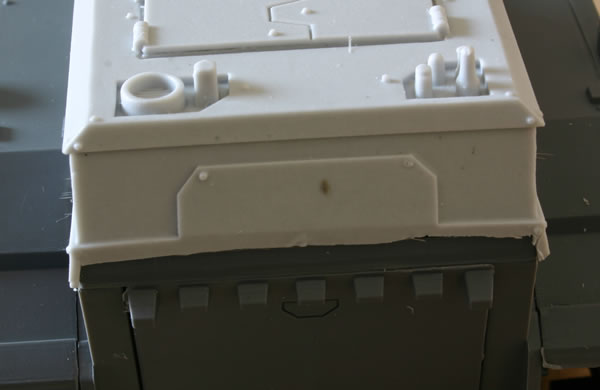
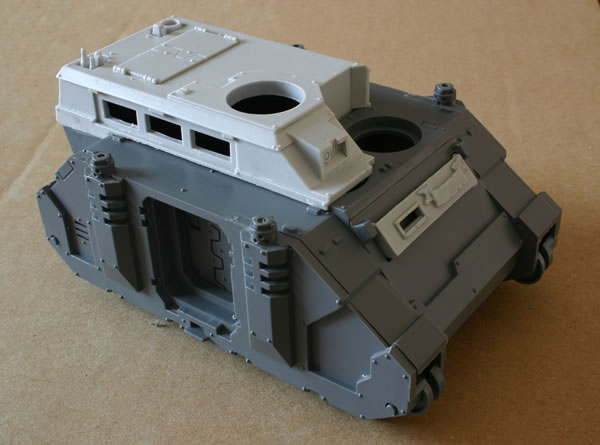
As part of my Daemonhunters army I am using a Repressor as a transport for my Inquisitorial Stormtroopers. Overall the model has being coming together really well, though the fit of some of the resin parts did leave a lot to be desired.

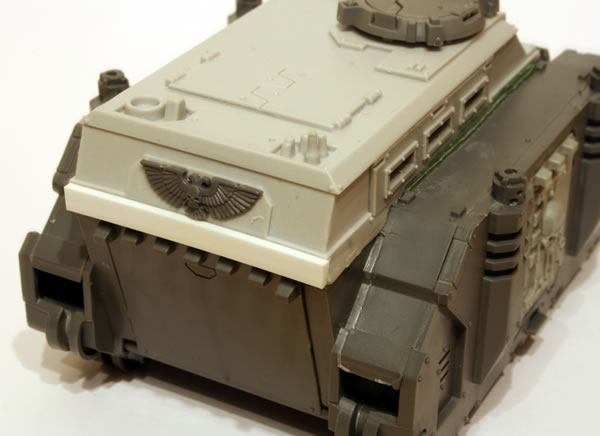
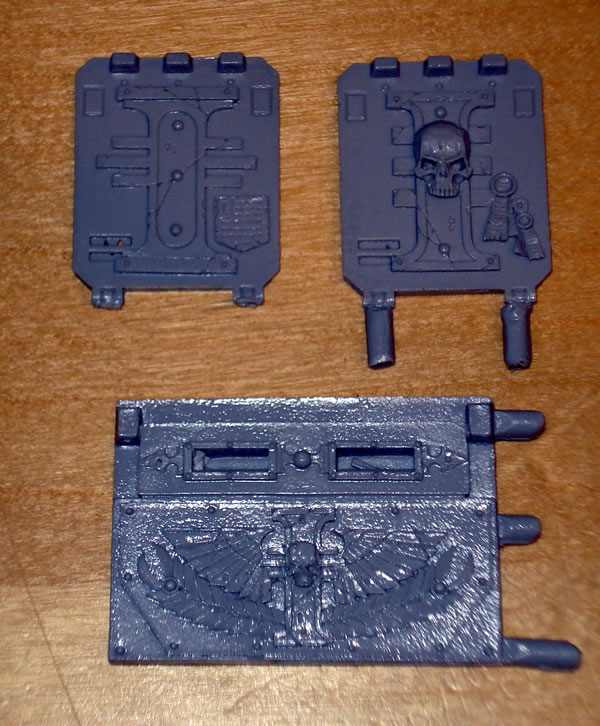
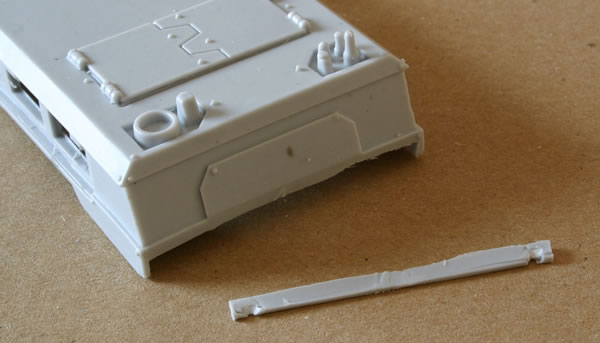
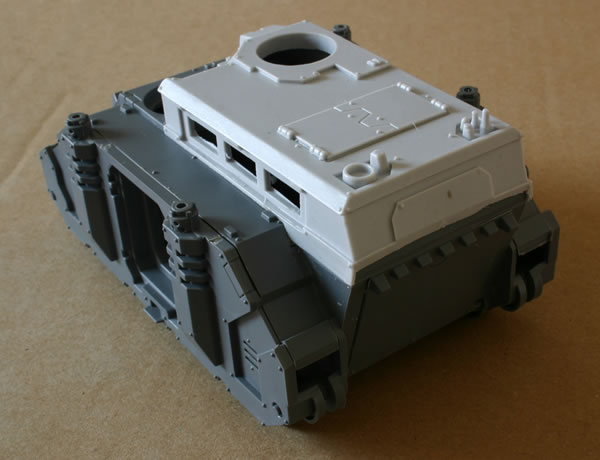
After some thought I decided to use some Inquisitor Rhino doors from Forge World to enhance the model.

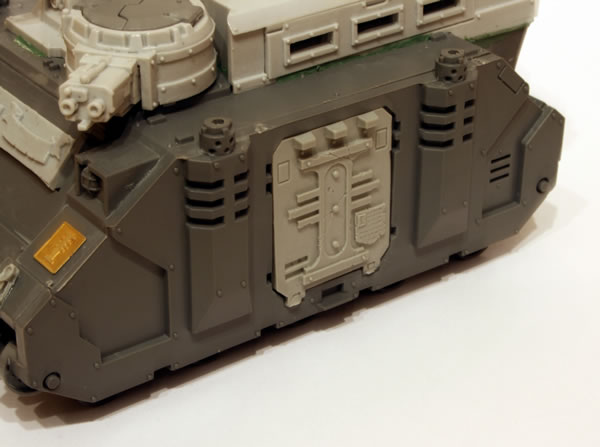
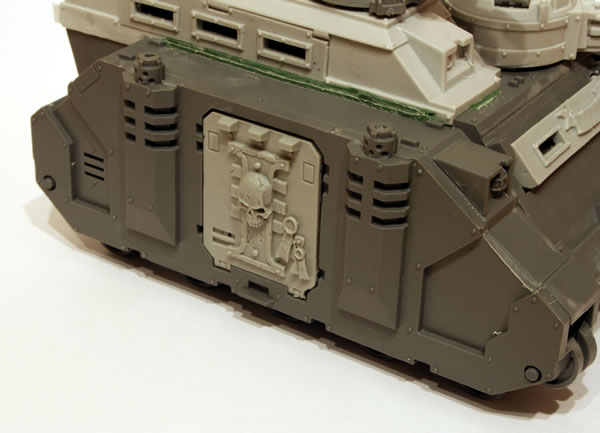
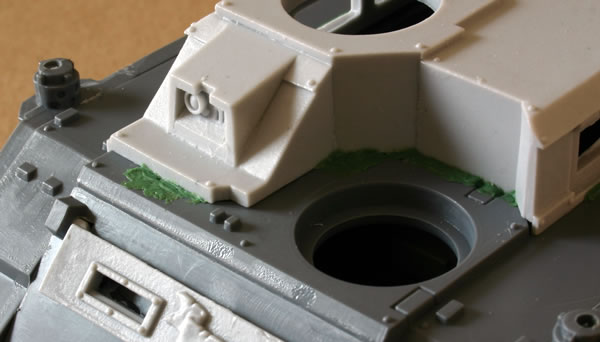
I am quite pleased with them, they are well sculptured and fit in really well style wise. Unlike some other resin parts from Forge World, these fitted into the door gaps really well.

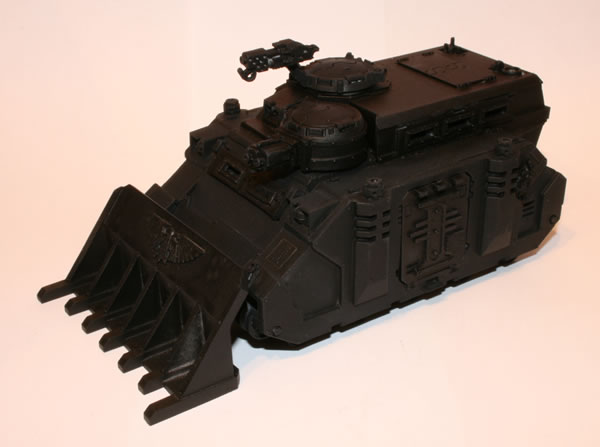
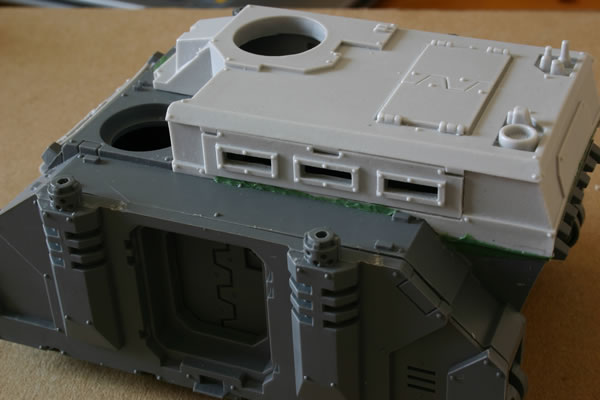
I wish I had used the front plate instead of the suppplied plastic one, but it would be of little use, as the front plate is hidden by the huge dozer blade, so maybe not such a good idea.

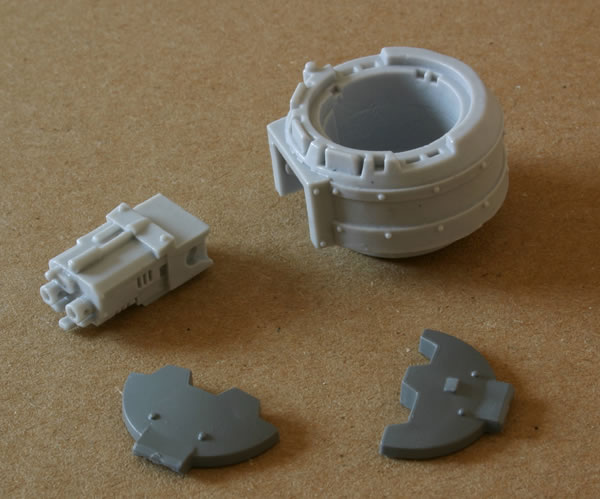
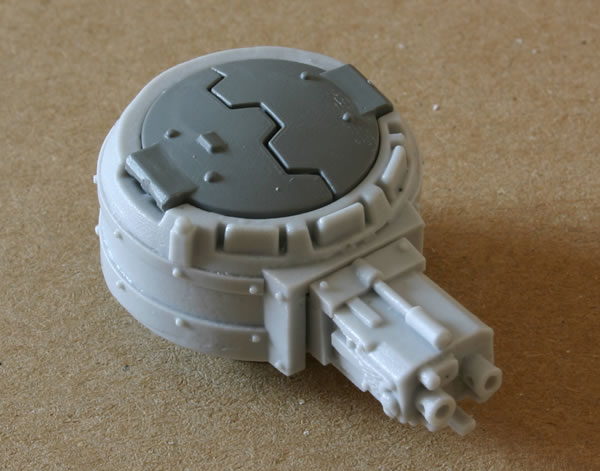
The next stage is to add some more Inquisitorial type paraphernalia to the model. You can see the full workbench feature on my Repressor.

Dozerblade for the Repressor

One of the nice extra parts for the Sisters of Battle Repressor is the large dozer blade. It consists of two parts; the blade and the attachment for attaching the blade to the hull.

Dozerblade for the Repressor

The blade has some quite large sprue attachments which need to be removed with care.

If you don’t it can result in damage to the resin blade, luckily this is at the bottom of the blade.

Dozerblade for the Repressor

The attachment had a fair bit of flash attached which needed to be cleaned.

Dozerblade for the Repressor

I am going to paint this part separately, but to give you an idea on how the final Repressor will look here is as though the dozer blade was attached.

Repressor

The next stage is doors, for which I think I may purchase some Rhino Inquisition doors from Forgeworld.

Repressor Hatch Flamer

…let them burn in the fires of retribution or somesuch rubbish…

The Repressor kit comes with a resin flamer for a hatch ring.

Repressor Hatch Flamer

Combined with the plastic hatch ring from the extras sprue, it will go on the top of the Repressor structure.

Repressor Hatch Flamer

It went together very easily.

Repressor Hatch Flamer

I decided to make the hatch closed, if this was a Sisters of Battle Repressor or a Adeptus Arbites Repressor then I may have added a gunner, as this will be used for different units I decided to make it closed.

The continuing saga of the ill-fitting top

carve and file…

After much thought about the ill-fitting top on my Sisters of Battle Repressor I decided initially to try and file down the Rhino body to allow the resin superstructure fit.

This wasn’t really working, so I decided to trim the back of the superstructure.

Sisters of Battle Repressor

This allowed the superstructure to fit.

Sisters of Battle Repressor

But it wasn’t a perfect fit.

Sisters of Battle Repressor

This was more apparent on the front.

Sisters of Battle Repressor

Where there was quite a large gap.

Sisters of Battle Repressor

Time to get out the green stuff (putty).

Sisters of Battle Repressor – Storm Troopers Transport Storm Bolter Turret

The Storm Bolter Turret on my Sisters of Battle Repressor – Storm Troopers Transport went together very easily.

These are the resin and plastic components.

Sisters of Battle Repressor Storm Bolter Turret

Here is the completed turret.

Sisters of Battle Repressor Storm Bolter Turret

It fits nicely into the turret ring.

The top don’t fit

The resin seems to have shrunk…

As I was building the Repressor I noticed that I had a problem. The new roof did not fit as expected, it was as though it had shrunk.

The top don't fit

The arrow points to the parts not fitting together as they should.

This is of course always a concern with resin parts and to be honest I almost expect it with Forgeworld models, these are resin kits which require skill not mass produced plastic kits which any old fool can put together!

Now the issue was how was I going to rectify this?