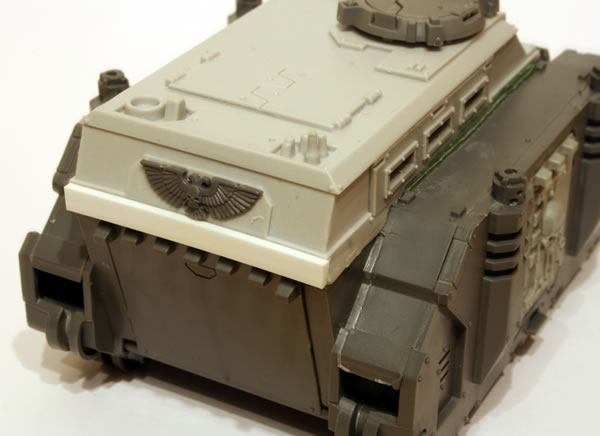
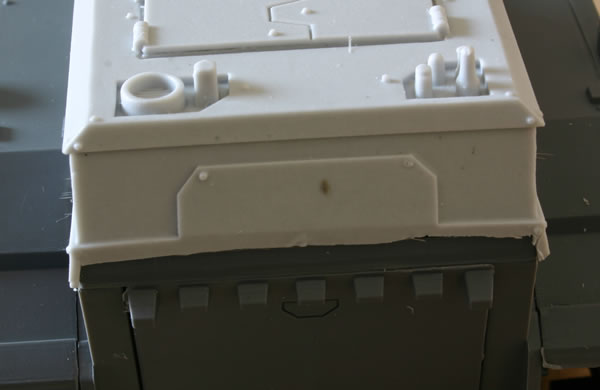
My main force of Daemonhunters Inquisitorial Stormtroopers are based on the Cadian Kasrkin, this was a boxed set I got years ago (when they came out if I remember correctly). They were stuck and based a few years back, as well as undercoated white, and then (as I guess with many miniatures) left in a box.
I recently got them out to start painting them. The first stage was a basecoat of Desert Yellow. These are the heavy weapon troopers and the sergeant.
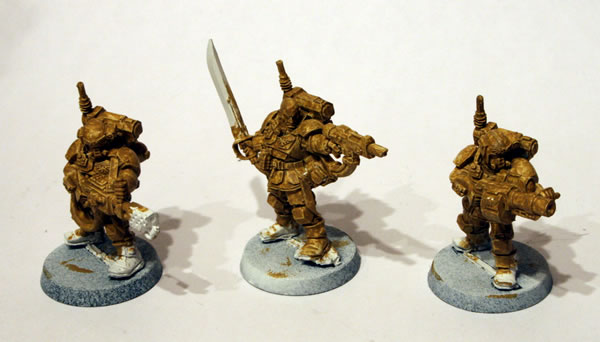
This is quite a watery thin paint compared to other Citadel paints, but was just like thinning any other Citadel paint with water without actually needing to do that. Here is the rear view, and unlike most Imperial Guard, the Cadian Kasrkin have backpacks which identifies them as stormtroopers.
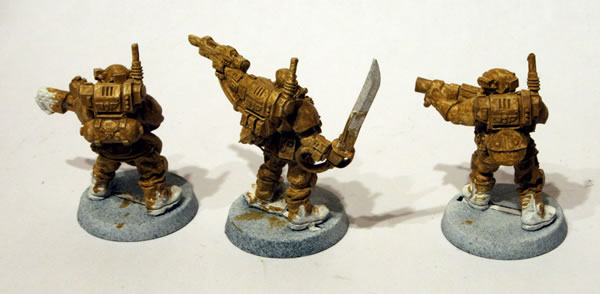
I have left the boots alone, as these will be painted Scorched Brown. I do like these models which are really well sculptured.