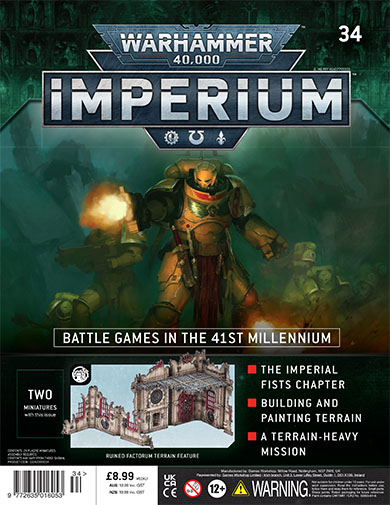
Having picked up the Ruined Factorum sprue that came with Warhammer 40000 Imperium 31 a couple of weeks back, I set myself a reminder, to purchase issue 34 for the second sprue .
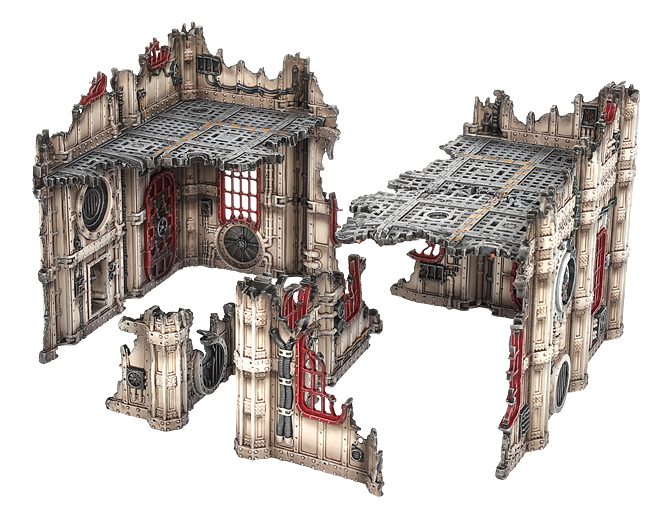
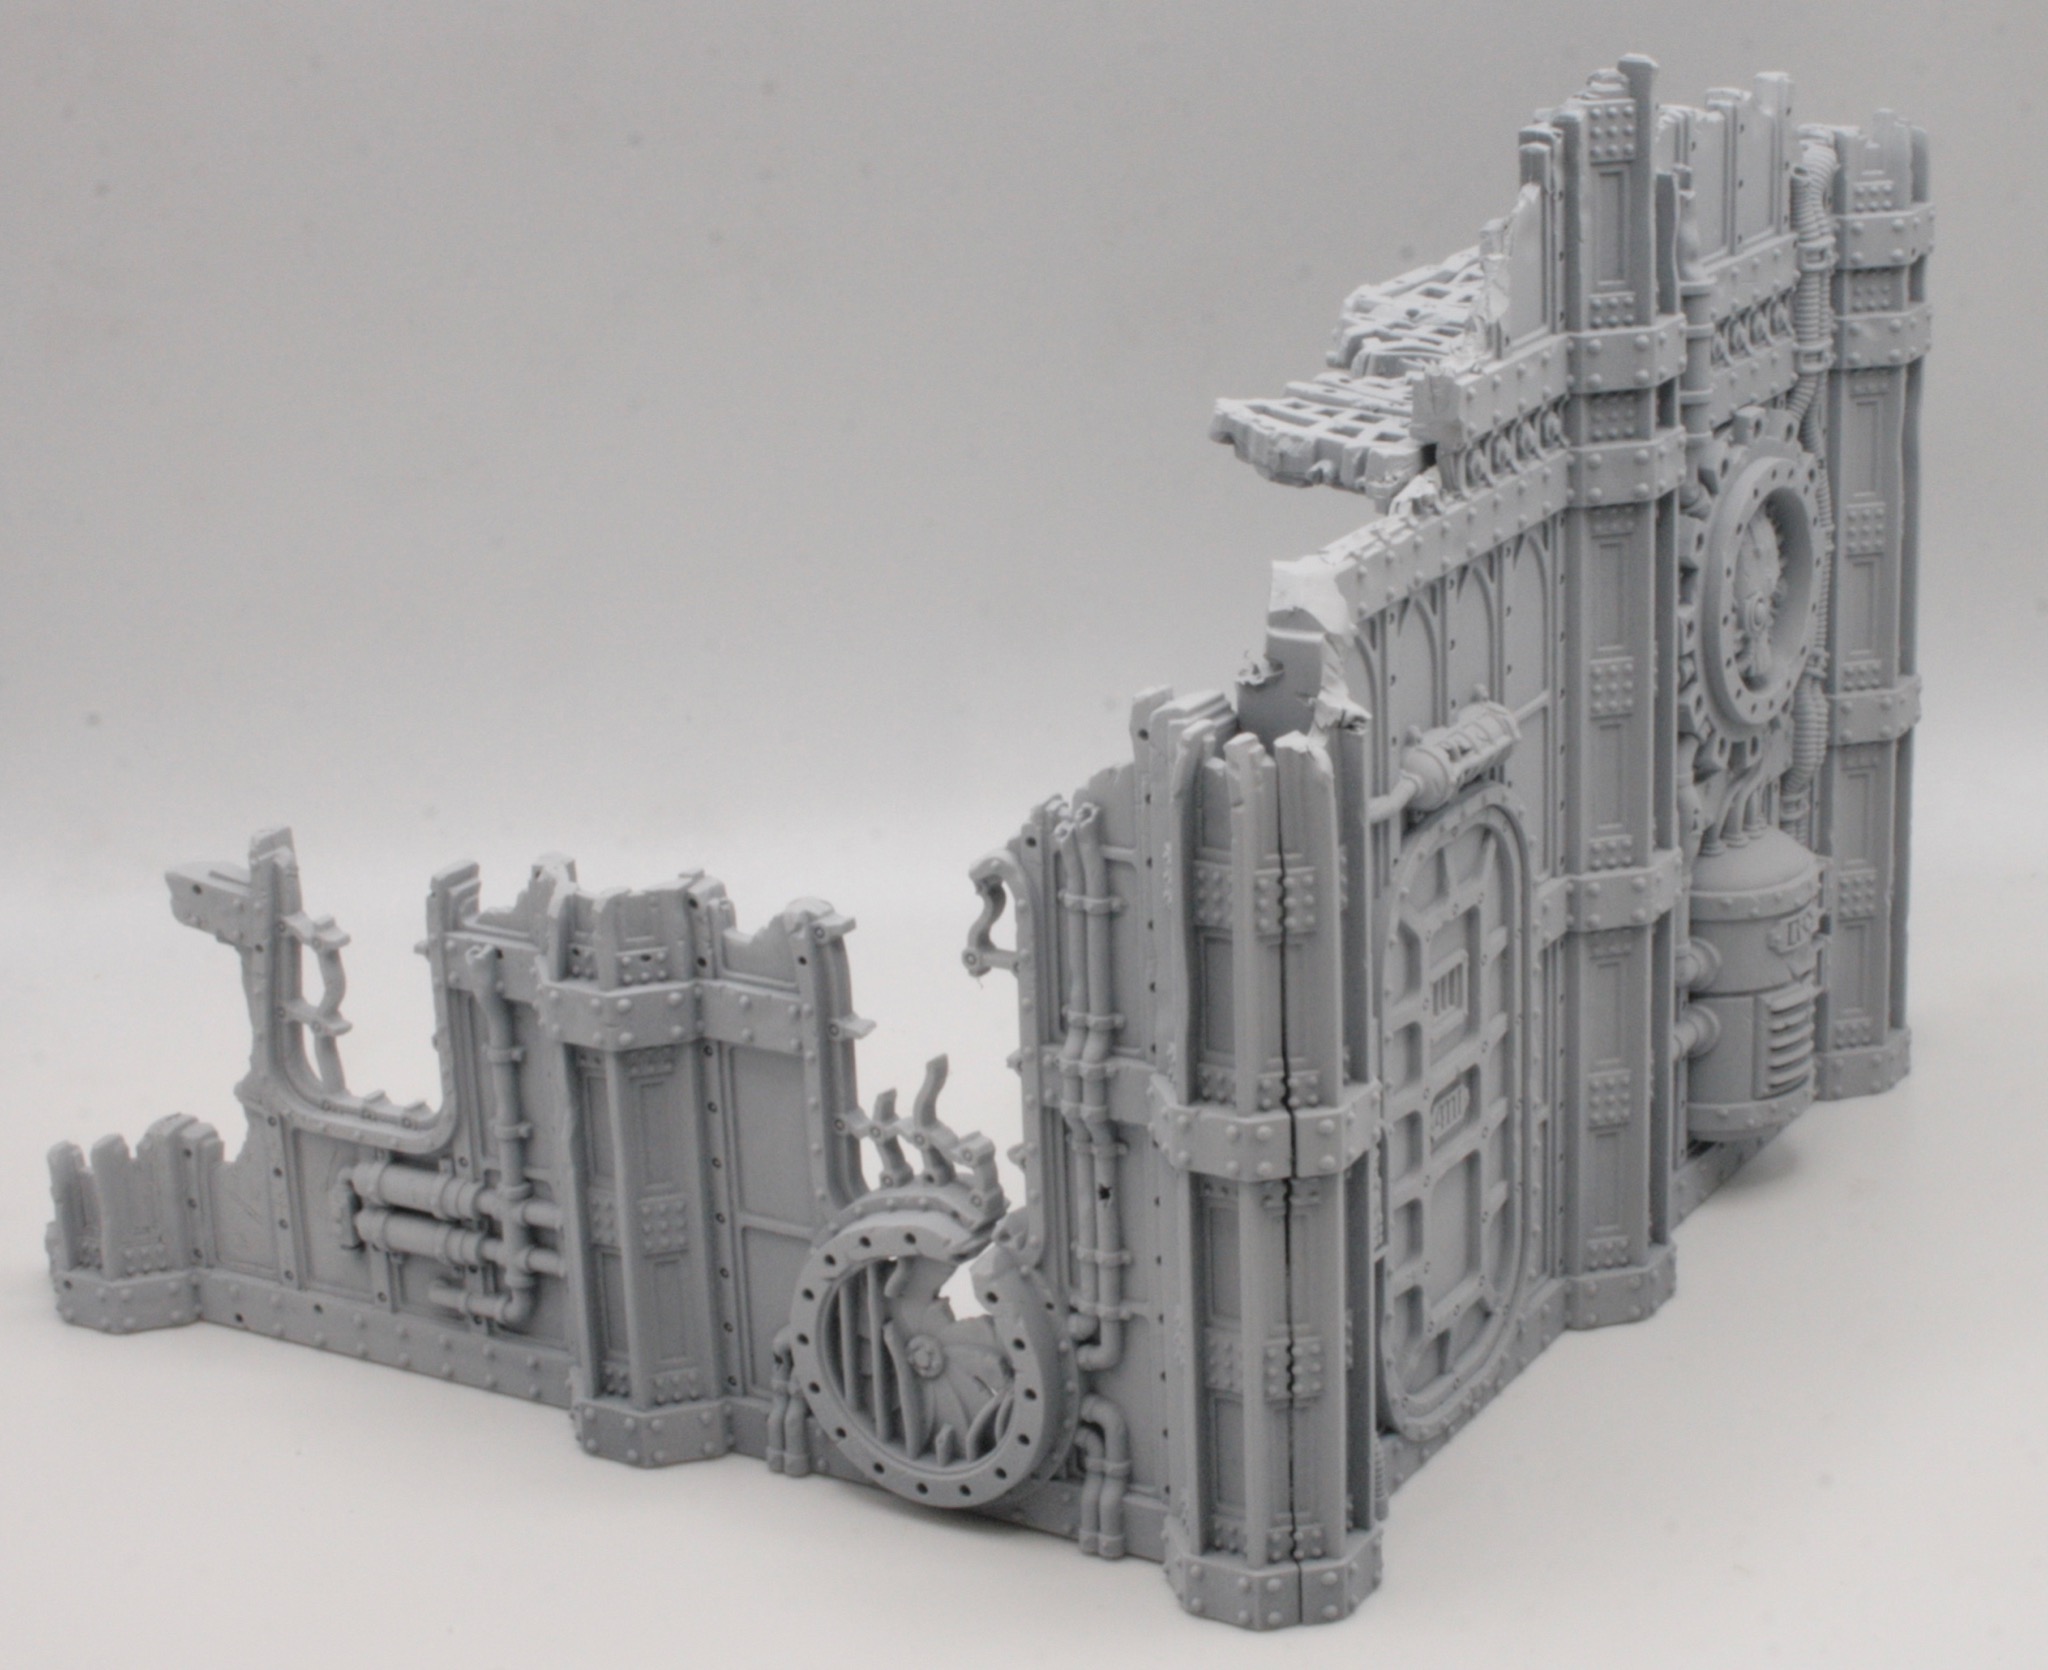
The ruins are from the The Battlezone: Manufactorum – Sub-cloister and Storage Fane kit which did cost £37.50 at Games Workshop and contains two similar sprues. So at £8.99 you would be making a saving of £9.76. However you can’t buy the kit anymore anyhow.
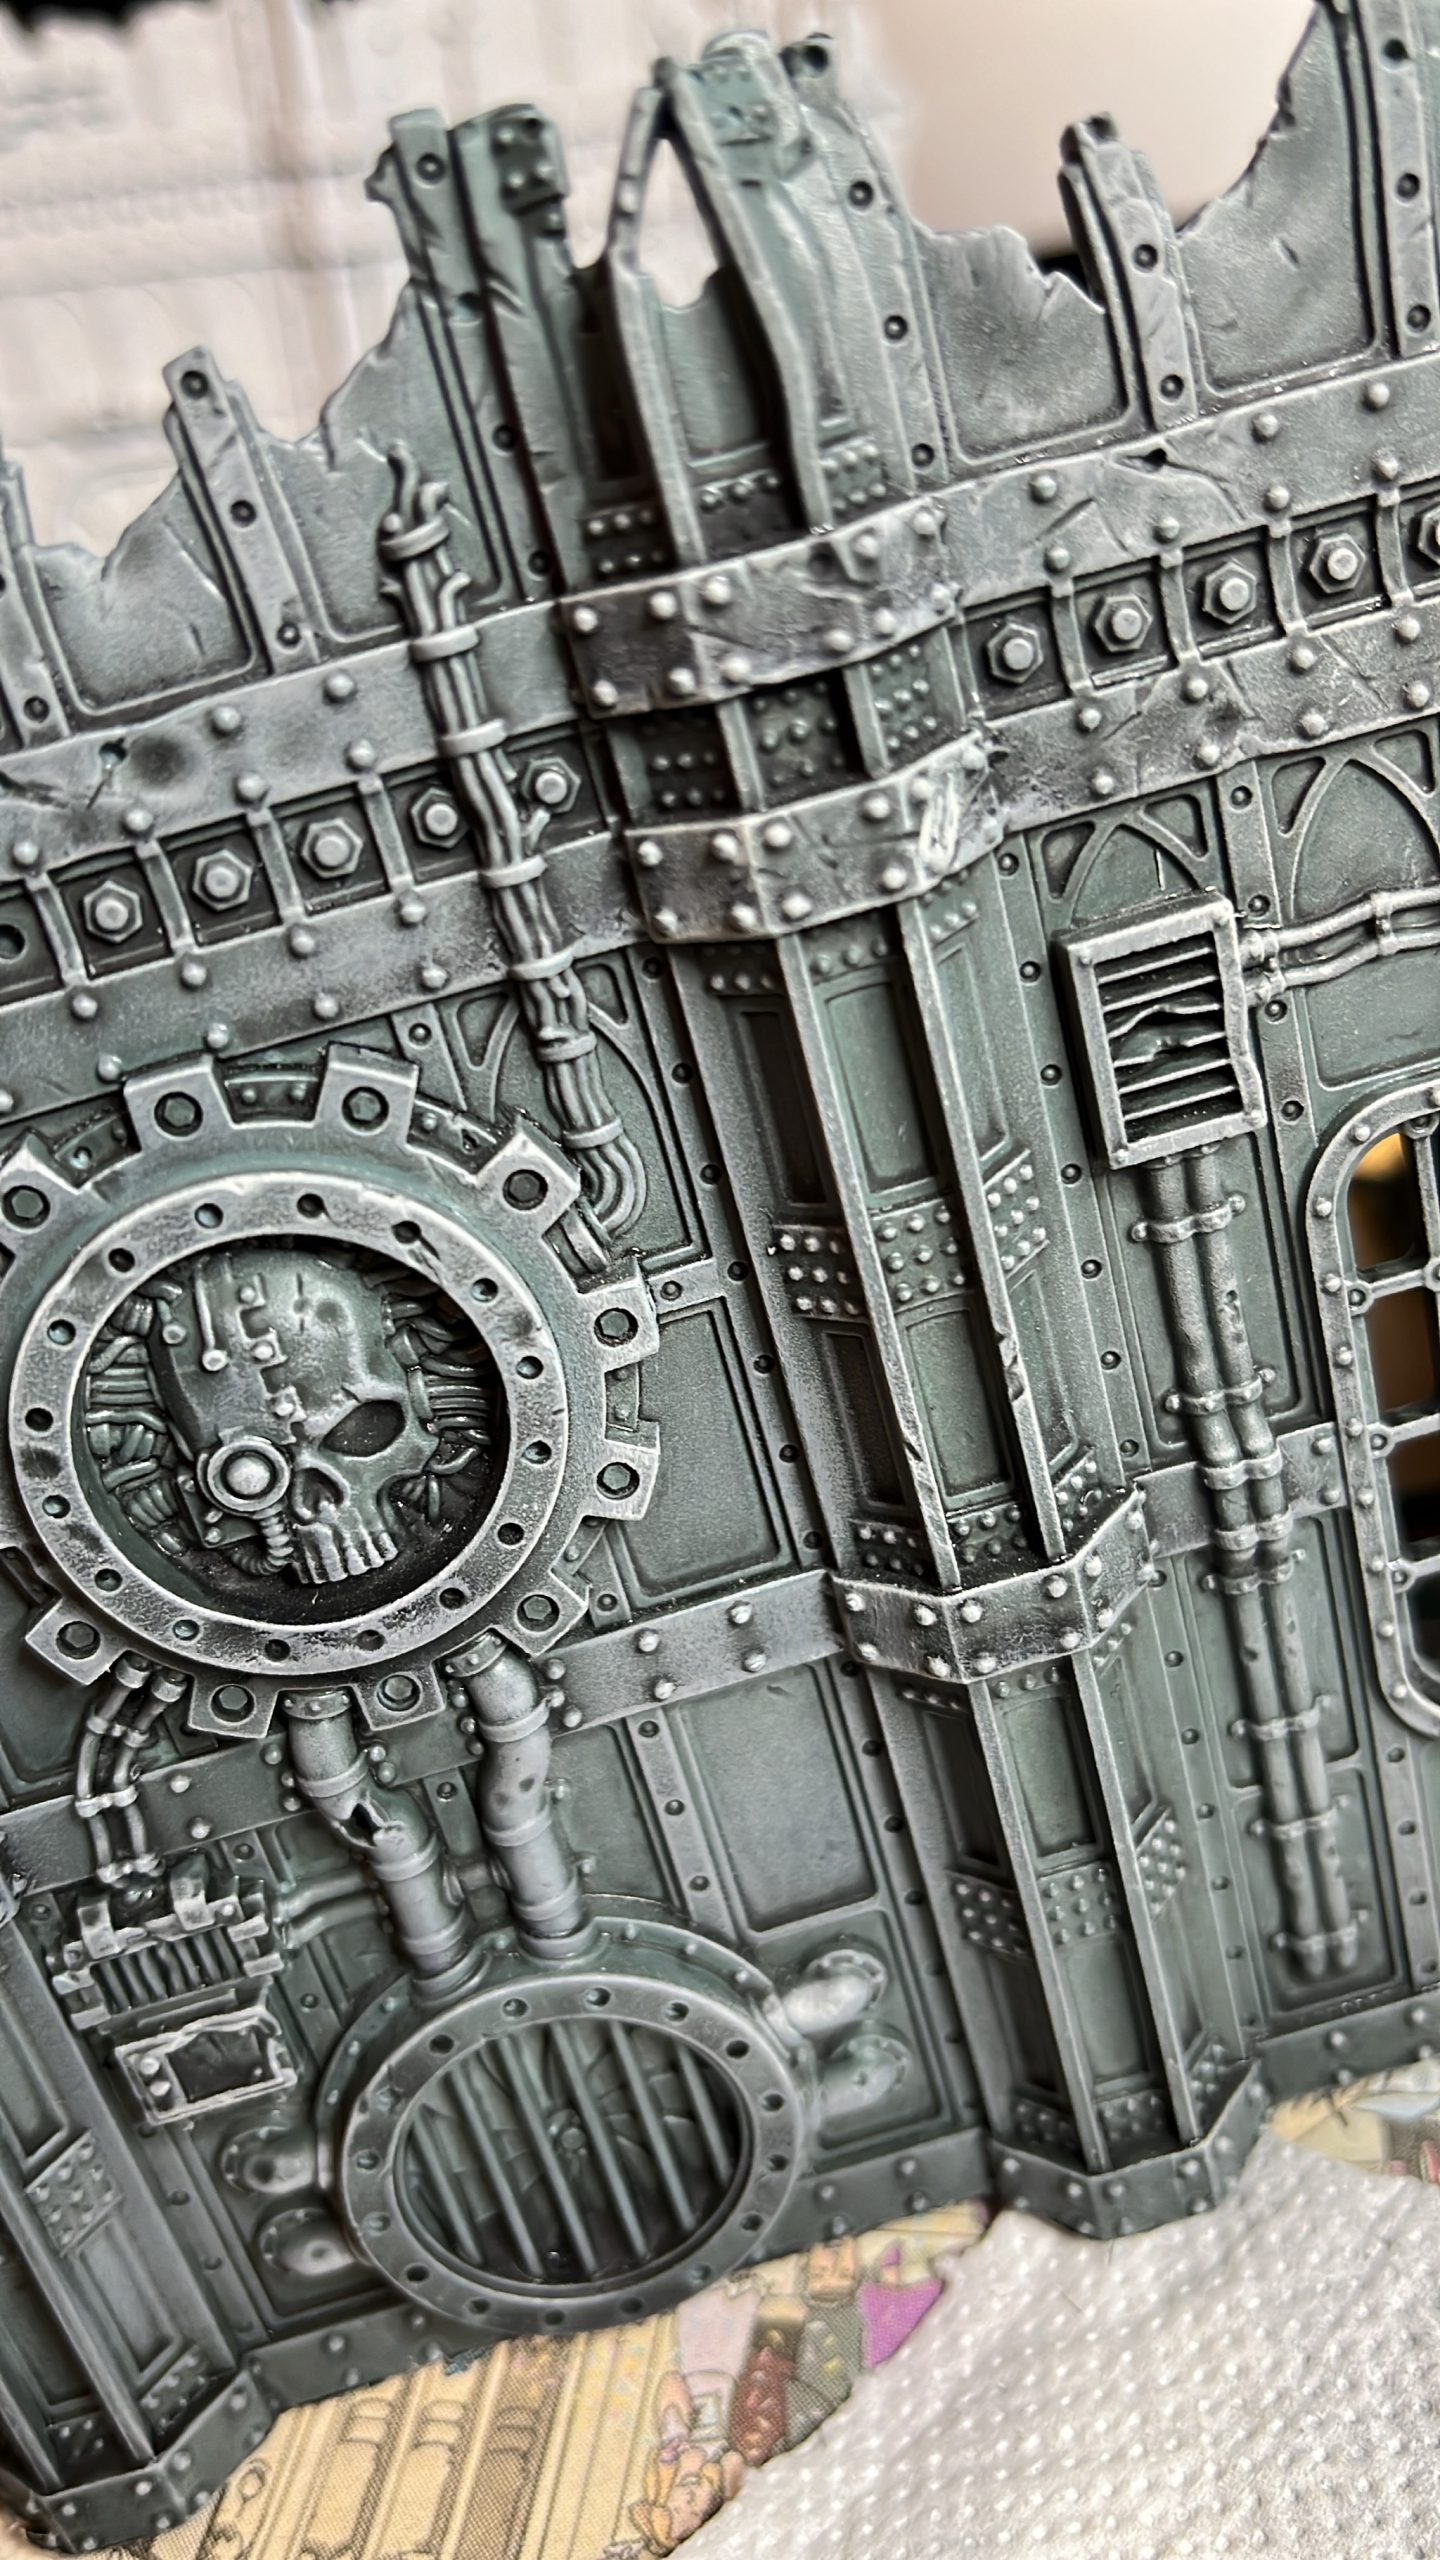
This time, as before, you get two more corner ruins, all coming on a single sprue. I did manage to pick up a second magazine and decided that I would convert them. It was a relatively simple conversion swapping over the corners. With the larger sides I needed to cut them down.

This was quite hard as the plastic is very thick. I use a combination of cutters and a craft knife.

I also cut some of the window frames as well.
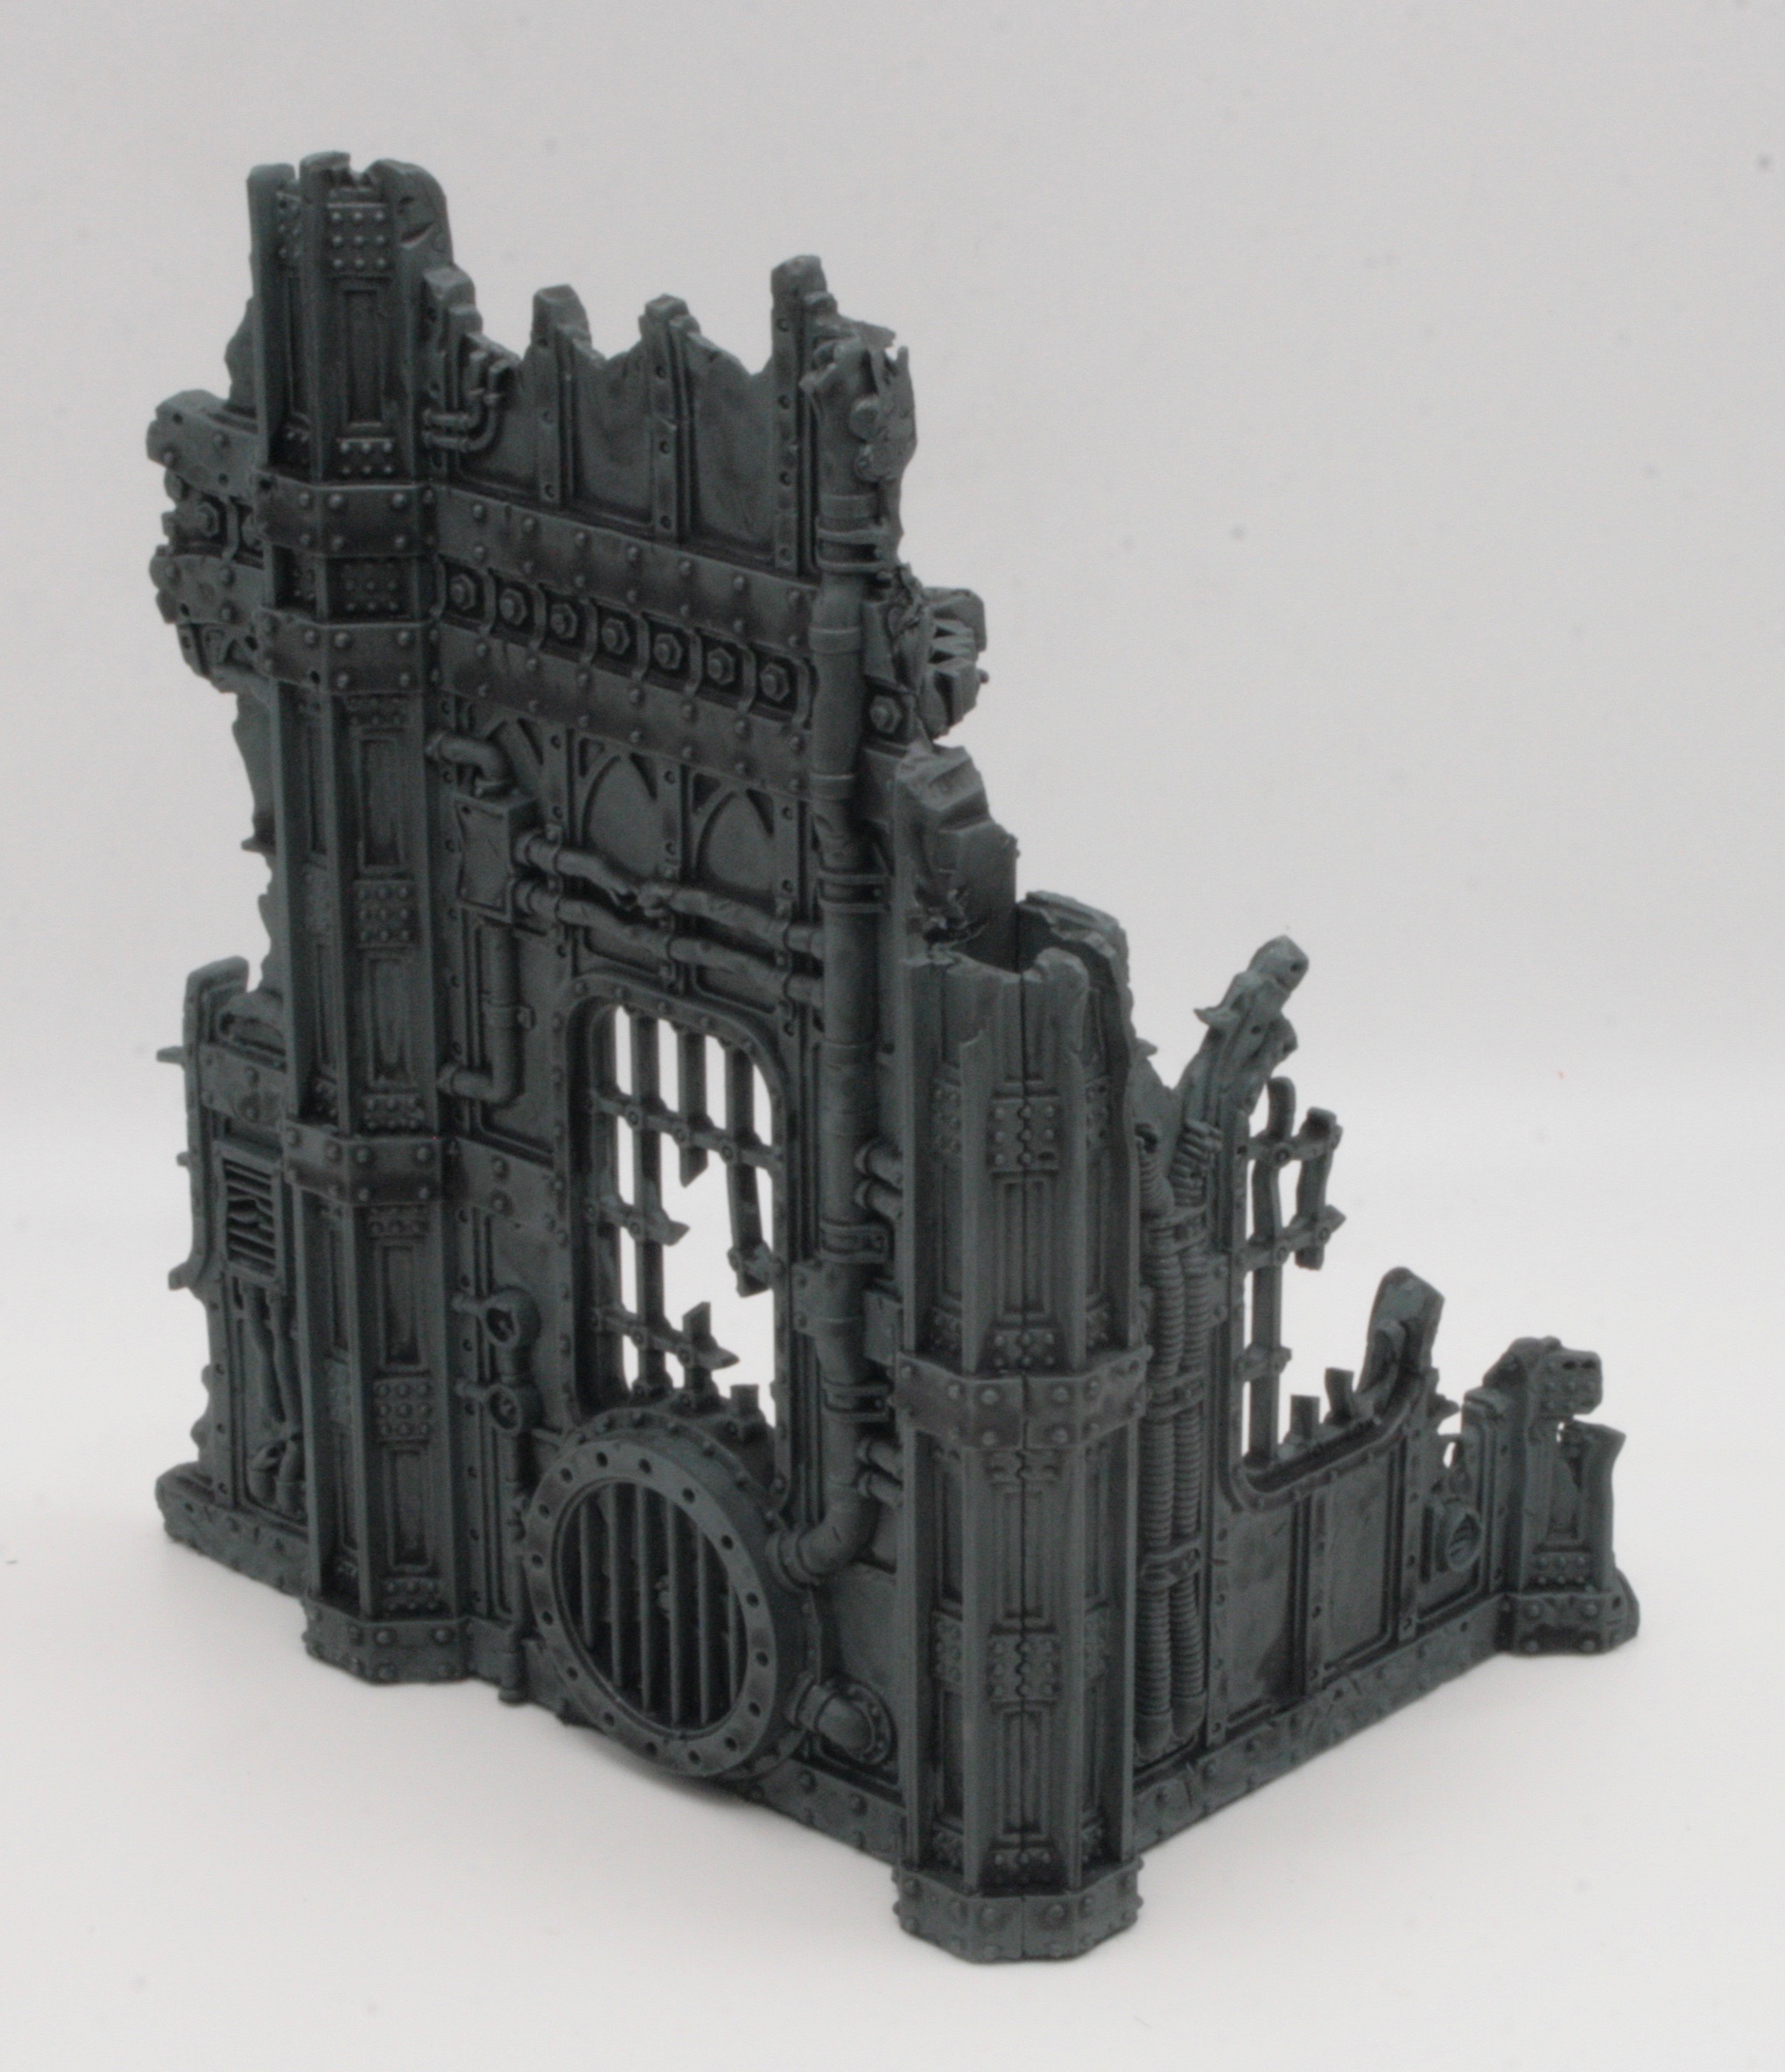
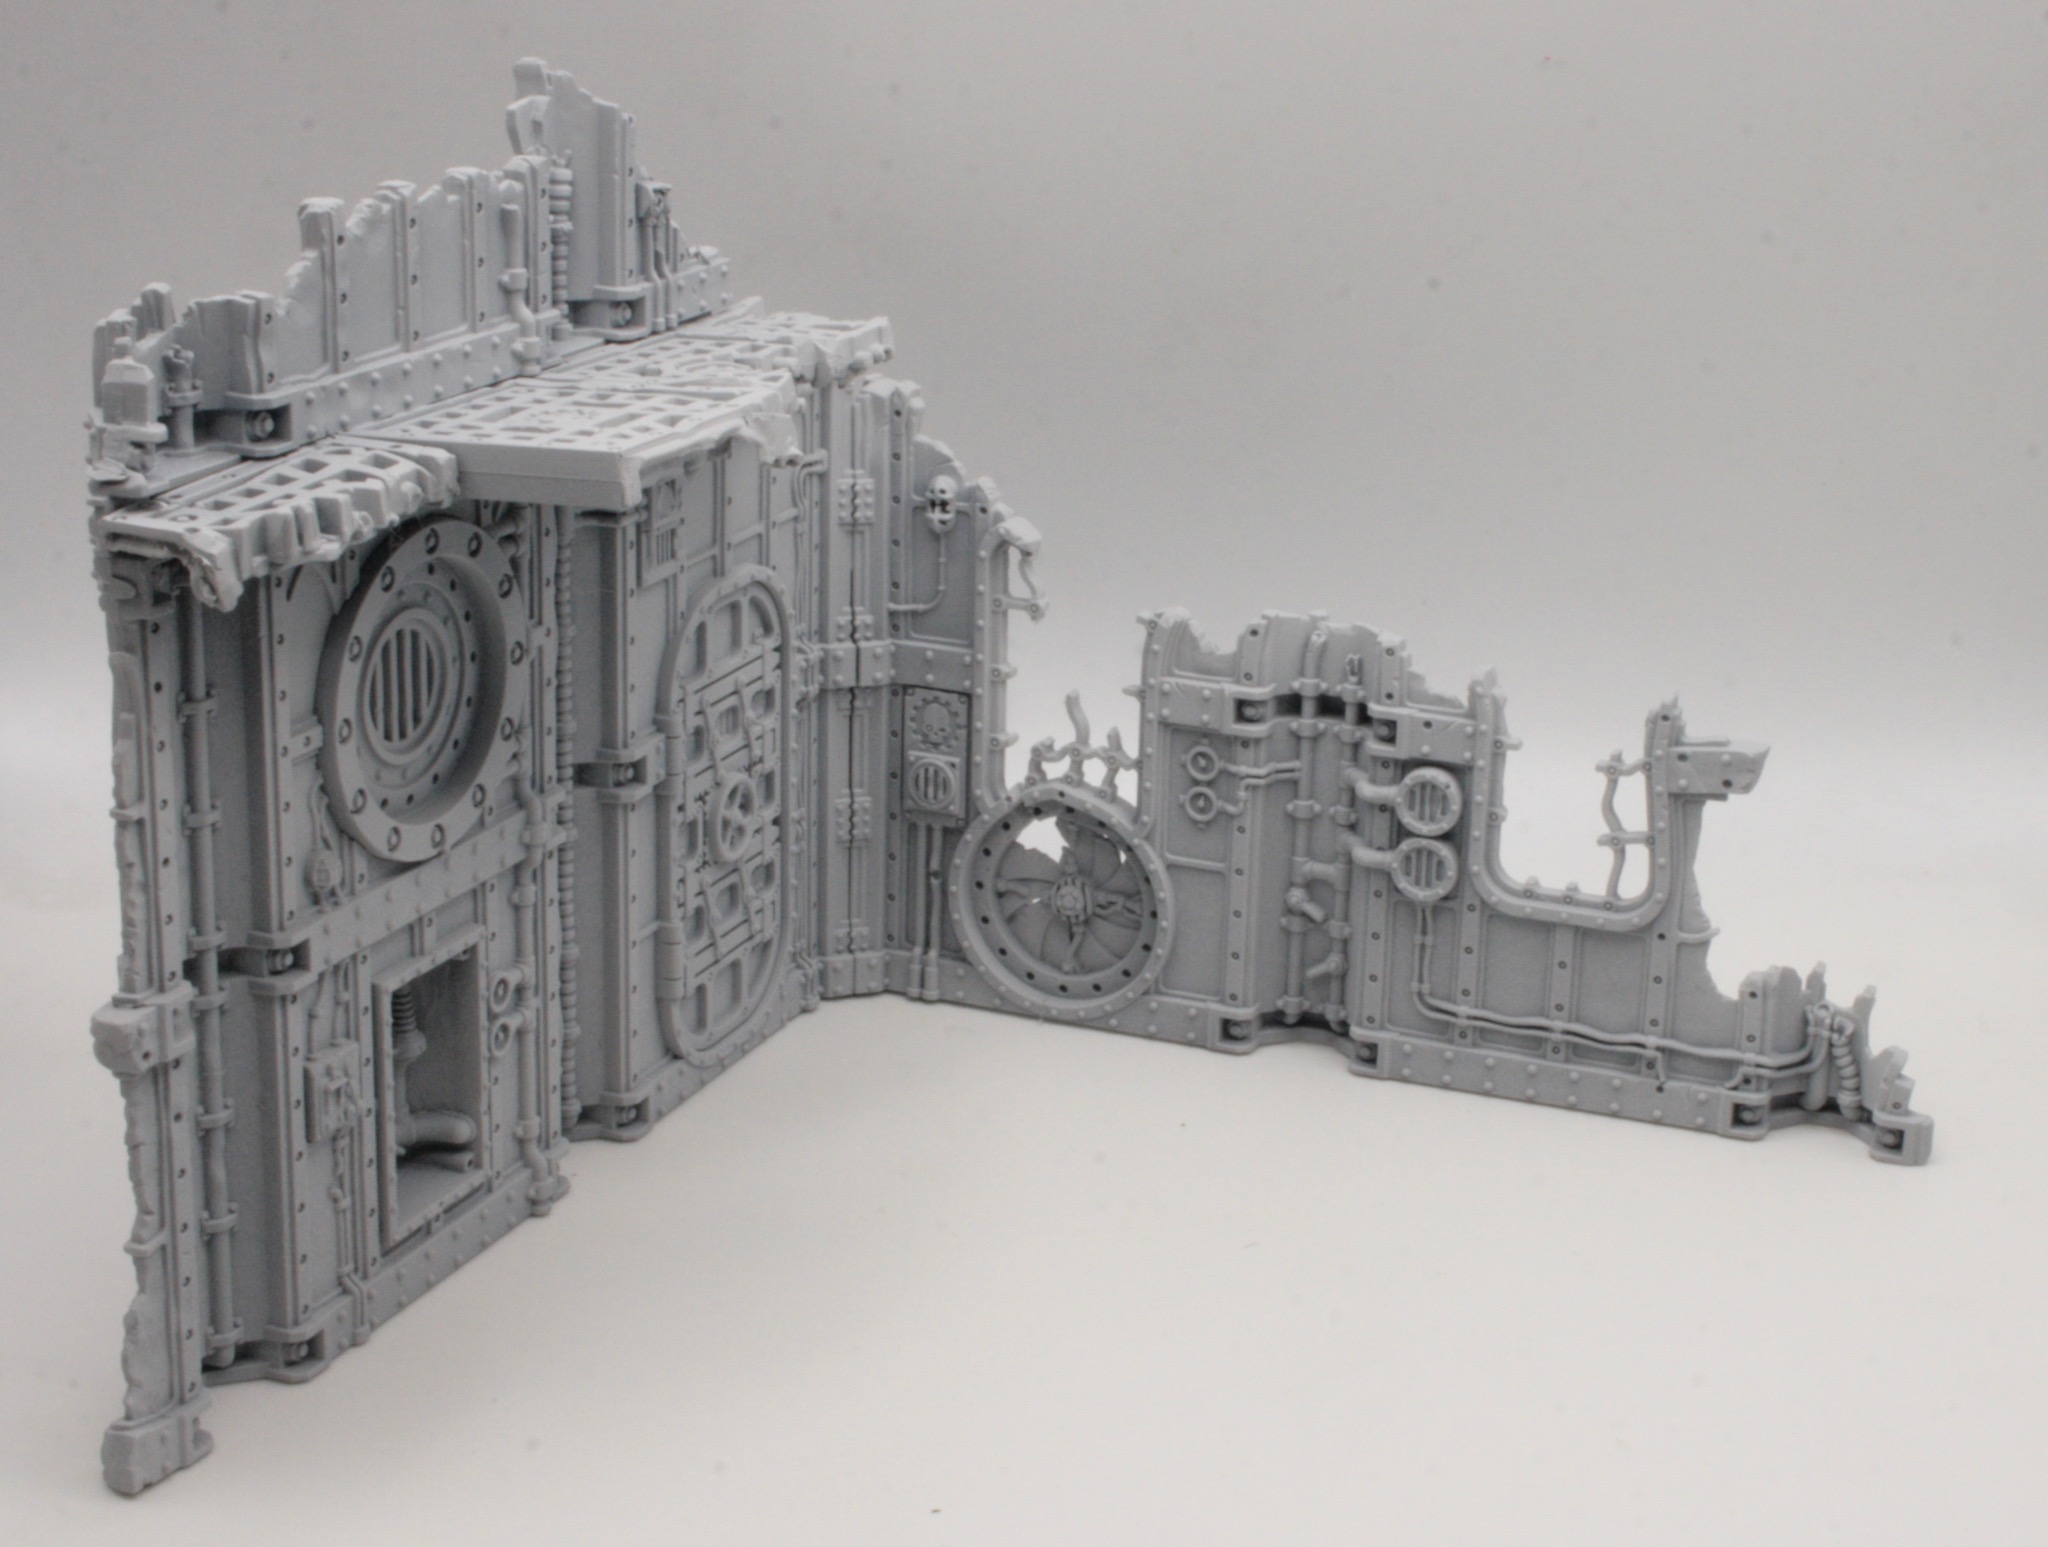
This is the other converted ruin.


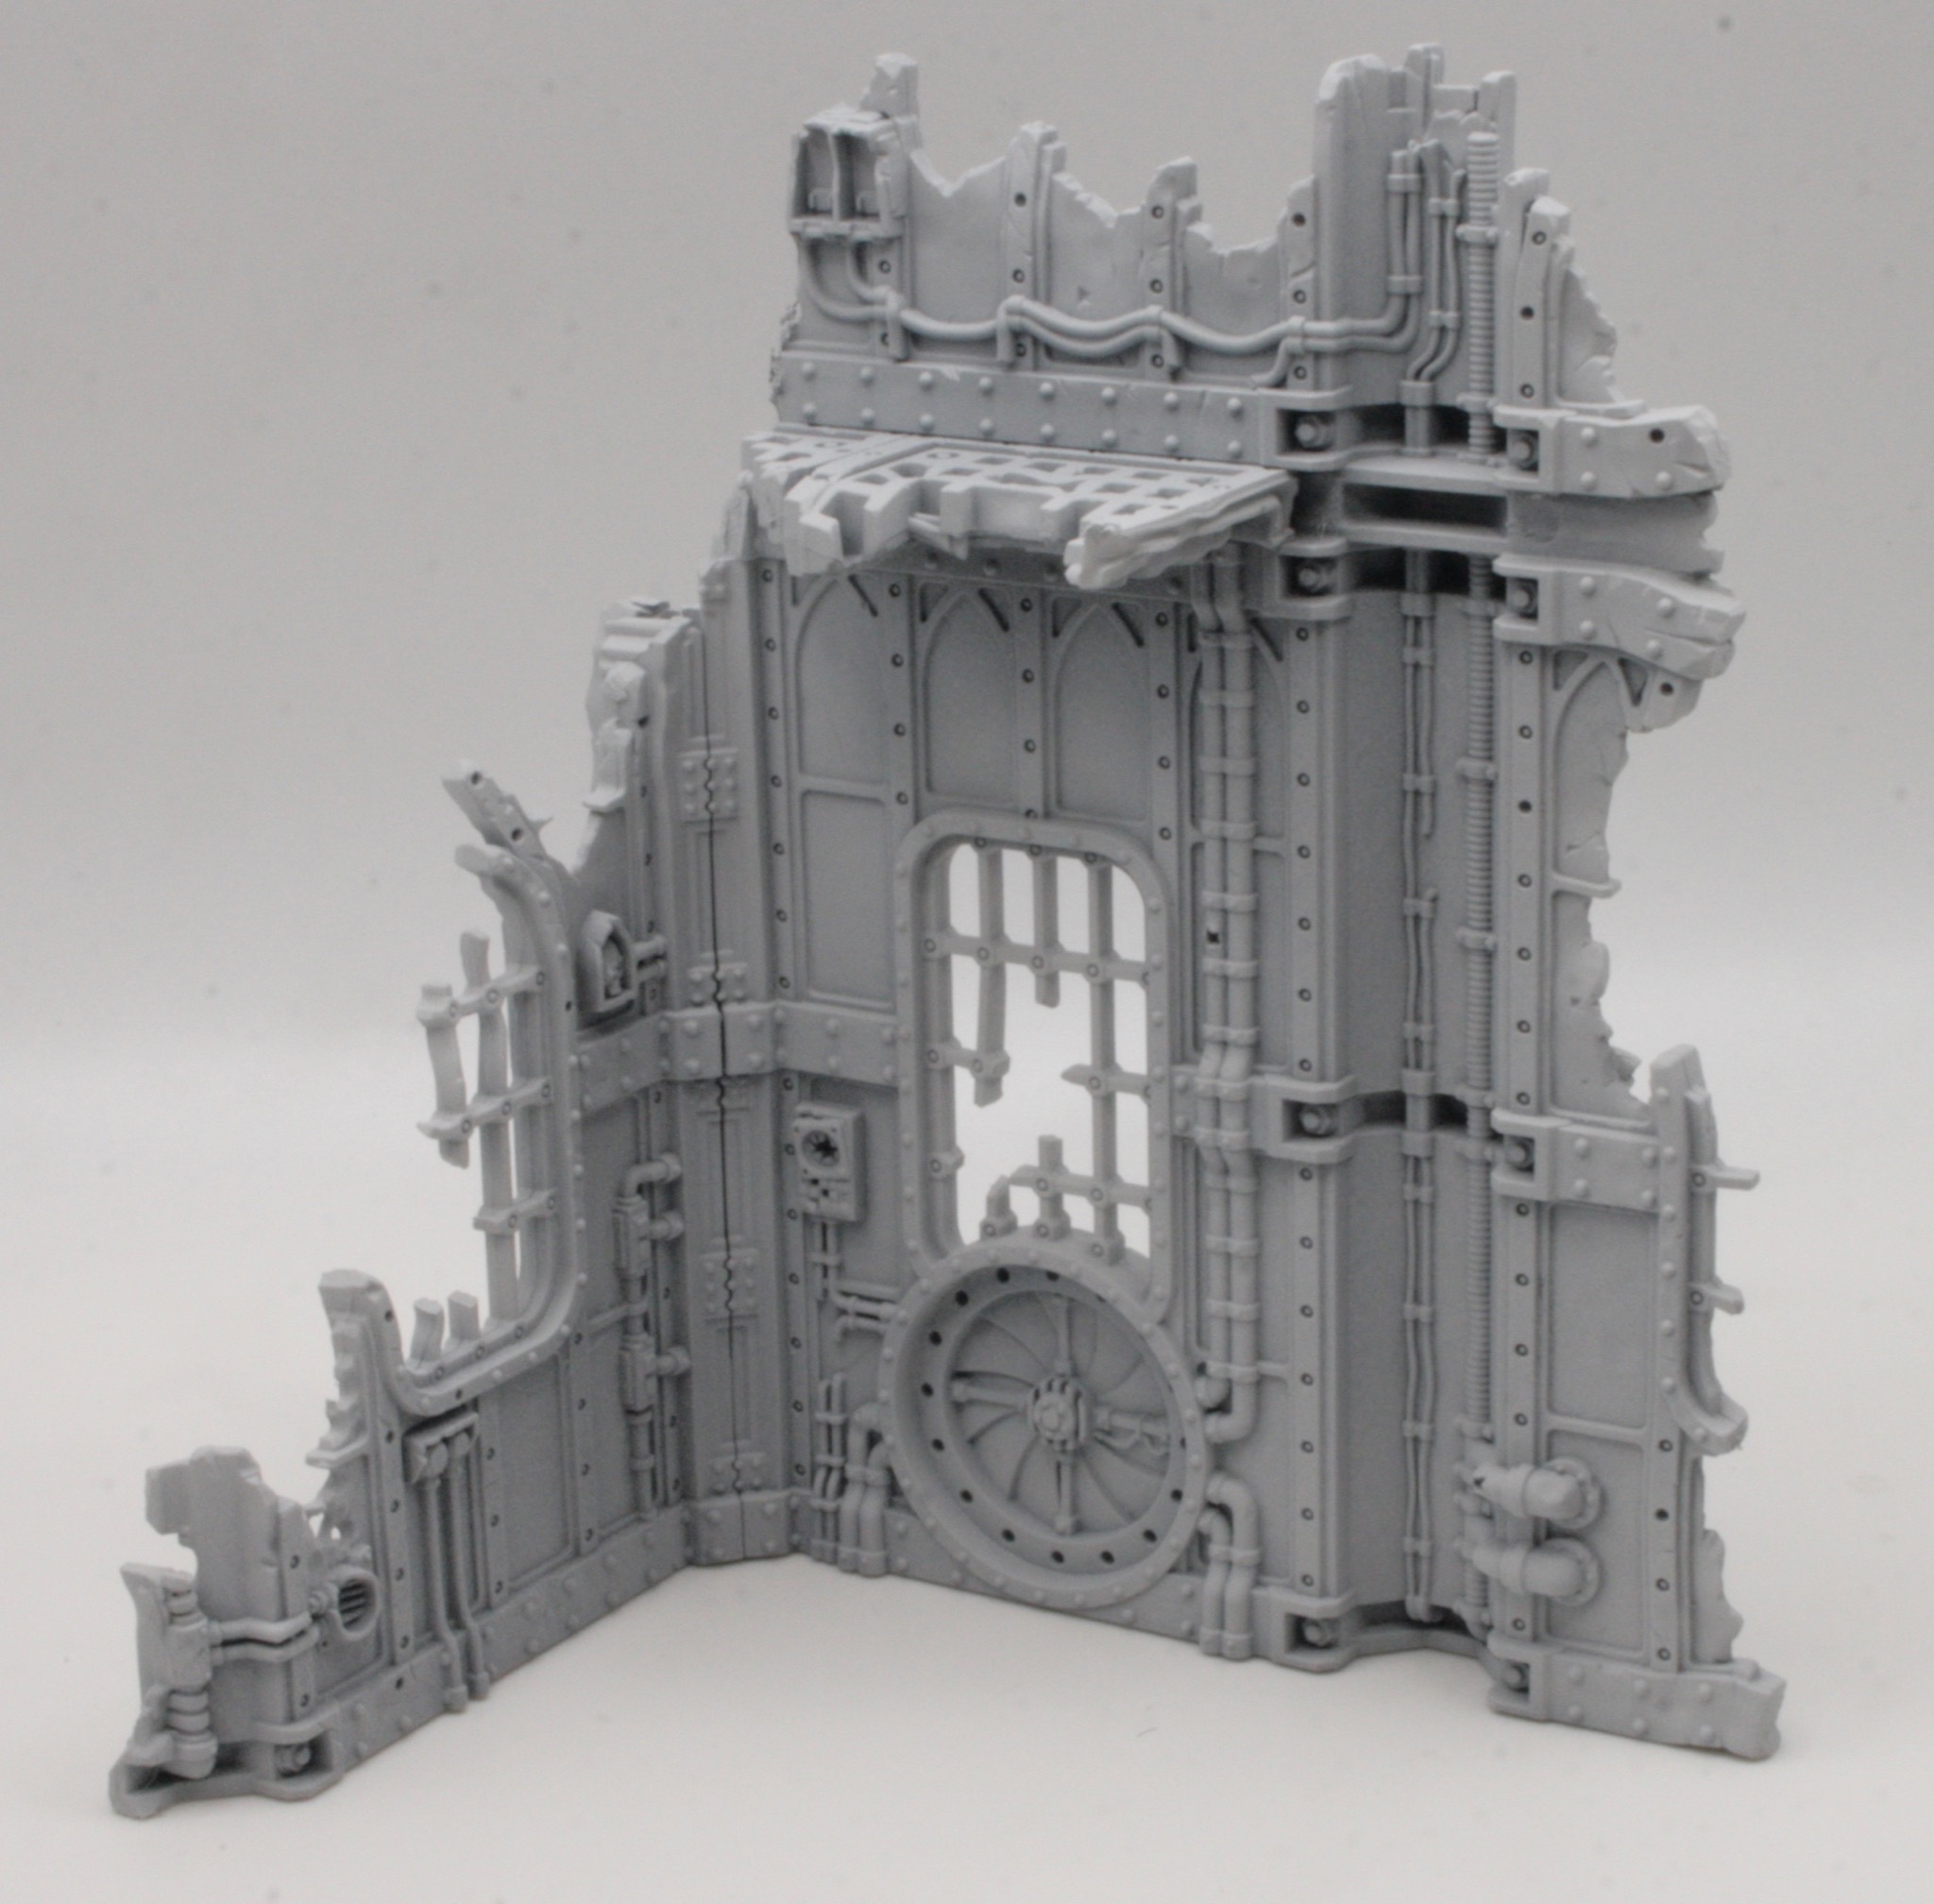
You can see how I cut the corner down by comparing the above photograph with this one of the unconverted ruin.

I had to cut up the flooring. This was done by scoring along the lines on the flooring with a craft knife.
The next stage will be a white undercoat.