The top of the turret went together very easily, fitting the two weapons and the Ork commander.


See the full workbench feature on the Ork Kil Krusha.
warhammer, wh40k, flames of war, bolt action, aeronautica imperialis, star wars, models, news, views and stuff
The top of the turret went together very easily, fitting the two weapons and the Ork commander.
See the full workbench feature on the Ork Kil Krusha.
At this stage I decided that I would fix the driver into the vehicle. The original plan was to paint him separately, however seeing how much he is “hidden” and this is not a Golden Demon entry, I decided to paint him in situ. So he got glued into his seat. You can see his arm in the photograph below.
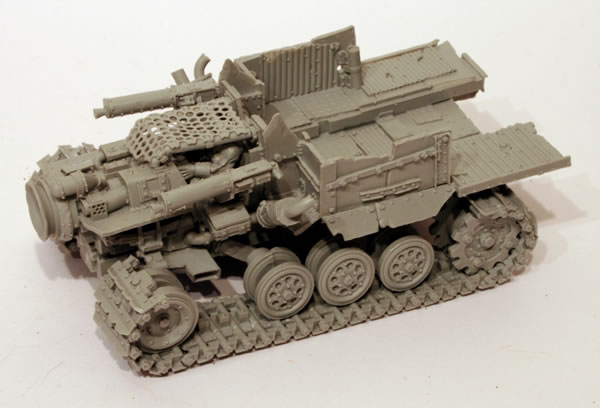
I also glued on to the cockpit mesh cover, this will hide much of the driver, so again less need to do a fantastic paint job on the driver, something simple should suffice.
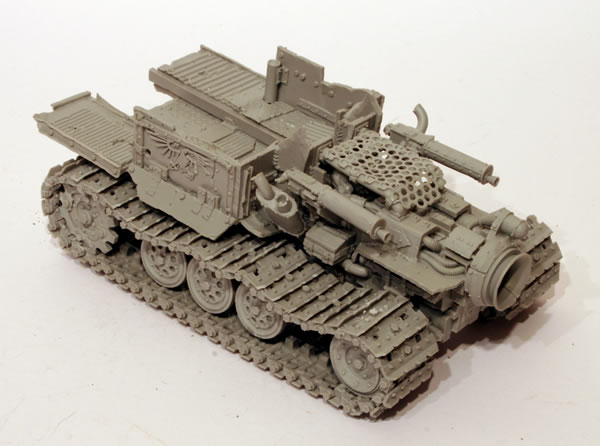
The workbench feature on the Big Trakk may help anyone else putting one of these kits together.
Though I do have the resin Ork Barricades, you can never have enough. I did build some scenery at the last GamesDay and came home with the bits. These I then decided to take apart and re-build them as an Ork Defence Line.


Another defence line section.


I have been thinking about more Ork scenery for some time. When recently my son broke his toy crane I was inspired to take the broken section and use it as part of a Stompa Gantry. I have also used parts from an Ork Trukk, an Ork Battlewagon and Imperial Accessories.


I have used foamcard for the base and the majority of the model was stuck together with a hot glue gun.
After putting the main weaponry and turret together, the next stage was to construct the hull of the Kil Krusha.
There was a fair bit of sprue and extraneous resin on the parts and it was a challenge to remove these without damaging or destroying the resin pieces. There was a fair bit of flash to clean off the parts especially the casting sprues which were in many cases quite thick. I did make one mistake in cutting of the waste sprue on the bottom plate I did manage to cut off the ridges where some of the suspension would be attached. Oops
Once cleaned though the parts did go together quite easily. The hull went together well, though I had a little warpage that I did manage to correct without too much trouble or effort.


Top view showing internal detail.

See the full workbench feature on the Ork Kil Krusha.
Well as well as getting better results on my other Land Raider, my next try with the Citadel Spray Gun on the Land Raider Mark IIb was also more successful.


See the full workbench feature on the Mark IIb Land Raider.
In a previous post I talked about the problems I had had with the Citadel Spray Gun in undercoating a Land Raider.
You can see in this close-up how the thinned paint ran from the flat surface. Was not at all impressed.

So I tried again and got a much better result as you can see from the following photographs. Nice smooth finish.


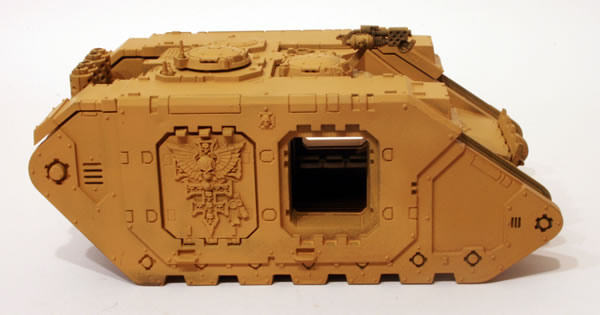
Though this is a Grey Knights Land Raider, I decided early on with this force that the majority of the armoured vehicles would be a sandy desert colour. I used Citadel Foundation Paint, Tausept Ochre as the basecoat.
See the full workbench feature on this Land Raider.
The next stage for the Honoured Imperium was a white undercoat.


This Honoured Imperium box set contains three pieces of plastic Warhammer 40,000 scenery, including a 6-inch high Space Marine statue, a broken Aquila and a section of ruined building. The statue (and variations) has appeared a few times before it was officially released.

The statue was a little more complex to put together. I did think it would have been nice to have some instructions. It was only after I completed the model that I realised that the instructions were on the side of the box.

The ruined building that is included in the Honoured Imperium (as an afterthought to fill the sprue?) comes in two parts.

These fit together very easily.

Though quite nice, there need to be more ruins to make it more “realistic” when setting it on a battlefield. I might use it as the basis for a diorama.