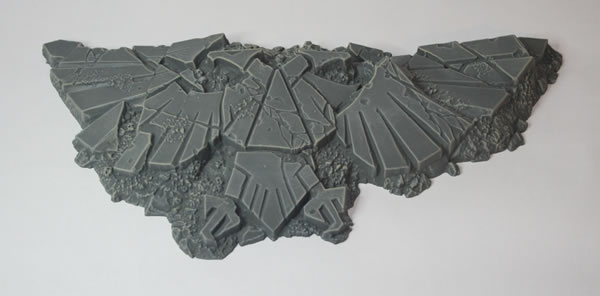
Honoured Imperium Broken Aquila

These have been in storage for a while now, it was back in 2011 that I gave the models a basecoat of Humbrol Sea Grey spray paint.

The broken Aquila was a very flat grey.

Honoured Imperium Broken Aquila

I then used a variety of greys and drybushed them on.
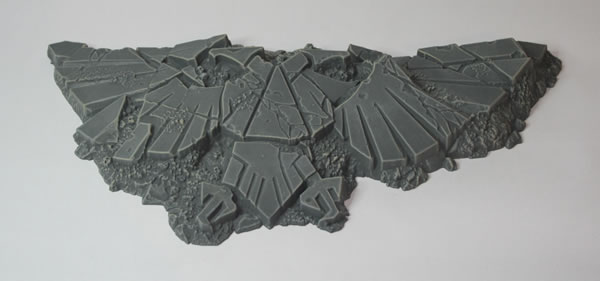
Honoured Imperium Broken Aquila

Honoured Imperium Broken Aquila

I was originally going to keep the whole model grey, but I am now thinking I might add more scenic and foliage and rather than have it as a recently broken Aquila, have it as one that was broken some time ago and nature has over time grown around it. The Imperium has been around for ages and so it still fits the fluff. It was seeing a ruined Imperial City in the jungle in a copy of White Dwarf a few years back that inspired me to think about going down this route.

This scenery that was also on display at GamesDay 2009 always impressed me.

IMG_2937

Taking the Imperial Ruins, painting them stone in colour and adding overgrown jungle foliage and roots was always in my opinion an inspired move.

I am going to do something similar with my broken Aquila.

Painting the Brig

Here is another of the metal miniatures from Harlequin Miniatures. This is Brigadier Lethbridge-Stewart of UNIT. Brigadier Lethbridge-Stewart was one of the founders of UNIT and commander of its UK operations.

I added some green stuff to his base to fill the gaps. I also painted the flesh using Citadel Elf Flesh.

I am not sure to paint him the light beige colour seen in some UNIT stories, or the darker British Army Green as seen in this photograph of the Brig.

I think I prefer the dark green, so will go with that.

Basing the Old West

I mentioned before that I wasn’t initially happy with my basing of my Old West miniatures so have been adding green stuff to the coins I was using for bases.

This should mean that when I come to paint the bases with textured paint it should mean the bases don’t look so coin-like.

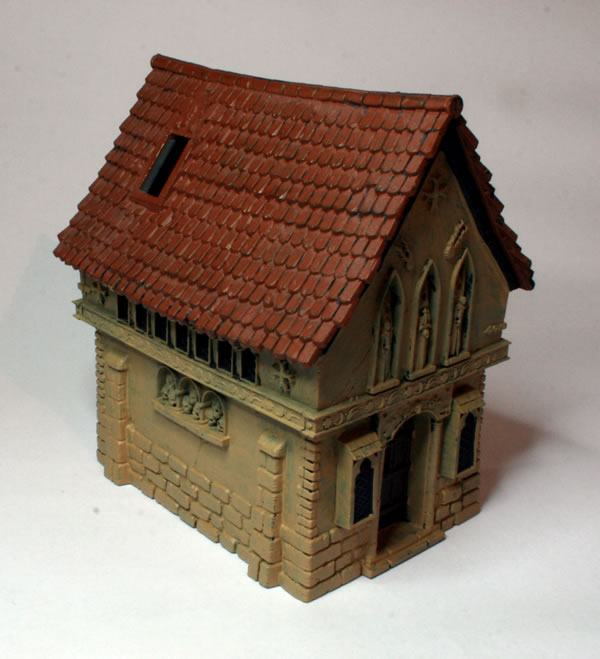
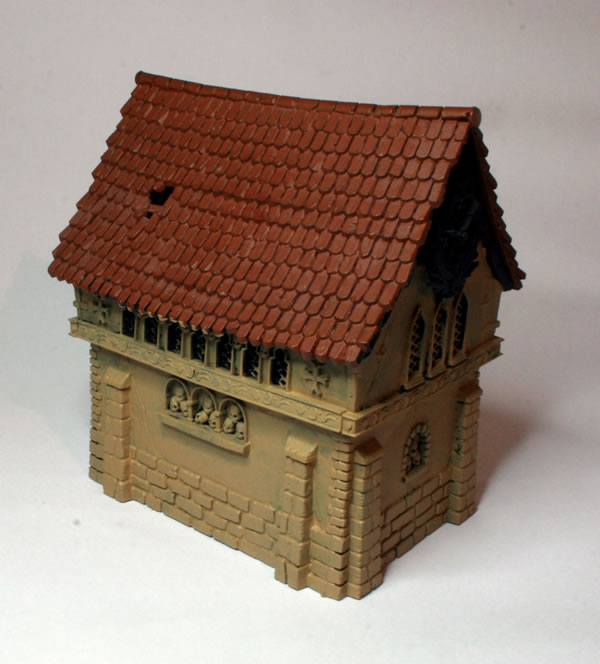
The Walls of the Chapel

I’ve had this building kit for sometime and for a long time it has been in a box, constructed and with a black undercoat. I gave the walls a basecoat of Citadel Base: Zandri Dust.

I wasn’t too impressed with the coverage over the black undercoat, I certainly had better results in the past with the old Foundation Paint range when painting over black.

These days though I am much more likely to use a white undercoat than a black one, and coverage is one of those reasons.

See workbench feature on the Warhammer Chapel.

15mm German Tiger II – Königstiger

The Tiger II (or as was informally known to the Germans who fought in it, Königstiger), was a 70 tonne heavy tank. It was first used in combat with s.H.Pz.Abt. 503 during the Normandy campaign on 11 July 1944.

In the process of sorting some old gaming stuff out I found a bundle of old SDD models. These are 15mm metal castings that I bought back in the 1990s. It makes me think that the other metal models that I have been painting are also SDD.

This box was mainly late war stuff and included a King Tiger. Having put the model together and given it a white undercoat, I gave it a basecoat of Middlestone using a brush.

I usually spray my 15mm models, but this time used a brush.

I am intending after finishing painting this model, to use it as a test bed for foliage camouflage.

Nearly there with the Cybermen

These are the Harlequin Miniatures Cybermen from the 1990s. They are the classic era style Cybermen who fought the 4th Doctor onwards. After giving them a white undercoat, I painted a basecoat of Citadel BoltGun Metal. The next stage was to give them a wash. I then gave the models a wash of Citadel Shade: Nuln Oil. This added shadow and depth to the model.

Cybermen

Cyberman

I am not sure if I have enough Cybermen, as I only have three models.

Cyberman

Cyberman

Cyberman

The  next stage will be the bases, and I will use the same method I have used with my other Doctor Who miniatures.

HMS King John, Ruler Class Battleship

I gave the HMS King John, Ruler Class Battleship for Dystopian Wars a basecoat of Citadel Base: Mechanicus Standard Grey.

What I have been finding is that my painting is not covering the model and I am not sure if it is my painting (in other words my eyesight) or whether it’s the paint shrinking. Looking over the model I think it might need a bit of a second coat.

Reflections on the Ork Big Trakk

I have been thinking about going through my Ork models and getting them finished and painted. I seem to have stalled and got distracted by Flames of War and Dystopian Wars (and Doctor Who) and haven’t really painted any Orks for ages.

One model that has only got as far as an undercoat was my Forge World Big Trakk. Looking back at the last update on this model (in 2011) it was apparent I was having undercoating problems with a fair few of my Ork models.

Eventually I hope it might look similar to this finished model that I photographed at Games Day 2009.

Ork Big Trakk with Big Lobba.
Ork Big Trakk with Big Lobba

I would like to get a dusty dirty look and I have the Forge World weathering powders somewhere in my collection of paints and inks.

Adding Foliage

Canadian Sherman Tank

I have been thinking about adding some foliage as camouflage to my Flames of War models (once I have finished painting them). Looking at photographs of real tanks, such as the Canadian Sherman Tank in Italy above, there is certainly no one way to do this.

One consideration when modelling in 15mm, is that though the true reason for adding foliage is to camouflage the tank. I do think you can add too much foliage, which may be authentic and realistic in real life, may look “weird” on a 15mm model. It may look like a moving bush or tree, rather than a tank with added foliage camouflage. Part of that reason is that in real life the tank when stationary needs to appear to be hidden, but once moving it would be obvious it was a vehicle with foliage on it. In 15mm the models do not move by their own power, so it can look “weird”.

So next question, how do you model foliage on your 15mm models?