These three Hussar Class Gunships are reinforcements for my Prussians in Dystopian Wars. After constructing the models I gave them a white undercoat.

I then, using a hot glue gun, stuck them to some old paint pots for painting.
warhammer, wh40k, flames of war, bolt action, aeronautica imperialis, star wars, models, news, views and stuff
These three Hussar Class Gunships are reinforcements for my Prussians in Dystopian Wars. After constructing the models I gave them a white undercoat.
I then, using a hot glue gun, stuck them to some old paint pots for painting.
I finished painting King Richard III and used it in a few games. The first of my reinforcements for my Kingdom of Britannia naval forces is another Ruler Class Battleship, called King John. Having constructed the model I gave it a white undercoat.


Unlike my other Battleship, this one only has three turrets, but does have a shield generator.
As I have said in previous posts I am not a huge fan of the Kingdom of Britannia ship designs, say compared to the FSA or the Prussian Empire. I just imagined them to be sleeker and more menacing. The Prussians certainly have that kind of look.
I have started to paint the second of my Spartan Games Prussian Empire Dreadnoughts.
I finished the first, SMS Blücher and will be painting this model in a similar fashion. I decided early on to use the same turret layout as my first Dreadnought and not use generators. I did wash the model first to remove any mould lubricant.
I then gave the model a white undercoat using Citadel Skull White spray.

I also affixed the model to an old plastic blister using a hot glue gun to make it easier to paint.
I’ve named this ship, SMS Scharnhorst, after Gerhard von Scharnhorst, he was Chief of the Prussian General Staff, noted for his writings, his reform of the Prussian army and his leadership during the Napoleonic Wars. Blücher who was an army Field Marshall, is whom the Blücher class Dreadnoughts are named after, I have decided that the first of my dreadnoughts will be the SMS Blücher. Generally ships in the same class are named in a similar vein, so the first of the class is the SMS Blücher, this dreadnought will also be named after an army general, in this case Scharnhorst.
Though I have used my Sarissa Precision Old West 25mm Buildings in game of Legends of the Old West, I think they could do with some extra work to add more detail. I would certainly like to add some weathering, but I would also like the paint the roof tiles on the shack.

What I am not sure about is how to paint the tiles and not paint out the etching that defines the tiles. What sort of process and paints should I be using? Should I use inks or a wash? Will thinned paint cover the etching? Should I paint each tile individually?
What process are you using to paint your laser etched buildings?
Having washed the Prussian Bunker for Dsytopian Wars, I stuck in the turrets and gave the model a white undercoat using a can of Citadel Skull White.

The next stage will be either a black interior, or a grey basecoat over the whole model.
As well as the 4Ground Hotel I blogged about a few days ago, I also had the semi-detached houses.
Northwest European semi-detached houses, one house rendered green the other is white, these are ideal buildings for any 15mm gaming table.
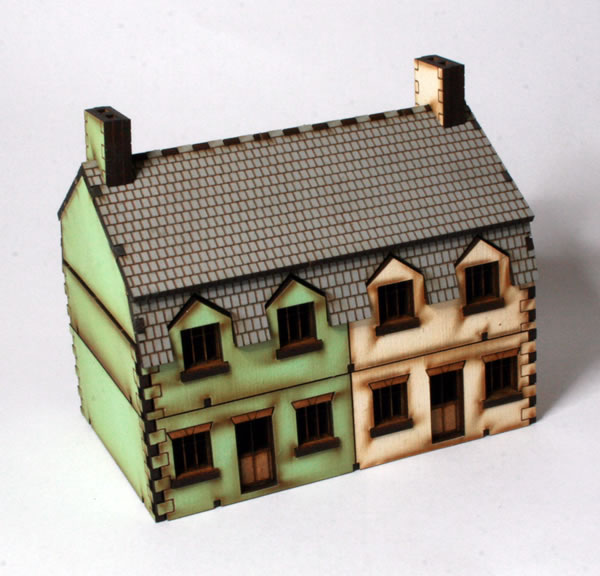
The back is very similar to the front. Like the 4Ground hotel, the kit comes with very clear and easy to follow instructions.
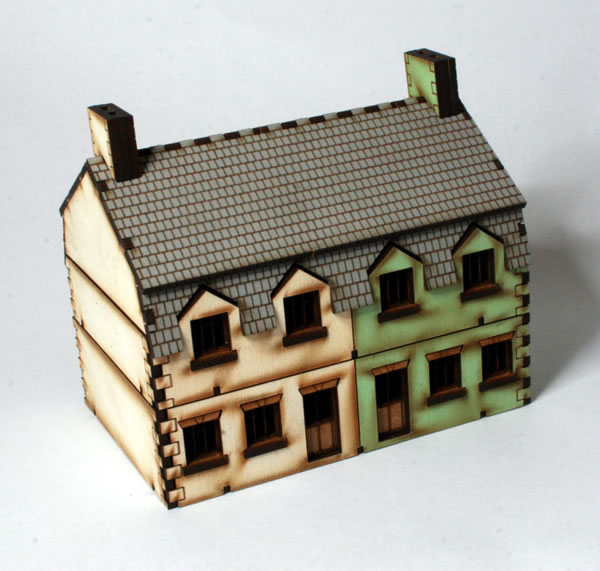
Like the hotel these went together quite easily, though I had a few issues putting the roof together. I am going to add some details, such as glazing for the windows and posters on the walls. As with the hotel the instructions includes some 15mm scale posters.
Cybermen were a “race” of cybernetically augmented humanoids. They varied greatly in design, with different factions throughout time and space. The two major groups, from which all other known versions derived, were the Mondasian Cybermen, which originated on the planet Mondas – Earth’s twin planet in the Doctor’s Universe – and the Cybermen created by Cybus Industries, which originated on Earth in an alternate universe.

They attacked Earth on many occassions, providing a lot of potential for gaming scenarios.
These are the Harlequin Miniatures Cybermen from the 1990s. They are the classic era style Cybermen who fought the 4th Doctor onwards. After giving them a white undercoat, I painted a basecoat of Citadel BoltGun Metal.


The next stage will be a black wash to bring out the detail.
I mentioned in a previous post on my Sarissa Precision Old West Buildings about how much I liked the concept of laser-etched mdf buildings. Though these were the first laser-etched mdf buildings I had made, they weren’t the first ones I had bought. Some time ago I had seen some of the 4Gound 15mm buildings in a display cabinet in Waylands Forge in Birmingham alongside some Flames of War tanks and was impressed, so I purchased a couple of kits. However I hadn’t got round to ever making them up, now isn’t that quite normal for games, buy stuff, put in a cupboard and then do nothing with it… well certainly happens to me, probably too much.
However after making up the Sarissa Precision buildings and finding them very quick and easy to make, I remembered the 4Ground models that I had bought, found them and decided to put them together.
The two kits I bought were a couple of terraced houses and the hotel. The hotel was a lot more complicated to build than the Old West buildings. There were a lot more internal parts and there were even separate window ledges! Despite the added complications and more parts, it was a pretty easy build and didn’t take very long either. The instructions from 4Ground were very clear and easy to follow. The end result is quite pleasing.
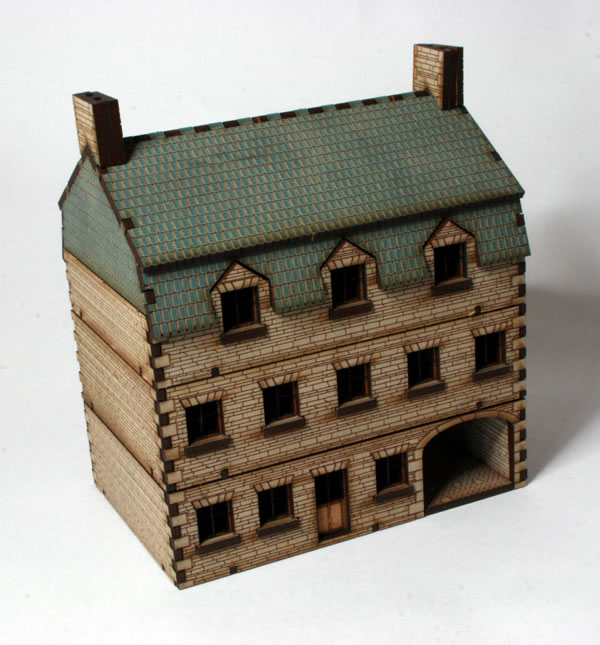
I went with the pre-coloured version, so I wouldn’t need to paint it.
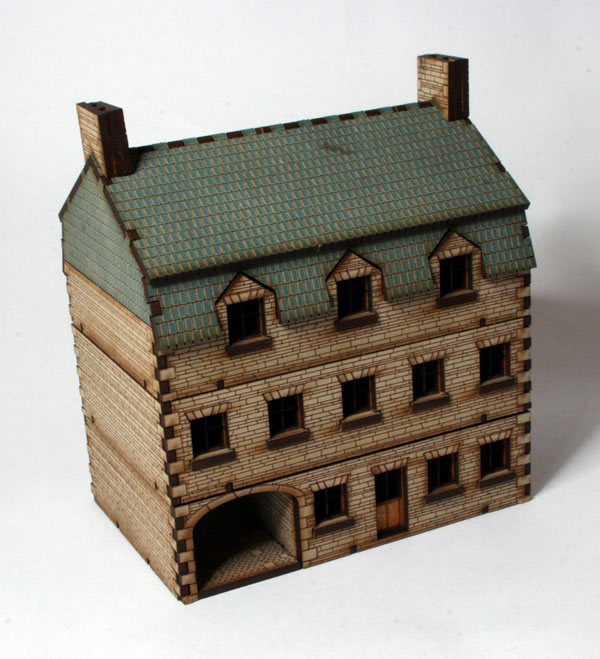
It might need a bit of weathering, and it also needs some signage and posters. It’s nice that the instruction sheet does have these, that can be cut out and stuck to the mode.
Overall these are really nice models and very easy to put together. The only thing I have mixed opinions on is that you can place models inside the building on all the different floors. This is obviously very useful from a gaming perspective, however I also think it has a rather negative impact on the look of the model.
Will I get some more? Yes I will. I think I may get some of their Old West buildings and 28mm World War Two buildings for Bolt Action.

I haven’t quite worked out the process of adding decals to my Flames of War tanks. I am not sure if I should give the models a wash first, or after adding the decals.
As for the actual process of applying the decals, there are quite a few articles on the web (and in rules and magazines) on how best to apply decals.
Battlefront even have a video…
…which I must watch at some point.
The process I think I am going to try is to paint the areas for the decals with a gloss varnish. Once that is dry, apply the decals and allow to dry. Then I am going to apply a decal fixer. After that is dry and at this point I will add the weathering to the model. The final stage will be to add a matt varnish to the whole model.
The other problem I have, is despite reading a range of articles on the subject, I am still not entirely sure what decals to apply and where.
There is this article on the Battlefront website, but I know that even after reading this I may get the placement of the insignia just plain wrong.
I think I might need pictures of what the finished article looks like. Still a fair amount of work to do.
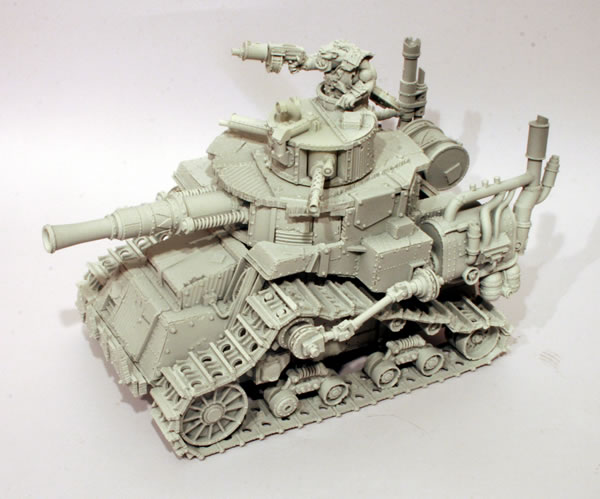
This model from Forge World is one of my favourite Ork models they have made. I realised recently that since I undercoated it, it has spent way too long on the workbench… well in storage and I really should start thinking about getting it painted and finished.
They key for me is to not only give it a paintjob worthy of the model, but also one that isn’t going to take all my time and forever to get done.
I don’t want to go down the “black” armour route, likewise I am not sure if I want it red either! I might consider doing something similar to the brown-orange look I have done with the Fighter Bommer.
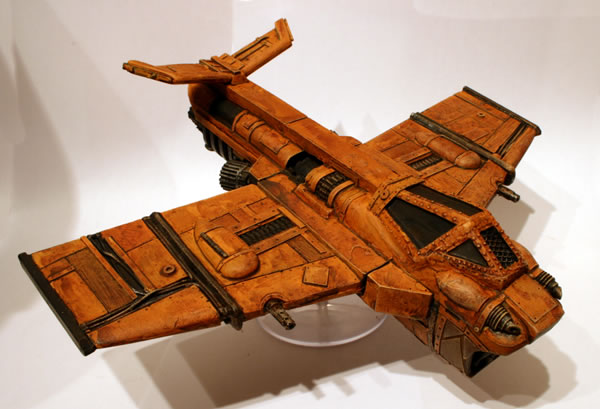
As for the engines, my usual method with Ork vehicles is to paint them black and then drybrush with Tin Bitz and Boltgun Metal. I might try a different method, one that I first tried on my Victorian Science Fiction Tunneller, where I gave the metal parts a basecoat of Boltgun Metal, then washing it with Citadel Shade: Nuln Oil. If I go down this road, then I will ensure that the Ork engines are a lot more dirty and rusty. As well as using shades, washes, I have a few of the Forge World weathering powders somewhere and this might be an ideal opportunity to use them. Of course if I use weathering powders then I will need a method for sealing them in. This is not one of my strongpoints, as I rarely varnish my models.
The next stage will be to remember which box I put it in…
See the full workbench feature on the Ork Kil Krusha.