I have done some more work on my Inquisitors Assassin.
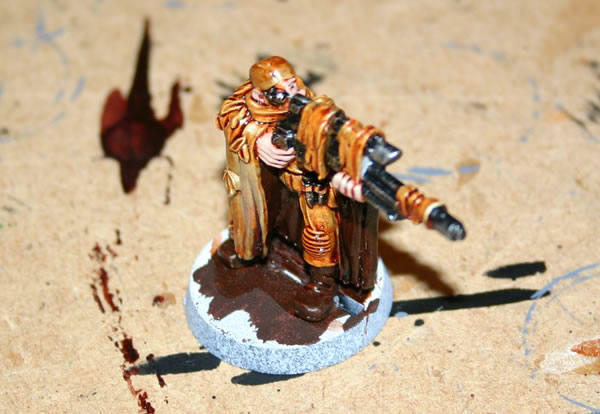
The model is an Imperial Guard Catachan Sniper.
Previous work on this model can be found on the workbench feature of my website.
warhammer, wh40k, flames of war, bolt action, aeronautica imperialis, star wars, models, news, views and stuff
I have done some more work on my Inquisitors Assassin.
The model is an Imperial Guard Catachan Sniper.
Previous work on this model can be found on the workbench feature of my website.
I have made some more progress on my Ork with Rokkit Launcher Conversion. I have finished the skin tones and painted the teeth. I also painted the base in Codex Grey.
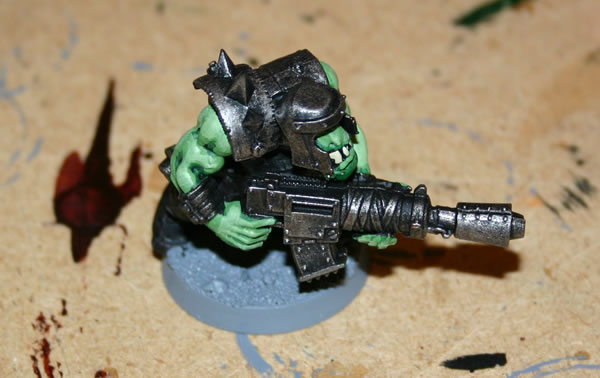
The conversion uses a standard shoota with a grenade from the Stormtroopers set stuck in the end.
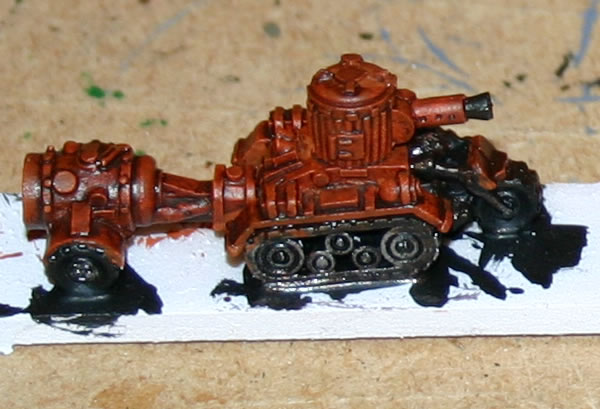
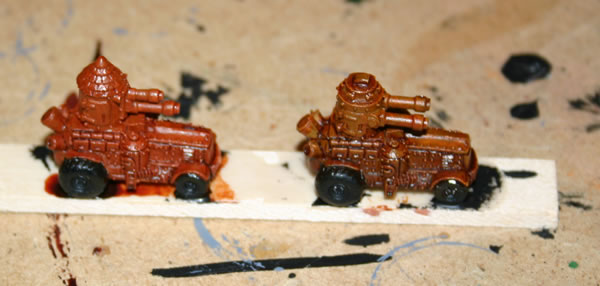
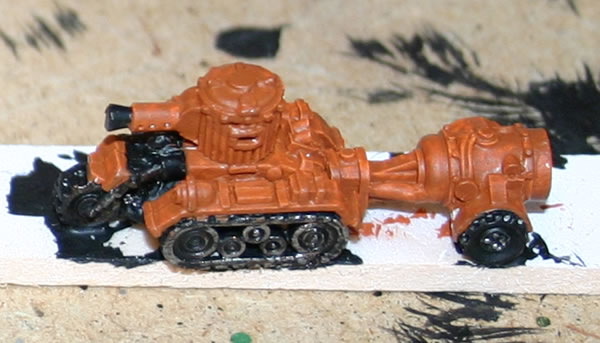
I have been painting my Epic Ork Skorchaz which are part of my Epic Armageddon Ork Airfield Defence Force.
I have given my Epic Ork Skorchaz an ink/paint wash.
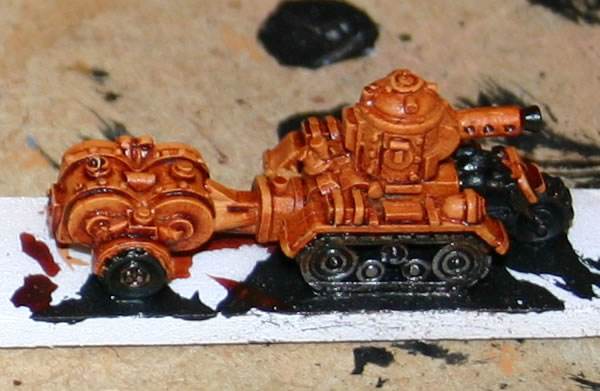
They were given base coats of various shades of brown and orange.
I will then need to drybrush and add more detail and paint the krew.
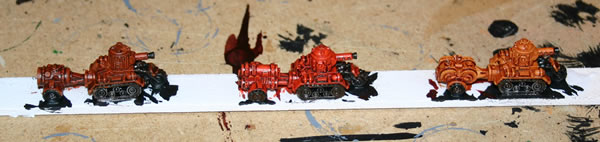
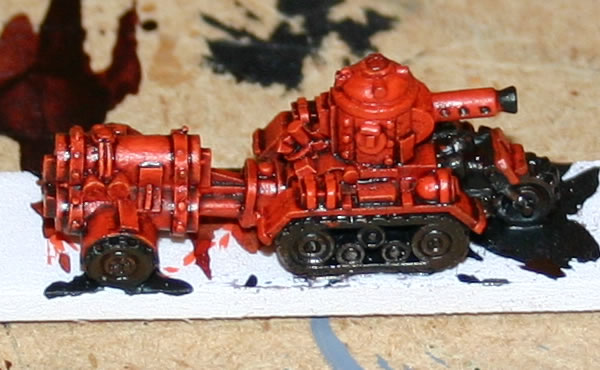
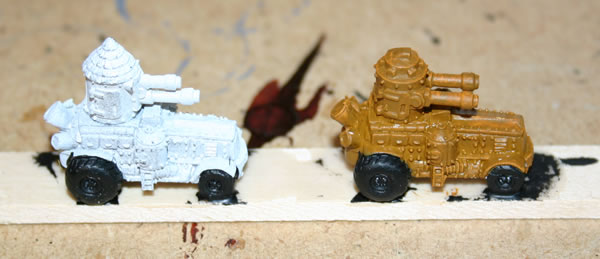
On my further two Epic Bowelburnaz I have finished the base coats and added my usual ink and paint wash. This photo was taken when the ink was still wet.
They will next be drybrushed to tone down the wash and then some further detailing added.
They have been converted using turrets from Ork Battlefortresses.
I have made some more progress on my Ork with Rokkit Launcher Conversion.
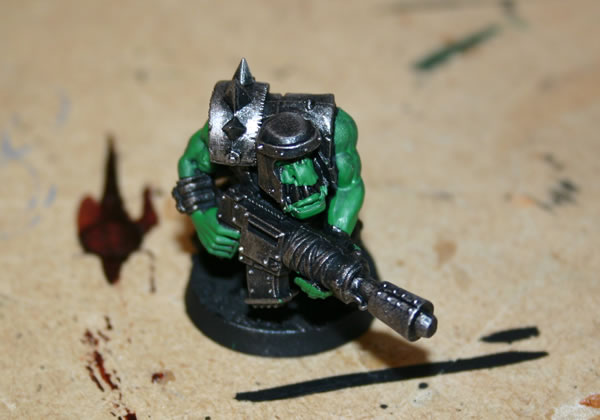
The conversion uses a standard shoota with a grenade from the Stormtroopers set stuck in the end.
Jet pack equipped Orks whom fly into battle.
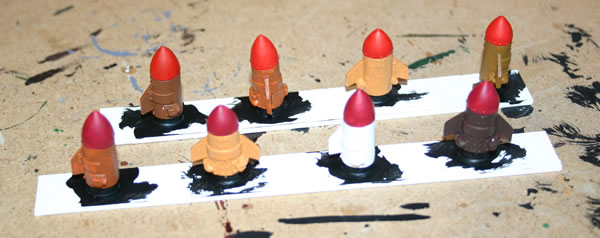
I have been making progress on my jet packed Ork Stormboyz.
I am using the same process on these which I have used on my other Orks, however I may use shades of brown rather than grey.

The jump packs are being painted with different colours of brown with red nose cones.
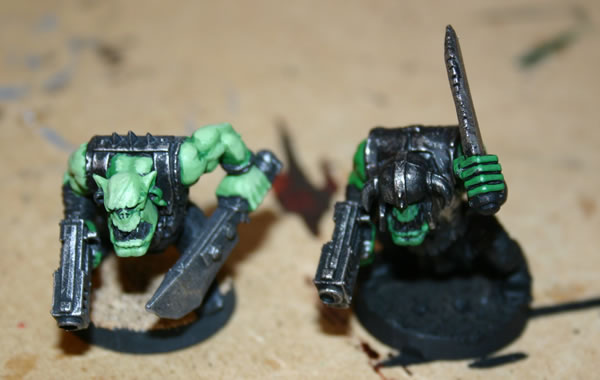
Some of the models have used Warhammer Fantasy Orc components.
Orc Ork Conversion using the Warhammer Fantasy Battle Orc sprue.
Here are two of my conversion using the Warhammer Orc sprue for my Ork Boyz.
Made more progress on my Ork Lootaz.
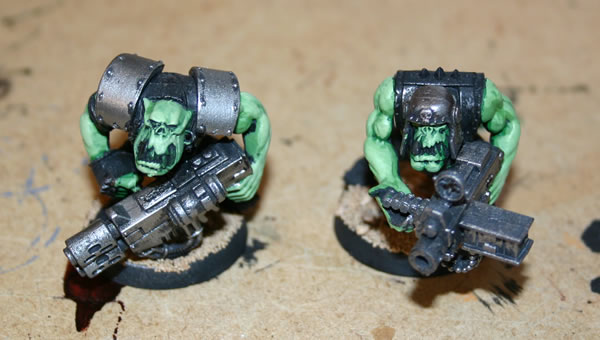
The weapons are from the Space Marine Landspeeder kit.
I have been painting my Epic Ork Skorchaz for my Ork Airfield Defence Force.
The black painted sections have now been drybrushed with Tin Bitz and Boltgun Metal.
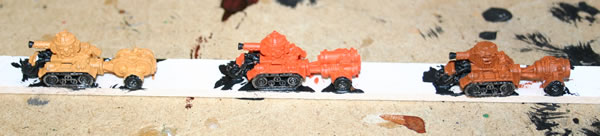
I then painted the basecoat, using different colours of orange and brown for each vehicle.
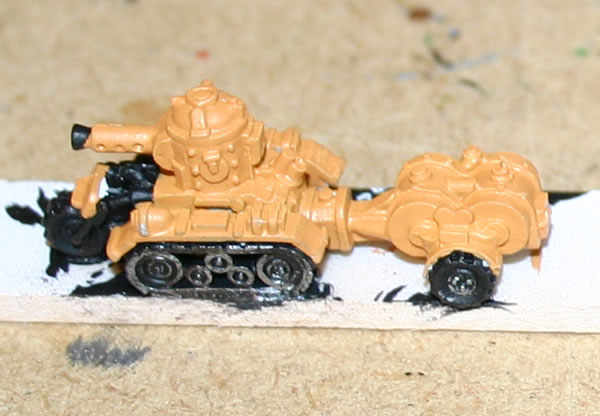
The next stage is to give them an ink/paint wash.
I will then need to drybrush and add more detail and paint the krew.
Having finished two others, I am now working on two more Epic Bowelburnaz.
They have been converted using turrets from Ork Battlefortresses.