One of the resin parts that comes with the Repressor kit is the visor for the driver.
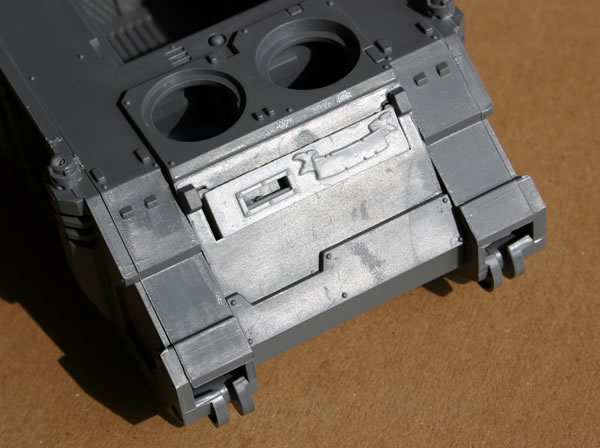
Basically it is the same as the plastic part, but with a banner attached.
warhammer, wh40k, flames of war, bolt action, aeronautica imperialis, star wars, models, news, views and stuff
One of the resin parts that comes with the Repressor kit is the visor for the driver.
Basically it is the same as the plastic part, but with a banner attached.
After putting the sides together I stuck on the top of the Rhino which is the base for my Sisters of Battle Repressor – Storm Troopers Transport.
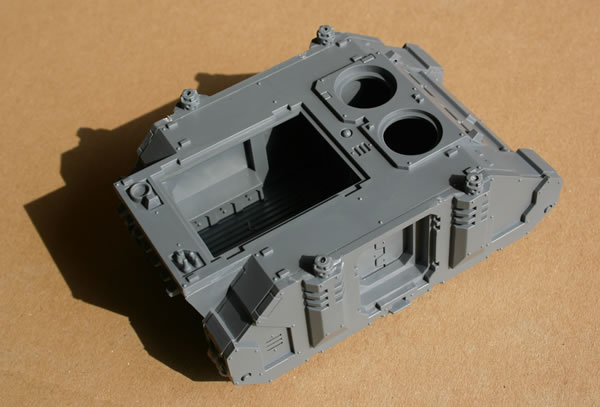
I also added the front armour panel as well.
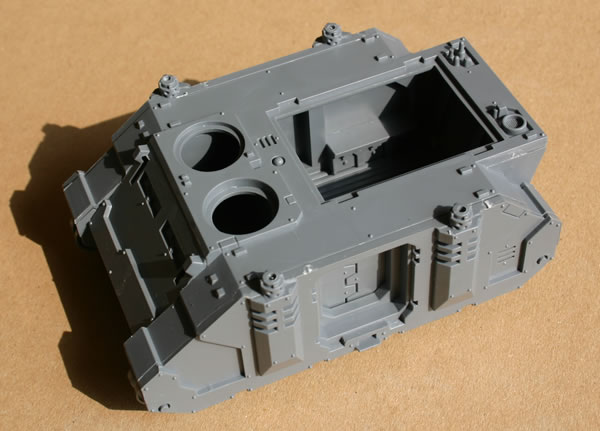
I won’t be detailing the inside as already mentioned, but I am intending to add extra details such as purity seals etc…
After much procrastinating and leaving it, the other day I started and made significant progress on my Sisters of Battle Repressor which I am going to use as a Storm Troopers Transport. Over the next week or so I will post photographs of the different stages of the process.
The Repressor uses the Rhino as the basis for the model and there are various resin parts.
After thinking about it for a while I decided that I would not detail, model or paint the interior of the model. In the main as the resin parts did not allow easy access (viewing) to the internals and therefore would be (in my view) a lot of work and effort and nobody would see it.
The first stage was to put the core Rhino structure together. I avoided the mistake I made with my Ork Looted Rhino and assembled it according to the “instructions”.
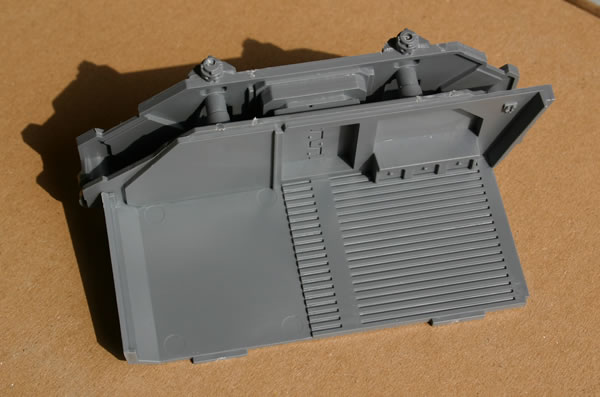
After one side I glued the other track assembly together. Luckily there are not lots of wheels like most scale model kits you get these days.
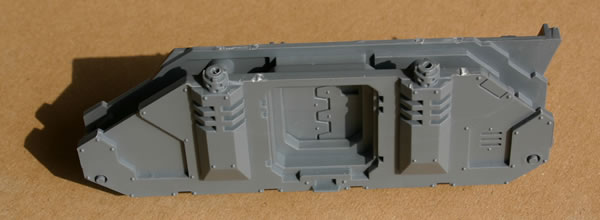
Then the two sub-assemblies were glued together. At this point don’t forget to add the back door!
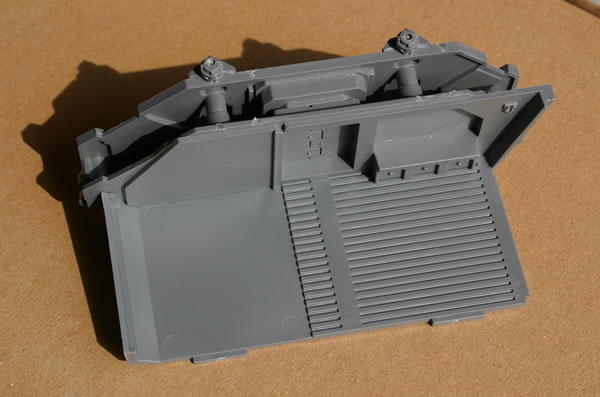
Next stage was to add the top of the hull.
I have done the final stages of my Forgeworld Epic Ruined Librarium.
After drybrushing with Fortress Grey, I added a much lighter drybrush of Skull White.
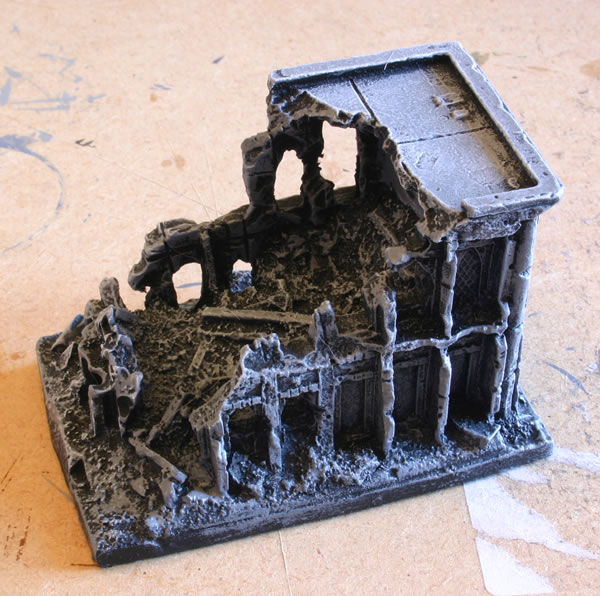
The other view.
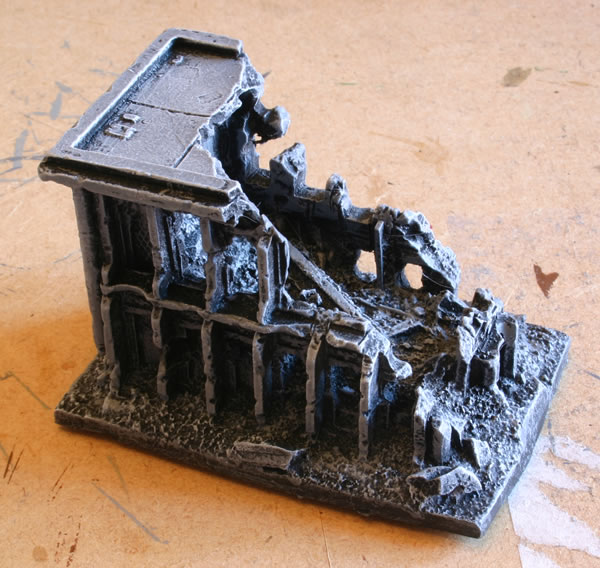
This is a very nice model.
Having used foundation paints for the basecoat of the Ork Rokkits I then painted them with normal citadel colour.

It seems to work as advertised, which is nice.
After drybrushing with Codex Grey, I then did a lighter drybrush with Fortress Grey.
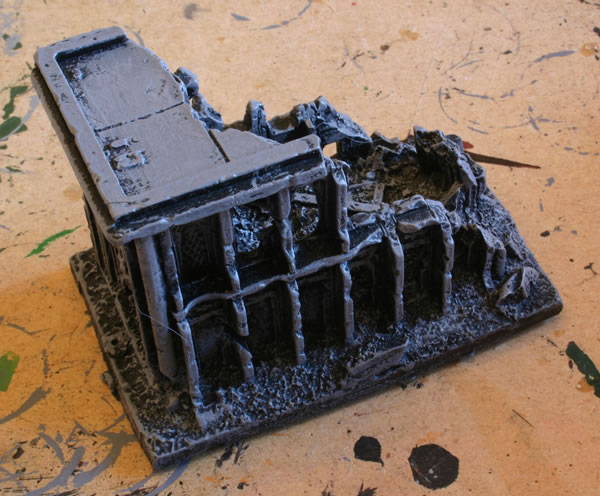
The other side.
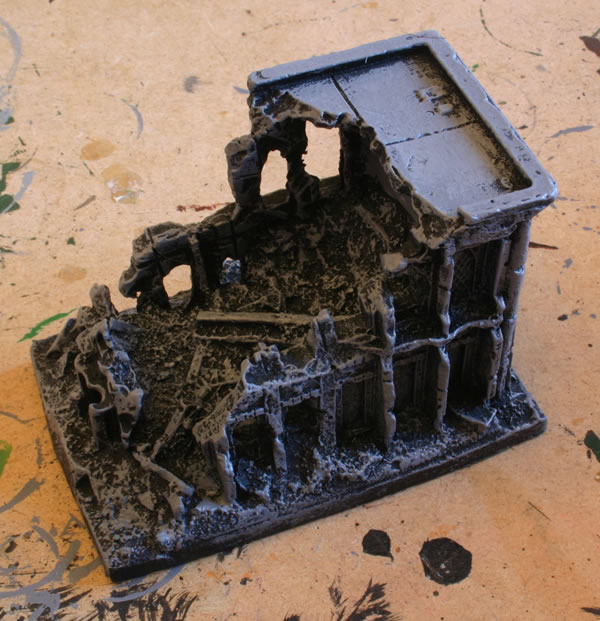
I purchased a Forgeworld Epic Ruined Librarium some time ago, and despite undercoating it I hadn’t touched it for a while.
For some reason I decided to try and finish it. First stage following the black undercoat was to give it a heavy drybrush of Codex Grey.
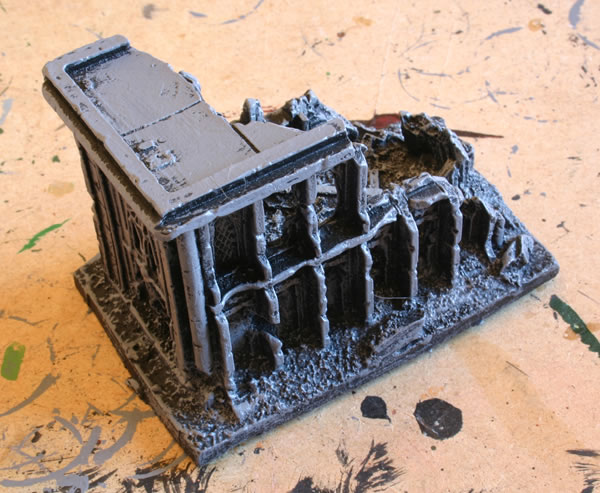
This covered most of the model.
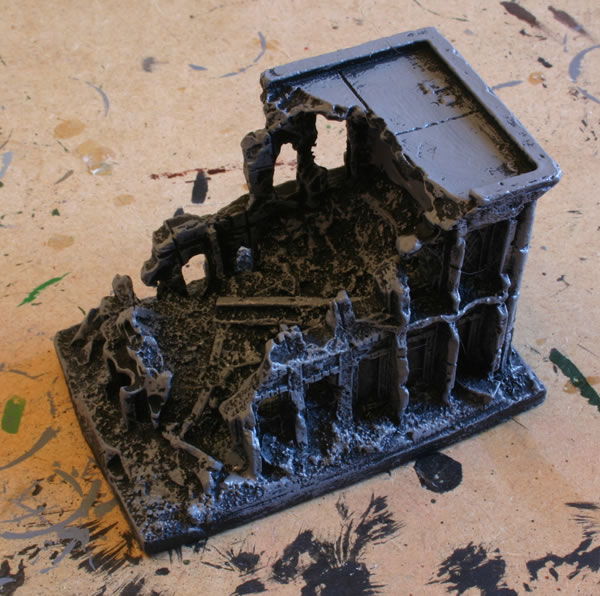
Next stage was to drybrush with a lighter gray, Fortress Grey.
This is my Ork with Rokkit Launcha.

As you can see I have (again) used Citadel’s new Foundation Paints to paint the rokkits, they still need highlighting and other things done, but the red does cover the black undercoat quite easily.
This is one of my conversions, an Ork with a Big Shoota. The Ork has had his Shoota extended with barrel of another Shoota to make a Big Shoota.
I started off with a black undercoat and then do all the metallic bitz with a drybrush of tin bitz and chainmail. I then do all the Ork skin with a dark green, usually Snot Green.
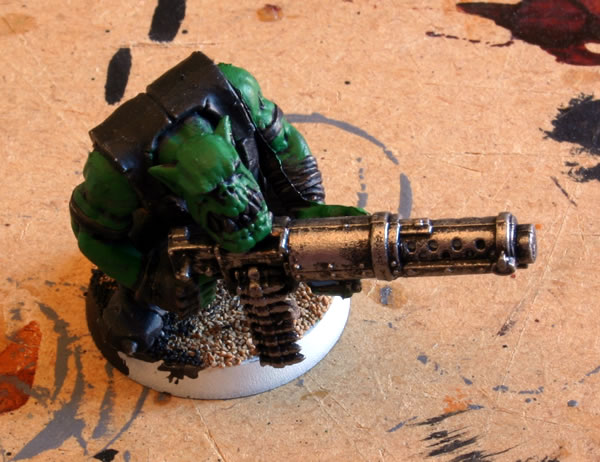
I then highlighted with Goblin Green before doing final highlights with a mixture of Goblin Green and Bleached Bone.
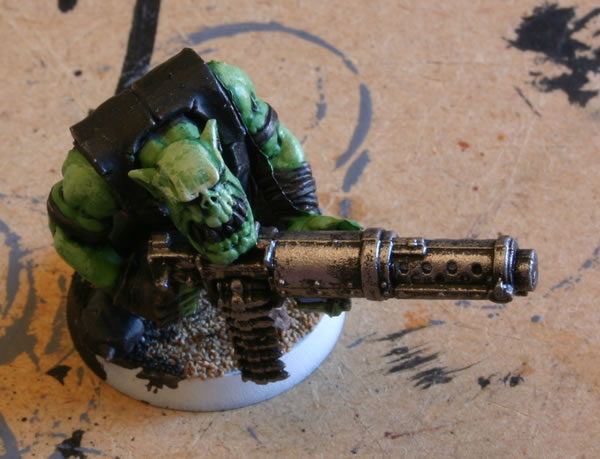
Still some way to go…
This is where I last left my Ork Wartrakk with converted tracks and searchlight.
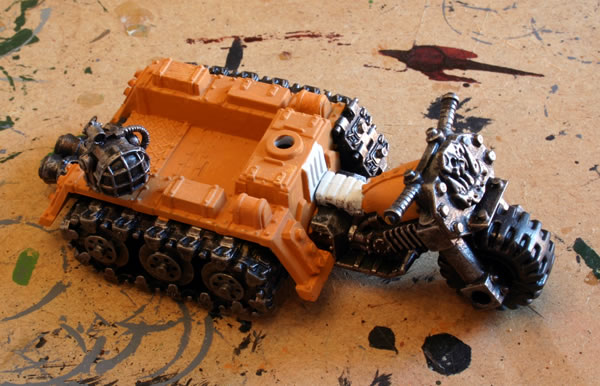
I have now painted the seat.
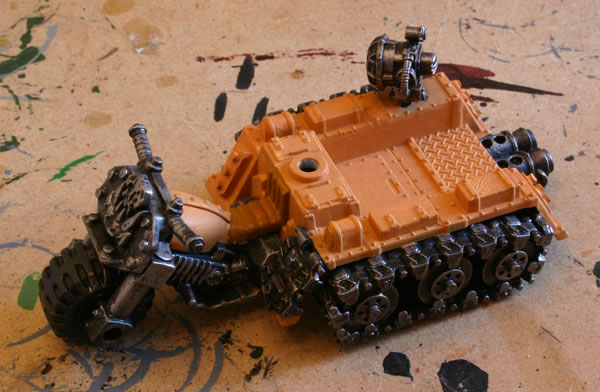
Once I have painted some of the stowage, I am going to give the bodywork a wash of Chestnut Ink and a small amount of Scorched Brown to reduce the glossy effect of the ink.