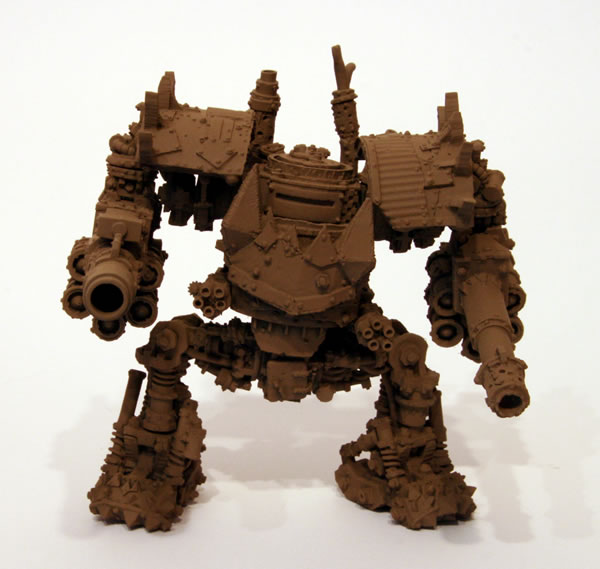
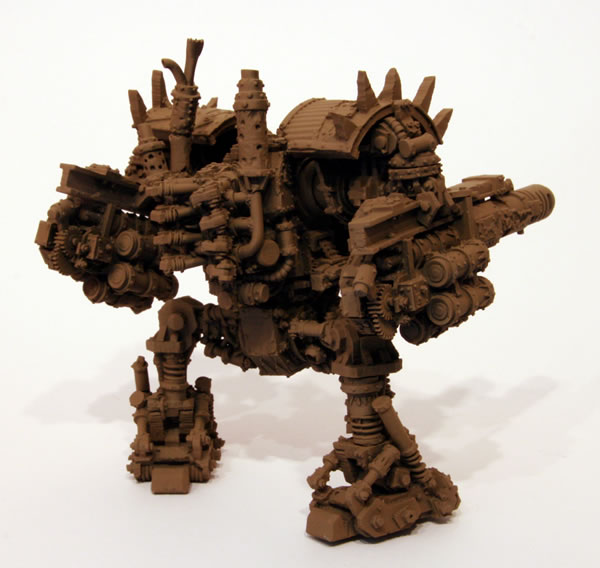
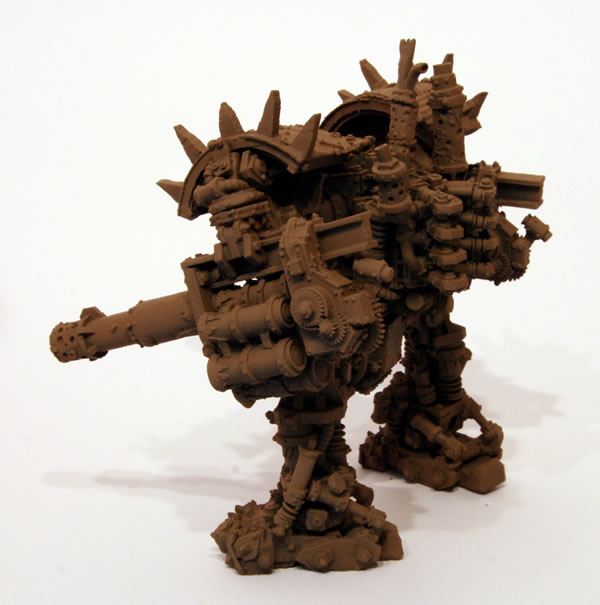
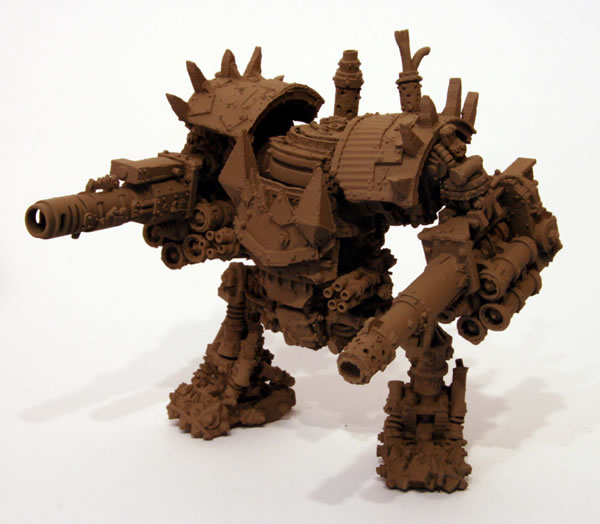
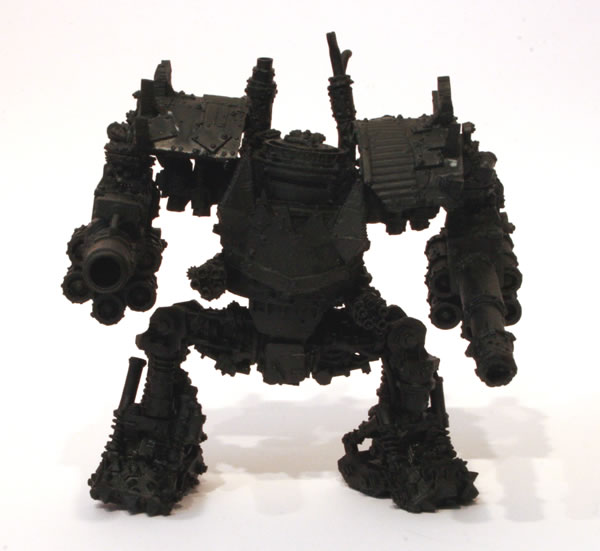
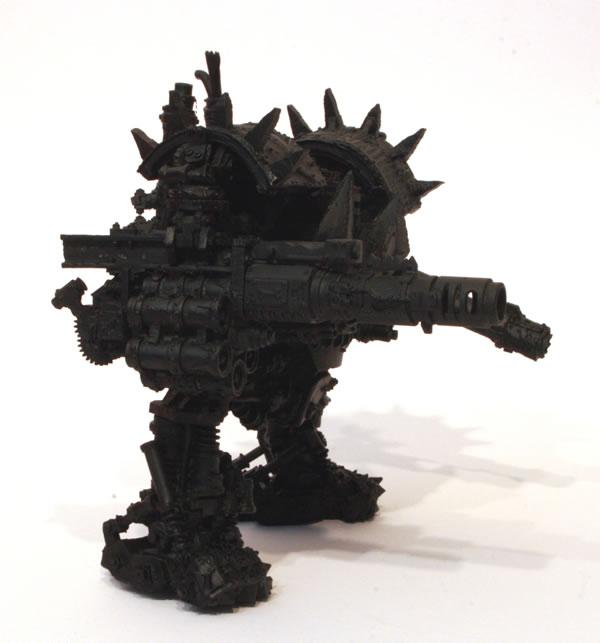
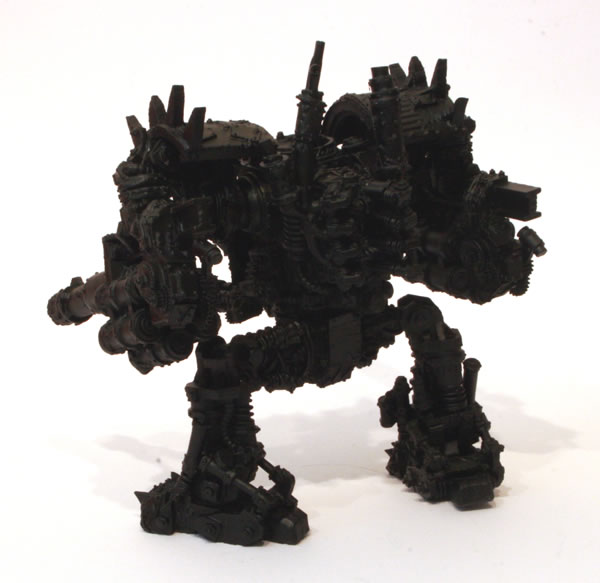
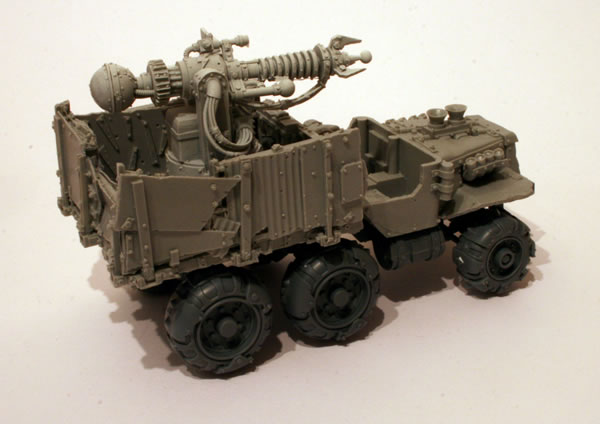
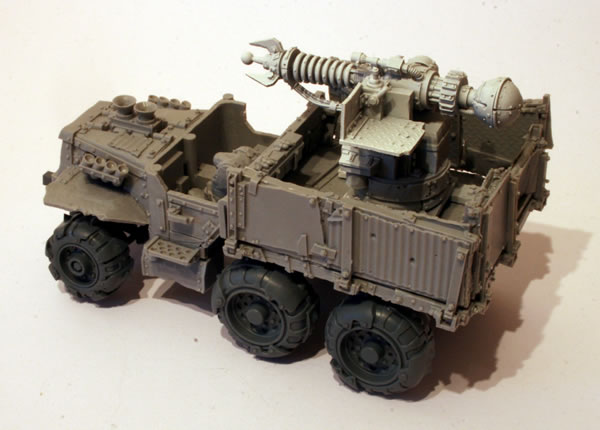
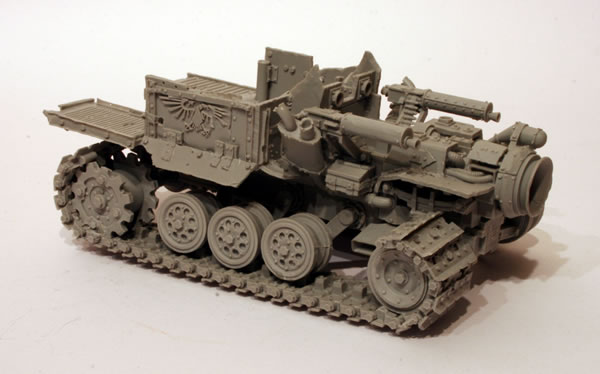
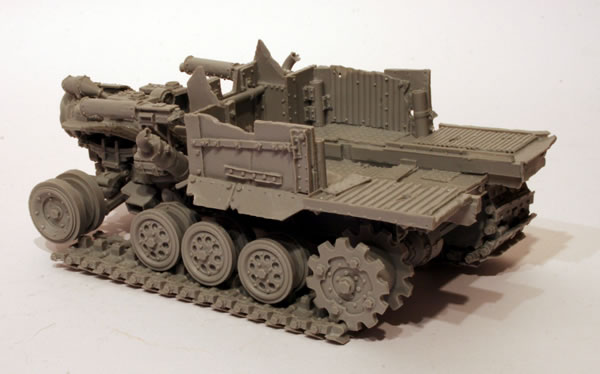
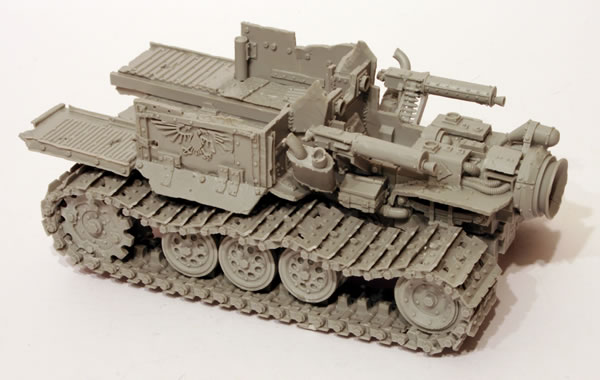
Ork Big Trakk Wheels

The next stage for my Big Ork Trakk was to add the wheels.

These were attached to the suspension (torsion bars) before they were fixed to the vehicle.

The next stage was to add the driving wheels. Again fix these with the model on a flat surface as this will ensure that the model sits flat on the tracks. I did one wheel at a time to ensure I didn’t knock them as I stuck them together. Also ensure that you have the suspension or torsion bars facing to towards the back of the vehicle.

The other side.

Starting to look a lot more like a Big Trakk now.

The workbench feature on the Big Trakk may help anyone else putting one of these kits together.

Gallery of photographs of the Big Trakk.

Ork Big Trakk, making progress

The next stage for my Big Ork Trakk was to add the front wheels to the axels.

The view from underneath.

It is essential when sticking these that the model fits flat to the table otherwise you may have issues later on fitting the tracks.

Starting to look more like a Big Trakk now.

The workbench feature on the Big Trakk may help anyone else putting one of these kits together.

Gallery of photographs of the Big Trakk.

Forge World Ork Trukk with Enclosed Cab

IMG_2883

This model was one of the many new Ork models released by Forge World in 2009.

Designed by Will Hayes and Phil Stutcinskas. (a hybrid resin and plastic model using the Ork Trukk kit). —The model makes for a great alternative for your Trukk fleet as well as an excellent base for your own conversions. Its enclosed cab can also be used to represent the Armour Plates upgrade on a trukk.

This Trukk model also includes a folding platform at the rear. This in my opinion is much better than the plastic platform included with the plastic kit.

trukkenccab001

You also get the very thin Trukk box with two sprues, transfers and instructions.

orktrukk301

orktrukk302

See the full workbench feature on the Forge World Ork Trukk with Enclosed Cab

Mekboy Junka

This marvellous Mekboy Junka conversion was part of the Ork Shanty Town display that Forge World had at GamesDay 2010.

Ork Mekboy Junka
Ork Mekboy Junka

It has an Ork Looted Rhino at the heart of the conversion.

Ork Mekboy Junka
Ork Mekboy Junka

With a Deff Rolla at the front.

260920101133
Mekboy Junka

The Imperial Moisture Condensor as a fuel tank was an inspired move. This is what it looks like as a condensor!

The rules for the Mekboy Junka are in Volume 8 of Imperial Armour (ie the Orky one).

Flakk Gun

One model I have purchased was a Forgeworld Ork Flakk Gun. I am intending to use it with my new Ork vehicles.

The Flakk Gun is a quad-barrelled rapid firing turret equally at home targetting enemy aircraft of infantry squads.

As seen at GamesDay 2009.

Flakk Gun

The resin parts are as seen here. You get three Grot Krew and an Ork Gunner.

Flakk Gun

One of the key things you need to do with virtually all Forge World models is to give them a good wash.

When the Forge World models are cast, the mould is given a spray (I guess) of some kind of lubricant to allow the cast model to be released from the mould easily. However the lubricant also acts as a barrier to paint, so as happened with previous models I (and others) have painted is that the paint flecks off.

Washing the model in water with a drop of washing up liquid should remove the lubricant. Avoid using hot water as this could warp the resin (a useful tip if you need to warped resin back to its original shape).

Ork Big Trakk Suspension

The next stage for my Big Ork Trakk was to add the front axels and suspension. The engine block was fixed to the main part of the vehicle.

I ensured that the drive shaft was connected to the engine block.

I then added the front axels.

You can see where I have digitally painted the part where it fits on the main engine block.

Another view of where the front axle and suspension goes.

More detailed view from underneath.

The workbench feature on the Big Trakk may help anyone else putting one of these kits together.

Gallery of photographs of the Big Trakk.

Big Trakk Engine

The main engine block for the Ork Big Trakk comes in two parts.

This is the bottom half (the wrong way up) and links into the drive shaft on the main part of the vehicle.

The well detailed jet intake is then stuck on top of the main engine block.

If you turn the engine over you will then be able to fix the front suspension and front axles.

If you turn the engine over you will then be able to fix the front suspension and front axles. It’s not every clear how these fit on, but hopefully this diagram should make things clearer. There is a hole in the suspension arm fixed to the engine, and the suspension part is fixed to this and against the ridge on the engine block.

I decided to fix the suspension parts after fixing the engine to the main part of the vehicle. It is important at this stage to clean where the engine joins the superstructure otherwise there will be gaps and more importantly a weak joint.

The workbench feature on the Big Trakk may help anyone else putting one of these kits together.

Gallery of photographs of the Big Trakk.

Ork Big Trakk Rear Wheels

I really like this model, which combined with Trukks and Halftrakks gives the Orks a variety of vehicles that you would expect to find in their force.

I ensured that the rear driving wheels were glued together.

The driving wheels are then fixed to the rear axle.

The workbench feature on the Big Trakk may help anyone else putting one of these kits together.

Gallery of photographs of the Big Trakk.

Ork Big Trakk

This is not a simple kit, and it is furtherly complicated by a lack of instructions. Hopefully this workbench feature will help anyone else putting one of these wonderful and well detailed models together.

According to a commenter, “There are instructions available now. Just give Forgeworld a call and they will send it to you.”

When the Forge World models are cast, the mould is given a spray (I guess) of some kind of lubricant to allow the cast model to be released from the mould easily. However the lubricant also acts as a barrier to paint, so as happened with previous models I (and others) have painted is that the paint flecks off.

Washing the pieces of the kit in water with a drop of washing up liquid should remove the lubricant. Avoid using hot water as this could warp the resin (a useful tip if you need to bend warped resin back to its original shape).

The first stage was fixing the suspension to the main body of the vehicle.

The left side was added the main flatbed of the superstructure.

The driving axle was fixed to the driving shaft, this was then attached to the suspension.

Hopefully my workbench feature will help anyone else putting one of these kits together.

Gallery of photographs of the Big Trakk.