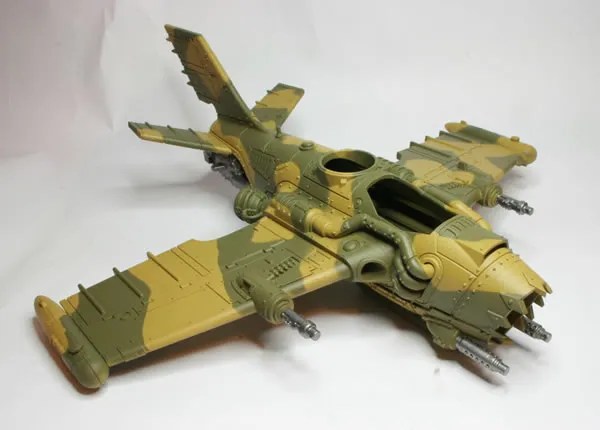
The next stage with the Ork Bommer was starting to add the details to the model. I have already given the model a two colour base coat, a base spray of German Armour Yellow, this was then followed by a second spray of British Armour Green. The base yellow was masked with blu-tac in an haphazard manner as would be befitting Orks.
In the past I would have painted the details Chaos Black and then dry brushed the details with Tin Bitz and Boltgun Metal. This process has fallen out of favour with me, and with this model I am going to use a technique that I originally tried on my Victorian Science Fiction Tunneller.
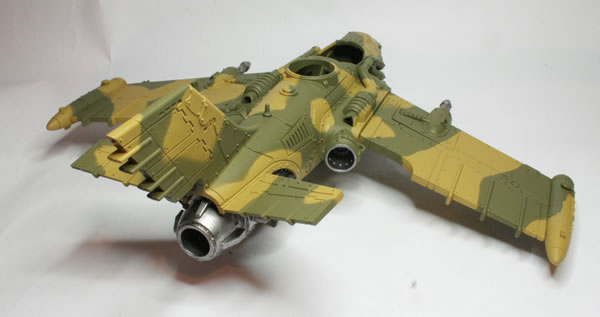
This underside view shows the engine in more detail.
The process is to first put down a base of Boltgun metal and then using shades and inks to add washes to bring out the detail.
I am also intending to use some of the Forge World weathering powders I purchased a few years ago, which I have never got around to using.
Here is the bommer with the turret and cockpit in place.
…and a close-up.


