Drybrushing the Ruined Factorum

I got the Ruined Factorum sprue from the Warhammer Imperium part work, issue #31. I constructed the model, undercoated it, and after giving the model a basecoat of Mechanicus Standard Grey Spray I gave the model a wash of Nuln Oil Shade.

Once the model was dry I drybrushed the model. I first used some Dawnstone Dry Paint and then a lighter drybrush of Terminatus Stone.

These photographs don’t really show the finished model, so I think I will need to retake them. This one taken with a phone does show off the drybrushing much better.

White Ruined Factorum

I got a couple of Ruined Factorum sprues that came with Warhammer 40000 Imperium 34. The ruins are from the The Battlezone: Manufactorum – Sub-cloister and Storage Fane kit. There are going to be further releases of these ruin sprues in later issues of Warhammer 40000 Imperium.

Having constructed the models I gave them a white undercoat.

One I am going to paint in the same manner as the first Ruined Factorum I got, the second I am intending to follow the (white and red) paint scheme as outlined in Warhammer 40000 Imperium.

I sprayed the model a few more times with the Corax White spray. I then, following the instructions painted the doors and window frames with Mephiston Red base paint.

The model has two pieces, a larger ruined building and a smaller ruined corner.

The next step will be to wash the model with Nuln Oil Shade.

Painting and Washing the Converted Factorum Ruins

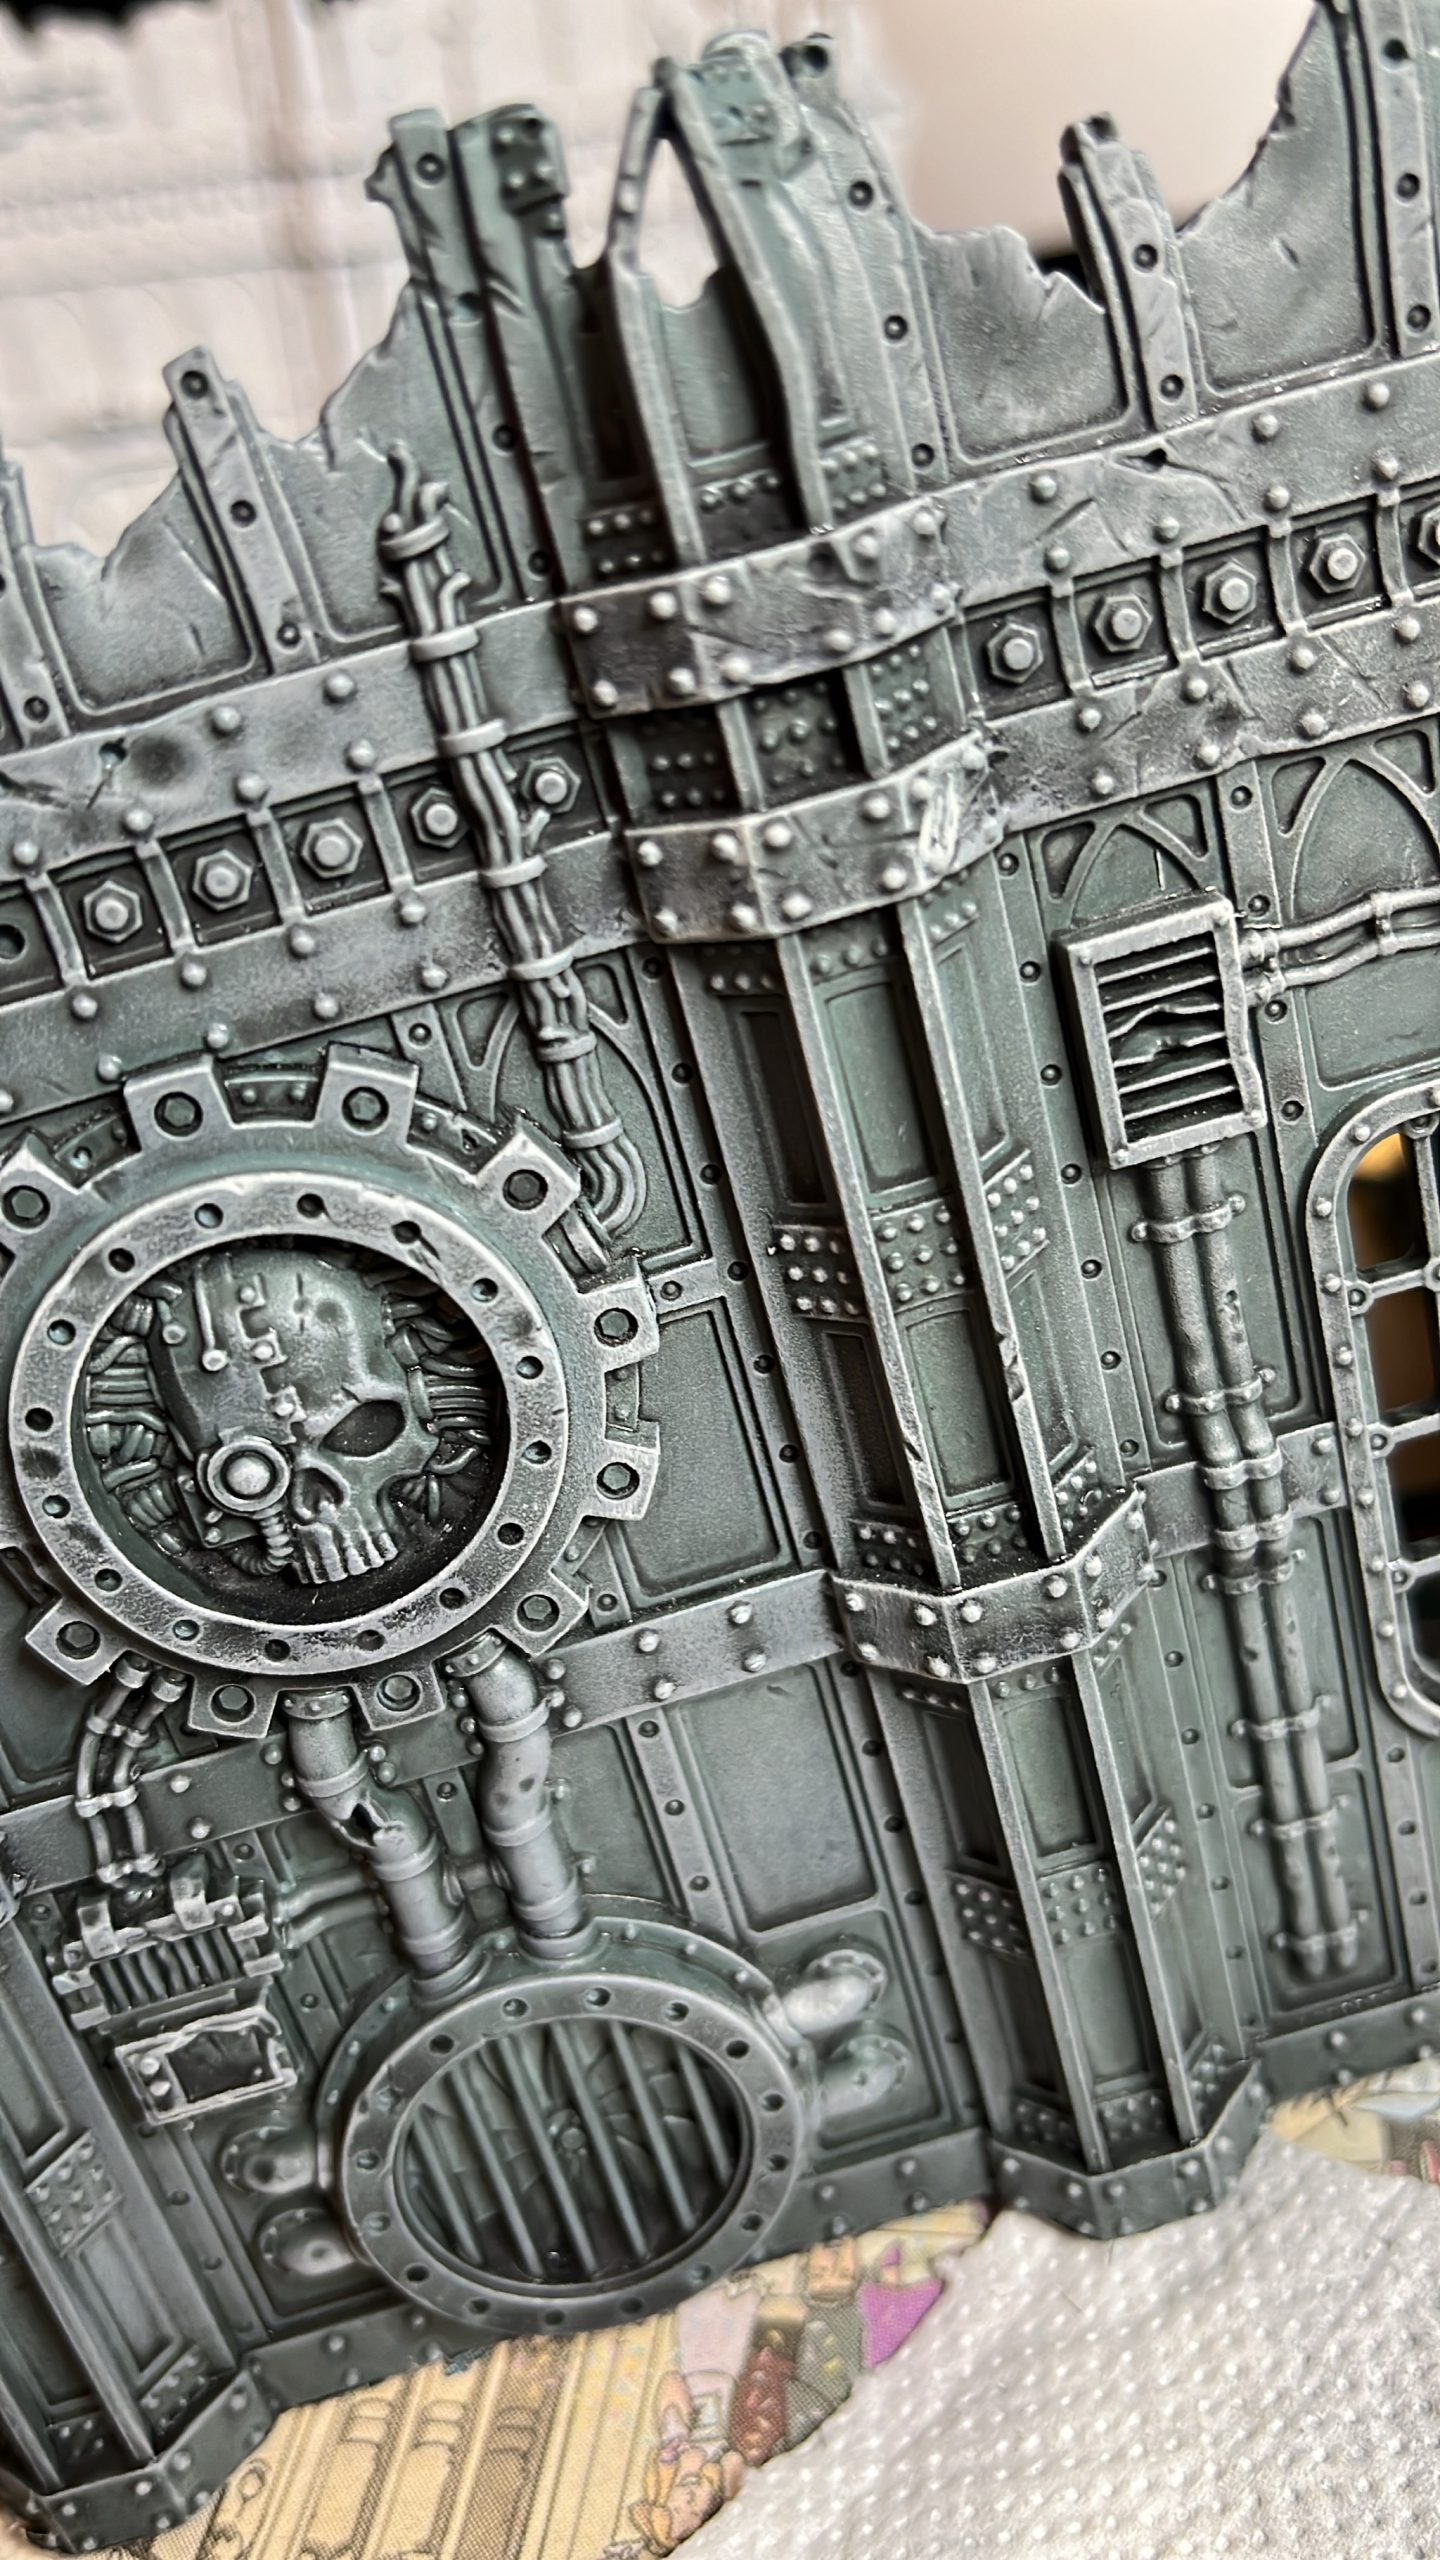
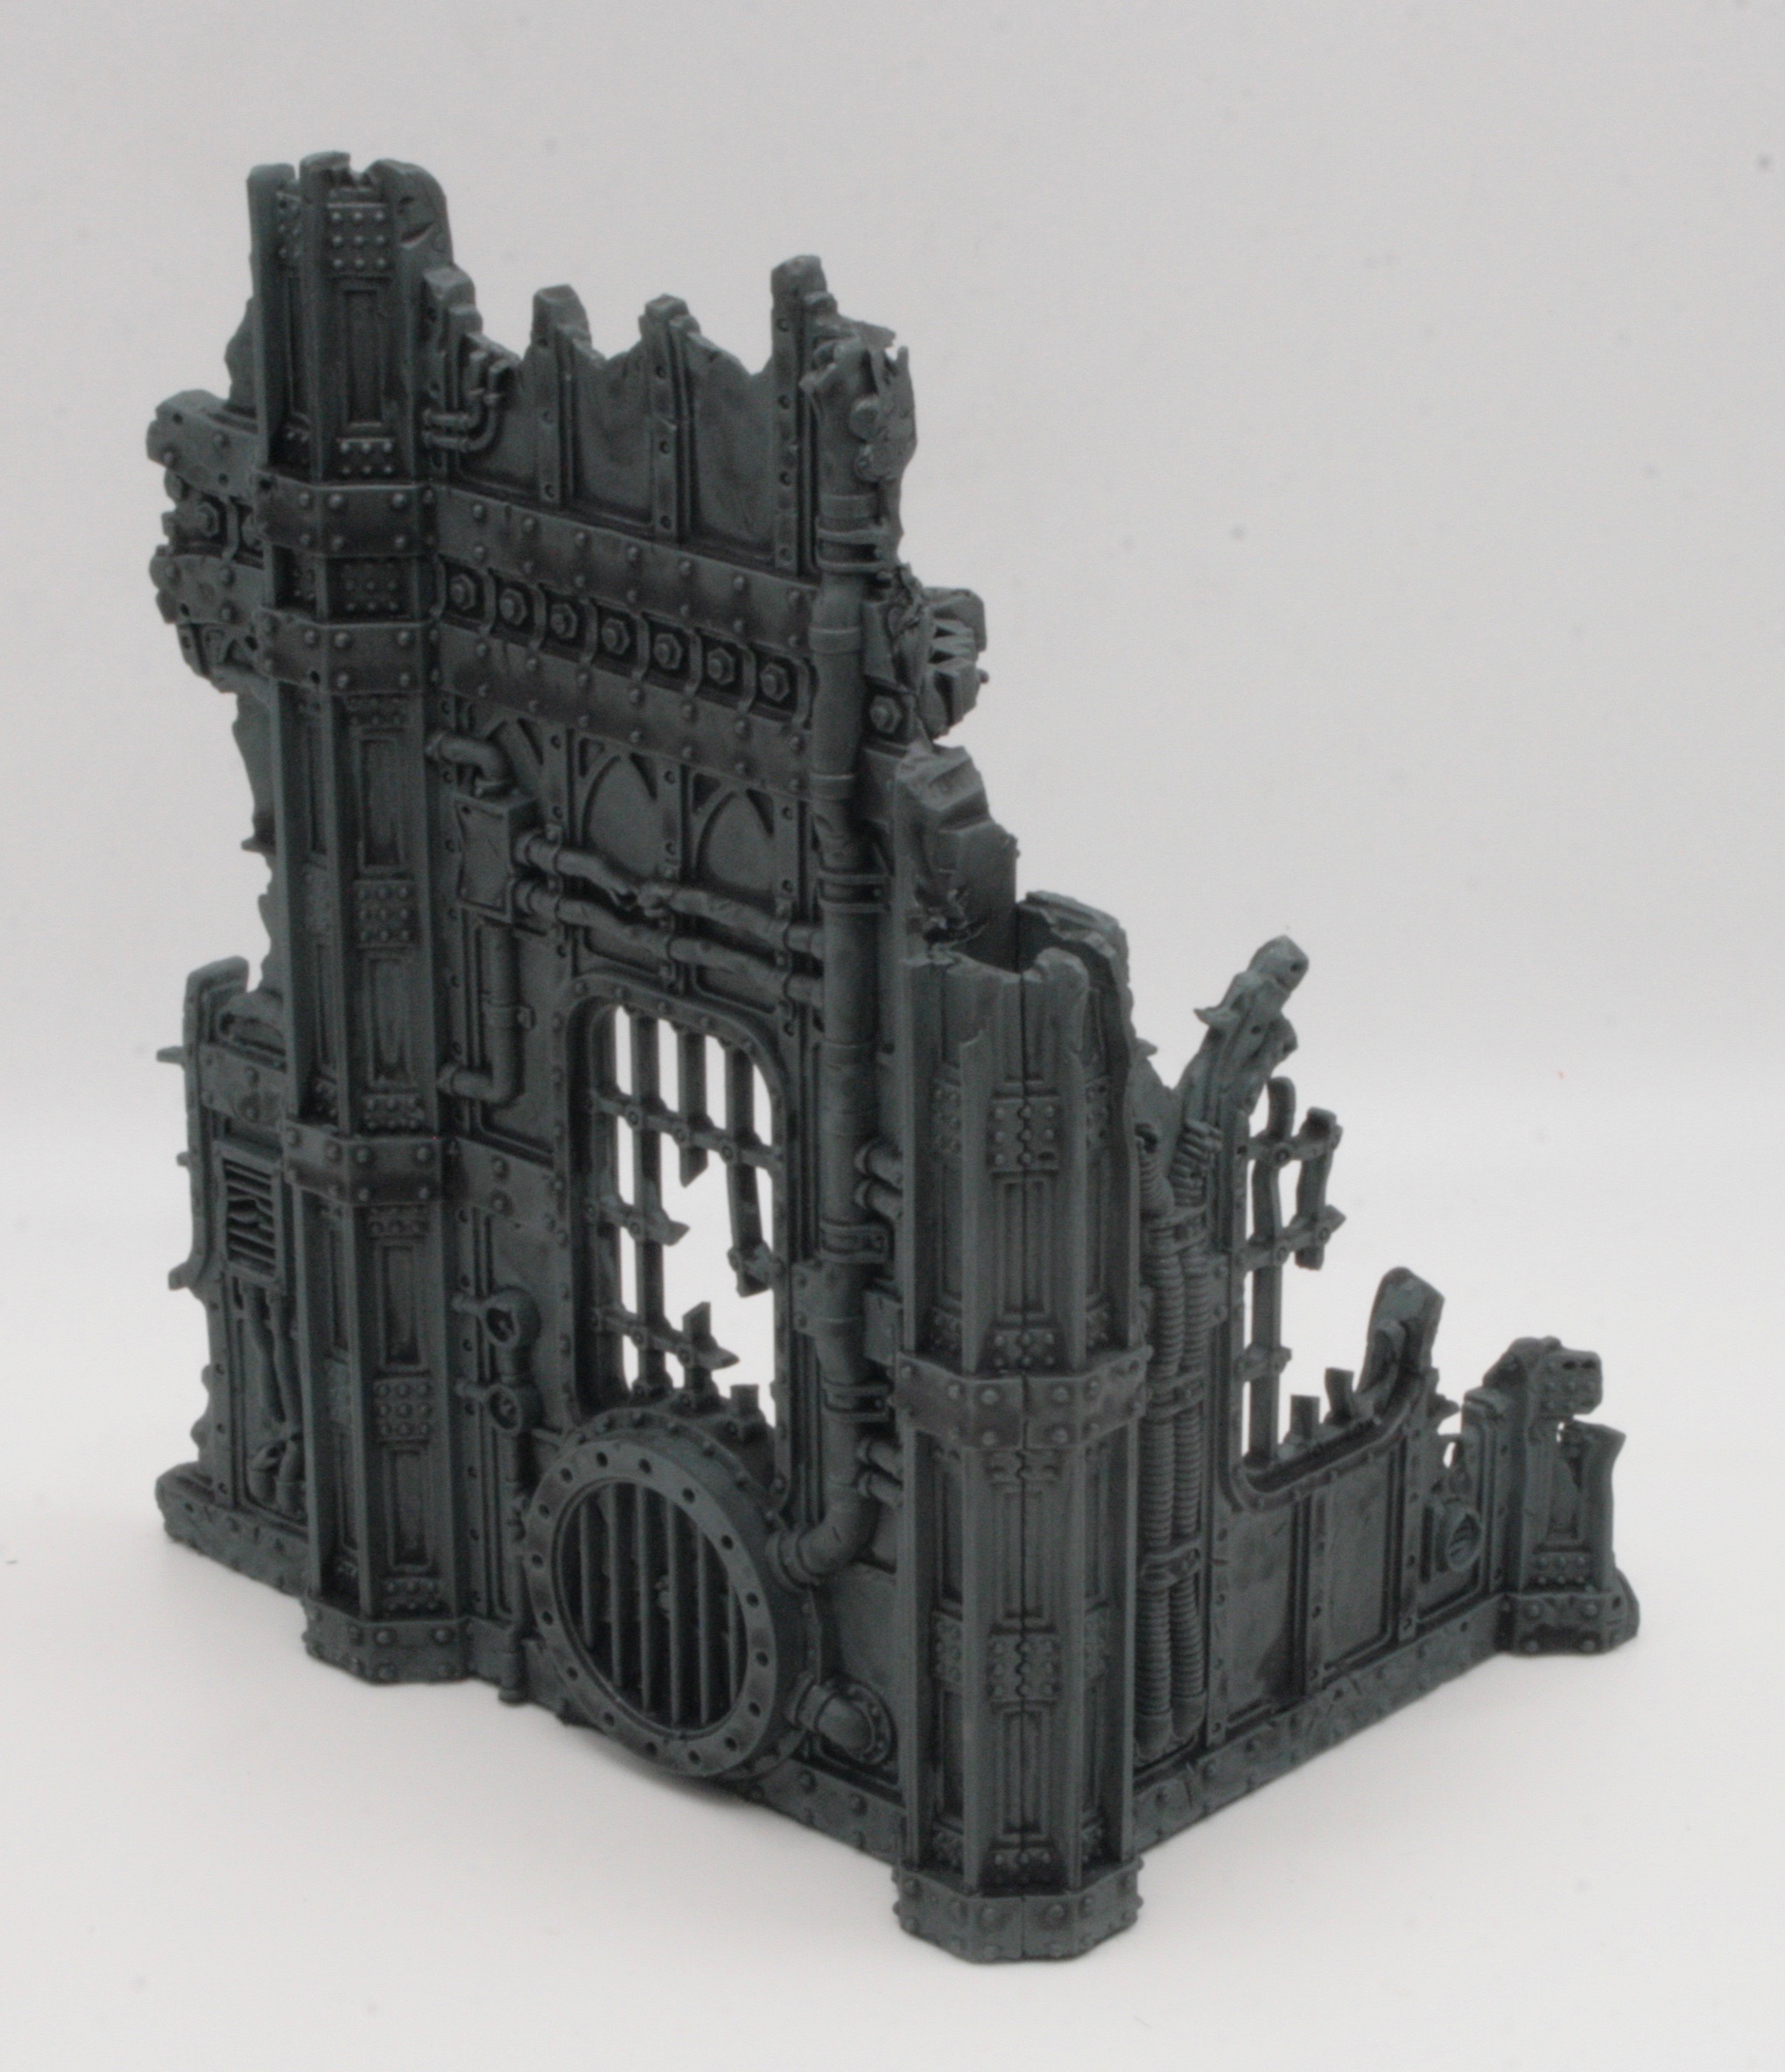
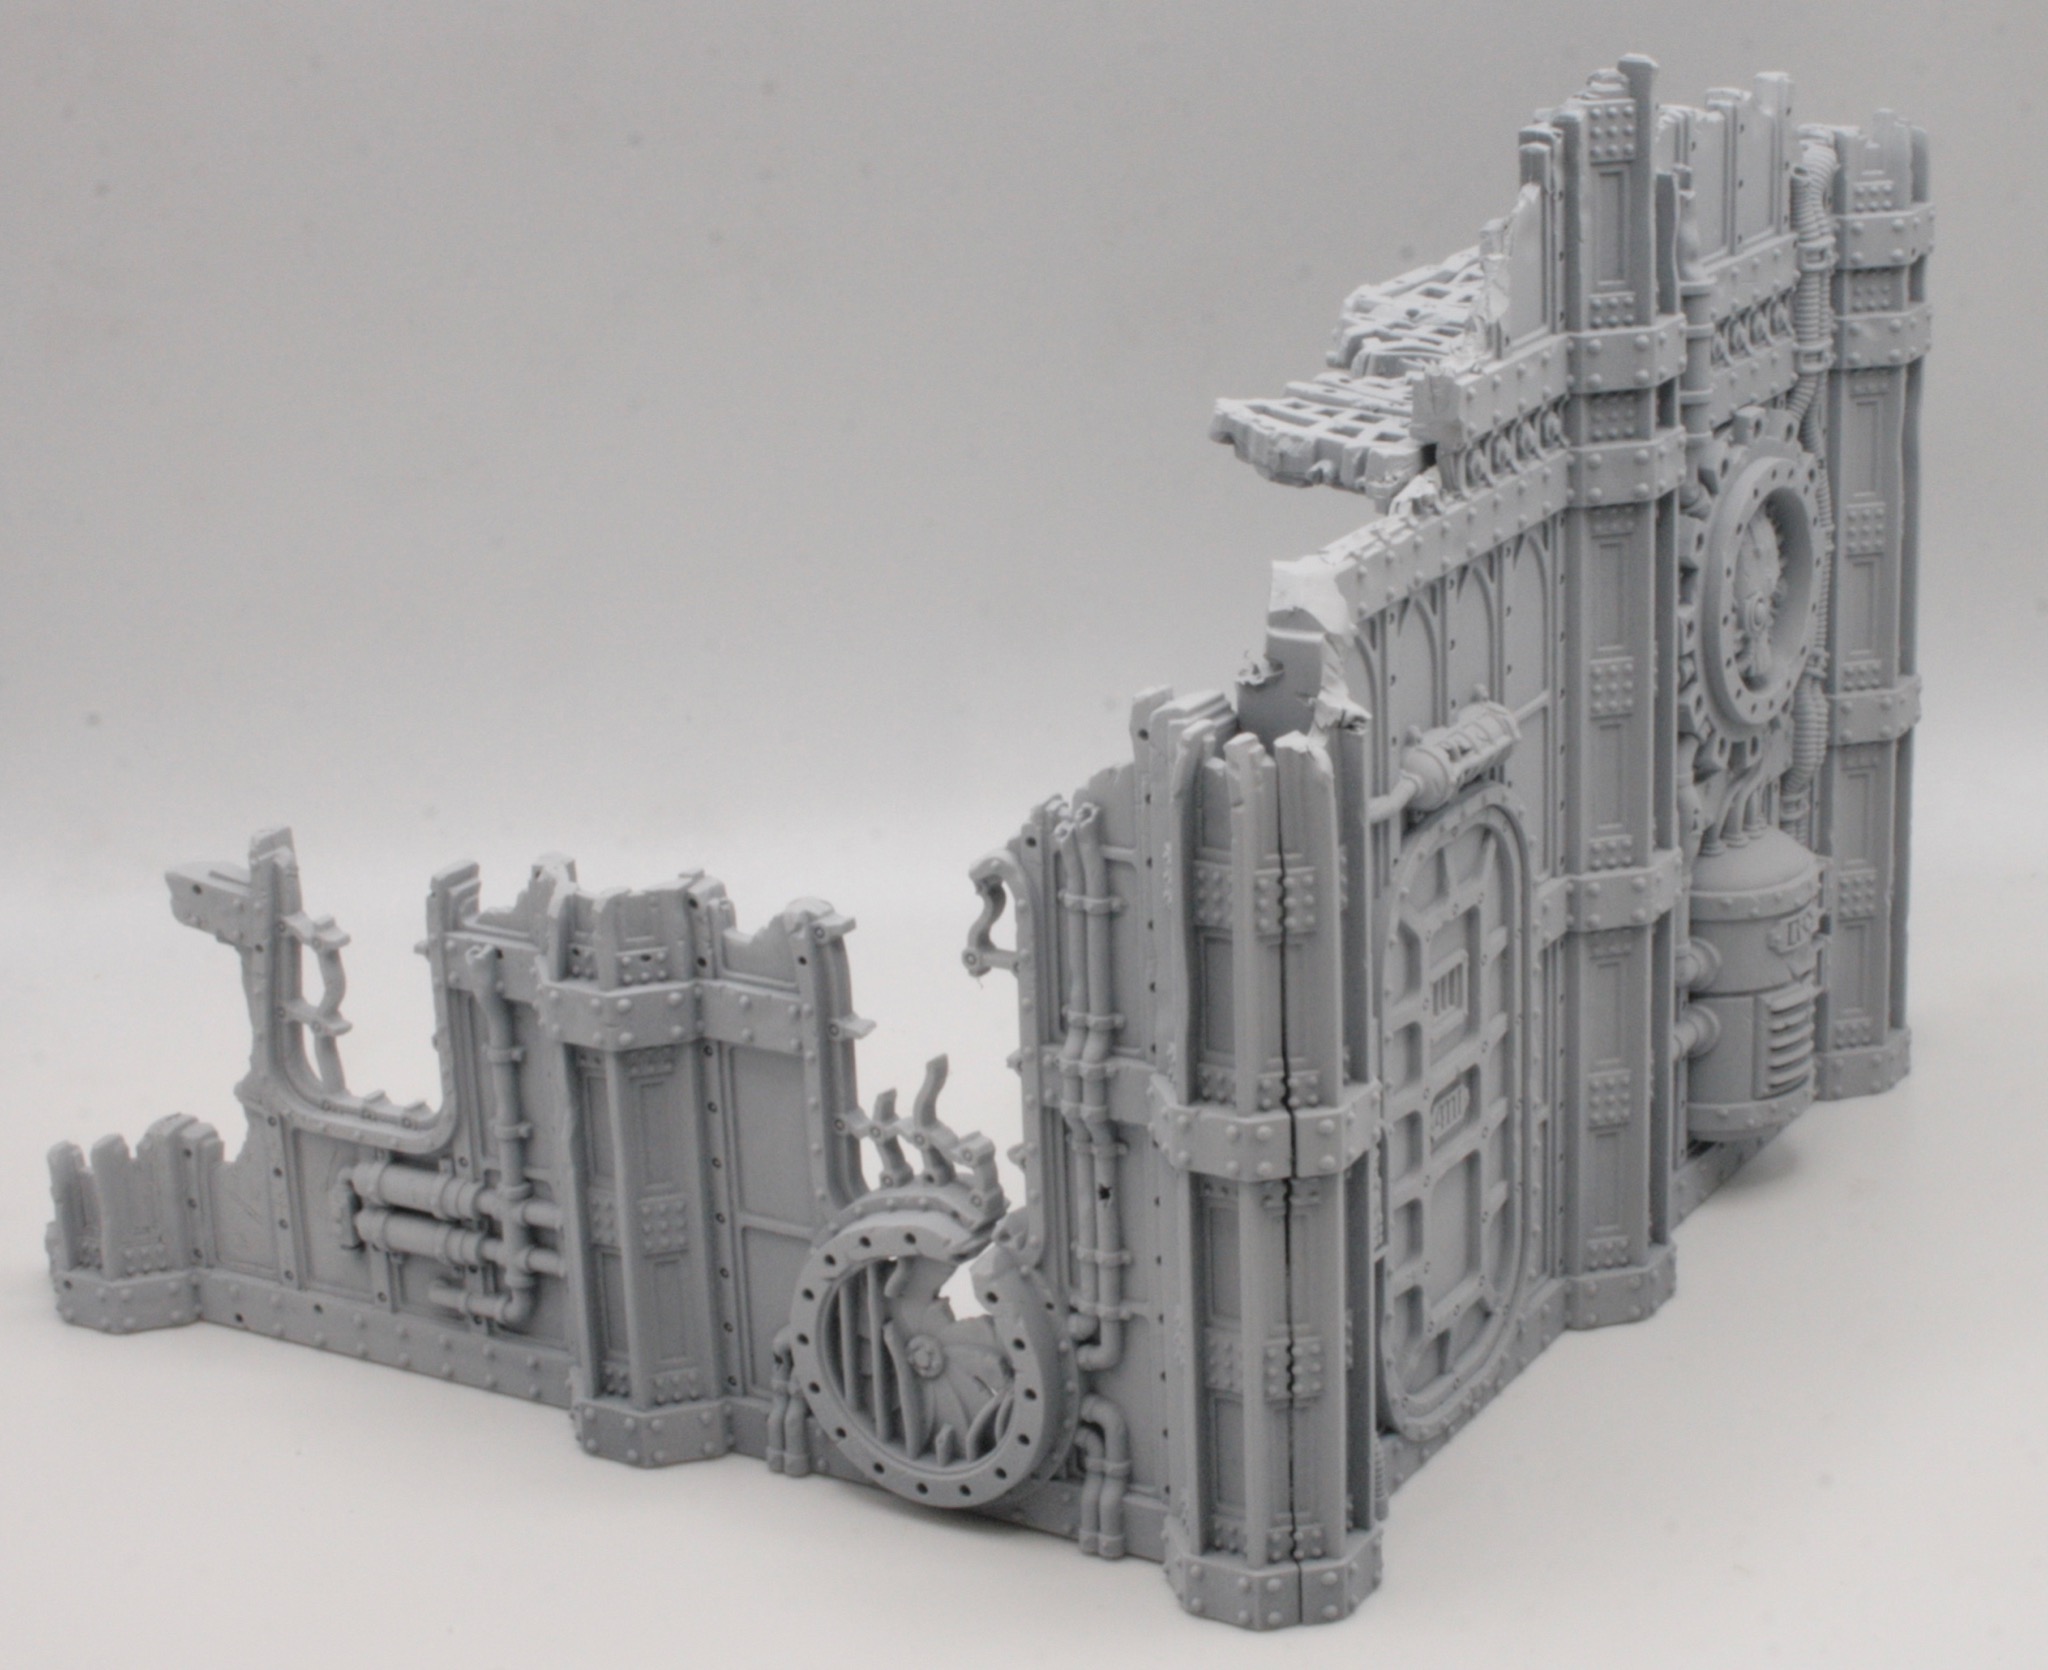
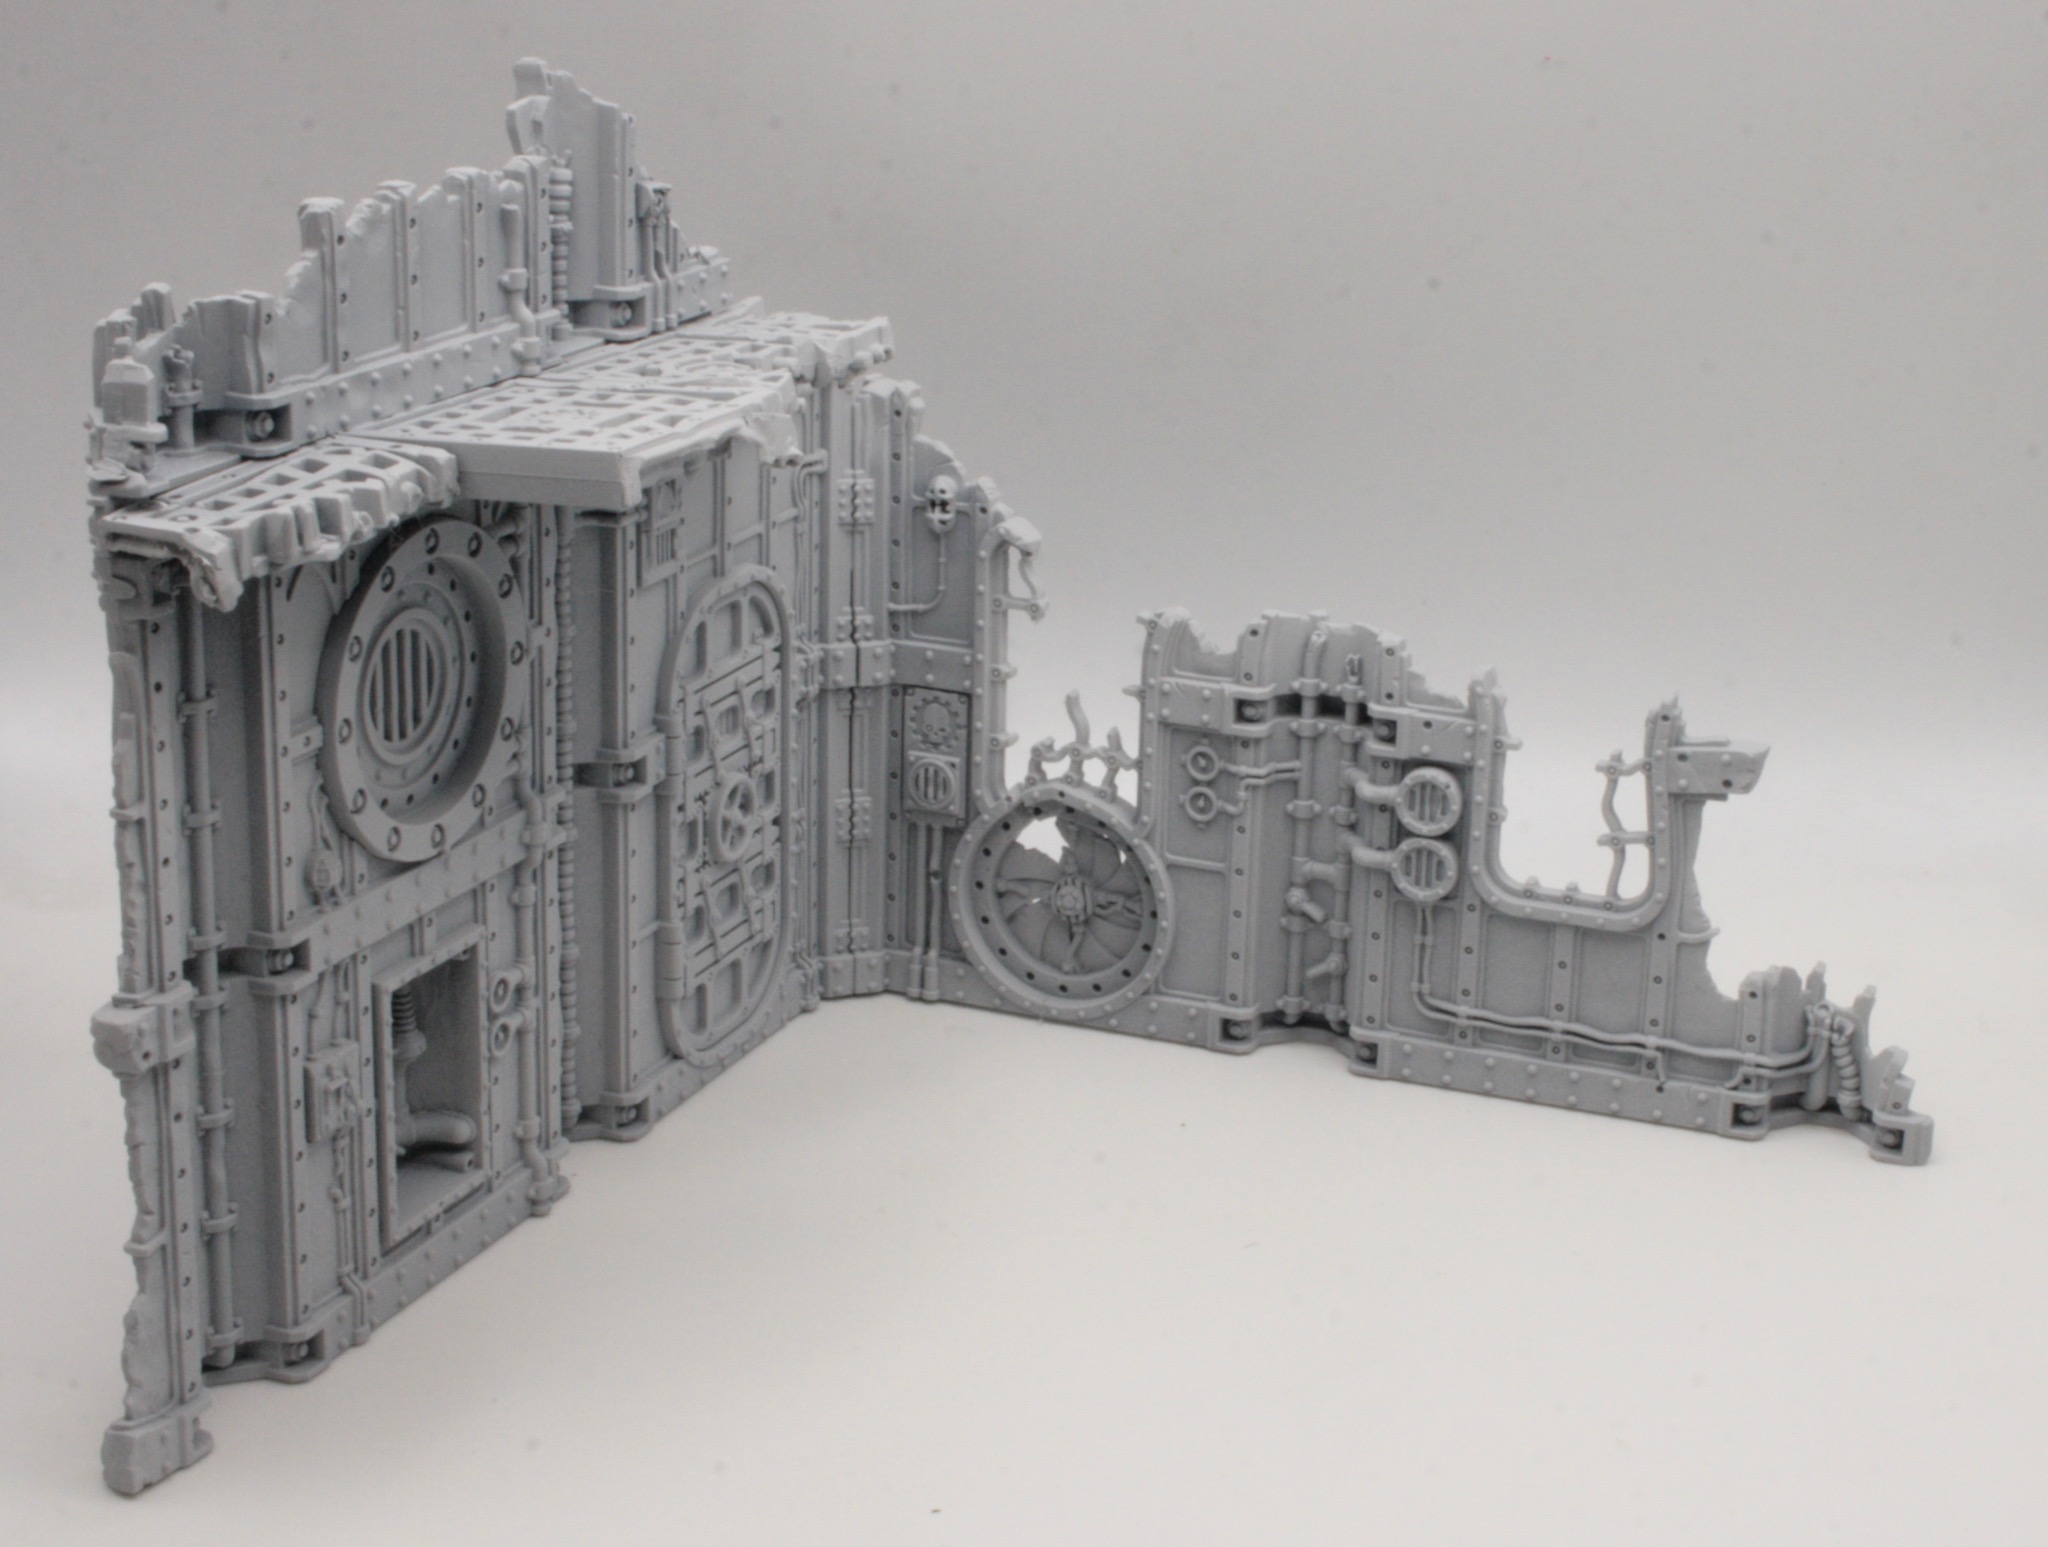
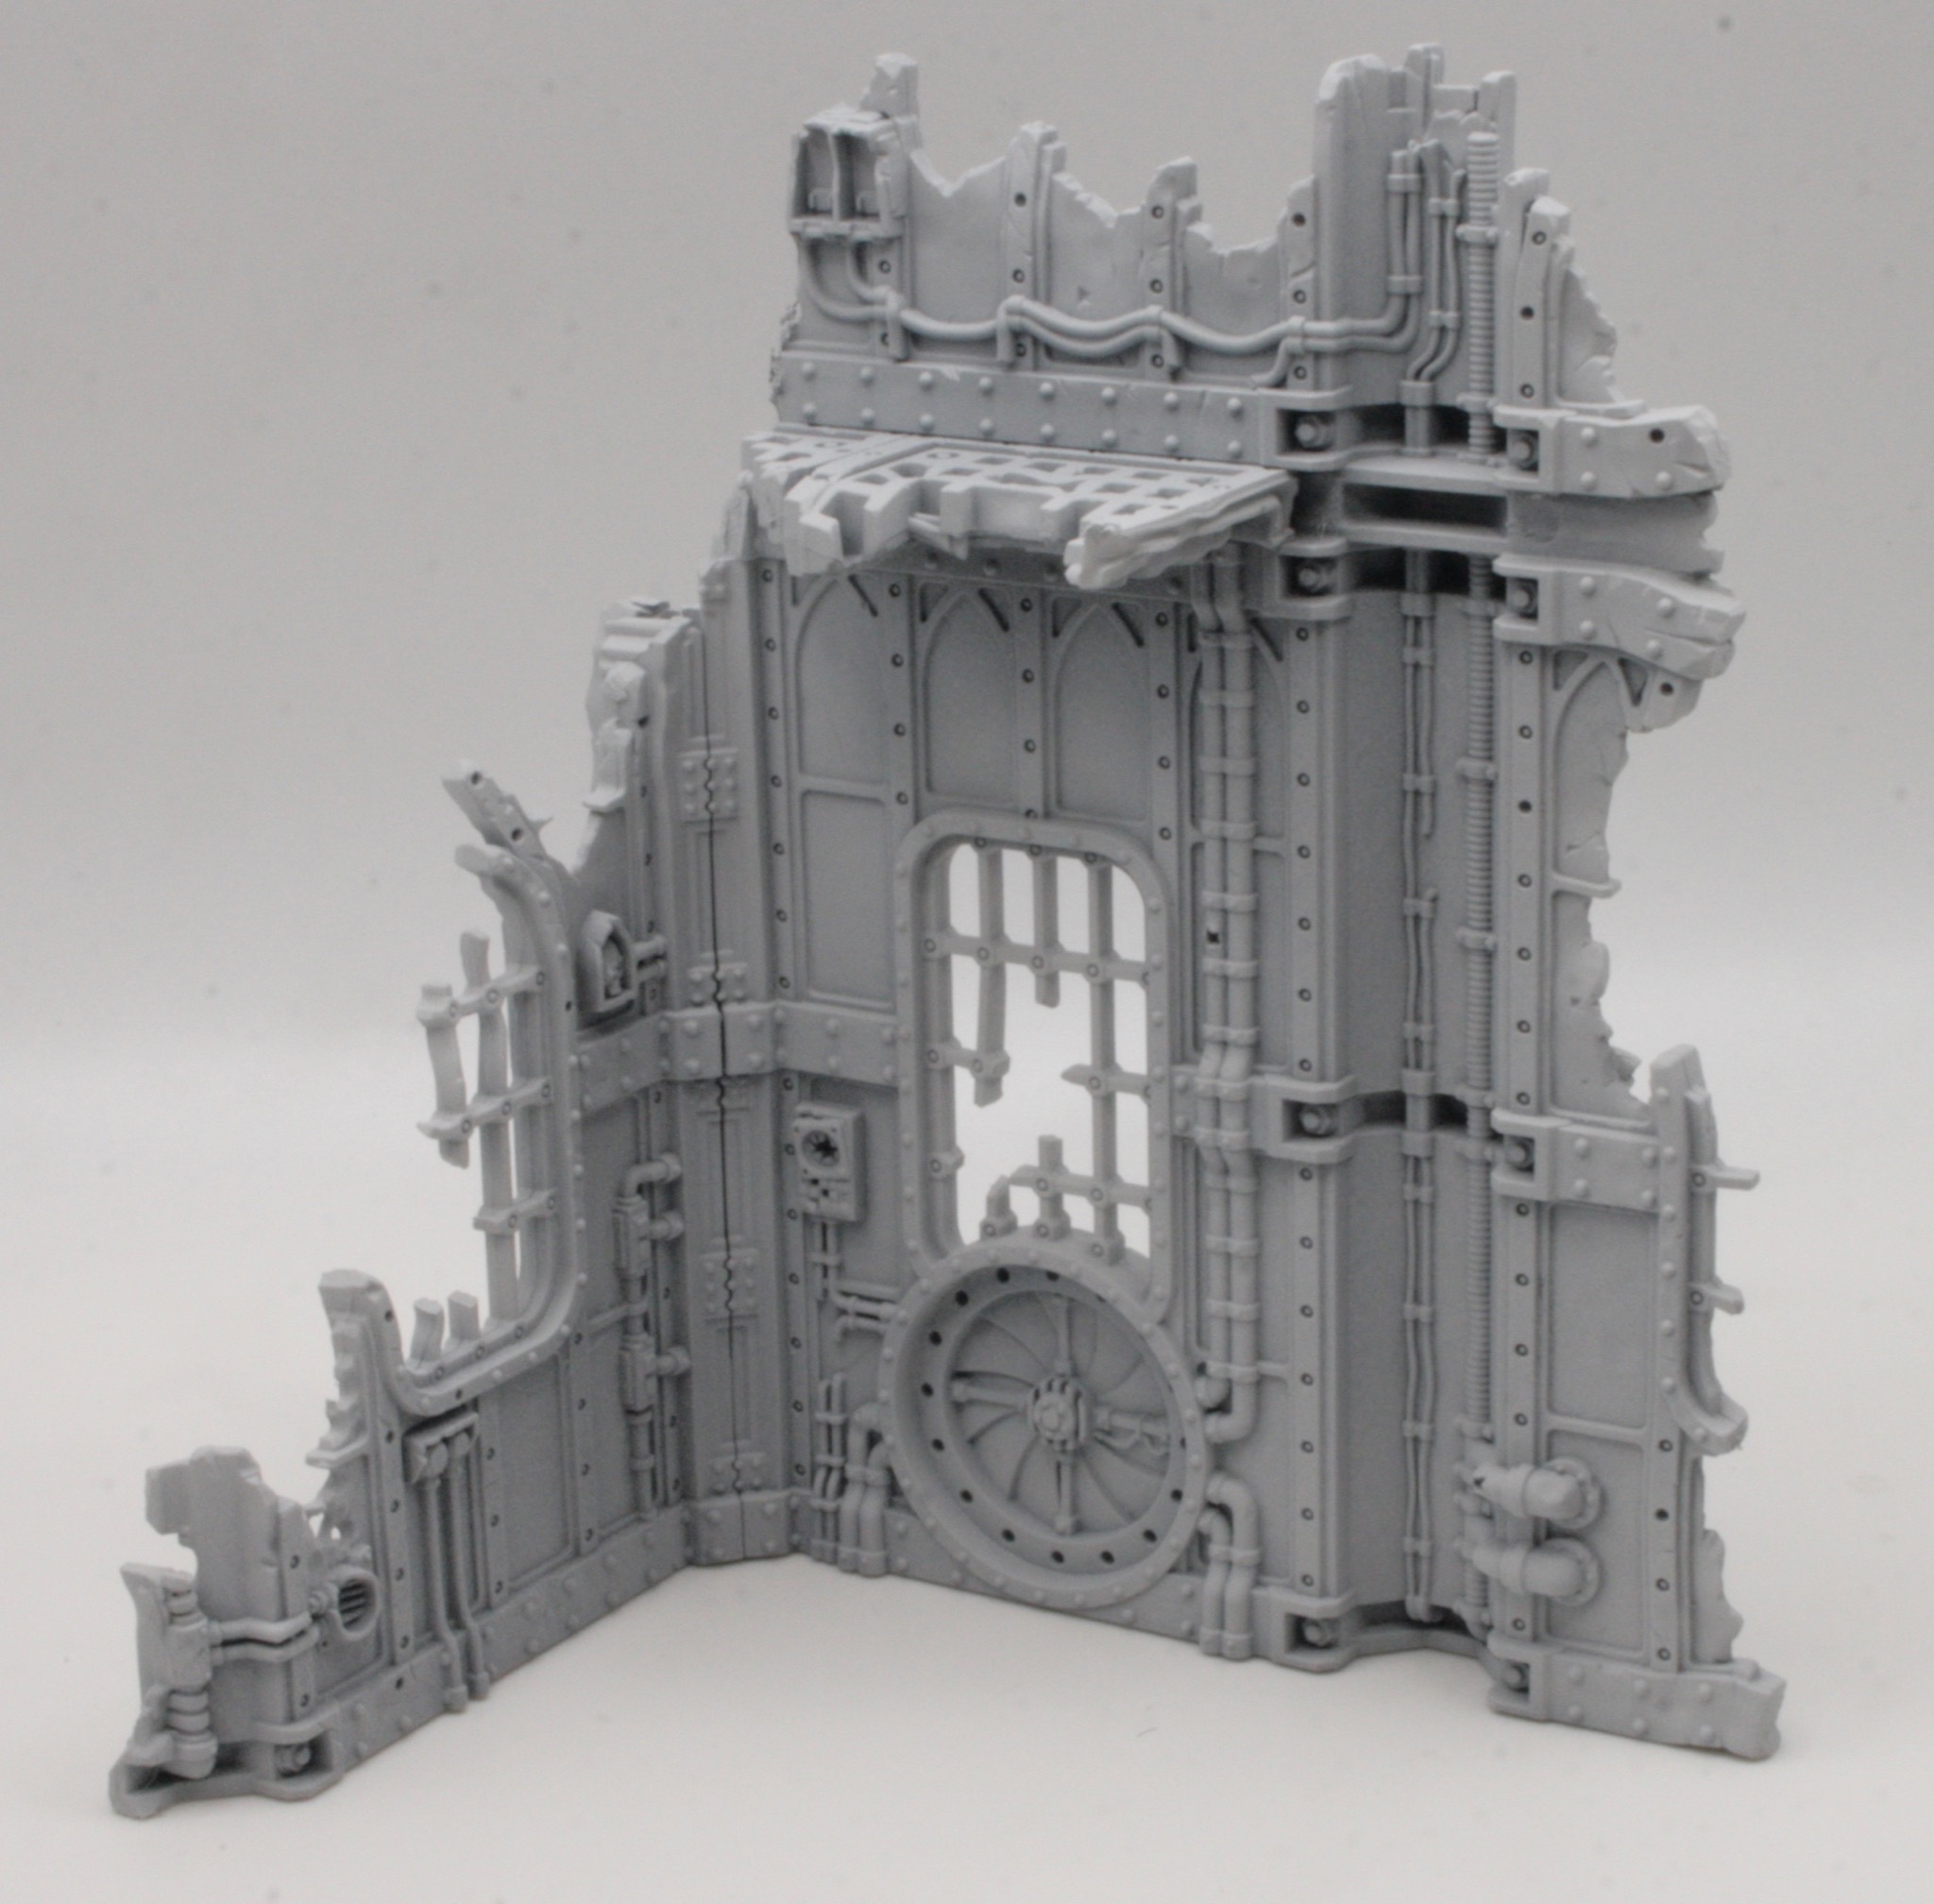
Having converted and constructed the Ruined Factorum into two different ruins, the next stage was giving them a white undercoat. The next step was painting them and giving them a wash. 

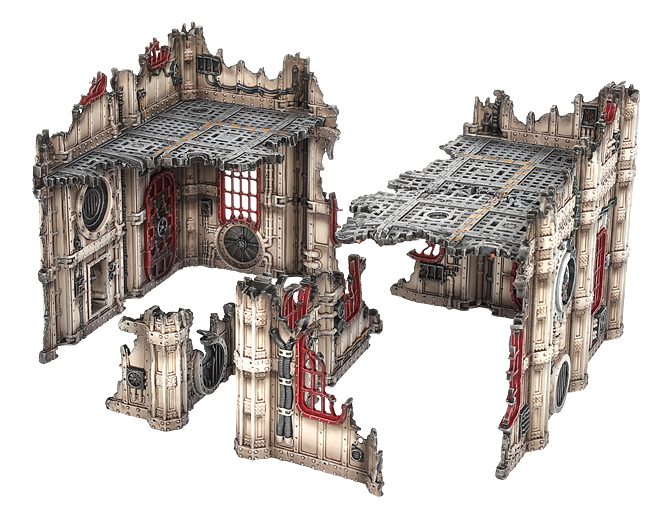
I had got a couple of Ruined Factorum sprues that came with Warhammer 40000 Imperium 34. The ruins are from the The Battlezone: Manufactorum – Sub-cloister and Storage Fane kit.  You get two more corner ruins, all coming on a single sprue. I did manage to pick up a second magazine and decided that I would convert them. It was a relatively simple conversion swapping over the corners. 

I gave the ruins a base coat of Mechanicus Standard Grey Spray. The ruins were then given a wash of Nuln Oil Shade.

Constructing the Thermic Plasma Conduits

I picked up a copy of Warhammer Imperium Issue 37 which comes with some Thermic Plasma Conduits.

This kit is no longer available from Games Workshop and you get one sprue which allows you to build a series of conduits.

The kit goes together quite easily. I made mine into three large conduits.

The next stage will be a white undercoat.

Thermic Plasma Conduits


I picked up a copy of Warhammer Imperium Issue 37 which comes with some Thermic Plasma Conduits.

This kit is no longer available from Games Workshop and I did quite like the idea of these and using them with the ruined factorum models that I also got from earlier issues of Warhammer Imperium.

You get one large sprue which splits into two smaller sprues, and allows you to build a series of conduits.

The finished model looks quite effective.

Undercoating the converted ruins.

Having picked up the Ruined Factorum sprue that came with Warhammer 40000 Imperium 31 a couple of weeks back, I set myself a reminder, to purchase issue 34 for the second sprue .

The ruins are from the The Battlezone: Manufactorum – Sub-cloister and Storage Fane kit which did cost £37.50 at Games Workshop and contains two similar sprues. So at £8.99 you would be making a saving of £9.76. However you can’t buy the kit anymore anyhow.

This time, as before, you get two more corner ruins, all coming on a single sprue.  I did manage to pick up a second magazine and decided that I would convert them. It was a relatively simple conversion swapping over the corners. With the larger sides I needed to cut them down.

Having converted and constructed the models, so I now have two different (yet similar) ruins.

I gave them a white undercoat.

You can see what I did by comparing the photo above with the photo of the unconverted ruin.

This is the other converted ruin.

You can see what I did by comparing the photo above with the photo of the unconverted ruin.

I am intending to follow the same painting process I used on the original ruins.

Undercoating some more of the Ruined Factorum

I got a couple of Ruined Factorum sprues that came with Warhammer 40000 Imperium 34. The ruins are from the The Battlezone: Manufactorum – Sub-cloister and Storage Fane kit which did cost £37.50 at Games Workshop and contains two similar sprues. So at £8.99 you would be making a saving of £9.76. However you can’t buy the kit anymore anyhow.

There are going to be further releases of these ruin sprues in later issues of Warhammer 40000 Imperium.

Having constructed the models I gave them a white undercoat.

The model has two pieces, a larger ruined building and a smaller ruined corner.


This is the larger corner ruin.

I bought another sprue. One I am going to paint in the same manner as the first Ruined Factorum I got, the second I am intending to follow the (white and red) paint scheme as outlined in Warhammer 40000 Imperium.


Converting some ruins

Having picked up the Ruined Factorum sprue that came with Warhammer 40000 Imperium 31 a couple of weeks back, I set myself a reminder, to purchase issue 34 for the second sprue .

The ruins are from the The Battlezone: Manufactorum – Sub-cloister and Storage Fane kit which did cost £37.50 at Games Workshop and contains two similar sprues. So at £8.99 you would be making a saving of £9.76. However you can’t buy the kit anymore anyhow.

This time, as before, you get two more corner ruins, all coming on a single sprue.  I did manage to pick up a second magazine and decided that I would convert them. It was a relatively simple conversion swapping over the corners. With the larger sides I needed to cut them down.

This was quite hard as the plastic is very thick. I use a combination of cutters and a craft knife.

I also cut some of the window frames as well.

This is the other converted ruin.

You can see how I cut the corner down by comparing the above photograph with this one of the unconverted ruin.

I had to cut up the flooring. This was done by scoring along the lines on the flooring with a craft knife.

The next stage will be a white undercoat.

Some more ruins

Having picked up the Ruined Factorum sprue that came with Warhammer 40000 Imperium 31 a couple of weeks back, I also purchased issue 34 for the second sprue .

The ruins are from the The Battlezone: Manufactorum – Sub-cloister and Storage Fane kit which did cost £37.50 at Games Workshop and contains two similar sprues. So at £8.99 you would be making a saving of £9.76. However you can’t buy that kit anymore anyhow.

This time, as before, you get two more corner ruins, all coming on a single sprue. They go together really easily. There are two corners, whereas with the other sprue you got a large corner and a smaller corner. This one is similar, but the smaller ruined corner is larger and the larger corner is smaller (if that makes sense).

This is the smaller corner and is constructed from two parts.

This is the larger corner, which has a floor. It has four parts. The first stage is to affix the skull Cog Mechanicum symbol to the round hole in the wall.

Then glue the two walls together, letting it dry before adding the floor.

The next stage will be a white undercoat.

Painting the Ruined Factorum

I bought an issue of the part work series Warhammer 40000 Imperium. I usually see the first few issues of part works in the newsagents or at WHSmith, so was interested to see they had issue #31 in stock. I haven’t really been paying attention to this series, however I thought I would see what was “free” with his issue and I was quite intrigued to see they had a Ruined Factorum sprue. So I bought it. The model has two pieces, a larger ruined building and a smaller ruined corner. They are easy to construct and I initially gave the model a white undercoat.

I then gave the model by a spray of Mechanicus Standard Grey Spray.

I used Humbrol Tank Grey 67 spray to give the underfloor a darker feel before giving the model a Mechanicus Standard Grey Spray.

Here is the smaller corner piece.

The next stage will be shading the model.