
A larger photographs (click for the larger version) of my 15mm Normandy Village. As well as Battlefront roads and houses, I also have in there some of the nice 4Ground laser etched wooden buildings.
warhammer, wh40k, flames of war, bolt action, aeronautica imperialis, star wars, models, news, views and stuff
A larger photographs (click for the larger version) of my 15mm Normandy Village. As well as Battlefront roads and houses, I also have in there some of the nice 4Ground laser etched wooden buildings.
British armoured forces defend a Normandy Village under a counterattack from German Forces.

A Sherman Firefly takes cover, behind a small hill.

The rest of the Sherman platoon starts to move forward.

Models from Simon’s collection, scenery from mine.
More photographs of my 15mm Normandy Village for Flames of War.

You can imagine that this would be the view from the gun camera of an RAF ground attack Typhoon attempting to flush out some entrenched Germans. You can see I have used the outbuildings to complement the Flames of War Normandy houses.

Here is an overhead view of the buildings.

As well as Battlefront roads and houses, I also have in there some of the nice 4Ground laser etched wooden buildings.
I am quite pleased now with how much scenery I have now for 15mm Flames of War games.

As well as Battlefront roads and houses, I also have some nice 4Ground laser etched wooden buildings.

There are also K&M trees that are now quite old, but have stood the test of time, I think they must be nearly twenty tears old!
In addition and not shown in these pictures, mainly as they are not finished, are some Total Battle Miniatures 15mm ruins.
I look though at my grass tiles and think they are a little too bright, they might need some work in the future.
A photograph from a recent game of Flames of War showing off my Battlefront buildings alongside a couple of 4Ground ones.

Though the 4Ground buildings are “smaller” than the Battlefront ones, this is not an issue as in “real life” buildings in France were built of different dimensions.

Back in 2009 I reported on the blog that I was happy to get two sets of the splash release for Planetstrike, Mines, Bombs and Booby Traps.
Yay!
Managed to get not just one set of the Mines, Bombs and Booby Traps, but got two sets!
I popped into my local Games Workshop, not expecting to get them, but one can live in hope. I was pleasantly surprised to see they had a fair few in stock, so I picked up a couple of sets.
I was pleased and in the boxed set, you get a fair lot of resin, 27 pieces all together. Nine mines, three mine field warning signs, four booby traps and six bombs.

Glad I managed to get two sets, though now four years later having used some of one box, the other was still unopened and still shrink-wrapped, so I have decided to put it on eBay. Update: eBay auction now finished.
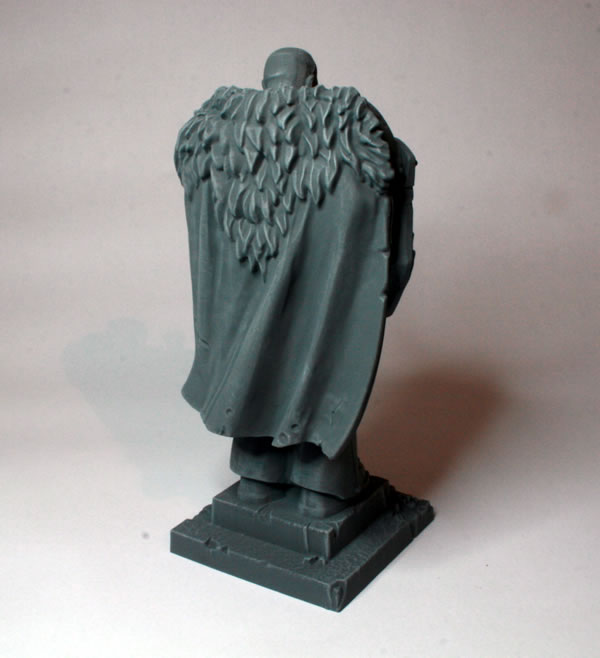
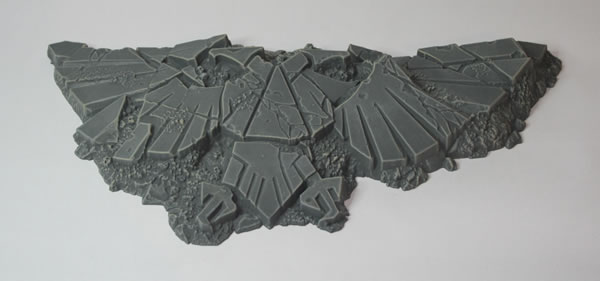
These have been in storage for a while now, it was back in 2011 that I gave the models a basecoat of Humbrol Sea Grey spray paint. I had earlier, drybrushed the Broken Aquila, and then used the same technique on the Space Marine Statue and ruins.

These are the ruins.

As I mentioned in my previous post on the Broken Aquila, I was originally going to keep the whole model grey, but I am now thinking I might add more scenic and foliage and rather than have it as a recentl ruin, have it as one that was left some time ago and nature has over time grown around it. The Imperium has been around for ages and so it still fits the fluff. The statue certainly looks like it is aged rather than damaged as part of a recent battle.
These have been in storage for a while now, it was back in 2011 that I gave the models a basecoat of Humbrol Sea Grey spray paint.
The broken Aquila was a very flat grey.

I then used a variety of greys and drybushed them on.
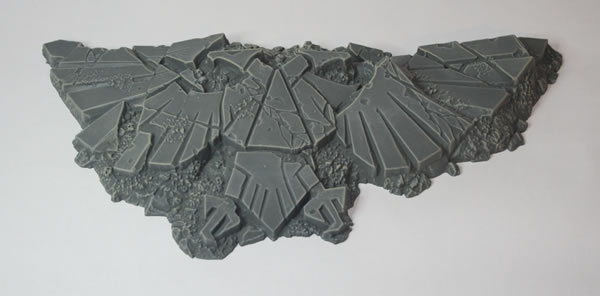
I was originally going to keep the whole model grey, but I am now thinking I might add more scenic and foliage and rather than have it as a recently broken Aquila, have it as one that was broken some time ago and nature has over time grown around it. The Imperium has been around for ages and so it still fits the fluff. It was seeing a ruined Imperial City in the jungle in a copy of White Dwarf a few years back that inspired me to think about going down this route.
This scenery that was also on display at GamesDay 2009 always impressed me.

Taking the Imperial Ruins, painting them stone in colour and adding overgrown jungle foliage and roots was always in my opinion an inspired move.
I am going to do something similar with my broken Aquila.
I’ve had this building kit for sometime and for a long time it has been in a box, constructed and with a black undercoat. I gave the walls a basecoat of Citadel Base: Zandri Dust.
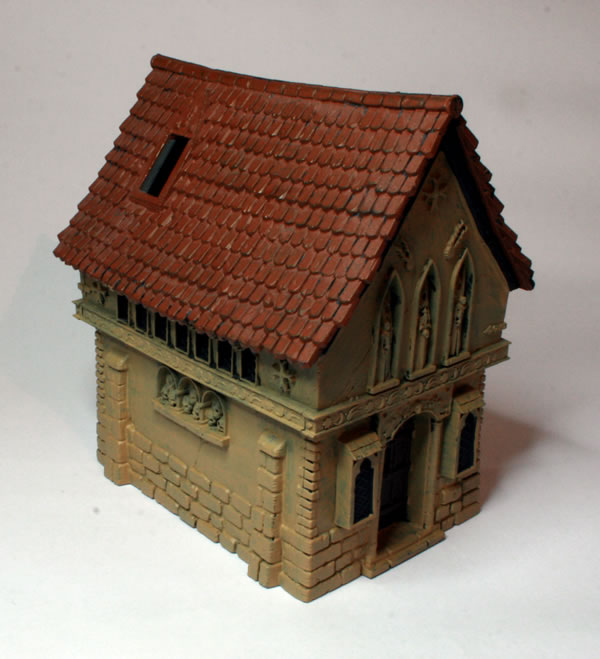
I wasn’t too impressed with the coverage over the black undercoat, I certainly had better results in the past with the old Foundation Paint range when painting over black.
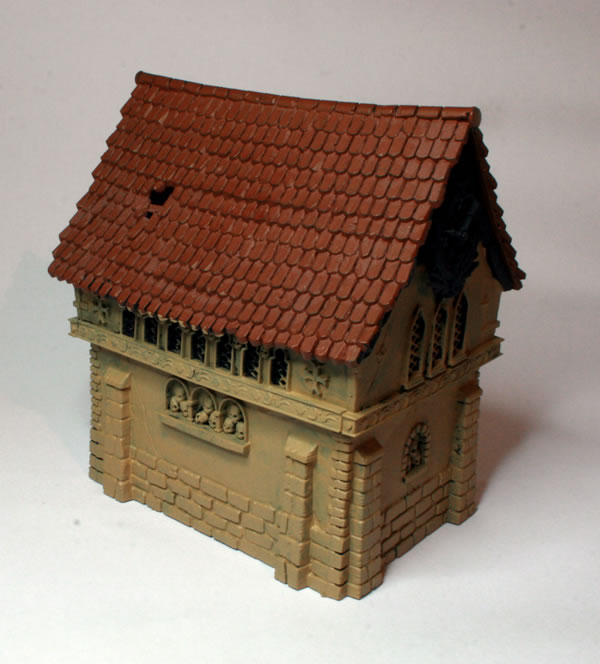
These days though I am much more likely to use a white undercoat than a black one, and coverage is one of those reasons.
As well as the 4Ground Hotel I blogged about a few days ago, I also had the semi-detached houses.
Northwest European semi-detached houses, one house rendered green the other is white, these are ideal buildings for any 15mm gaming table.
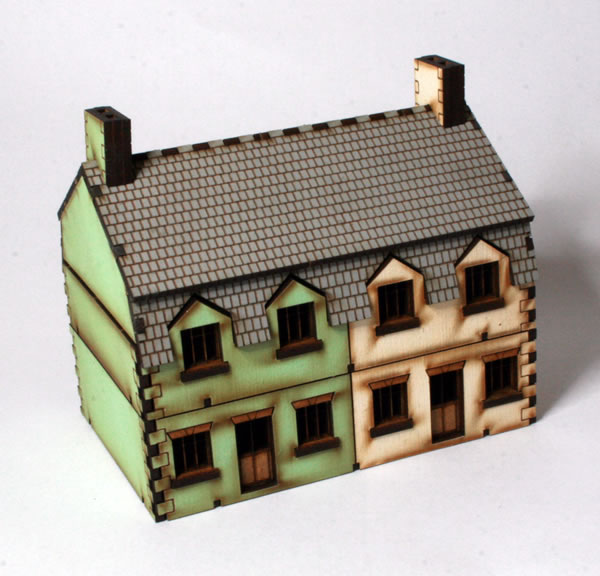
The back is very similar to the front. Like the 4Ground hotel, the kit comes with very clear and easy to follow instructions.
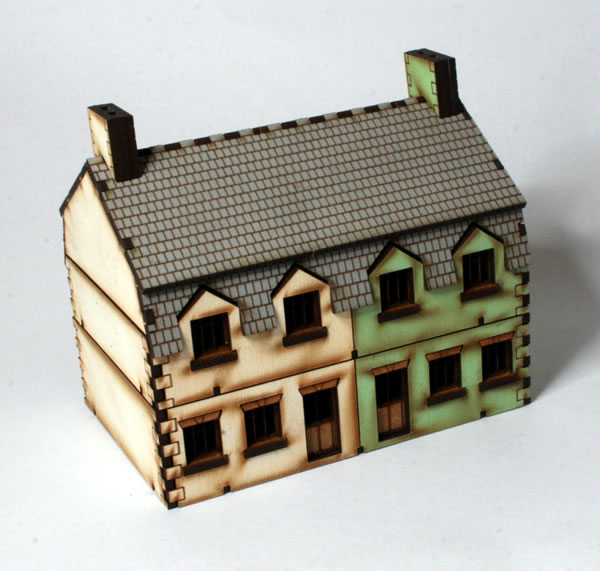
Like the hotel these went together quite easily, though I had a few issues putting the roof together. I am going to add some details, such as glazing for the windows and posters on the walls. As with the hotel the instructions includes some 15mm scale posters.