After much consideration I did in the end get a German Armoured Train for Flames of War. Though they were not used on the Western Front (as far as I am aware) it is my intention to use it against British (and American) tanks. Then again I might just get in a few Soviet tanks for a quick game.
Well that plan which I decided I would do, was back in 2013, and then like too many projects, it got shelved and put in that pile of shame, that I guess quite a few of us have.


There was another kit I liked, which I didn’t get, which was the Tank Hunter Car.

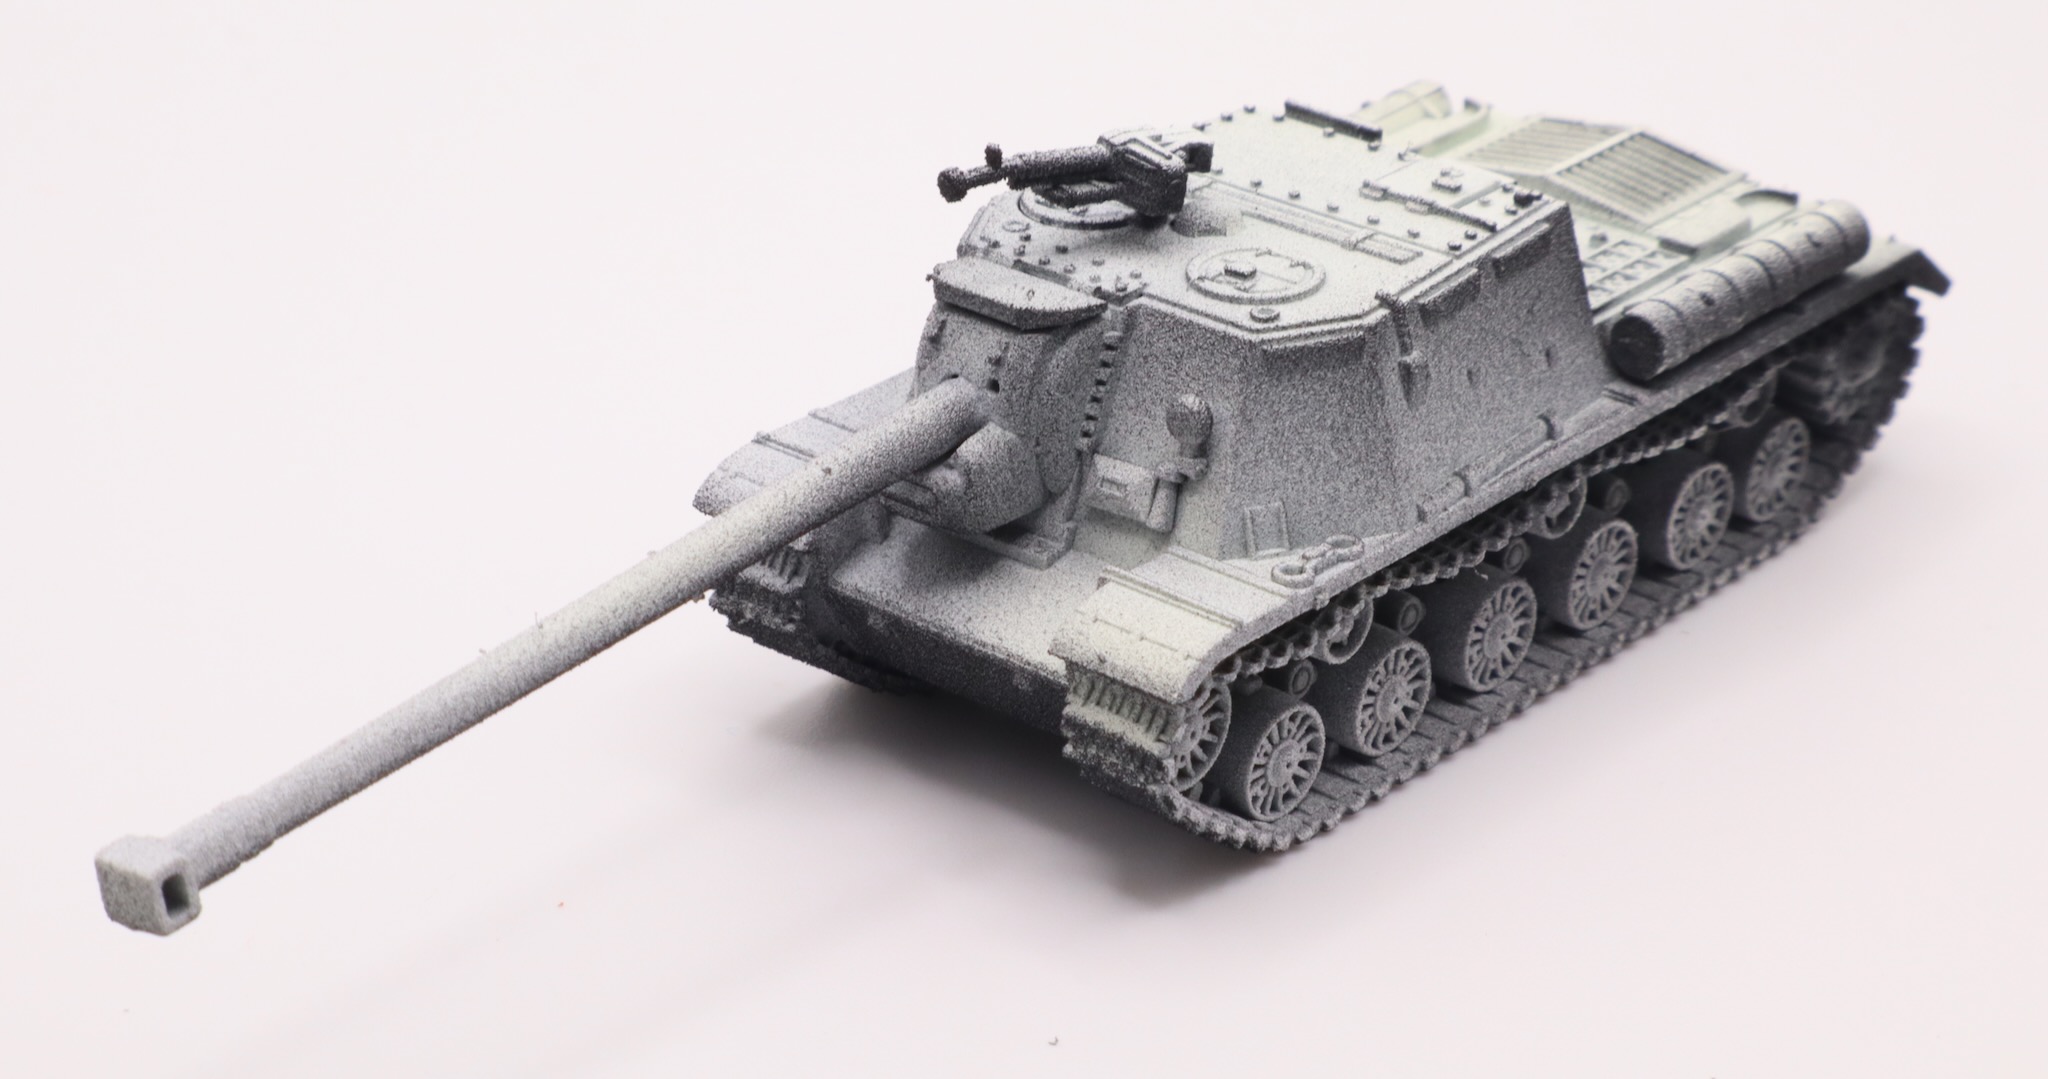
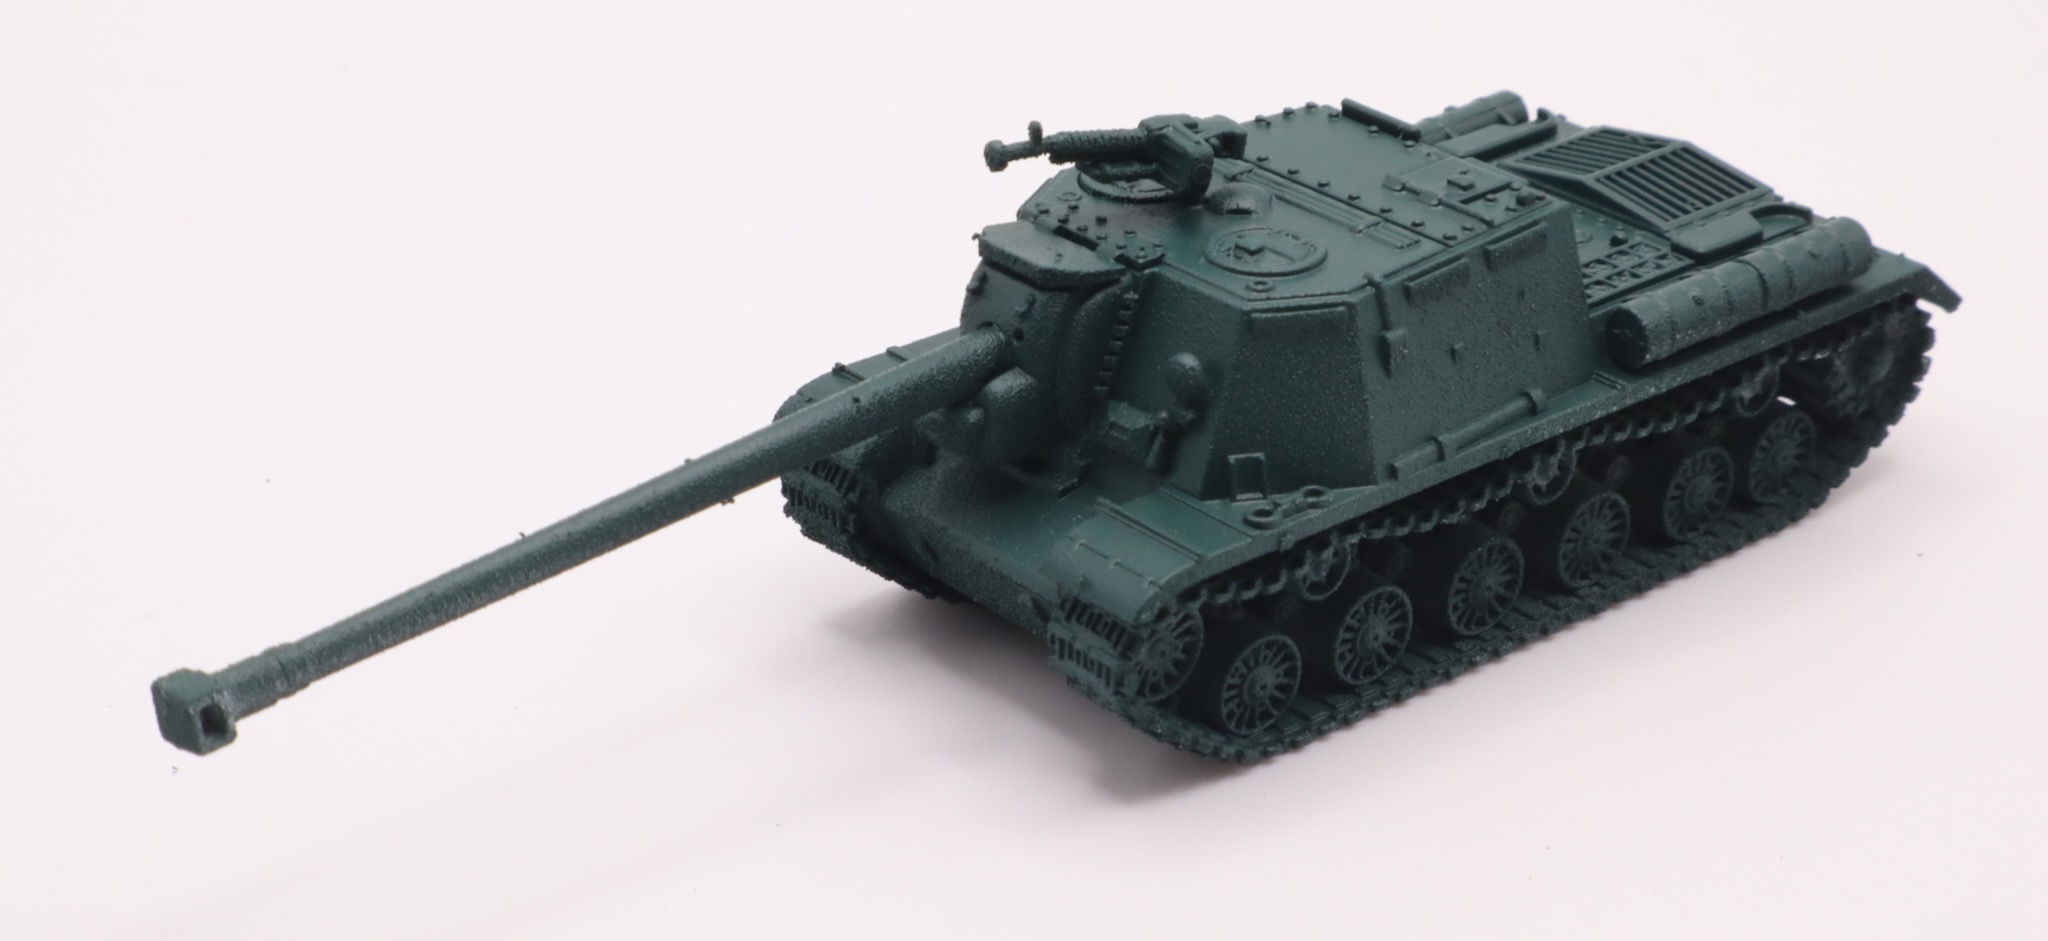
I have been thinking about getting the models out again and getting them painted. I think what may have delayed the model was the fact that the completed models on the Battlefront website (at the time) were painted using an airbrush.
They don’t sell them on the Battlefront website any more, and they seem to sell on eBay, so another option would be to sell them and then buy some different resin models to add to that pile of shame. Decisions, decisions.