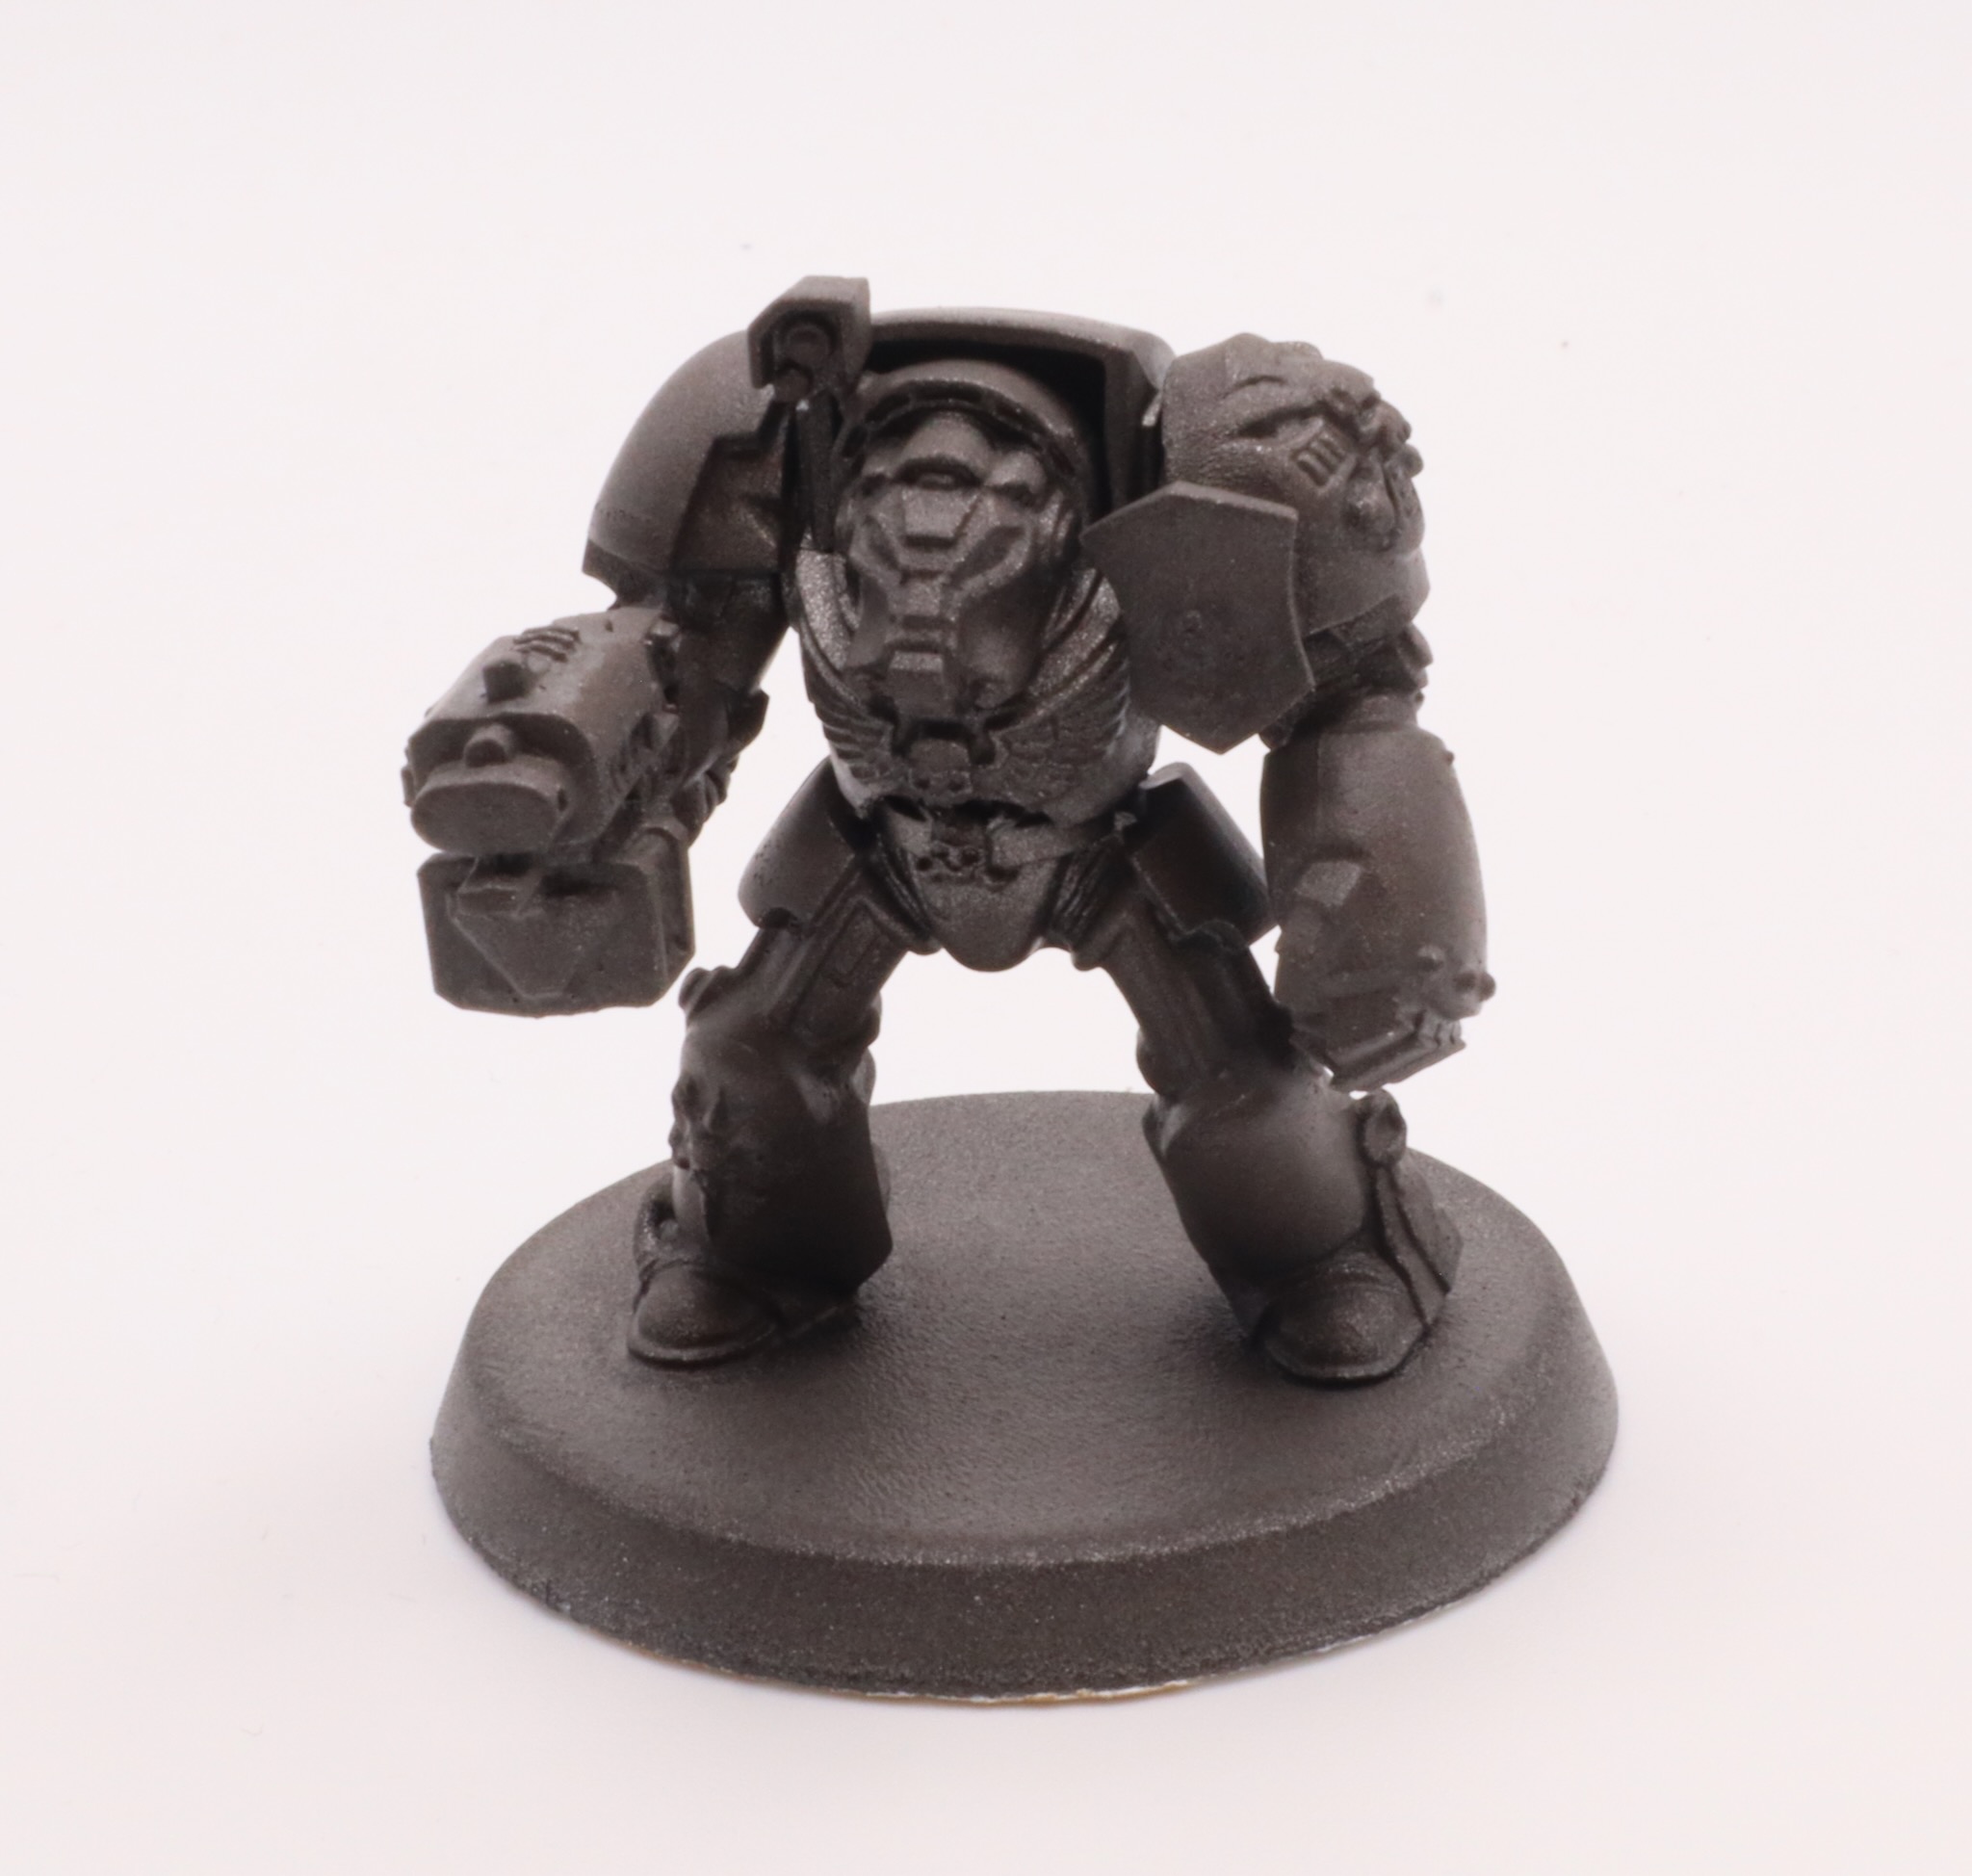
I had both a Grey Knights Terminator with Psycannon and a regular Grey Knights Terminator. These were metal models, which went together very easily. I had given them both a black undercoat. I decided I would then give them a basecoat of Leadbelcher. I has forgotten how dark Leadbelcher can be, probably exacerbated by the black undercoat as well. Wondering if I should get a lighter metallic spray for the Grey Knights armour.
I also had a plastic Terminator, which I followed a similar painting process to the metal models. This was a black undercoat and then a spray of Leadbelcher.
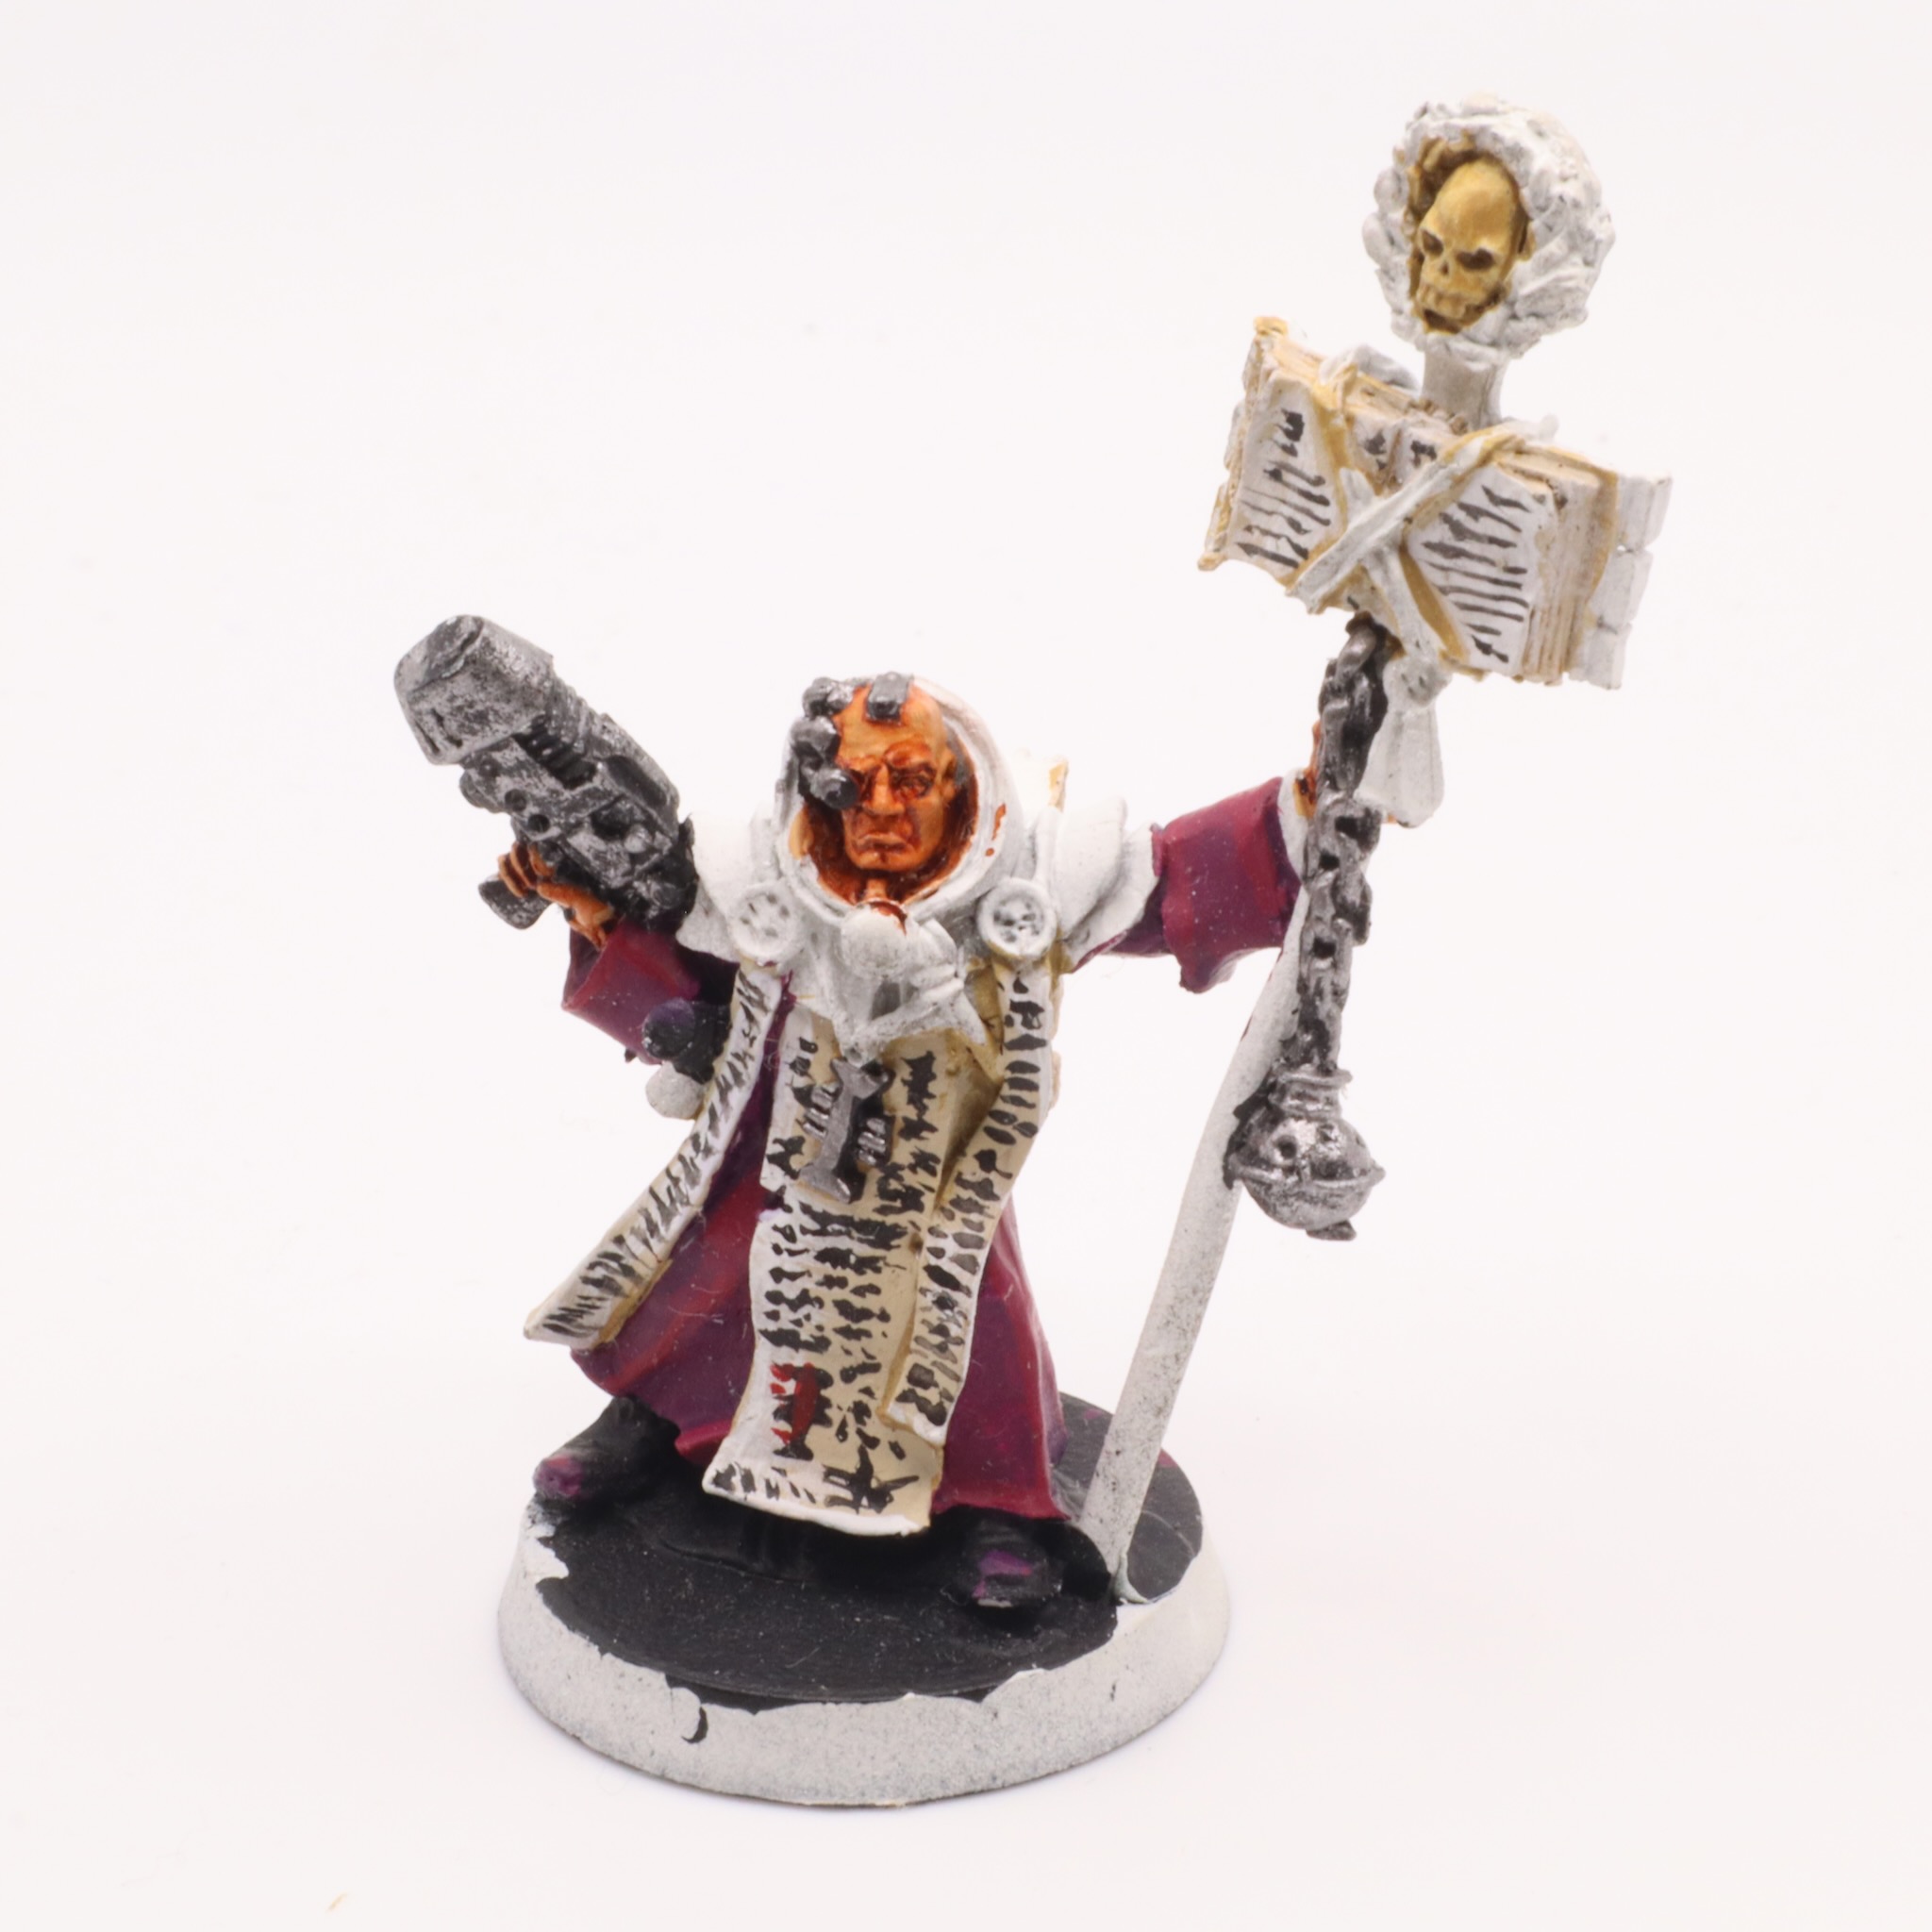
I will use this as a test model and use paint to see the end result. If it doesn’t work then I will strip both the metal terminators and the librarian as well.