After thinking about Bolt Action for a while and reflecting on the rules I finally decided on which force I was going to build. My regular opponent Simon was going Italian, so I actually had quite a wide choice of potential foes, from Early War French, British Desert Rats, Anzio which would mean regular British Infantry and US forces, Russians and even Germans towards the end of the war. I did initially think about Greek, they used regular British equipment so would be quite easy to model. I did consider Late War Germans, so I could get a JagdTiger in 28mm…. but in the end I decided that I would go totally irregular and go with Partisans, so just infantry, or maybe a car or truck or two.
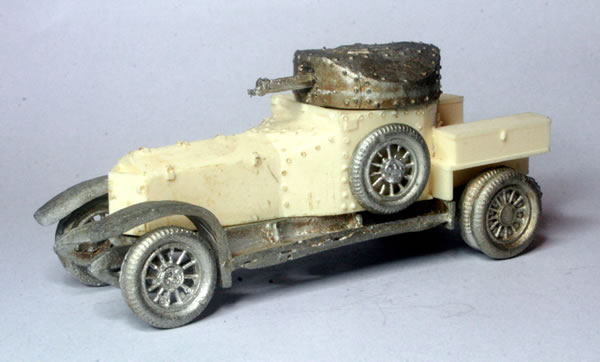
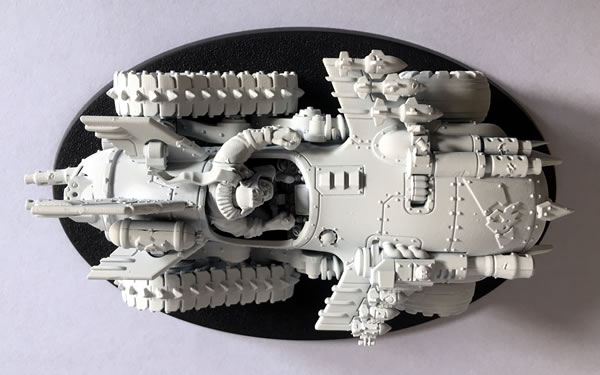
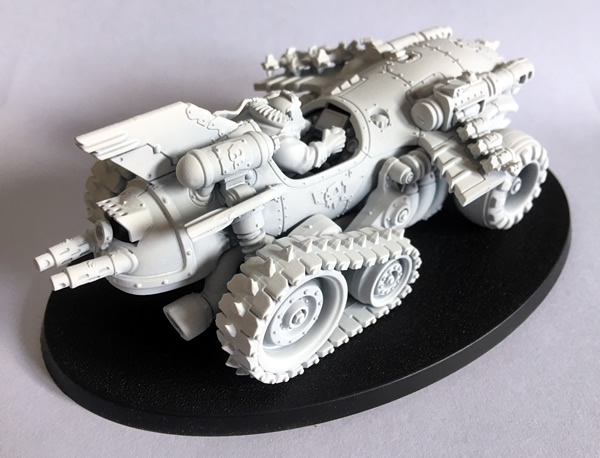
I have a few civilian vehicles, a Citroen Civilian 1000kg Dropside Truck.
Citroen Civilian 1000kg Dropside Truck
And the slightly bigger truck, the Citroen Civilian 4,500kg Truck with Canopy.
Bolt Action Citroen Civilian 4,500kg Truck with Canopy
I have been slowly painting the models, and was quite clear to myself that I wouldn’t buy any more models for this force until I had most of the existing models painted.
However…
On a recent visit to the Warlord Games Store in Nottingham I was tempted by the boxed model of the French Char B1.

The French Char B1 is one of my favourite tanks, probably as a result of making that Matchbox plastic kit of the Char B1 and the Renault FT17 when I was young.
The Matchbox and Airfix Influence
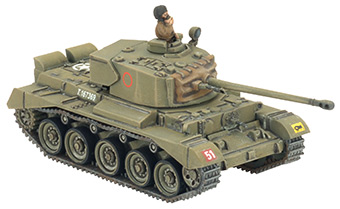
I already have a few in 15mm for Flames of War on the workbench too.
Flames of War French Char B1 bis
So it was probably a no brainer to get one of these for my French partisan band.
The Char B1 was a specialised break-through vehicle, originally conceived as a self-propelled gun with a 75 mm howitzer in the hull; later a 47 mm gun in a turret was added, to allow it to function also as a Char de Bataille, a “battle tank” fighting enemy armour, equipping the armoured divisions of the Infantry Arm.
Among the most powerfully armed and armoured tanks of its day, the type was very effective in direct confrontations with German armour in 1940 during the Battle of France, but slow speed and high fuel consumption made it ill-adapted to the war of movement then being fought. After the defeat of France, captured Char B1 (bis) would be used by Germany, with some rebuilt as flamethrowers, Munitionspanzer, or mechanised artillery.
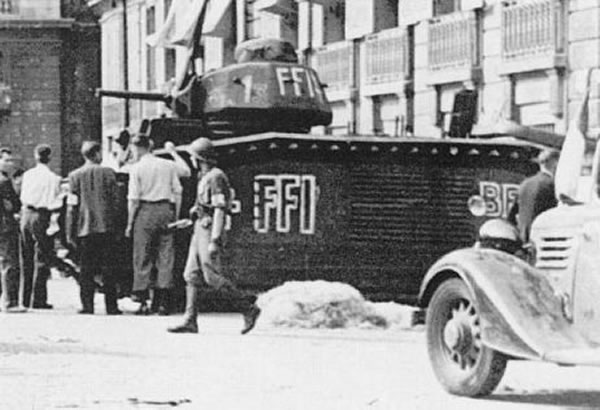
What I had discovered in my research about the FFI (Forces Françaises de l’Intérieur) was that they had re-captured many of the German Char B1s and used them against the Germans.
Captured Char B1 bis FFI (Forces Françaises de l’Intérieur) Panzerkampfwagen B-1 740(f) recaptured by Free France forces in 1944 and used in the liberation of Paris.

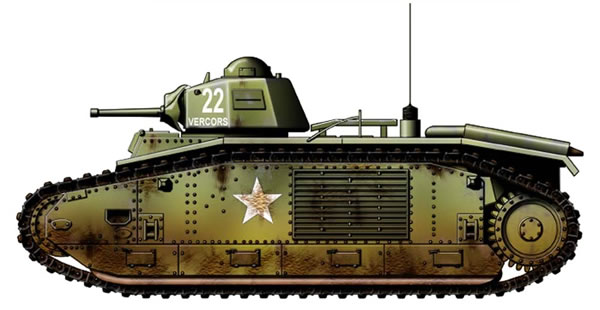
This B1-bis FFI Vercors of 13rd Dragons was used in La Rochelle in May 1945.

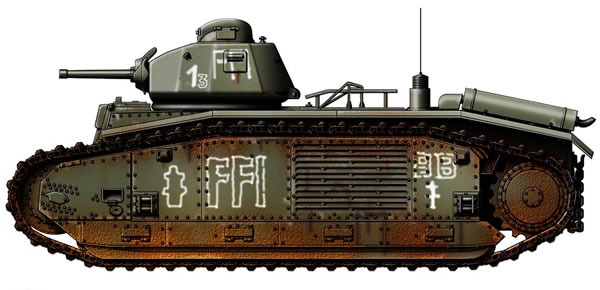
So once the model is made I have two choices about which paint scheme to use.
B1-bis captured by FFI (Forces Françaises de l’Intérieur), battle of Paris, August 1944.

B1-bis FFI Vercors of 13rd Dragons – La Rochelle, May 1945

Of course there is a slight reality issue in that by 1944 the Italians had already surrendered and changed sides.
The model is a plastic kit and comes in a nice box.
The first stage will be to make the model kit.