I have been meaning for sometime to buy a lightbox (or Photo Cube or Light Tent) to photograph my workbench models and my finished models as well. So was pleased to get a lightbox for Christmas.
Mine is a 12” cube, which folds flat for storage and comes with various backgrounds and a diffuser.
Before I would usually use some white paper, my work lamp to take photographs. The problem with this setup was that I would get harsh shadows. Also it was always a bit of a faff to set it up.
A lightbox allows indirect lighting so you lose most of the shadow.
In my photographic guide I showed a photograph of the professional setup that Games Workshop used for Games Day over ten years ago.
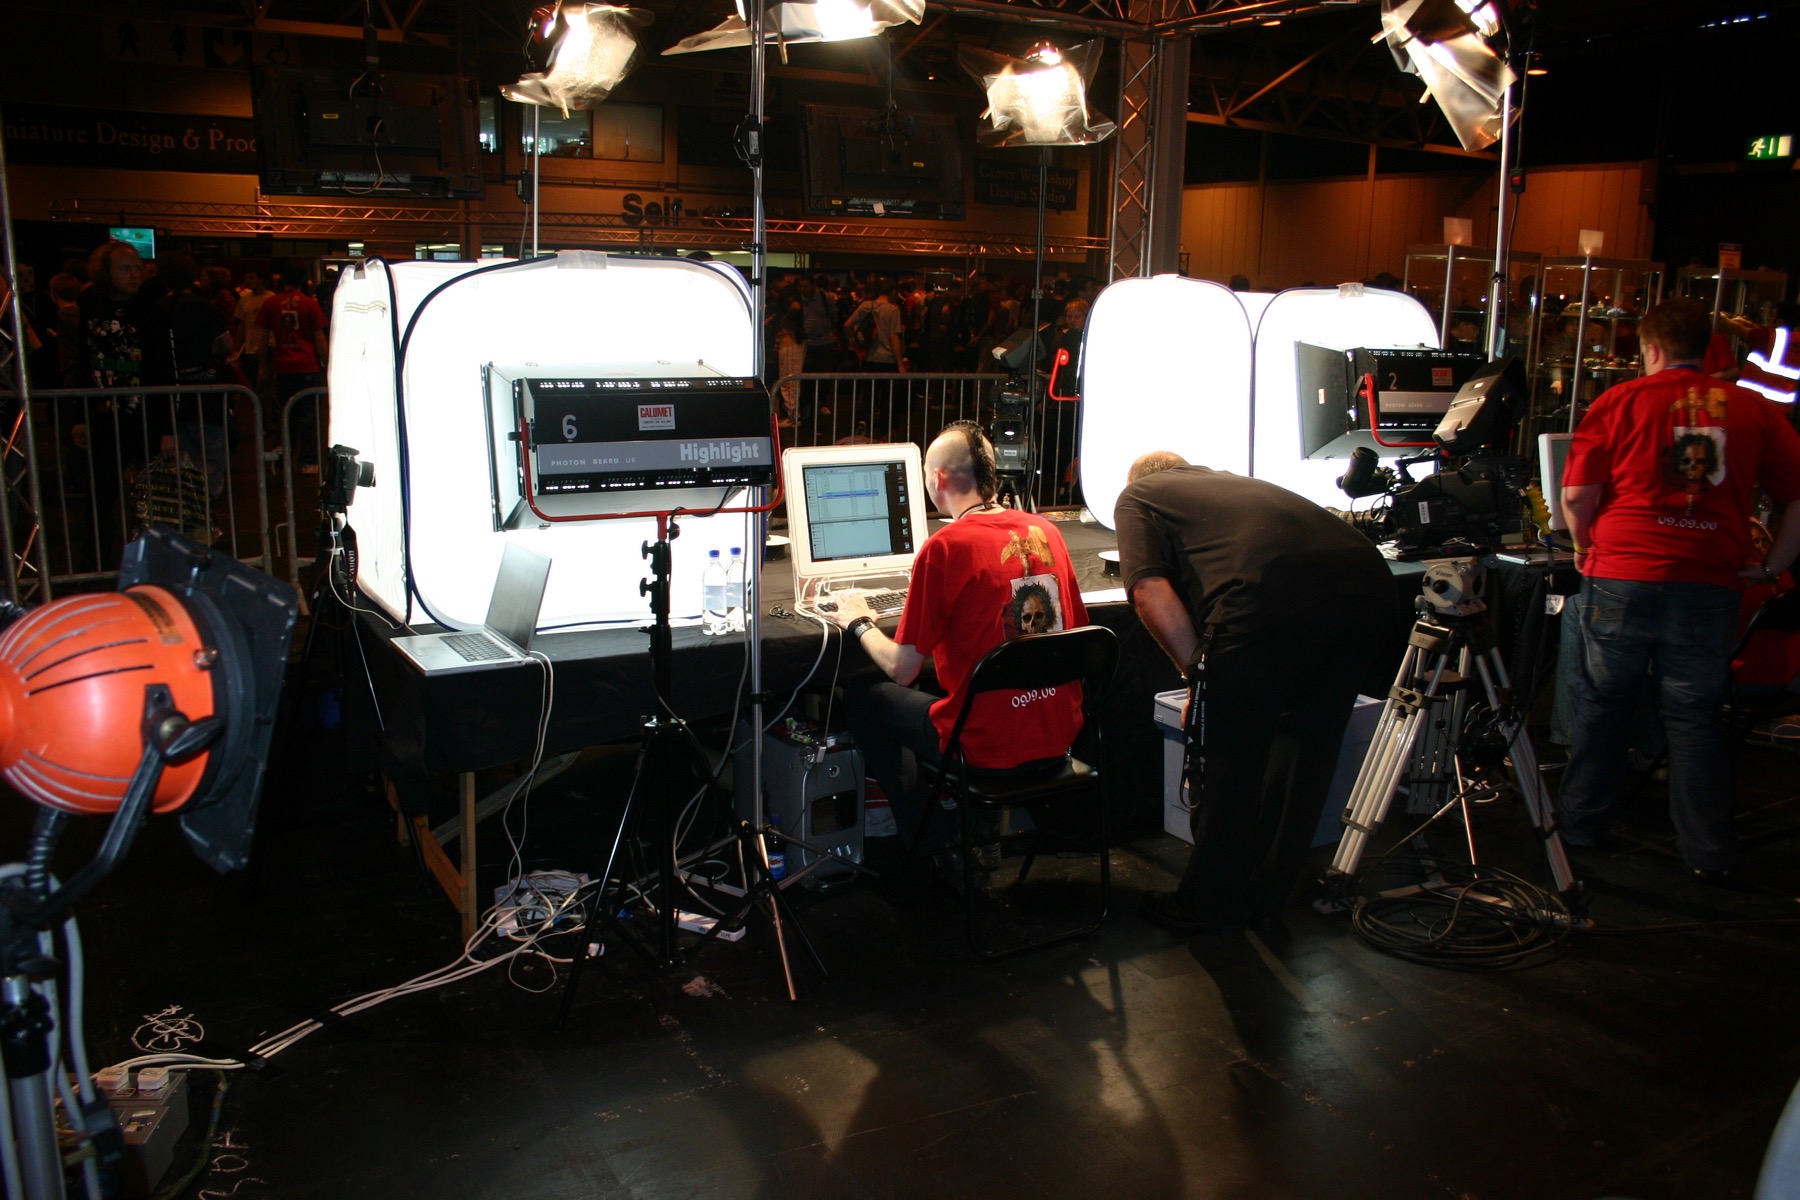
I said in that guide:
Longer term I would like to get a light box, this would make taking photographs even easier and should result in even better photographs.
When I got the lightbox I did some experiments to work out the settings I would need on my camera.
Initially my results were too dark, so I made some adjustments to the white balance settings on my camera and got better results.
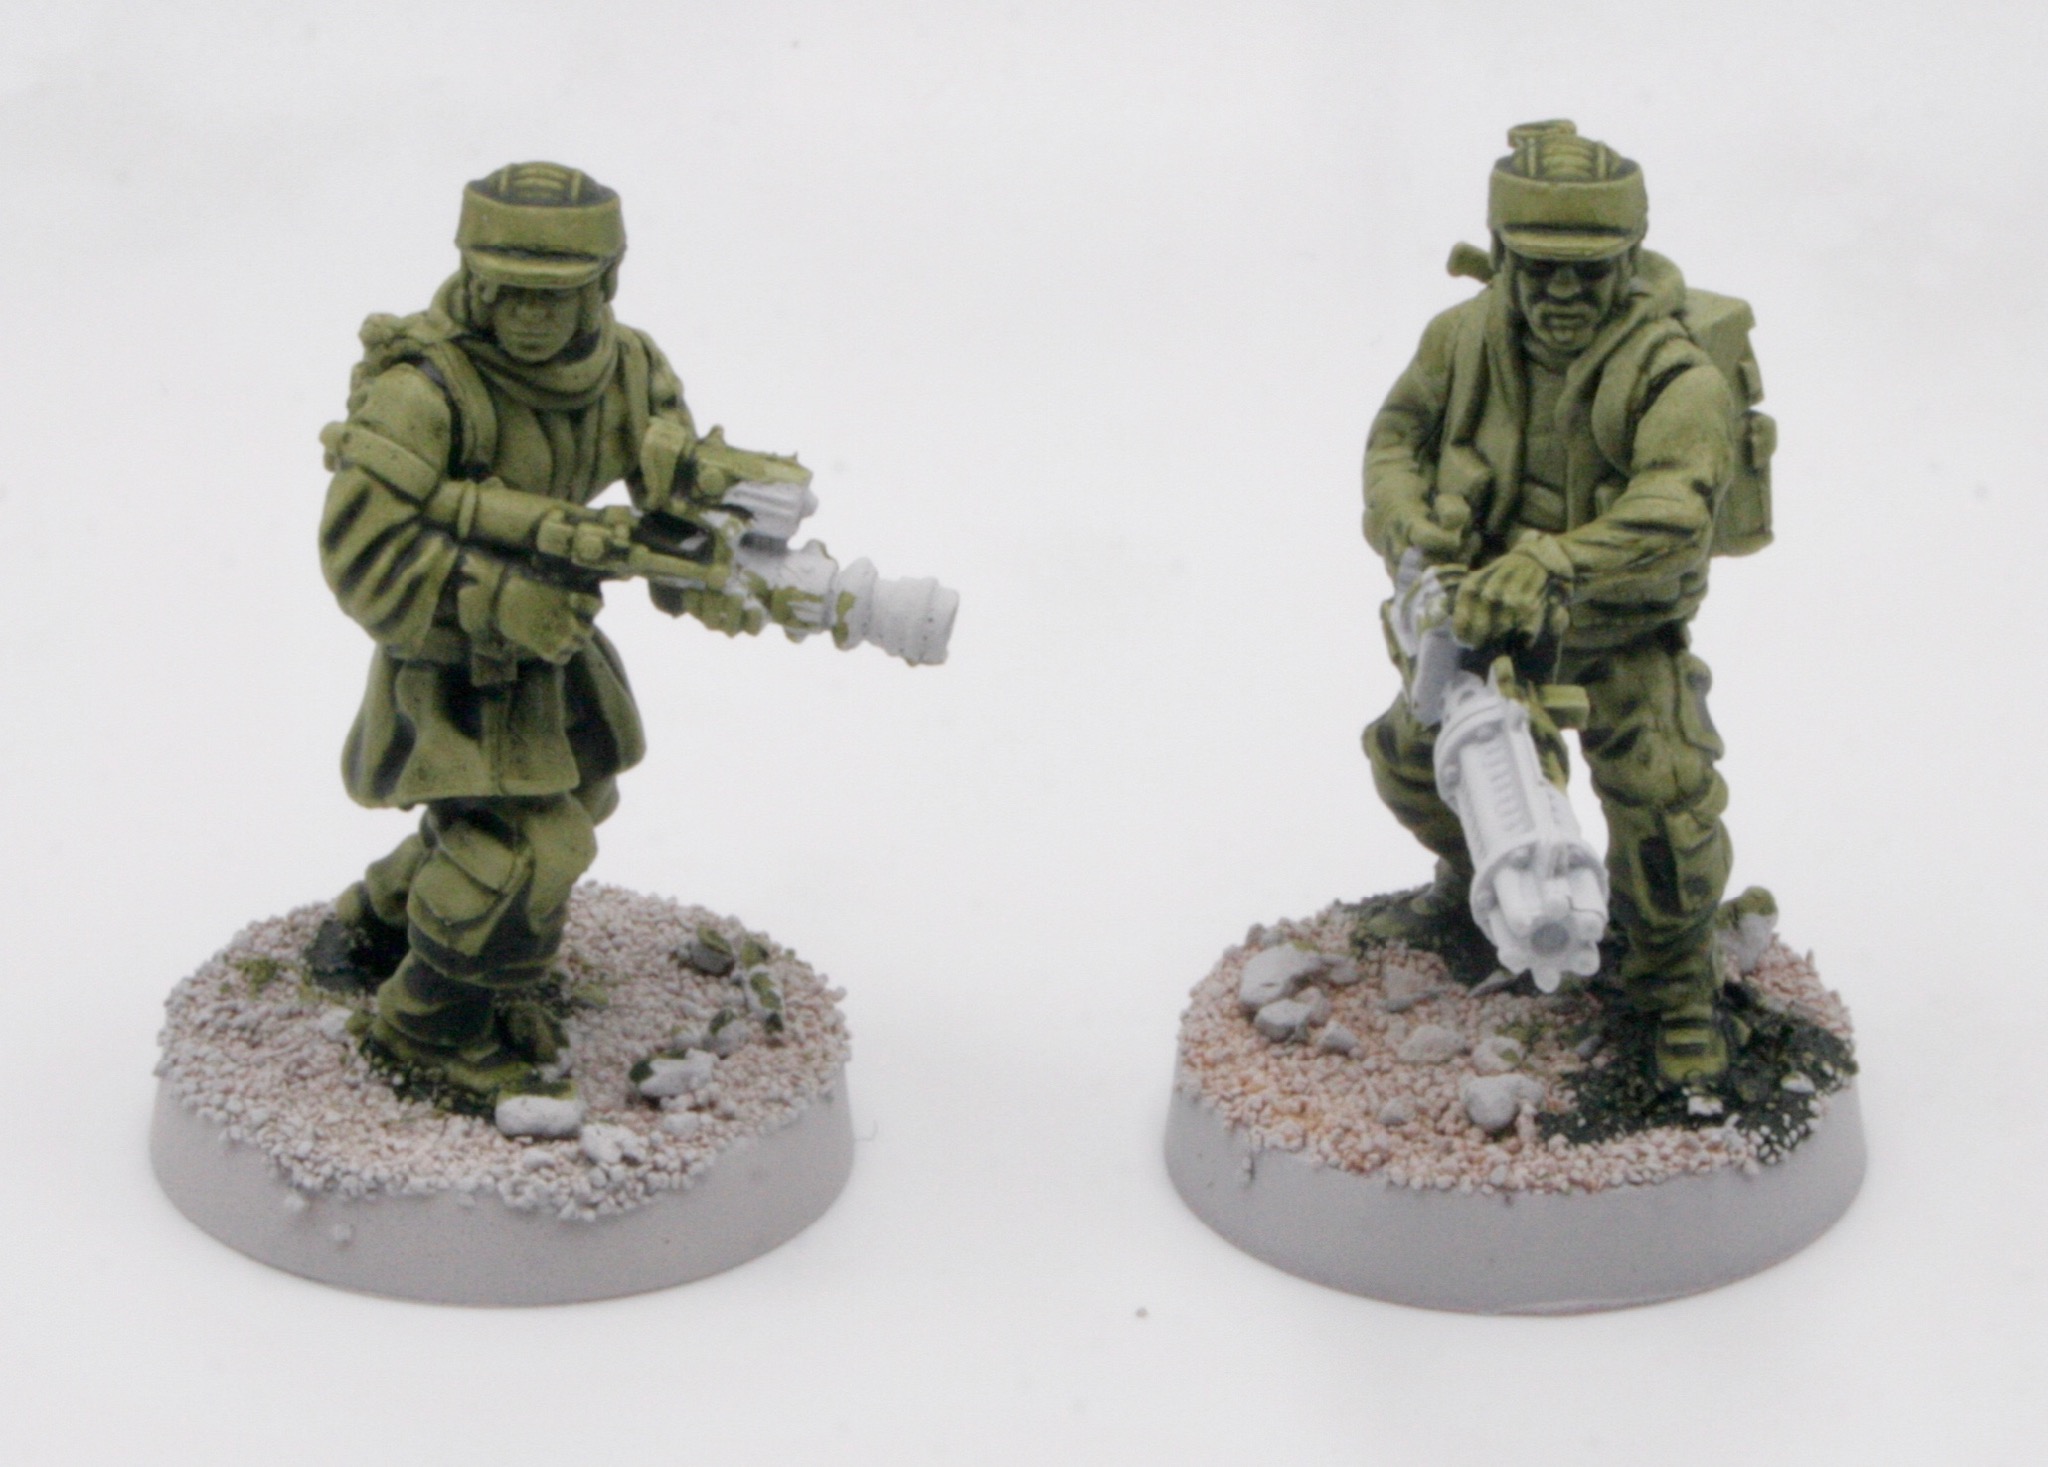
These are some Star Wars Legion Rebel Troopers which have been undercoated and then given a base coat of Astra Militarium green contrast paint.
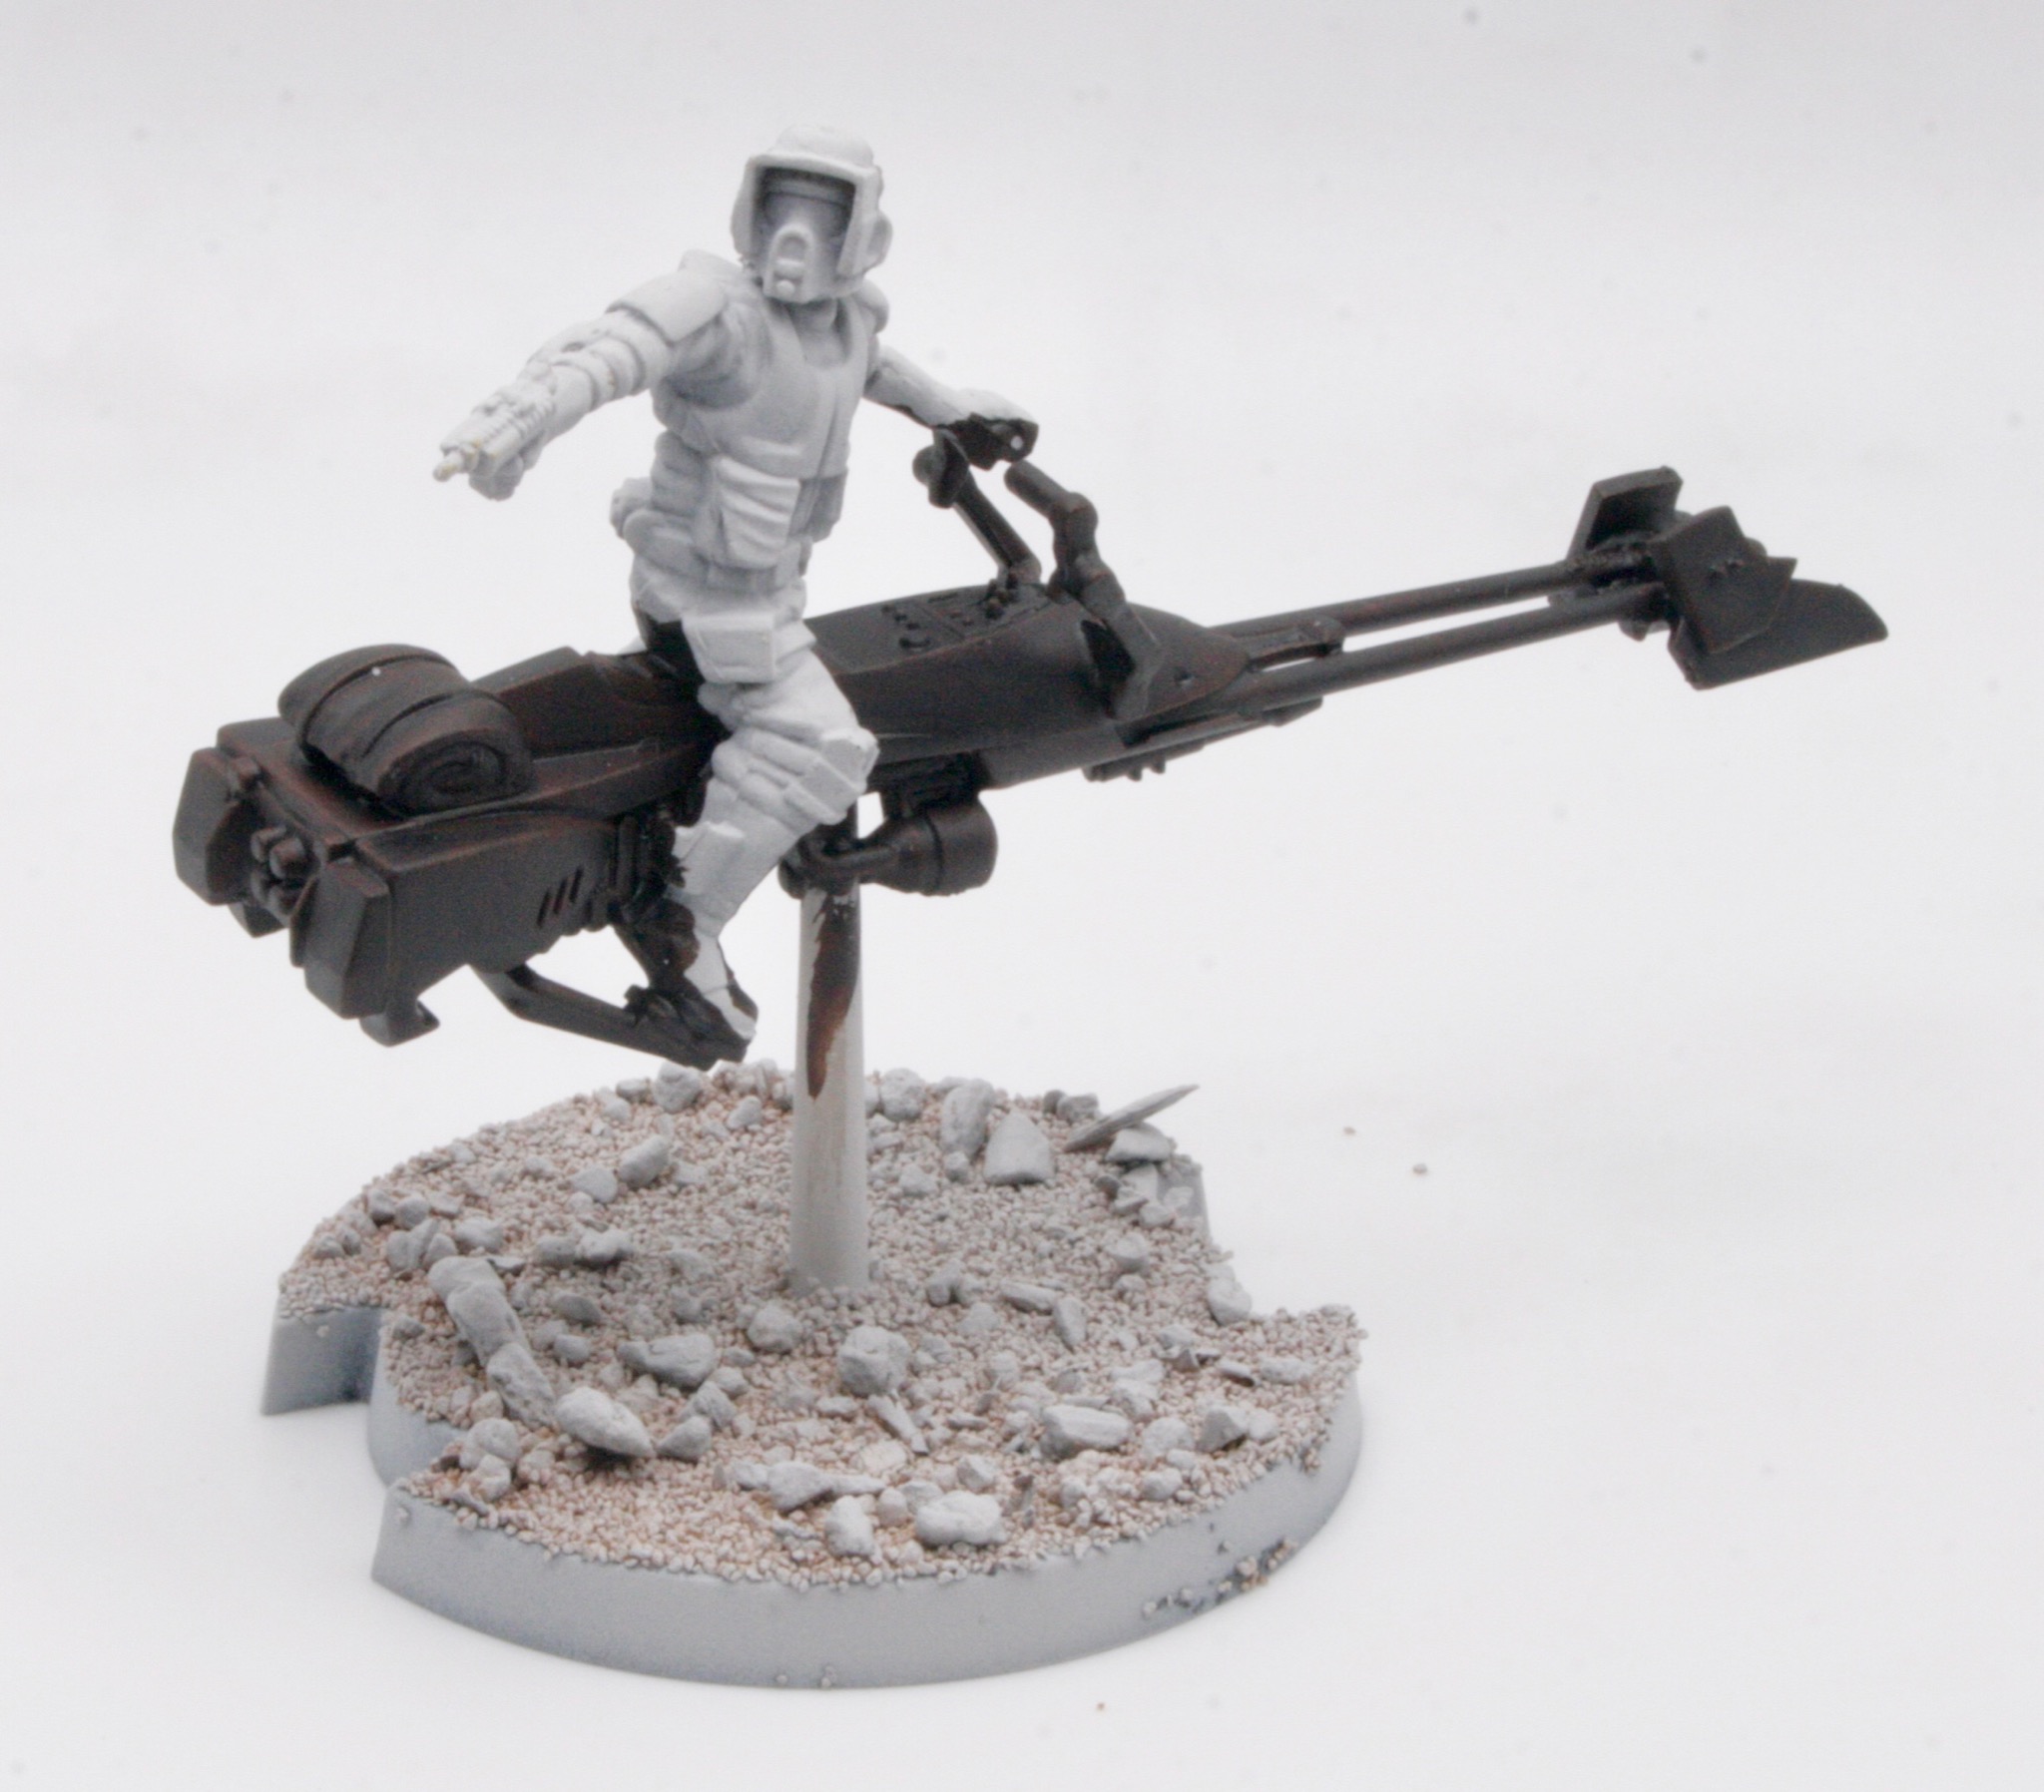
This is a Z-47 speeder bike with an Imperial Scout Trooper.
Compared to this photograph I took (same camera) but using my old setup of white card and my work lamp. There are a lot more shadows.

Tried out some painted miniatures.
These are 10mm Warmaster Lizardmen Skink flyers.

There are some old (1996) Warhammer Fantasy Battle drunken dwarves.

Overall I have been pleased with the results. It is also much easier to setup than my previous ad hoc approach.
It has also meant that I can take photographs more easily, faster and importantly consistently. I don’t have to worry about shadows either.
I have decided to cut down my photographic terrain so it fits into the lightbox as well for future photography.
You can get the lightbox I got from Amazon.