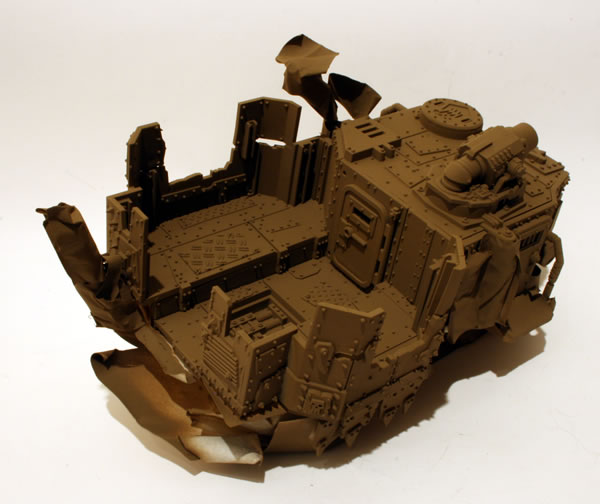
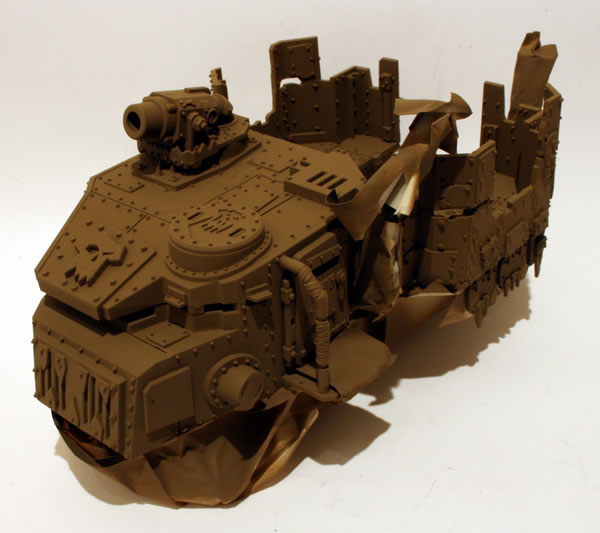
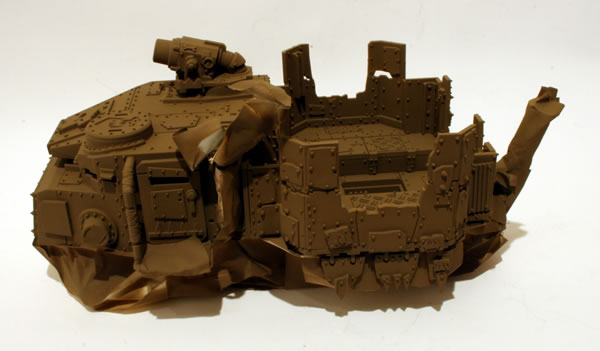
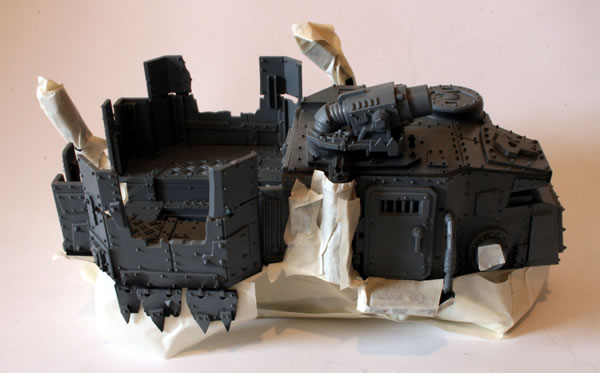
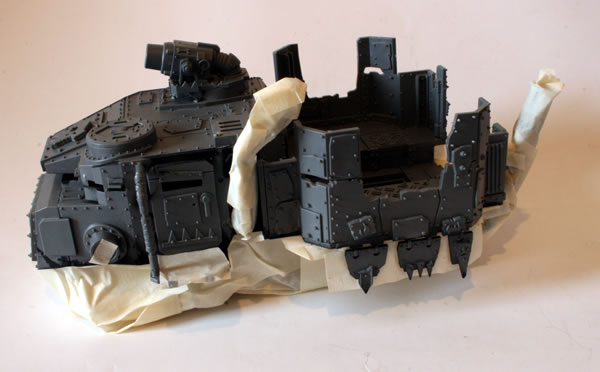
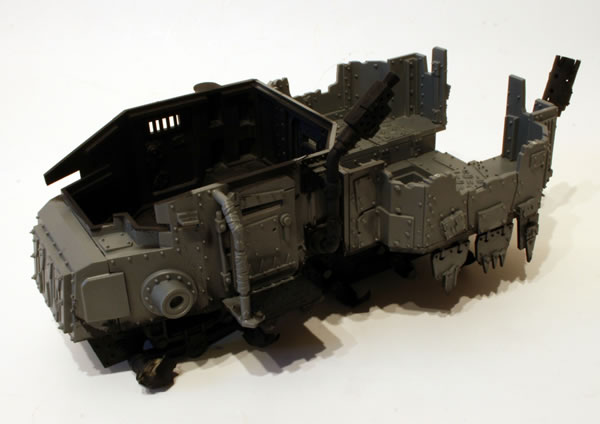
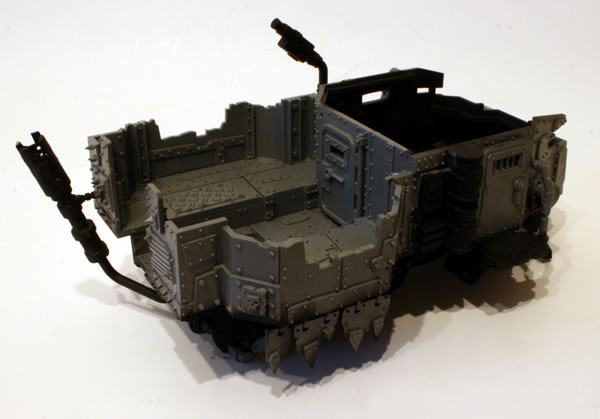
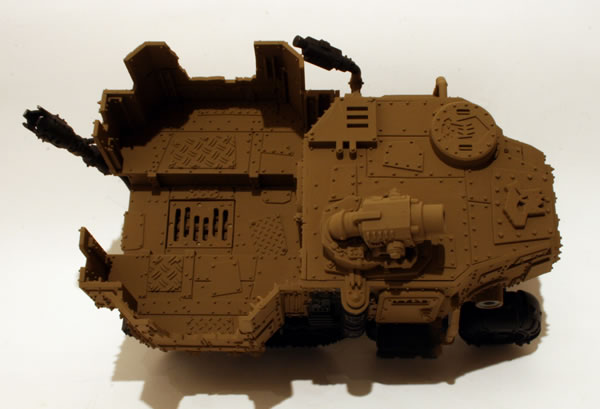
Having undercoated the Battlewagon, leaving the mask on, I gave the model a basecoat of brown paint, using a Humbrol spray. I then removed the masking tape.
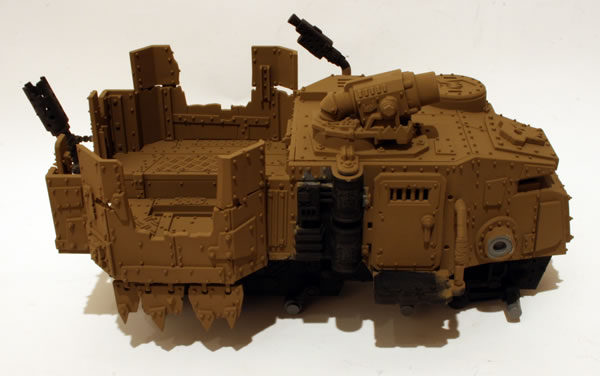
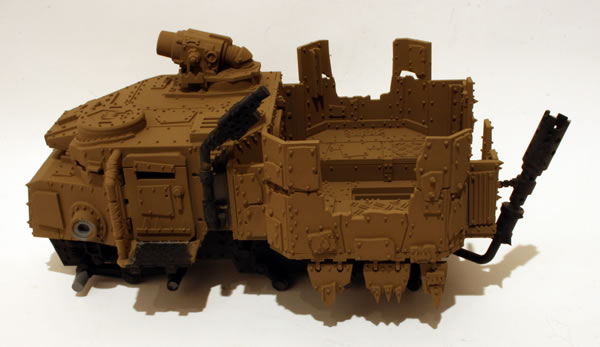
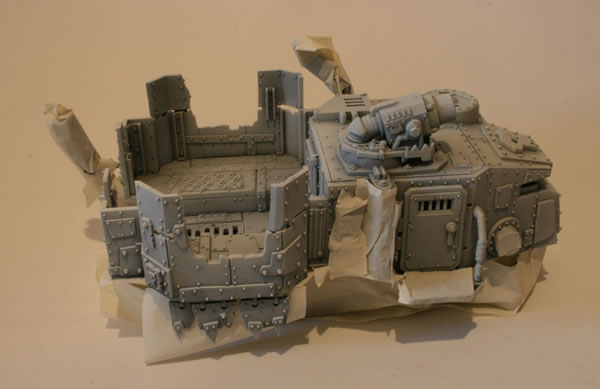
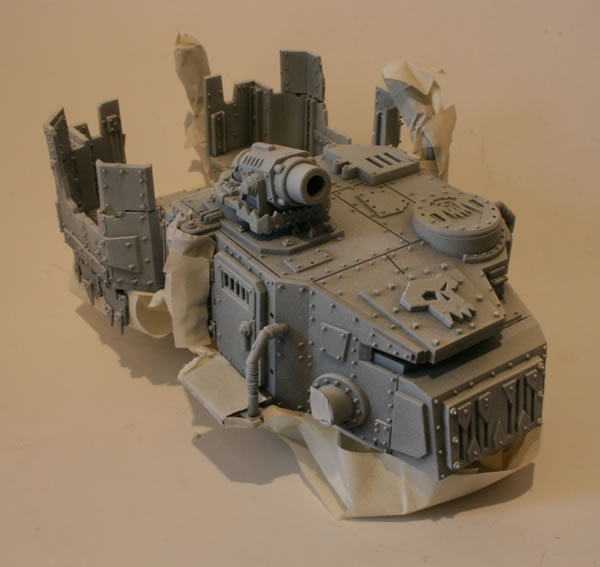
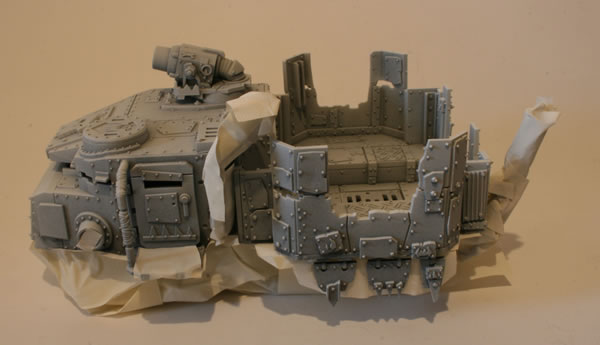
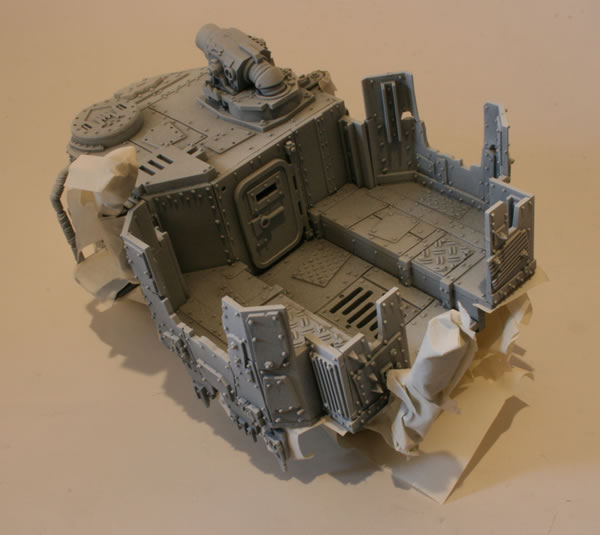
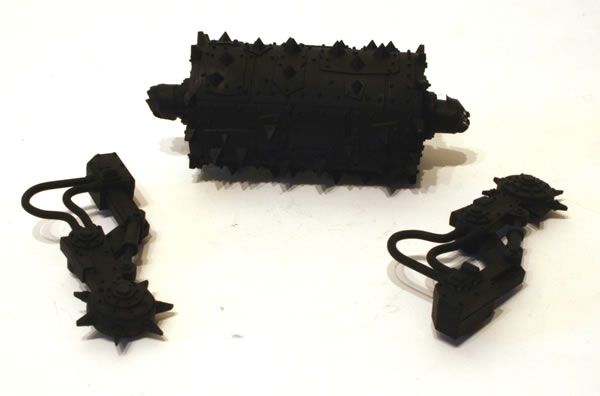
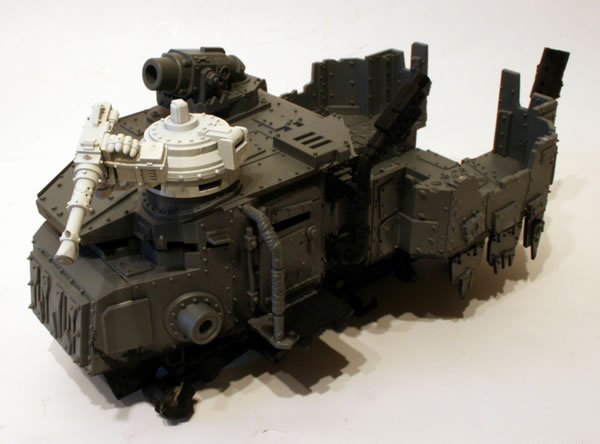
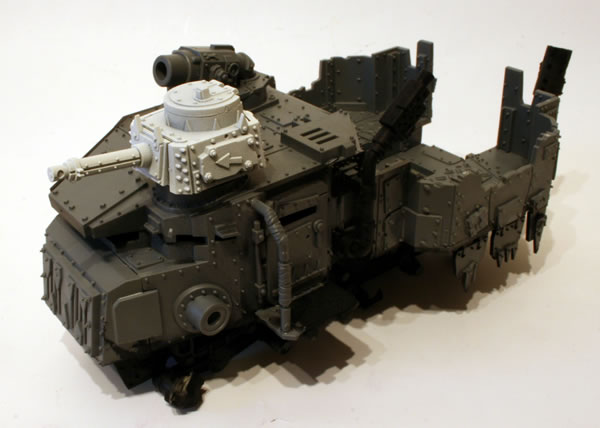
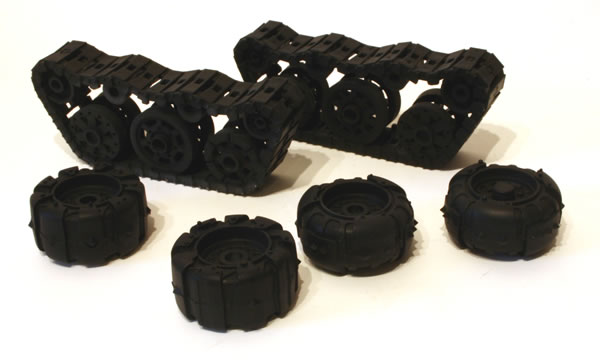
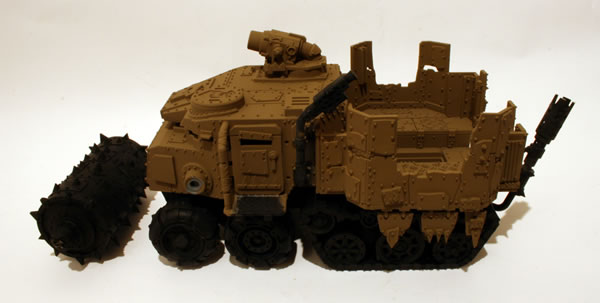
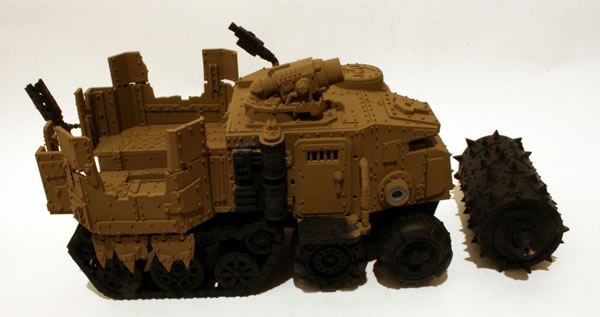
I then put the model together with the wheels and tracks to see how it would look.
See the full workbench feature on the Ork Battlewagon.
See photographs of completed Ork Battlewagons from various shows.