I like going to wargaming shows and browsing the various stands. Yes you can look at things online, but not everyone has a decent online presence, and sometimes it can be difficult to ascertain the size and quality of things online. Are the figures closer to 25mm or 32mm, when what you want for 28mm figures.
At the weekend I went to Colours 2025 at the Newbury Racecourse. Its been a fair few years since I have been to Colours, I have a feeling it might be as long ago when Colours was at the Hexagon in Reading after they changed the name of the show from Armageddon.
Anyhow the show was great and there were a fair few traders there. I passed the Great Escape Games stand and a boxed set stood out for me, The Professor and Time Machine.
Great Scott…
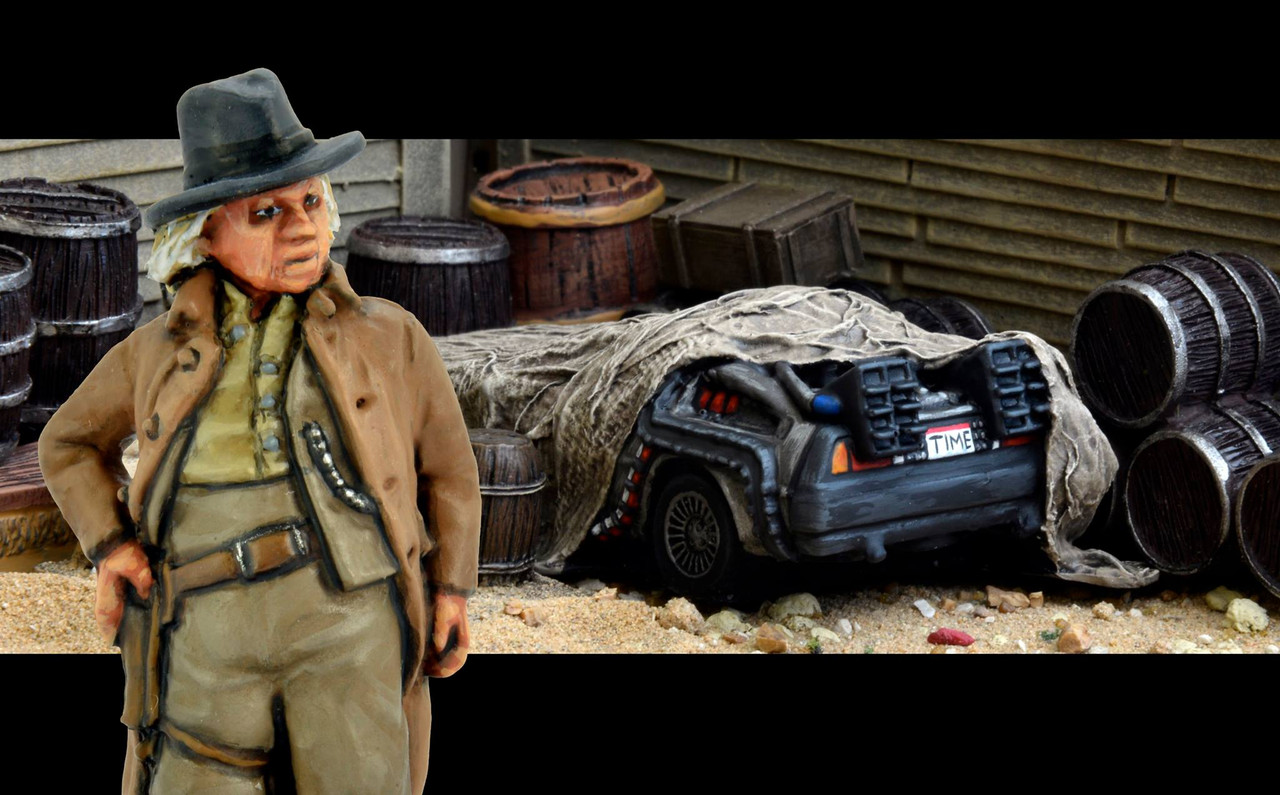
Yes this wasn’t any old professor (and any old time machine). Though with those names you might expect to see the Doctor and the TARDIS. However this was the old west, so this professor and old time machine was a facsimile of Doc Brown and a covered DeLorean.
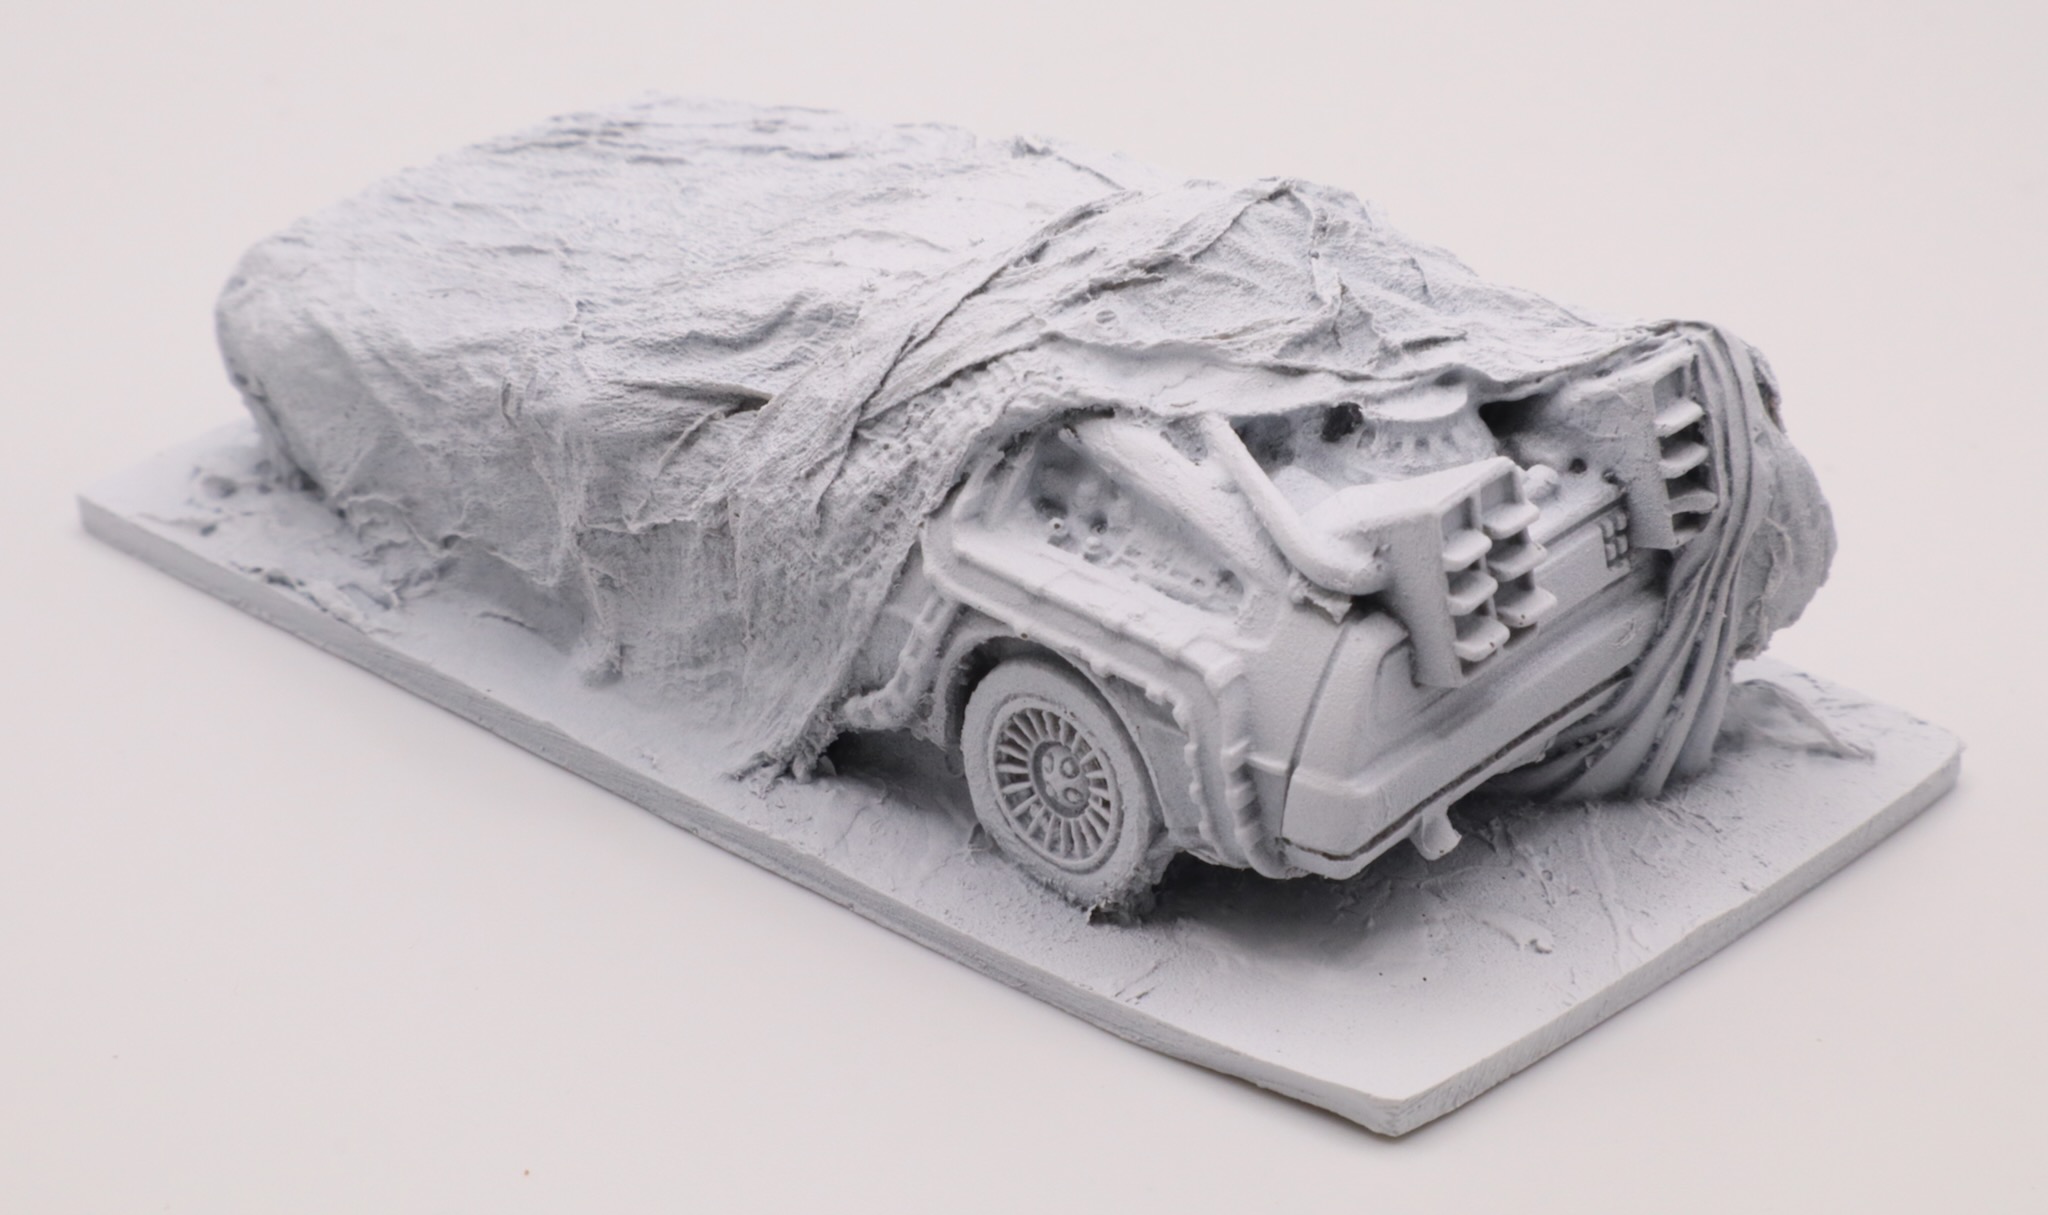
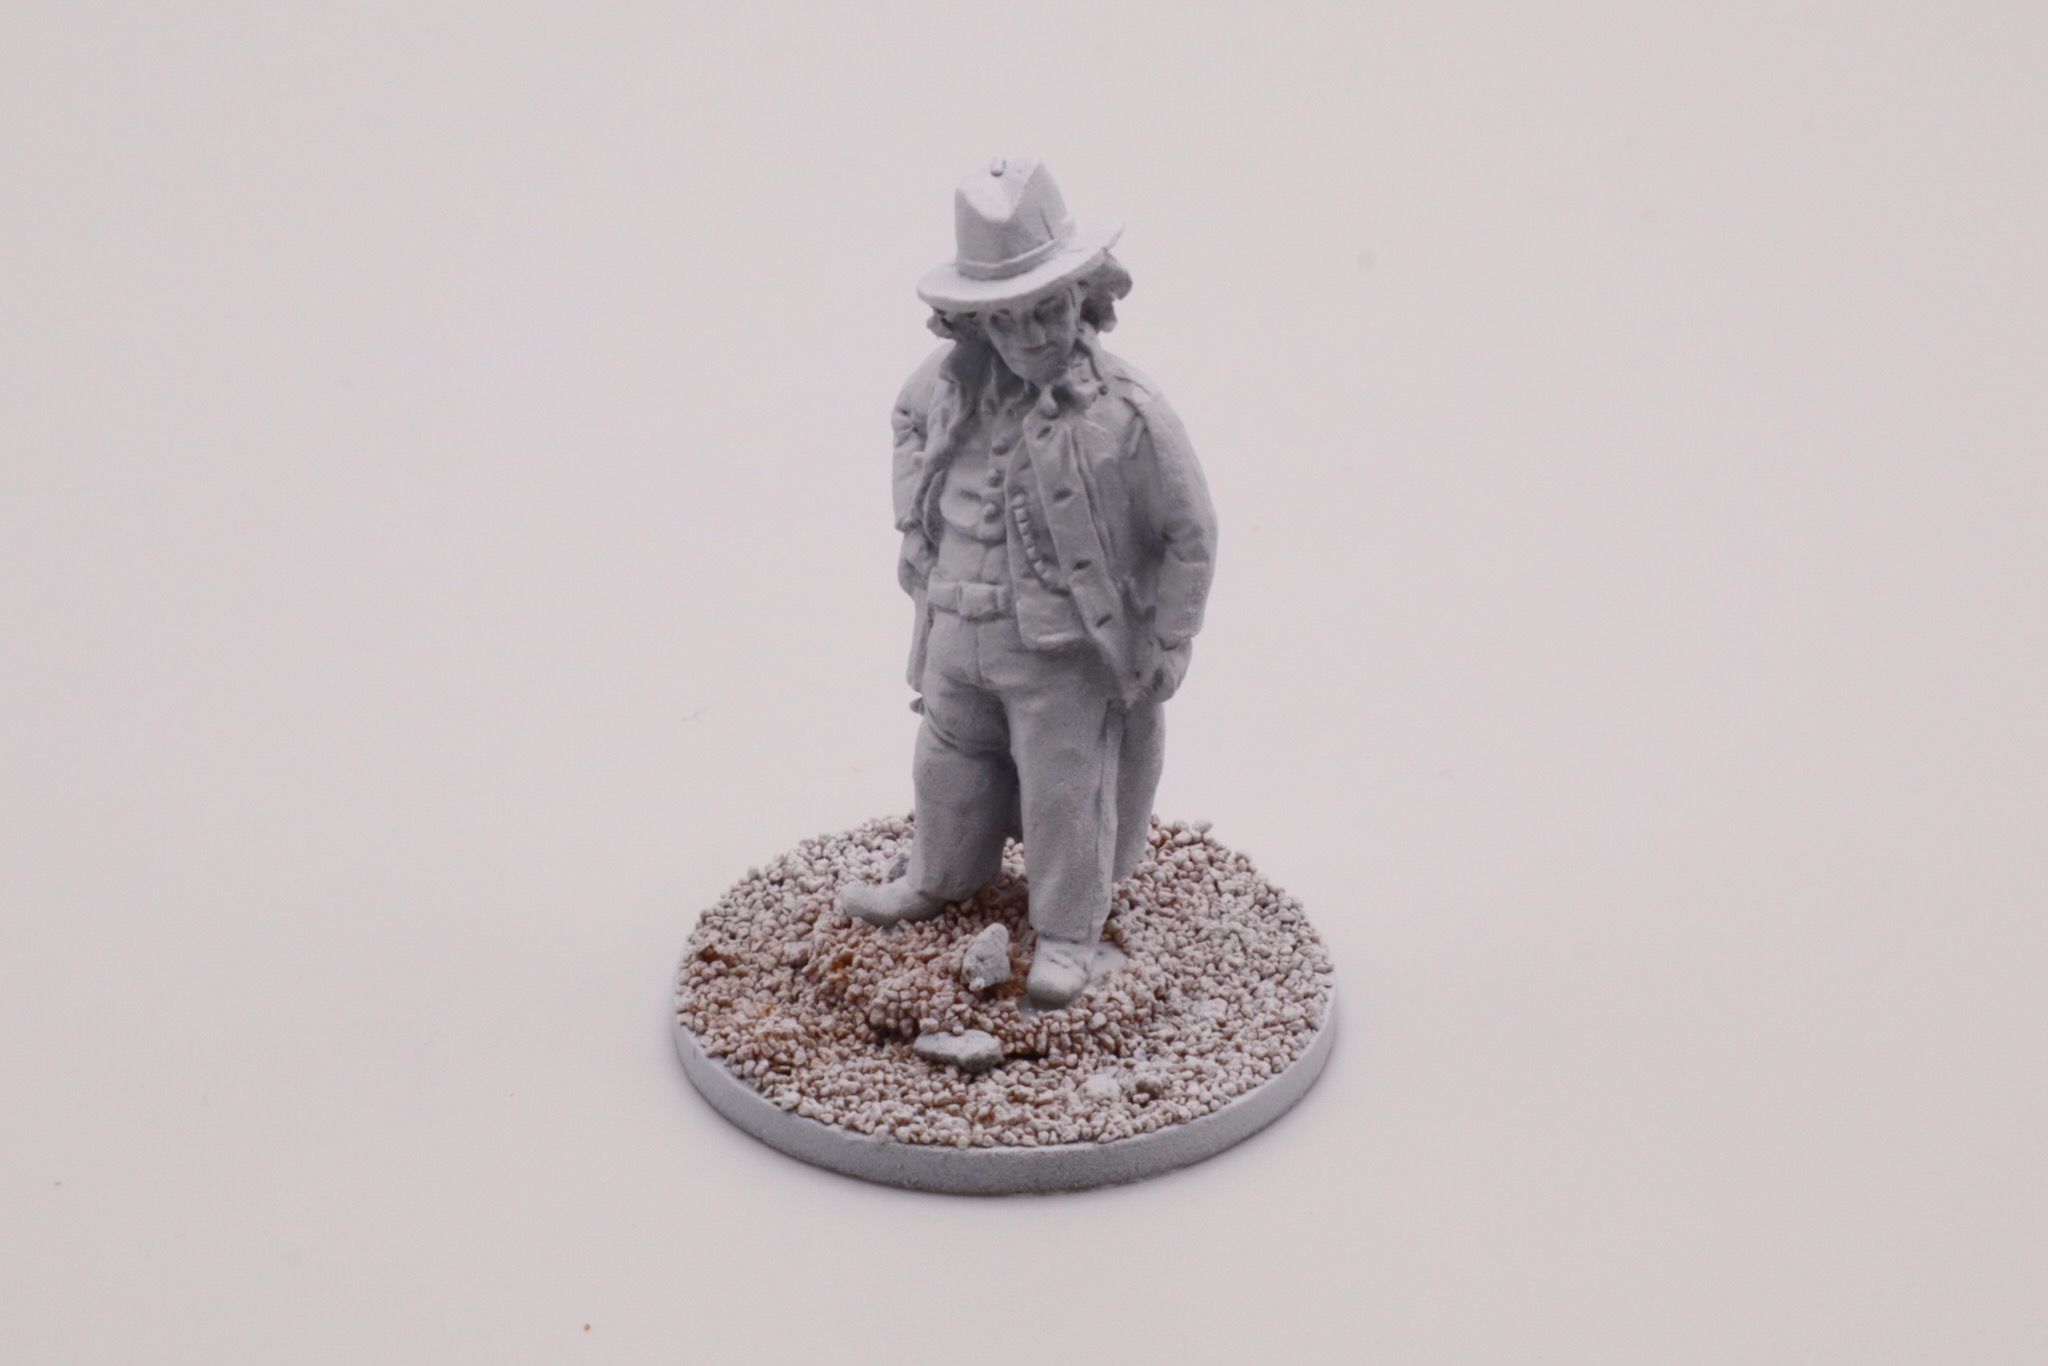
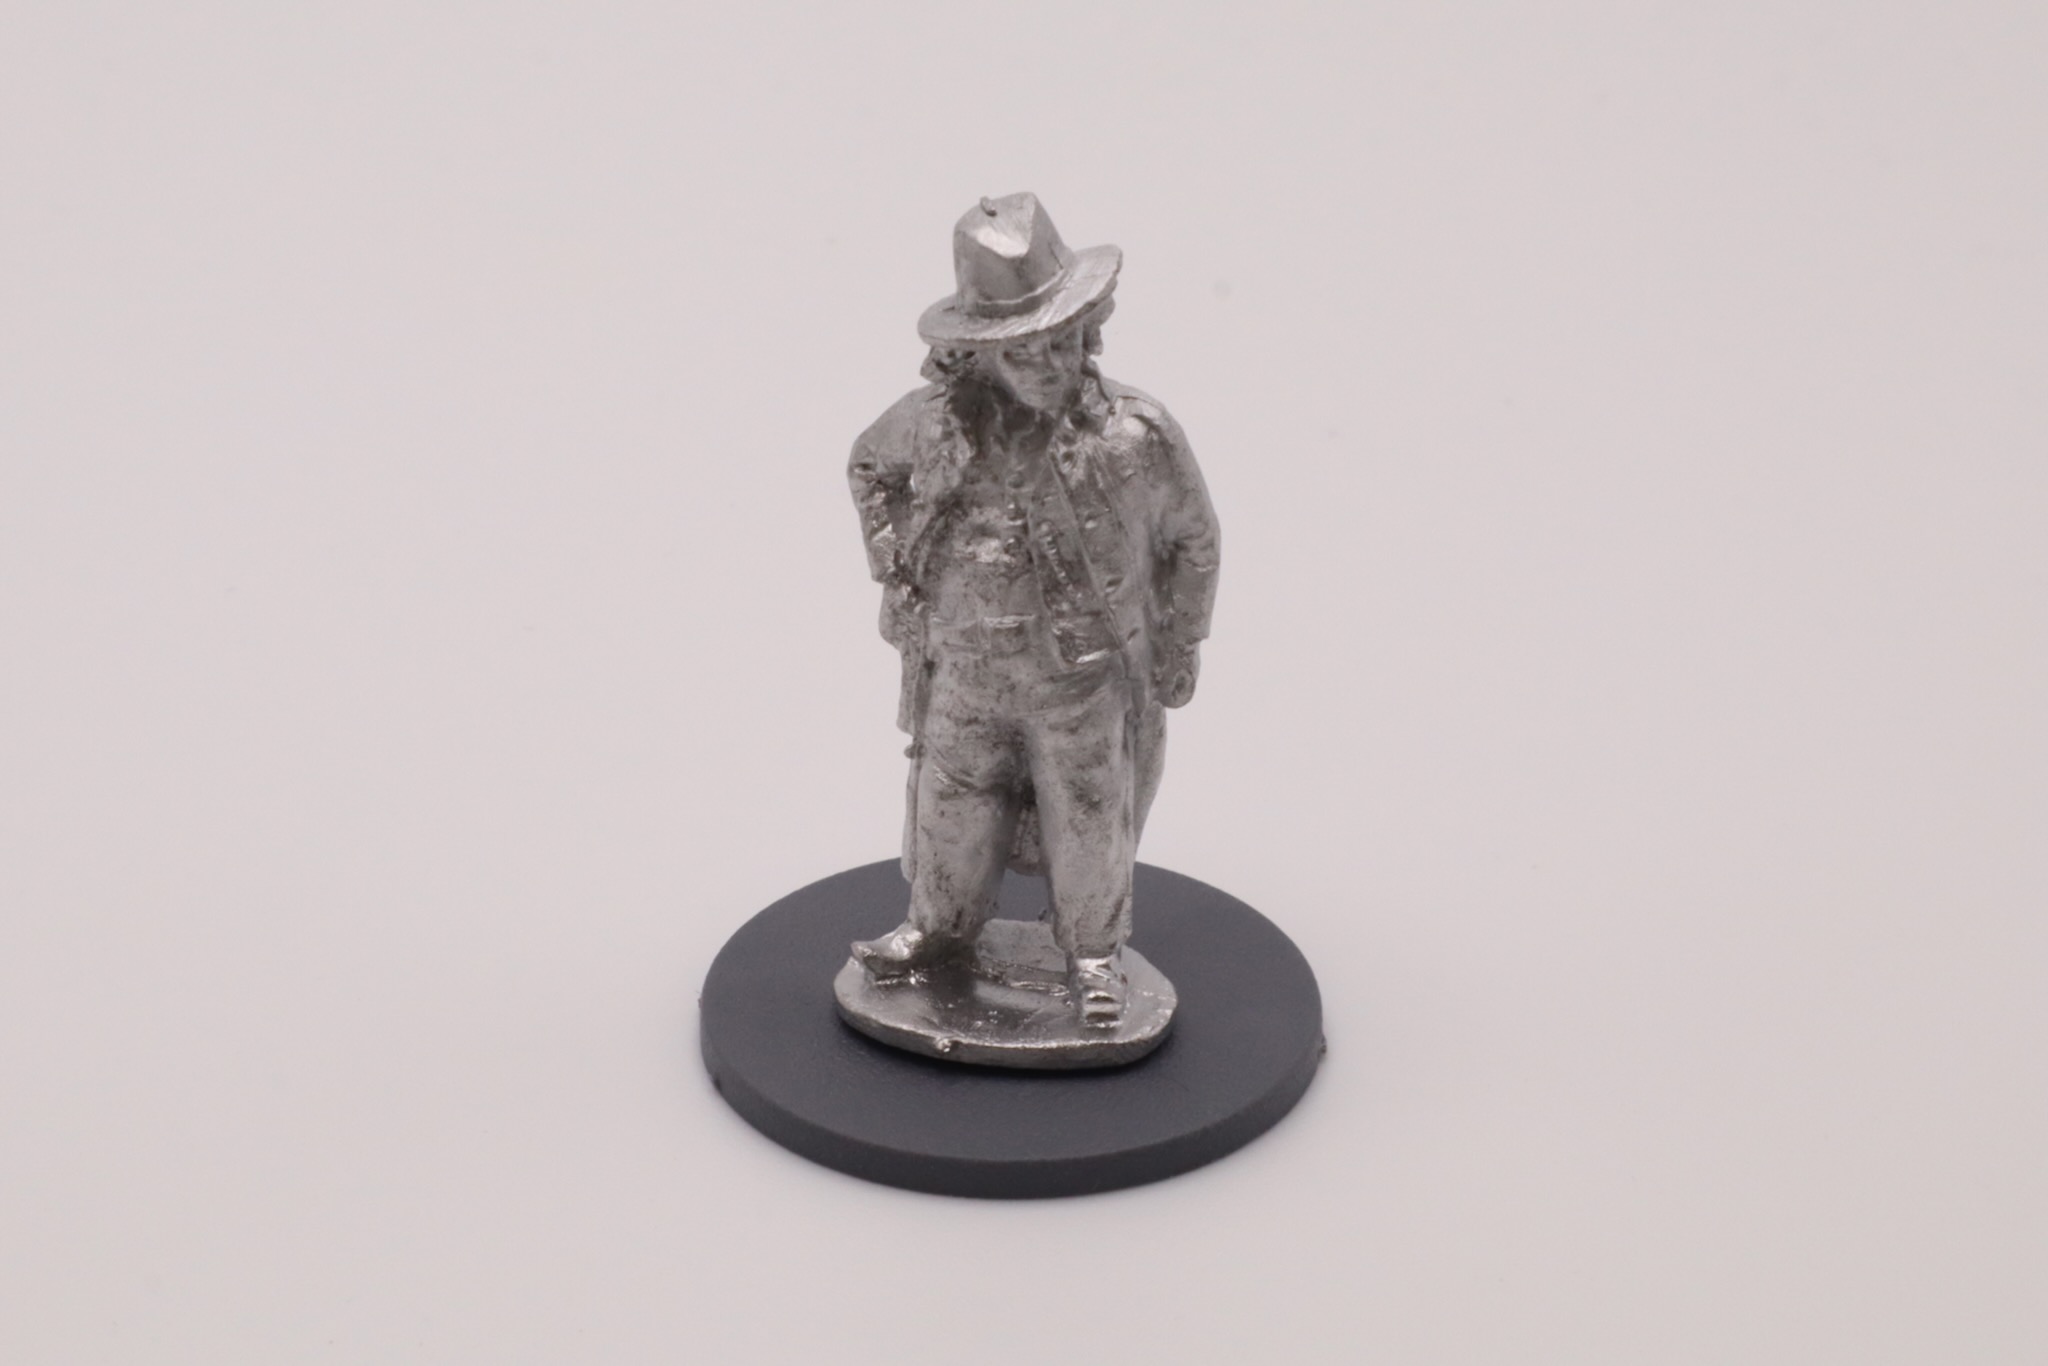
In the box you get a metal Doc Brown figure and a resin casting of the DeLorean covered with a tarpaulin. You also get a card and two scenarios for Dead Man’s Hand.

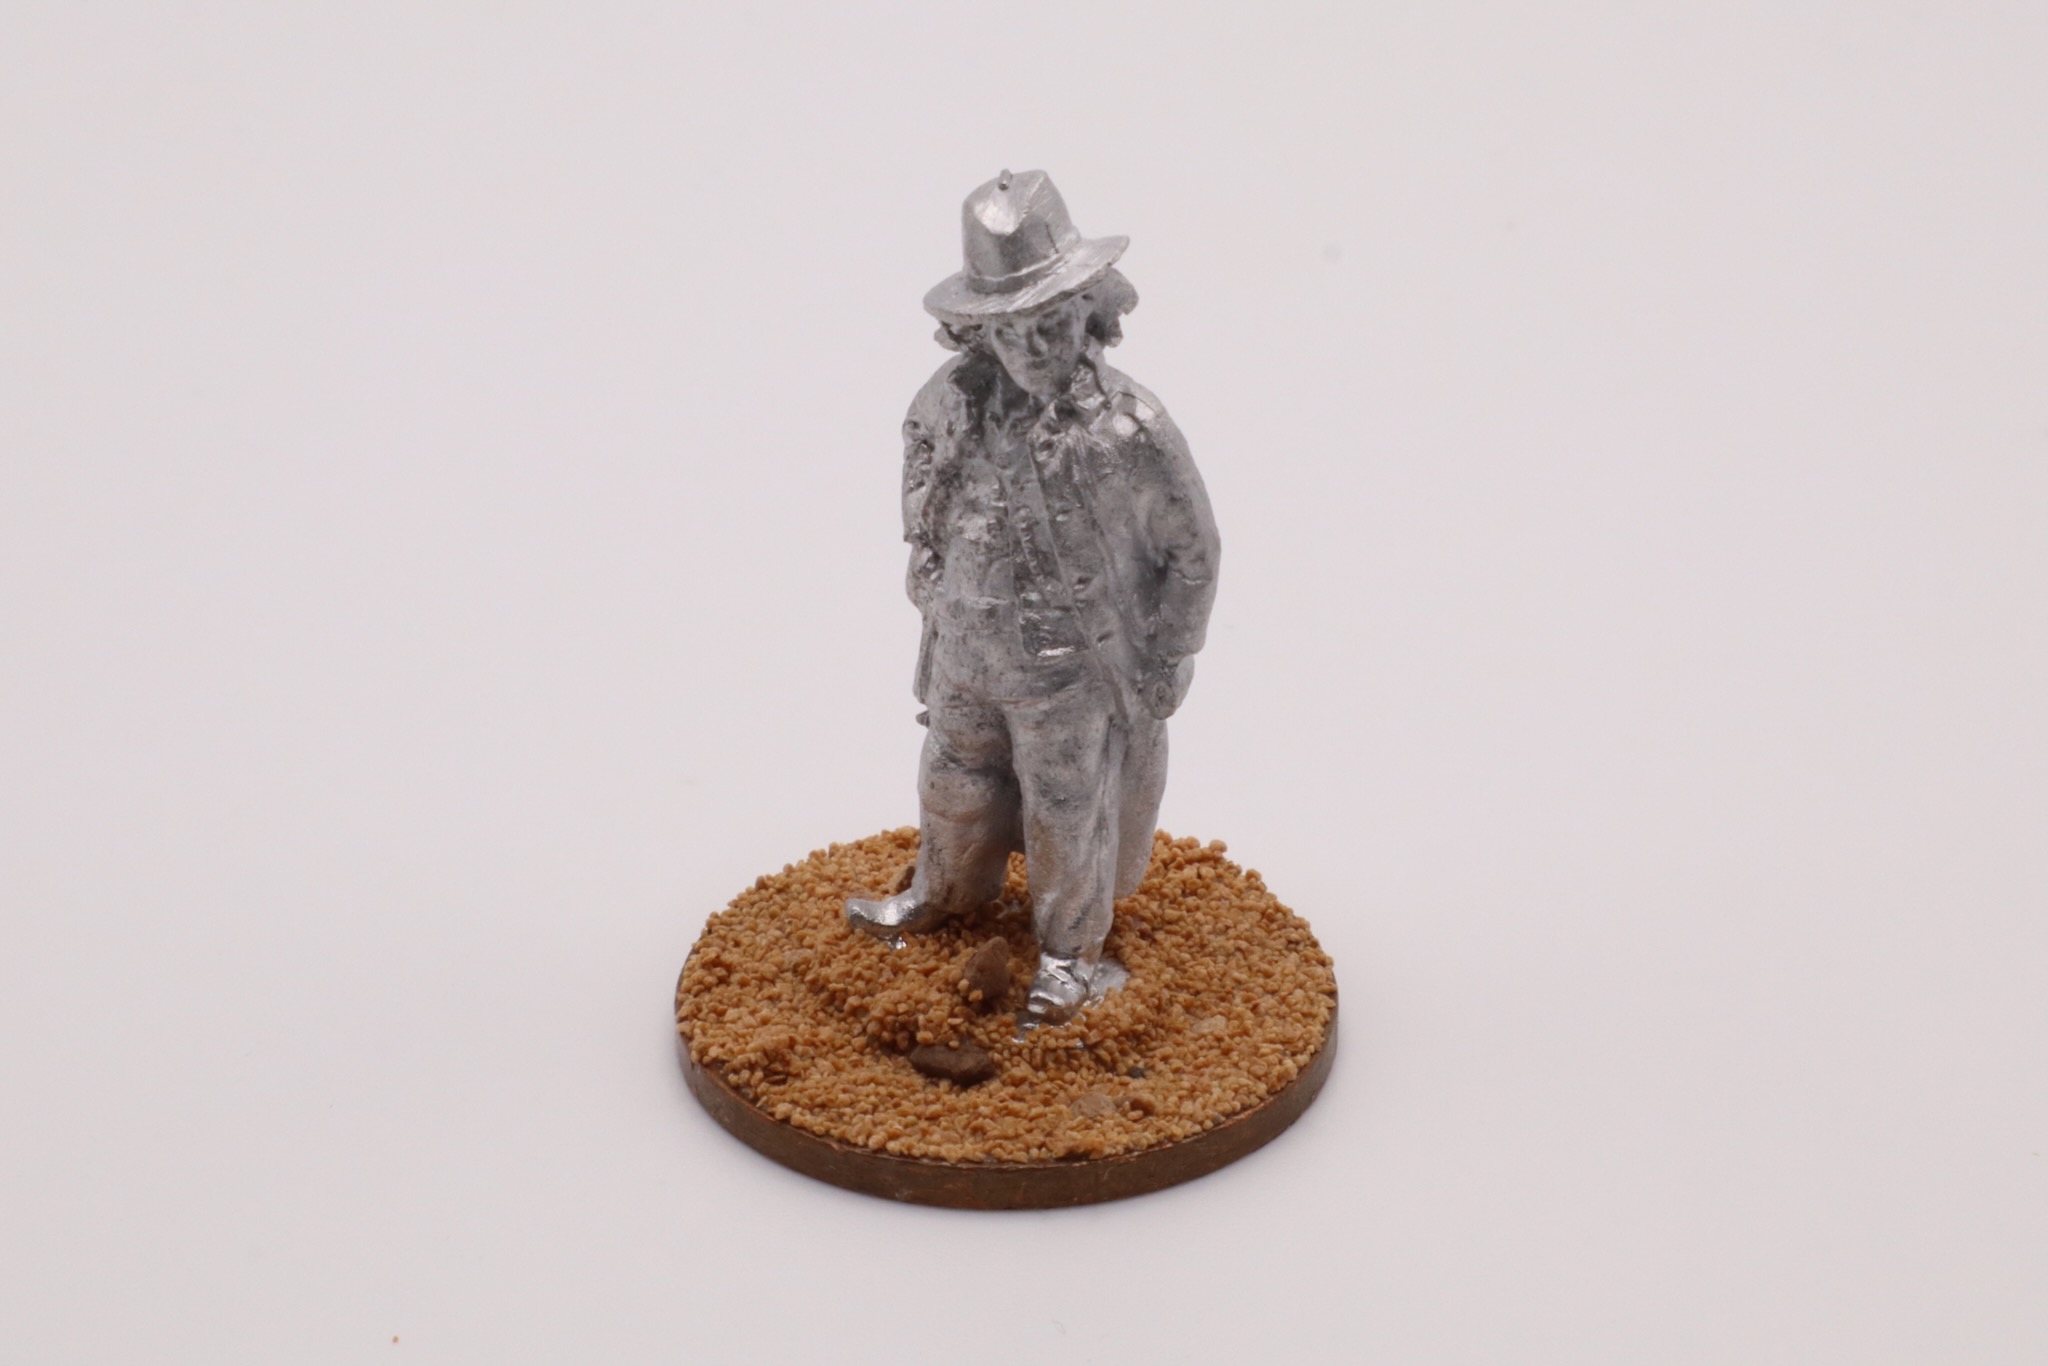
The metal casting is clean and the figure does look like Doc Brown from the third movie.

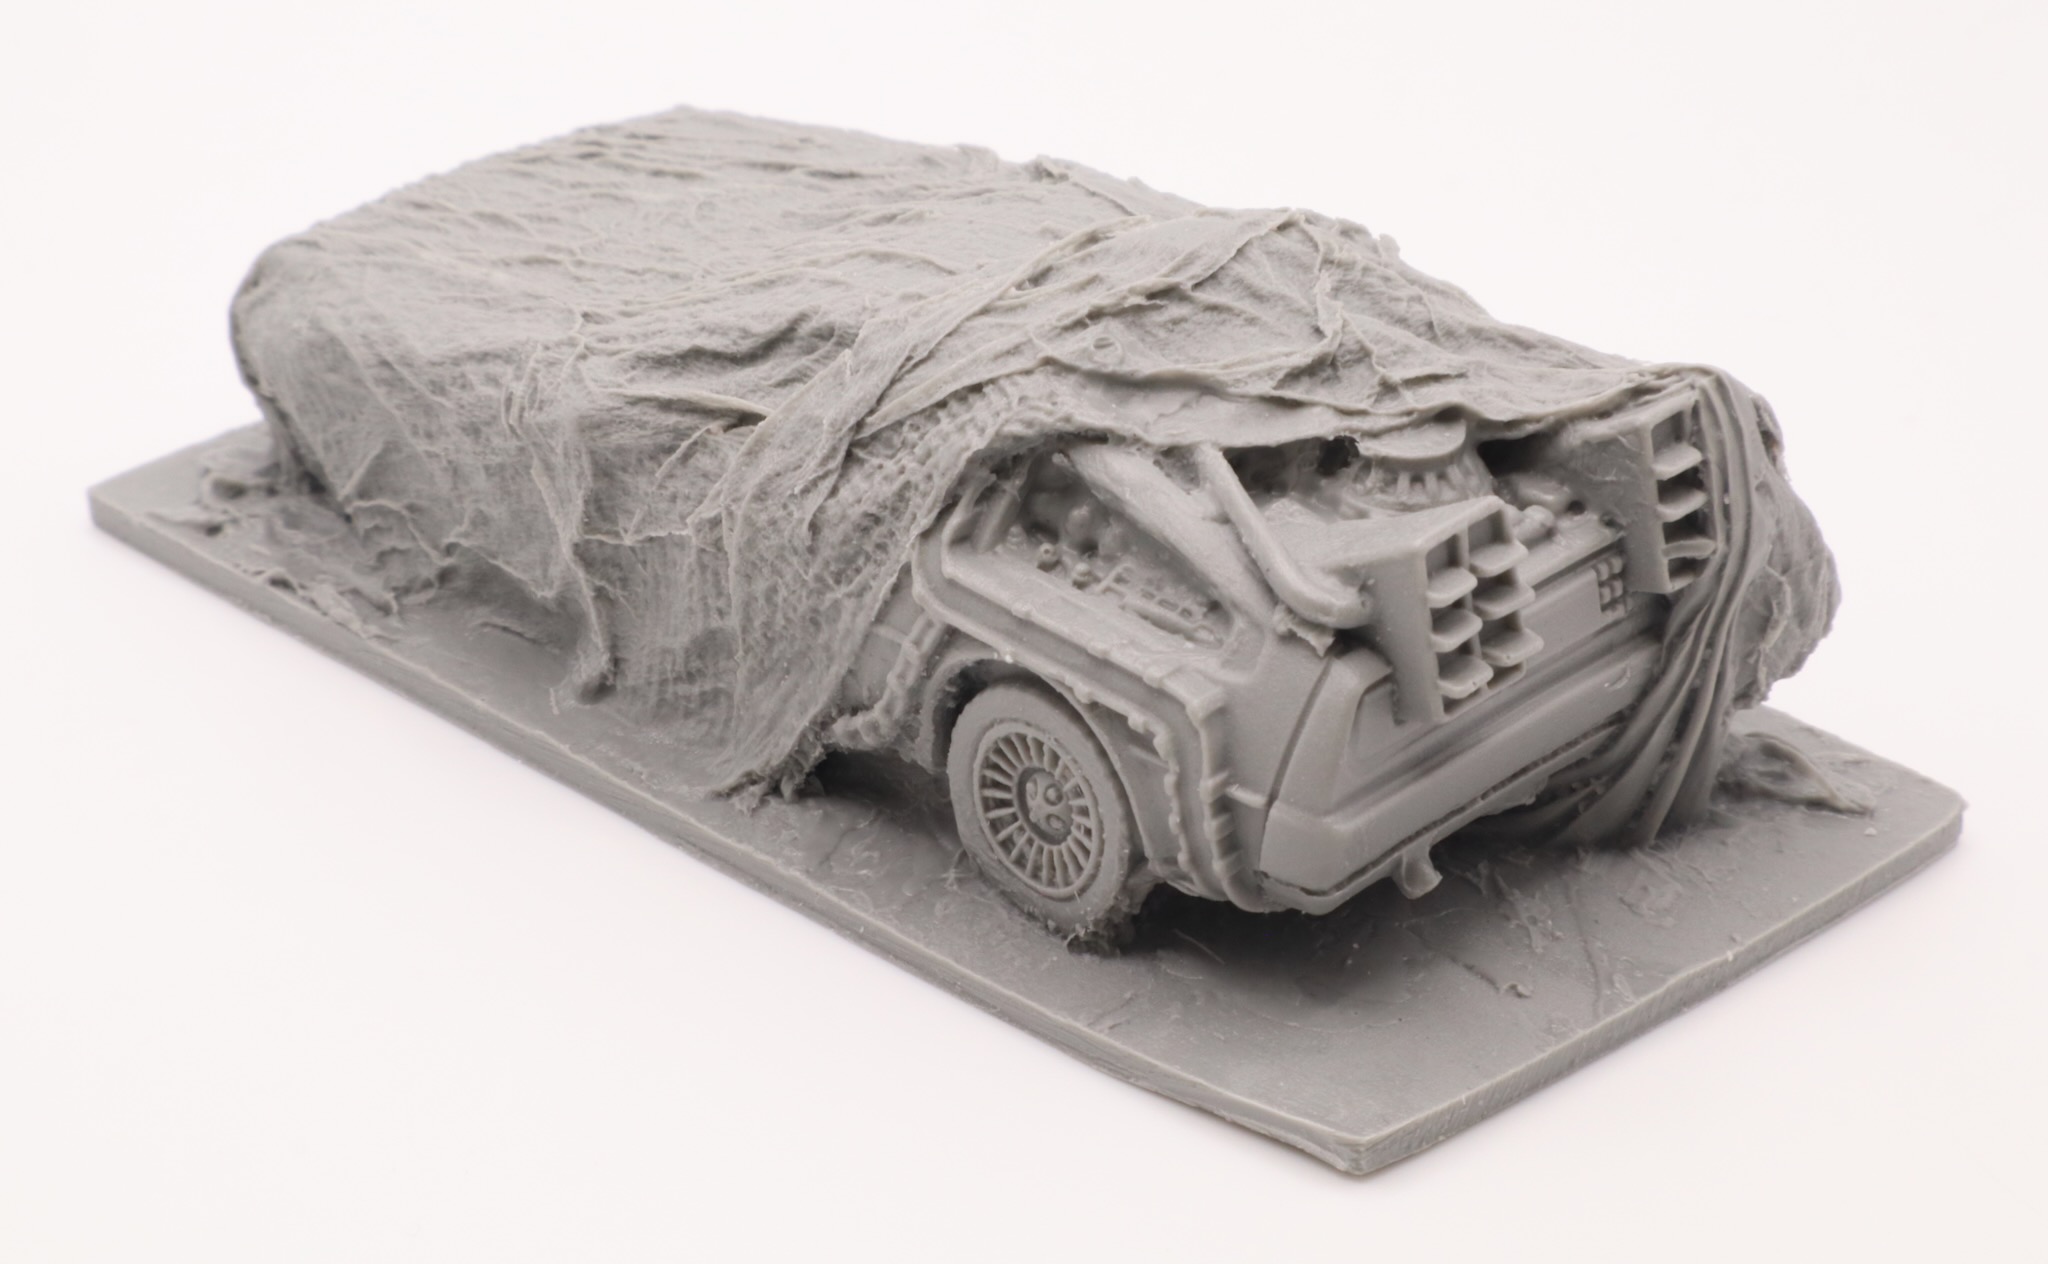
The covered DeLorean is a resin casting. It is a crisp and clean casting. I think it captures the shape of the DeLorean.

I stuck Doc Brown to a two pence coin. Though the model comes with a plastic base, I have based all my old west figure on coins.I then added Citadel Sand to the base using PVA white glue.
With the resin casting, I washed it in hot soapy water to remove any remaining release agent from the model.
I then gave both models a white undercoat.