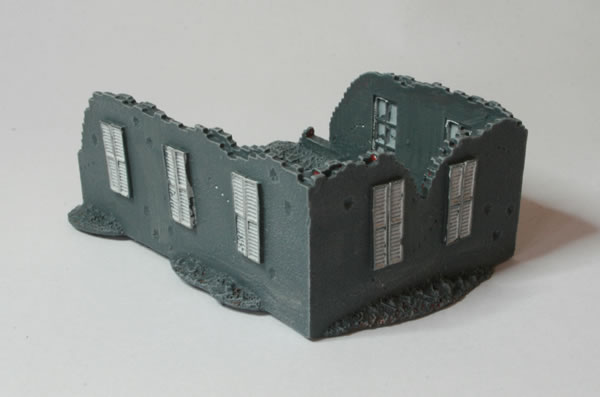
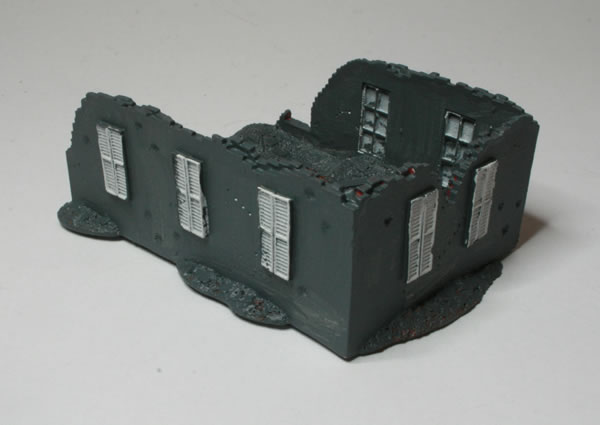
Having given the ruins from the JagdPanther boxed set a repaint using Citadel Base: Mechanicus Standard Grey, the next stage was some drybrushing to bring out the detail.
This now (to me) looks much better than it did before.
warhammer, wh40k, flames of war, bolt action, aeronautica imperialis, star wars, models, news, views and stuff
Having painted the roof tiles, I gave the remaining unapinted walls a basecoat of Citadel Base: Zandri Dust.


After painting the window sills and the drainpipes, as well as the debris, the next stage will be a dark wash.
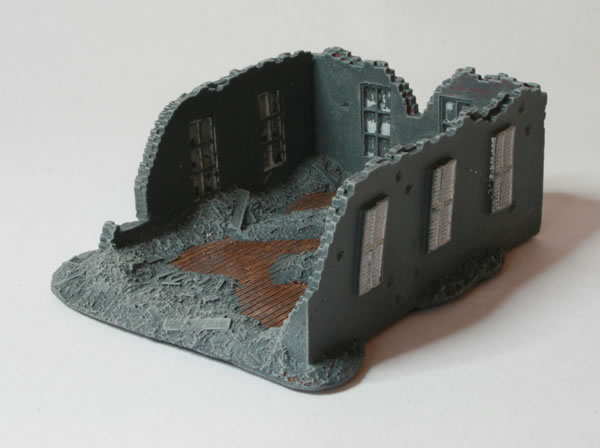
Having decided I wasn’t happy with my progress so far with the ruins from the JagdPanther box, I took the decision to repaint most of it.
I used Citadel Base: Mechanicus Standard Grey to give the model a basecoat of dark grey.
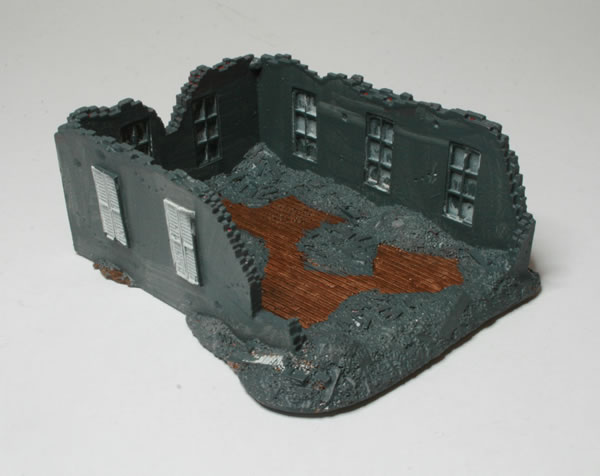
However I kept the floor as is.
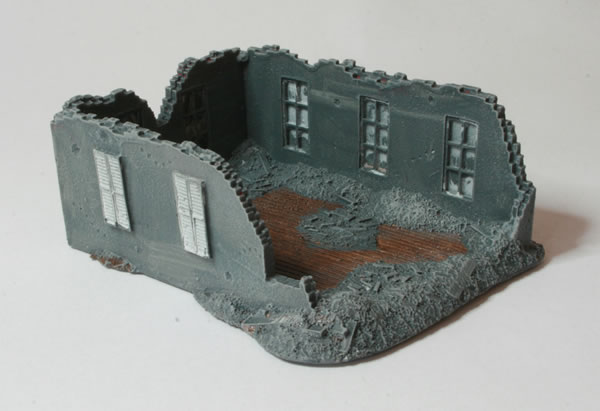
Though not quite where I want the 15mm Ruined Shop with Passage, I wanted to check that the process I was planning or my 15mm buildings was going to look effective, so I gave the ruined end of the model a a wash of Citadel Shade: Agrax Earthshade.

I am quite pleased with the end result with using the wash, the roof tiles look a lot better, as I did that that the Terracotta was a little too bright when I first painted the roof that colour.

I do like the French style buildings that Battlefront have released for Flames of War. I was lucky enough to get a subscription so I have been getting a new house every month or so.
They are well made, well painted and I like the weight of them too. On the table they certainly look the part. I also like how easy it is to remove the roof, also to make single storey or three storey buildings.

So what do I think could be improved?
Simon said he thought they were a little too “clean” and what I think he meant by this is that they look as if the owners had just gone around their house, cleaned the windows, the shutters, fixed the guttering and whitewashed the walls. In reality, though a few houses would look like that, I would have liked to seen a more “lived in” look to the models. I might try and weather mine to give them a more (literally) weather beaten look.

Though I do like the design, I would like to see some differing styles, more so than just roof, roof colour, wall colour and shutters. The issue for me is that the houses are too similar in style. Maybe we just need more houses? I would like to see some cafes or shops in addition to the houses. Then maybe some farmhouses and outbuildings?

What do you think of the houses? What would you like to see?
I was lucky enough to get into the Flames of War House Subscription (even if it was an accidental order). I now have a fair few houses and I took some photographs.


Typically after taking the photographs, two more arrived in the post, and the extra bits too, the house extensions and the walls. Ah well, time to take some more photographs methinks.
Added some more details to my 15mm Ruined Shop with Passage from Total Battle Miniatures.


Still a fair bit of work to do.
I painted the front area of the Total Battle Miniatures 15mm Ruined Café. For this part of the model I decided to try out the Citadel Texture paint, Astrogranite.

I am not that impressed. It did cover fine, but not sure if the “texture” adds anything. I am not too worried as I don’t acrtually expect to use that part of the model that much.
Having painted the roof tiles on my ruined row of three houses, I did the same with the ruined row of four houses.

I gave the roof tiles a basecoat of Citadel Terracotta.

They still need more work.
I have added more detail to my Total Battle Miniatures 15mm ruined shop with passage.
The main addition was painting the roof tiles of the part of the roof that had fallen into the shop.

I will try giving the model a dark wash.