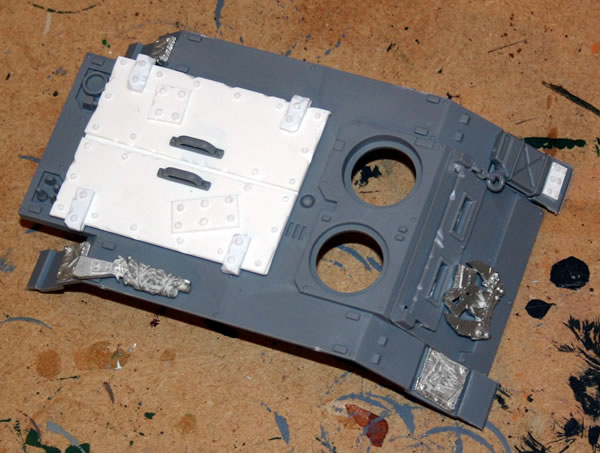
The drybrushed and detailing started…
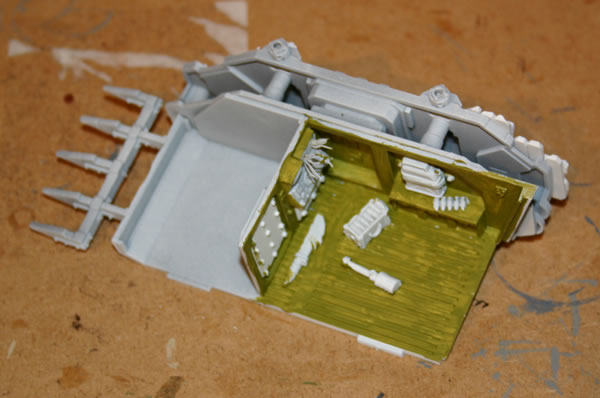
I have drybrushed the bitz inside the Ork Looted Rhino.
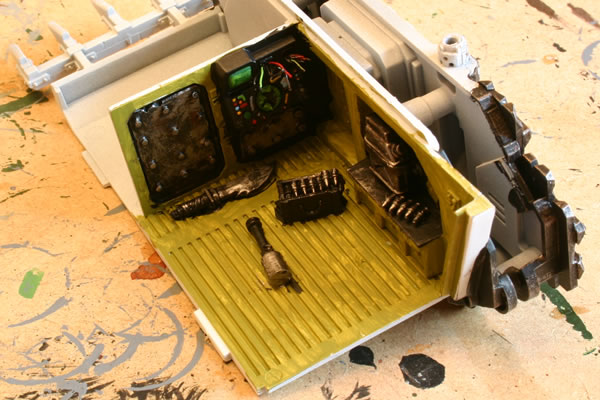
I have also started in the interior detailing, notably the wiring and the control panels.
warhammer, wh40k, flames of war, bolt action, aeronautica imperialis, star wars, models, news, views and stuff
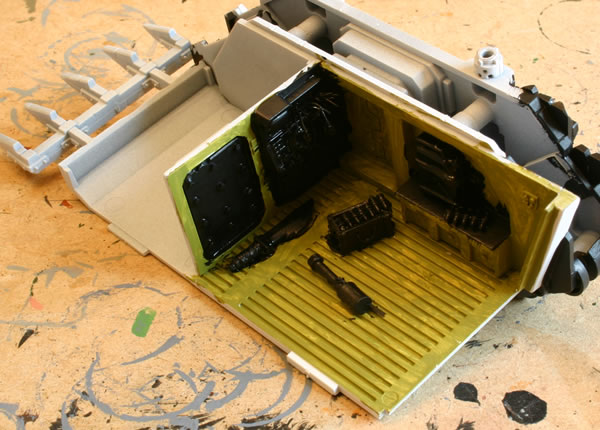
The drybrushed and detailing started…
I have drybrushed the bitz inside the Ork Looted Rhino.
I have also started in the interior detailing, notably the wiring and the control panels.
I have painted the black bitz in the inside of the Rhino with a black undercoat.
They need drybrushing and detailing.
Having undercoated the Rhino white, I painted the wheels of the track sections black.
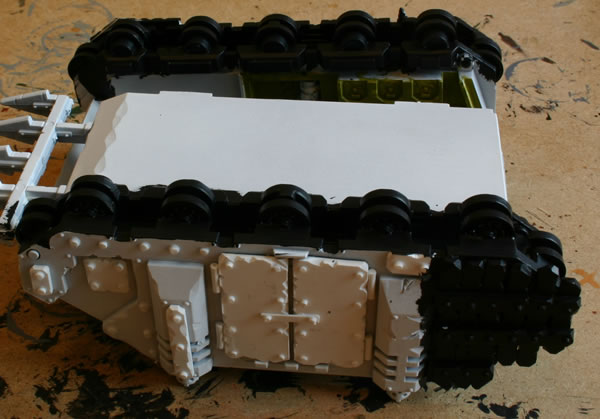
You can see how I have also painted one the Ork armoured panels black as well.
The axels were also painted black.
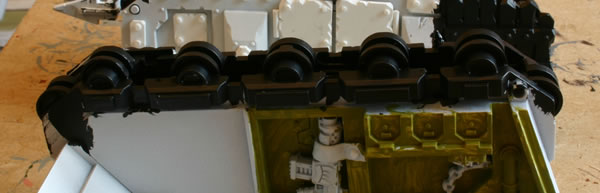
The black will then be drybrushed with Tin Bitz and Boltgun Metal.
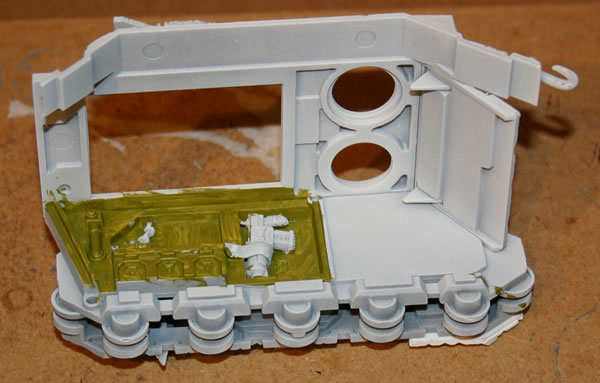
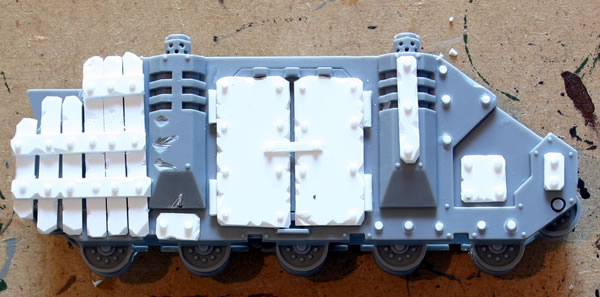
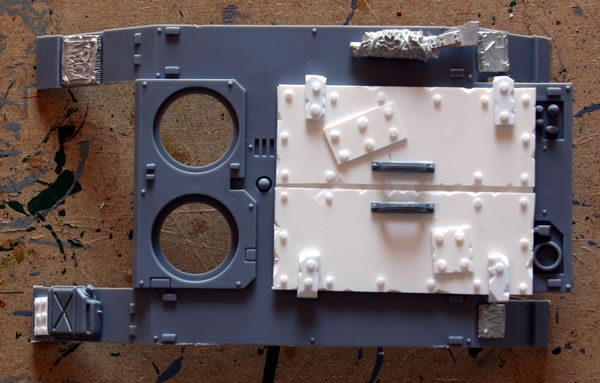
Painted in armoured vehicle green…
One of the things I wanted to do with my Ork Looted Rhino was a detailed painted interior.
Having undercoated the model, I gave the interior a coat of Camo Green to give it an armoured vehicle green look.
The bitz inside will be undercoated black.
It will be getting a second coat as well.
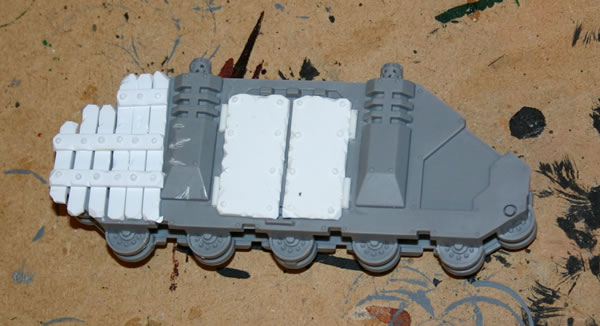
I have undercoated the Ork Looted Rhino, white not black.
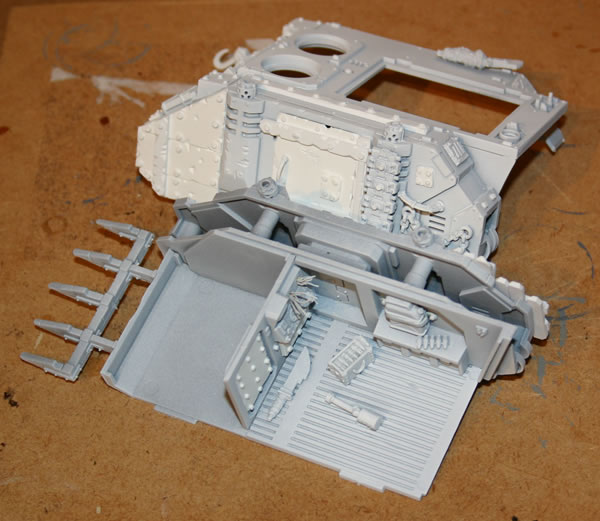
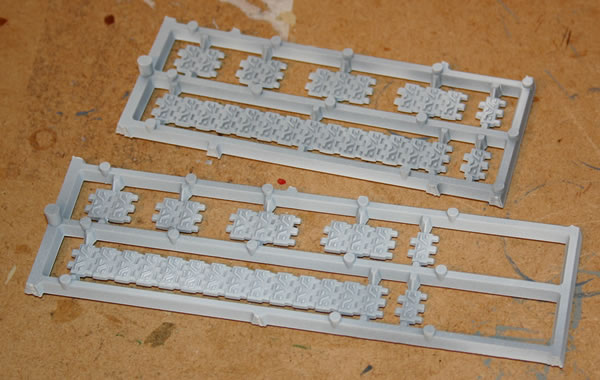
It is has been stuck together into two separate halves.
I have left off the tracks and you will notice how light the undercoat is.
I still have to do the front top hatches, one of which will contain an Ork with a heavy weapon aka the Forgeworld model.
Preparation…
I have prepared the Ork Looted Rhino for undercoating.

It is has been stuck together into two separate halves.
I have left off the tracks and I still have to do the front top hatches, one of which will contain an Ork with a heavy weapon aka the Forgeworld model.
Having finished the left side, I started on the right side. Aiming for a similar but different effect.
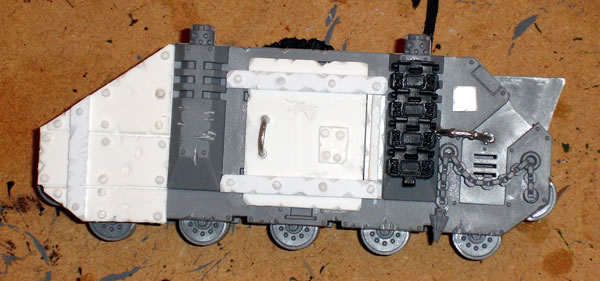
I stuck the real door in and then added two “added” doors made from plasticard. These were suitably weathered.
I then added rivets from sliced plastic rod and hinges from the same rod.
Rather than use armour plate, I used strips of plasticard (weathered) vertically to create some additional armour which were then held in place by strips placed horizontally and then “riveted” into place.
I also added some further weathering to the actual hull and exhausts of the model as well.
Further rivets were added as well as some additional armour plate.
This picture shows how the right side looks on the *whole* Rhino.
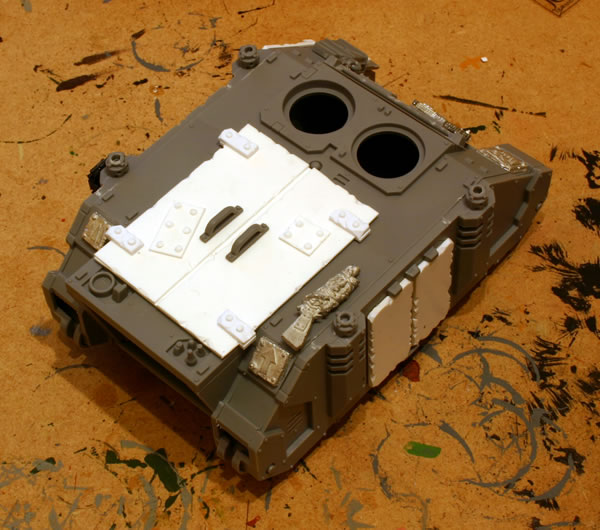
One thing I will need to do after I have stuck it together is to add additional armour plate in these areas.
The problem with doing it now is that then I can’t fit it together!
Next stage is undercoating.
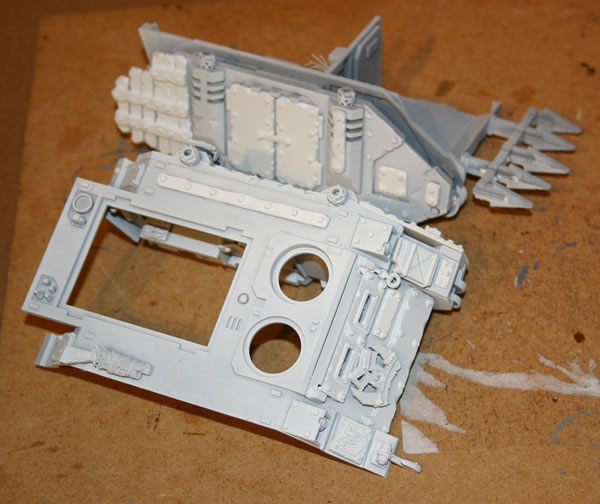
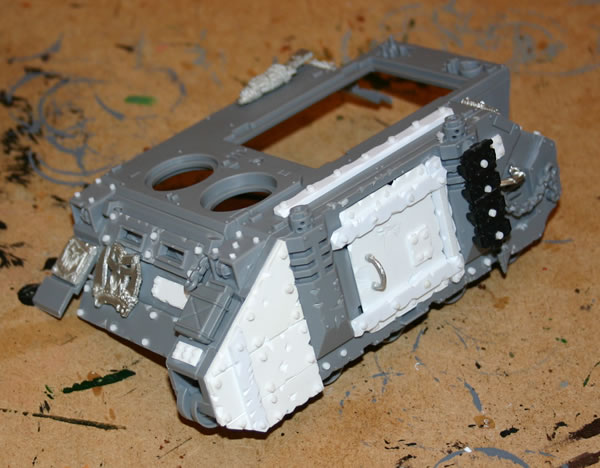
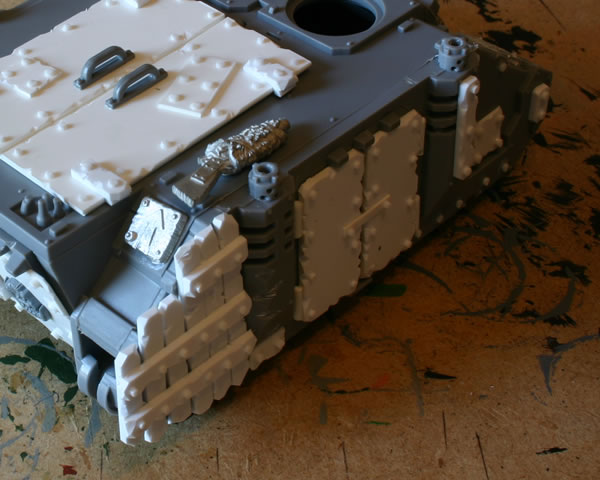
I have been working on the front, back and top hatches for my Ork Looted Rhino.
Following on from my last post: The top hatch has had some rivets added, as well as handles and some additional armour plates. I still need to add rivets to the hatches themselves and I will be using a smaller diameter of plastic rod to do those. A tip I picked up from George Dellapina was to put a bit of superglue somewhere and then using the point of the modelling knife pick up the individual rivet, dip it into the superglue and then stick down where you want to. Problems are that occasionally you lose one… The superglue will often harden, but this is only a crust and can be cracked allowing access to unhardened superglue. The handles are from the Ork Trukk as is the metal fuel can (yes I know great location for a tank of fuel….).
I added some metal glyphs from the Ork Wrecker Trukk and (I think an Ork Warbike Model). Also from the bike was a wrapped shotgun. I have added the doors on the right side. I added some tracks to add additional armour as well.
Chains from the Chaos Vehicle sprue were also added.
The top hatch has had more rivets added using the smaller plastic rod.
I have not glued it in as I might do some variants in the future.
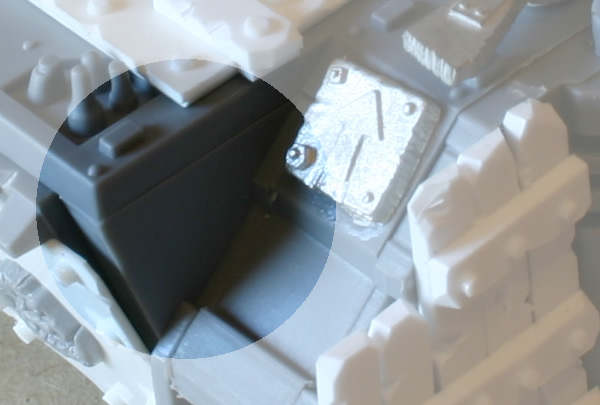
The front has had an icon, a plate and some chain added and some additional rivets.
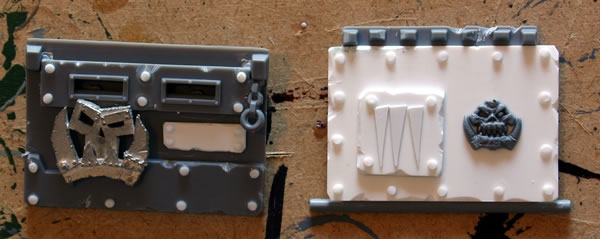
The back ramp has been replaced by an armour plate with glyph and Ork icon. I am also detailing the inside of the ramp as well.

Still a few more things to do and then it will be undercoated.
Stop pulling it apart…
After the cracked glass of the auspex on the Ork Looted Rhino I have added the wires to the drilled holes.
This was done with some picture hanging wire.
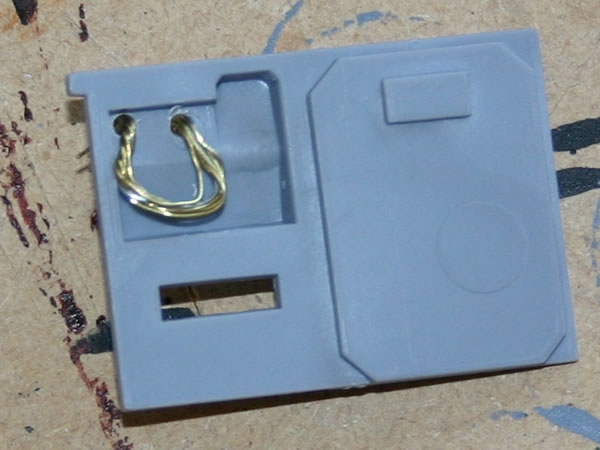
I then used some green stuff to secure the wire.
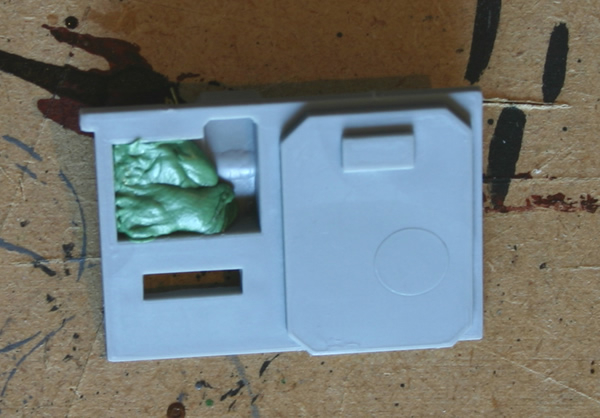
Quite like the effect.
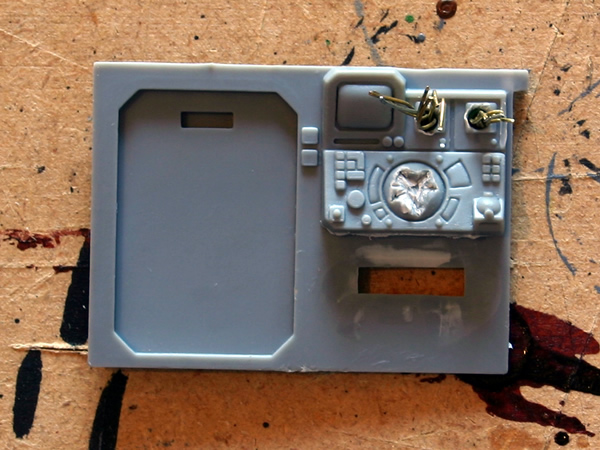
Don’t smash it…
Following an idea from Tas on the EpiComms forums I have “smashed* the glass of the auspex where some ham fisted mek-boy hit it in frustration!
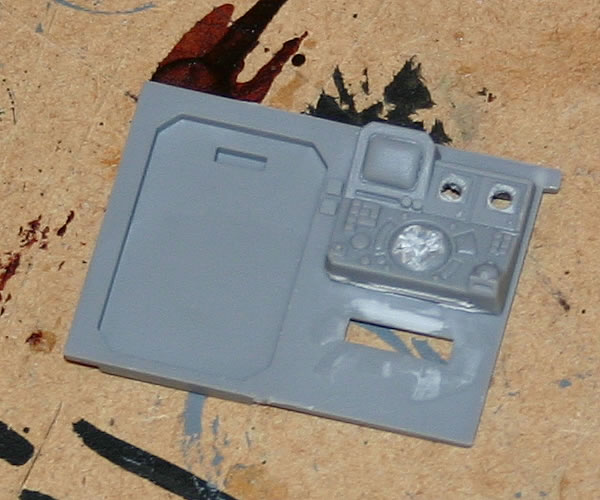
I have also drilled holes to eventually have some wiring which has been pulled out.
You will also notice I have cut off the Imperial Bolter which would have looked out of place in an Ork Looted vehicle.