Robot

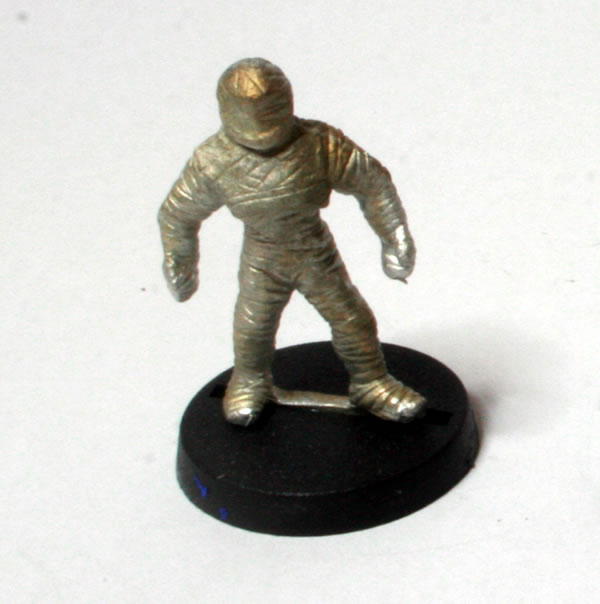
This is the metal miniature that was made by Harlequin Miniatures.
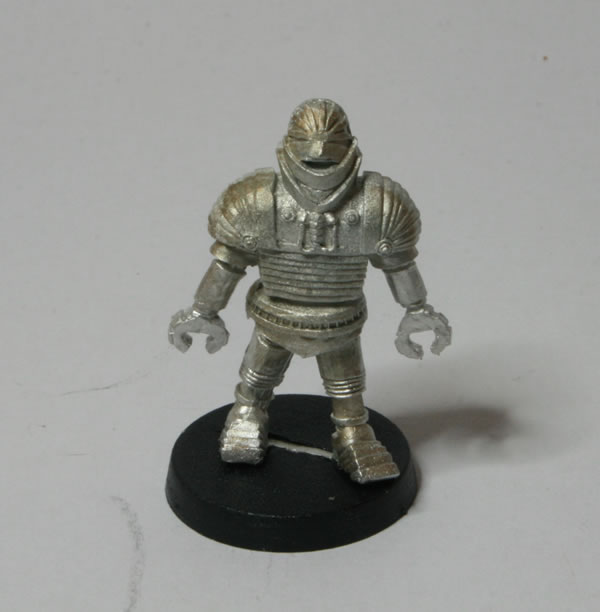
This is quite an old casting and as you can see the metal has discoloured, however it hasn’t gone brittle or anything like that, so I am expecting it to paint up fine.

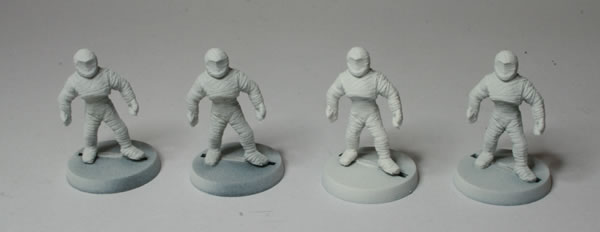
The first episode with the fourth Doctor (Tom Baker) was Robot. The Robot in the TV programme looked a lot more flimsy than this casting, but that is down to scale more than anything. Next stage was a white undercoat.
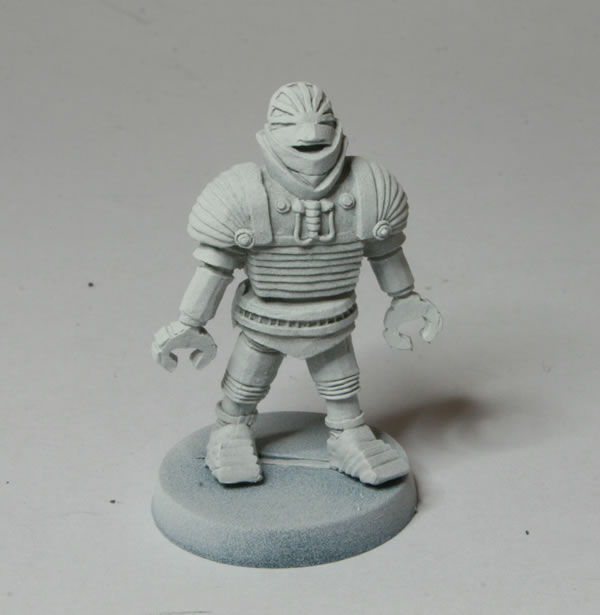
This does show the detail in the model, compared to the plain metal shot.

Get Robot on DVD at Amazon.

Robot Mummy

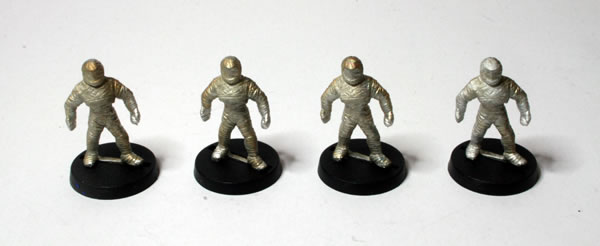
Back in the 1990s Harlequin Miniatures produced a licensed range of 28mm metal miniatures  and I bought back a few of the blisters, including the robot mummy.

Having had a look at what was actually in the box of miniatures I found I had four of them.

The next stage after cleaning the metal miniatures was to give them a white undercoat.

Then a basecoat of very light brown, or ivory.

Get the Pyramids of Mars on DVD from Amazon.

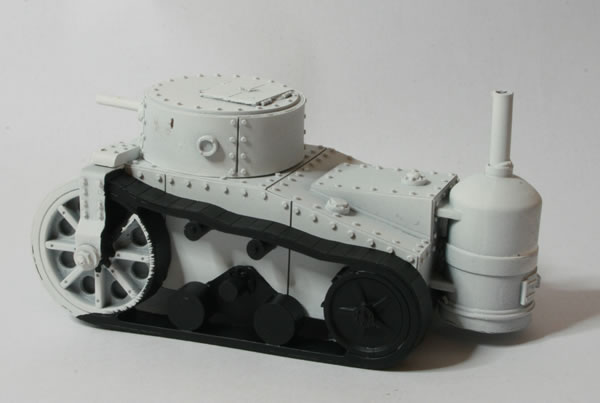
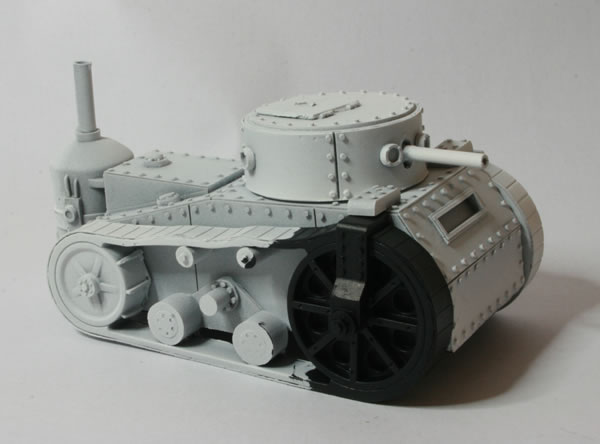
Basecoat for the Victorian Science Fiction Steam Tank

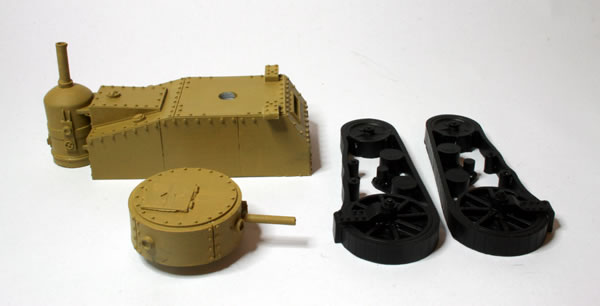
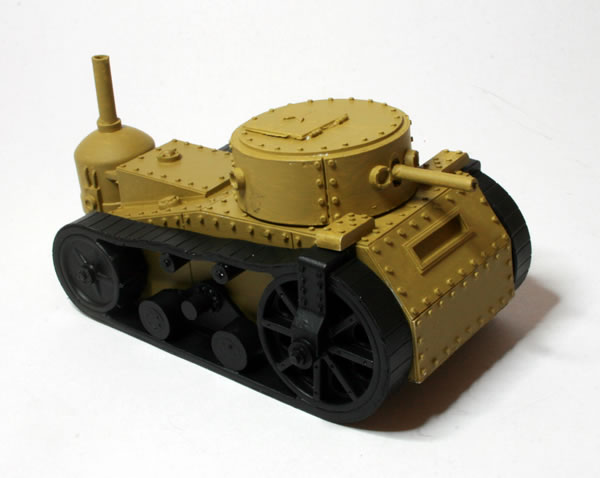
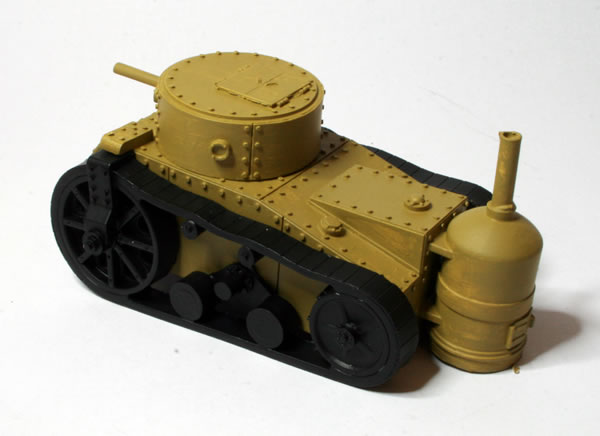
Having finished off the tracks on the Ironclad Miniatures Victorian Science Fiction Steam Tank with Citadel Chaos Black, I gave the hull and turret a basecoat of Vallejo Middlestone.

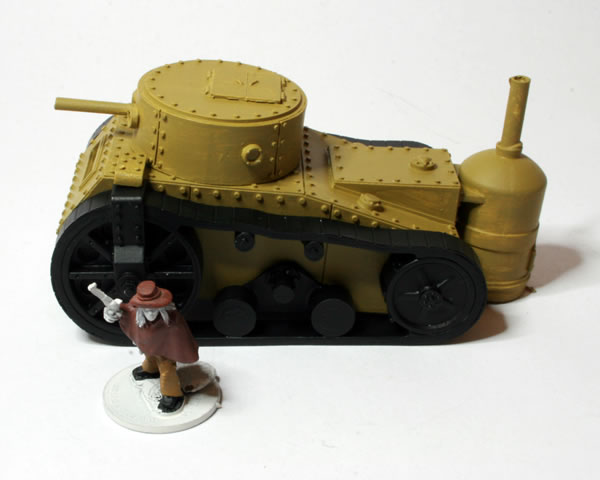
As this is going to be a steam tank used in an Old West setting I decided to go with a desert theme, rather than the standard grey you often see with Victorian Science Fiction steam vehicles. Dry assembling the model it is starting to look the part.

Still, as you compare it with a 25mm Old West figure from Foundry it is quite big.

I want to ensure that there is a gap between the tracks and the hull, this I did think initially I would use some plasticard, but I couldn’t find anything suitable so I think I am going to have to use four five pence pieces

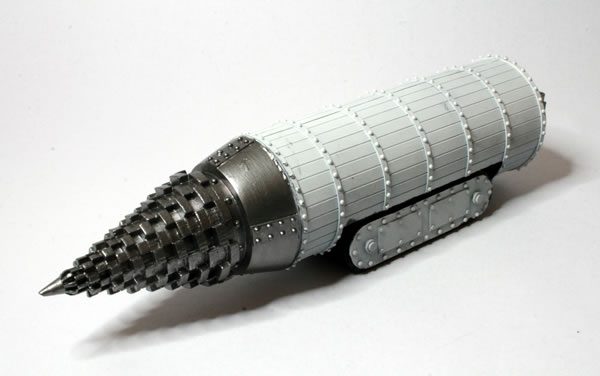
Victorian SF Tunnelling Machine

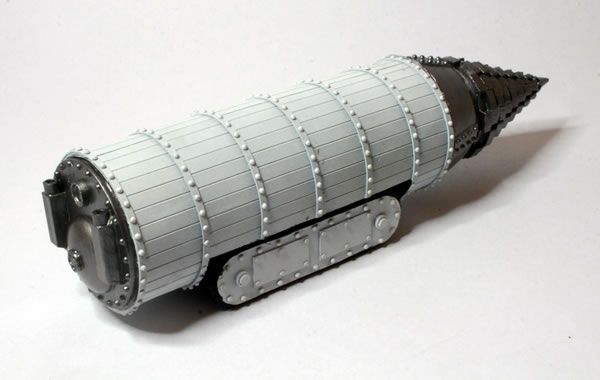
After realising I had not thought about the rear of the VSF Tunnelling Machine, I decided to paint it with a basecoat of Boltgun Metal.

When I first looked at the model I did initially think that the rear of the model was some kind of boiler so I was going to do it very dark. However upon reflection I think it is actually just the rear of the vehicle, what I thought was the firebox is in fact the rear access hatch.

I do like this model and think it certainly looks the part.

15mm Roof Tiles

I did think about how to paint the roof of my Total Battle Miniatures ruined row of three houses, in the end I thought that terracotta tiles would look very effective, probably more so than slate. So I gave the roof tiles a basecoat of Citadel Terracotta.

Looking at the Total Battle Miniatures photograph, I might repaint the “complete” roof with grey slate.

Ruined row of three houses

The next stage will be a dark wash.

Space Marine Assault Squad

Space Marines who excel in the fury of close combat are organised into Assault squads and equipped with jump packs that allow them to take the fight to the enemy in brutal close-quarter fighting. Armed with a mixture of pistols and swords, they are terrifying foes in battle, dropping from above like flaming angels of death.

Space Marine Assault Squad

I was given a box of the Space Marine Assault Squad by my son, after thinking about painting them as Grey Knights I decided in the end to paint them as “normal” Marines. I wanted the bases to be different so made use of the resin pieces I had got from various basing kits and from the Mines, Bombs and Booby Traps box.

Space Marine Assault Squad bases

The plastic models look relatively simple to construct, but I always seem to get caught out sticking on the arms and shoulder pads with GW Space Marines.

First stage was fixing the legs to the torso.

I then made up the jetpacks.

These were then affixed to the Marine bodies.

I do like the beaky helmets, problem for nostalgic reasons… pity you only get one in the box.