The Predator is perhaps the best known and most widespread variant of the basic Rhino chassis. Augmented with superior armour and firepower, it entirely sacrifices the Rhino’s troop transport capacity in favour of ammunition and generators for its formidable weapon systems. The result is an effective and versatile tank of the line, with an excellent balance of speed, firepower, and protection. The Predator’s robust design can field a wide variety of armament configurations – the Legiones standard is a rapid-firing turret mounted autocannon, but other configurations include a powerful heavy lascannon, or more exotic grav and volkite weapons.
There is still some work to do with this model, but I am pleased I have made progress and nearly finished it.

This is the story of how it got painted.
One of my Christmas presents was the Deimos Pattern Predator Battle Tank. Unlike the original Rhino, I never bought the original Predator, nor even the more recent model.

Looking at the sprues there are a lot of parts.


It also shares two sprues with the Deimos Pattern Rhino.


I started putting the model together. It does go together quite easily, though I found some parts challenging, especially the hull roof.

In the end I got some G clamps out to hold the hull roof in place and glued it into place with superglue rather than plastic cement.

I went with the rapid-fire Predator cannon for the main turret weapon and lascannons for the sponsons.

The plan to enable the lascannons on the sponsons to move, failed, as I couldn’t get the parts to stick that needed to stick. In the end I glued them into place.
For painting I kept the sponsons separate and I can easily remove the turret as well.

As with my demios-pattern Rhinos I left off the tracks and will paint them separately, before affixing them to the model. It can be challenging to get the track ends under the track guards, but with this deimos-pattern model it is easier than the previous Rhino model.

I did think about adding the prow or dozer blade to the model, but in the end I went with towing hooks as with my other model. The main reason was not so much the look, but more about the challenge in painting it, I am sure I would miss bits.
I am not too happy with the rear of the hull top and how it attaches to the hull.

I gave the model an undercoat of Citadel White Scar.


I had removed the turret and sponsons to do the undercoat.

As with my first Deimos Pattern Rhino I am painting it yellow. I had intended to spray the underneath of the model with Citadel Zandri Dust in preparation for painting the the whole model yellow. However I ran out of paint…
So this model was just given a coat of yellow paint. Games Workshop don’t do a yellow spray and I don’t have an airbrush. I did use a paint comparison site to find a close alternative to Yriel Yellow. The Daemonic Yellow spray from Army Painter seemed like a good choice, and my local FLGS had one in stock, which I bought in the summer.
I gave the model a couple of light coats of Daemonic Yellow.

The sponsons I kept seperate and sprayed them with Citadel Leadbelcher.

For the tracks, still on the sprue, I gave them a spray of Citadel Mechanicus Standard Grey.

I painted the main weapon, and the exhausts, with Leadbelcher.

I had already painted the sponson weapons with Leadbelcher.

I had a few problems with the turret not fitting the turret hole, so I did some light filing of the edges of the turret and the hole for a better fit.

I did a heavy drybrush of the tracks with Gorthor Brown, having initially given them a basecoat of a spray of Mechanicus Standard Grey.

It was then onto shading the model. I am using the same process I used with my first Deimos Pattern Rhino. I used some Citadel Reikland Fleshshade Shade.

I did a heavier wash than the first Rhino I painted.

This did mean the Shade pooled in certain areas. I am hoping that this will be covered up when I do the deeper drybrushing next.

I also shaded the tracks, this I did with Agrax Earthshade Shade. Once this was dry I drybrushed them with some Leadbelcher.

For the next stage I used some Citadel Layer Yriel Yellow. I took a large brush and gave the model, what I would call, a heavy drybrush. I put paint on the brush, and then used some kitchen towel to remove most of the paint, and then using a heavy stippling process added paint to the model.
The plan was that this would take the flat surfaces of the model back to a flatter base colour.

Some of the areas where the shade pooled will probably need some more work.
I then added some more Citadel Layer Yriel Yellow to the model.


I then gave the model a lighter drybrush of Citadel Layer Dorn Yellow.


I had painted the tracks on the sprue. These were removed from the sprue and using superglue I attached the tracks to the Predator.

You have to be careful when attaching these, as they are specific to each side of the Predator, but they do attach to the Predator quite easily.

The next stage was adding some more details to the model, namely the headlights.
For the front headlights I used Citadel Layer Dorn Yellow. For the other lights in the headlights I used Citadel Base Mephiston Red.

I then did the protective grilles with an UNI black pen, rather than use paint on them.

I now need to add some more weathering.

I then do need to add some transfers.
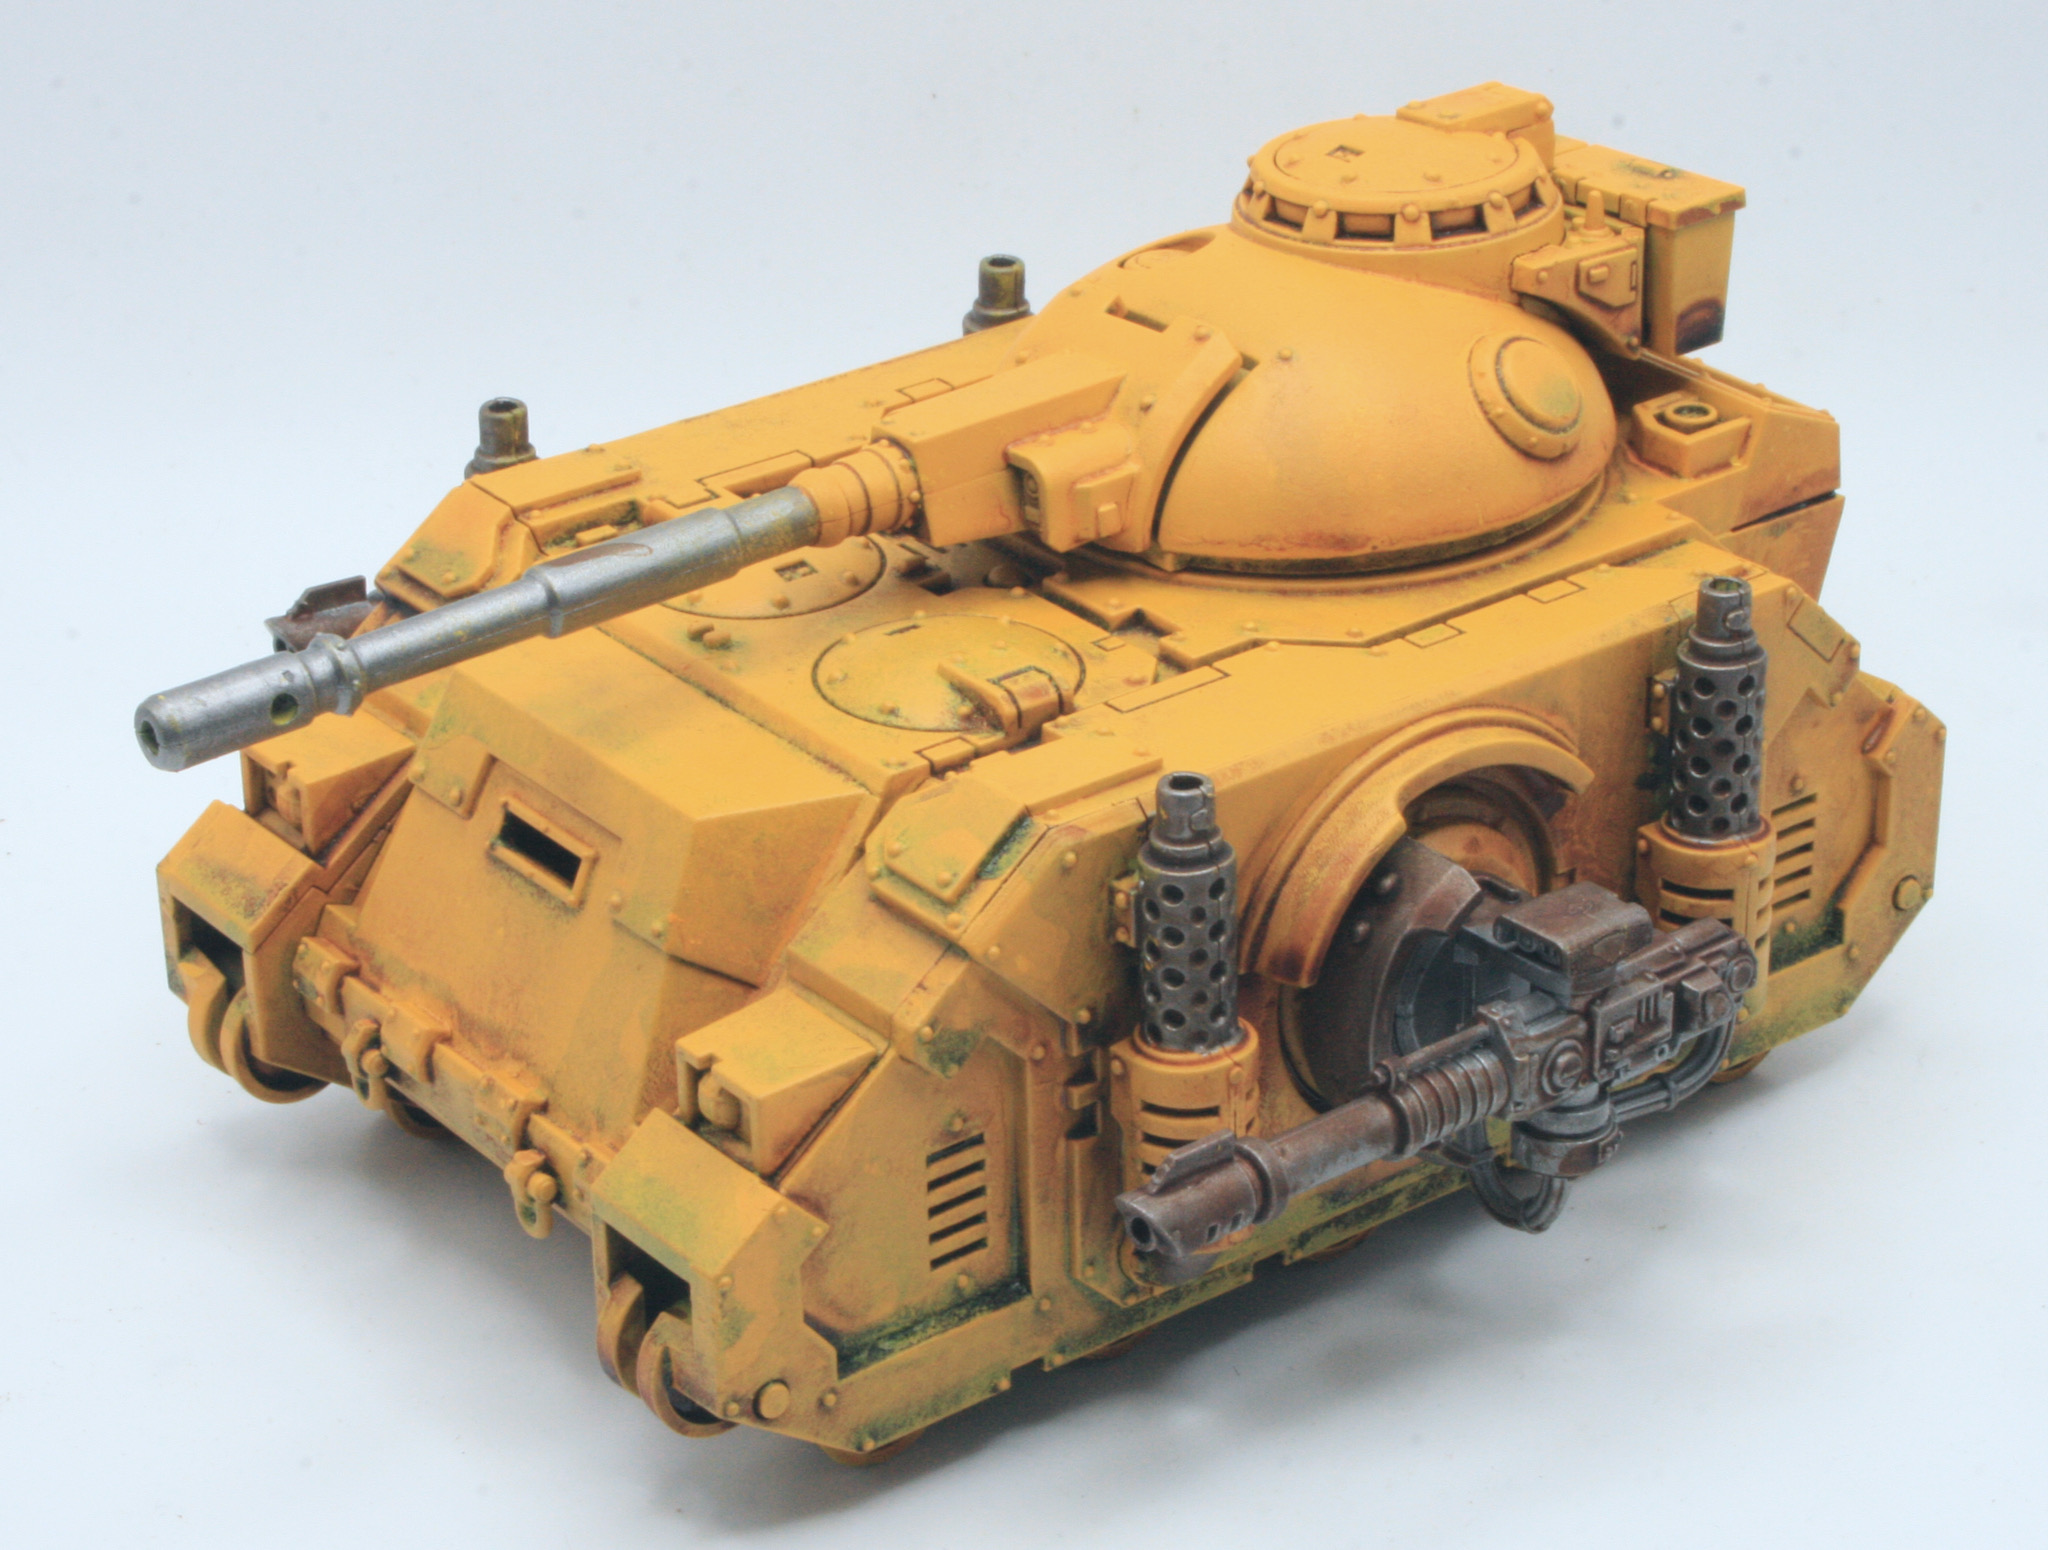
Having finished painting the Predator, I photographed the model on my desert terrain board.

Another view.
More soon…