The Tiger was feared so much by the Allies, that most German tanks were referred to as Tiger tanks.

Tiger I is the common name of a German heavy tank used in World War II, developed in 1942. The final official German designation was Panzerkampfwagen Tiger Ausf. E, often shortened to Tiger. It was an answer to the unexpectedly formidable Soviet armour encountered in the initial months of Operation Barbarossa, particularly the T-34 and the KV-1. The Tiger I design gave the Wehrmacht its first tank mounting the 88 mm gun, which had previously demonstrated its effectiveness against both air and ground targets. During the course of the war, the Tiger I saw combat on all German battlefronts. It was usually deployed in independent tank battalions, which proved to be quite formidable..
Purchased a Flames of War blister of the German Tiger I E.

I was quite surprised by how many parts were in the blister. This wasn’t going to be a quick model to put together, especially with no instructions!

I decided to model the tank with the turret hatch closed. I first though glued the main gun into position and added the two turret hatches. I then added the two side skirts. These were quite challenging to glue to the side of the model.
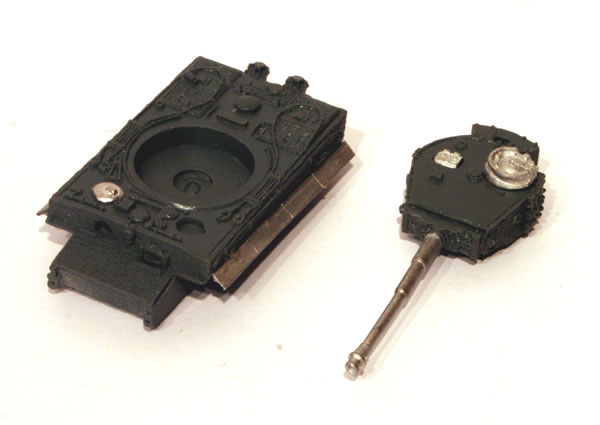
I wasn’t entirely clear about the front hull hatches, there appeared to be four provided in the kit. I did look at a few models online, but wasn’t entirely clear about how they were stuck. I also almost missed the hull machine gun.
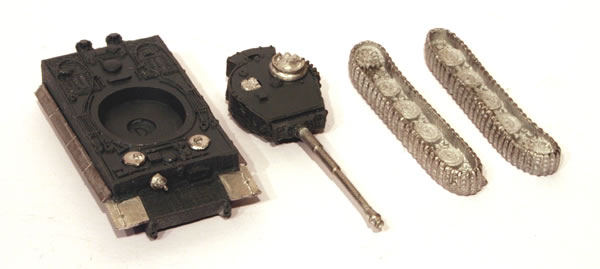
The final stage was gluing the tracks into place.
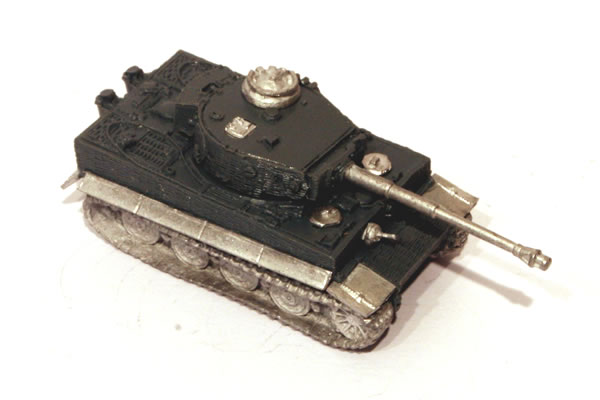
The next stage was a white undercoat.


This was then followed with a base coat of Humbrol Dark Brown.
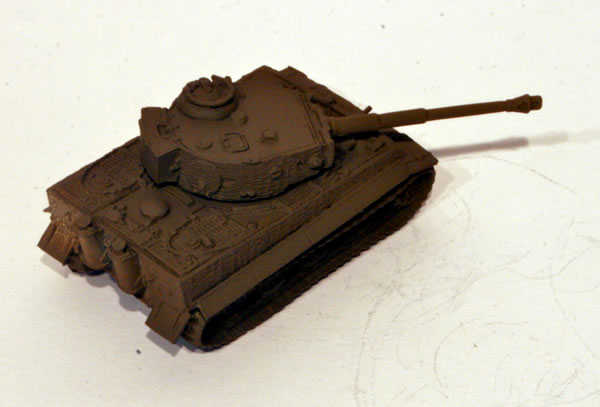

However after looking at some models online and discussions with Simon, decided that this was way too dark.
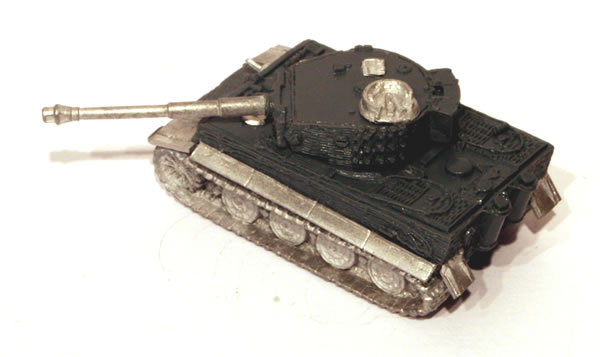
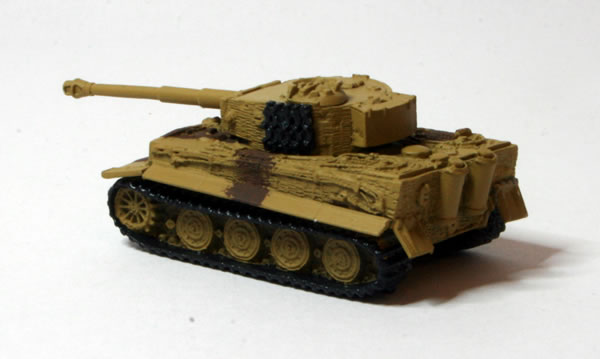
I bought some FoW Warpaint, for Late War German Armour and used that on the model.

Much happier with the result.

Here is the Tiger next to one my the Panthers.

Having given the model a basecoat of Warpaint German Armour the next stage was to add the disruptive camouflage. What I did was take an old paintbrush and cut off the bristles leaving a quarter inch. This brush is then used to stipple on the camouflage pattern. I used initially Chocolate Brown (872) and will use Reflective Green (890) later.

I was quite pleased with the initial effect on my SdKfz 251, however I think I may have made the pattern too wide on the Tiger. What I will do is tidy up the camo pattern with some Middlestone (882).
Though the official German manual during the war told how the camo pattern was to be applied, it said the raw paint mixture was to be mixed with petrol and sprayed onto the vehicles. Reality and short supplies of petrol meant that more often the camo pattern was “painted” onto the vehicles, sometimes with brushes and sometimes with rags.